Freeze! Everything you need to know about Frost and Growing Seasons

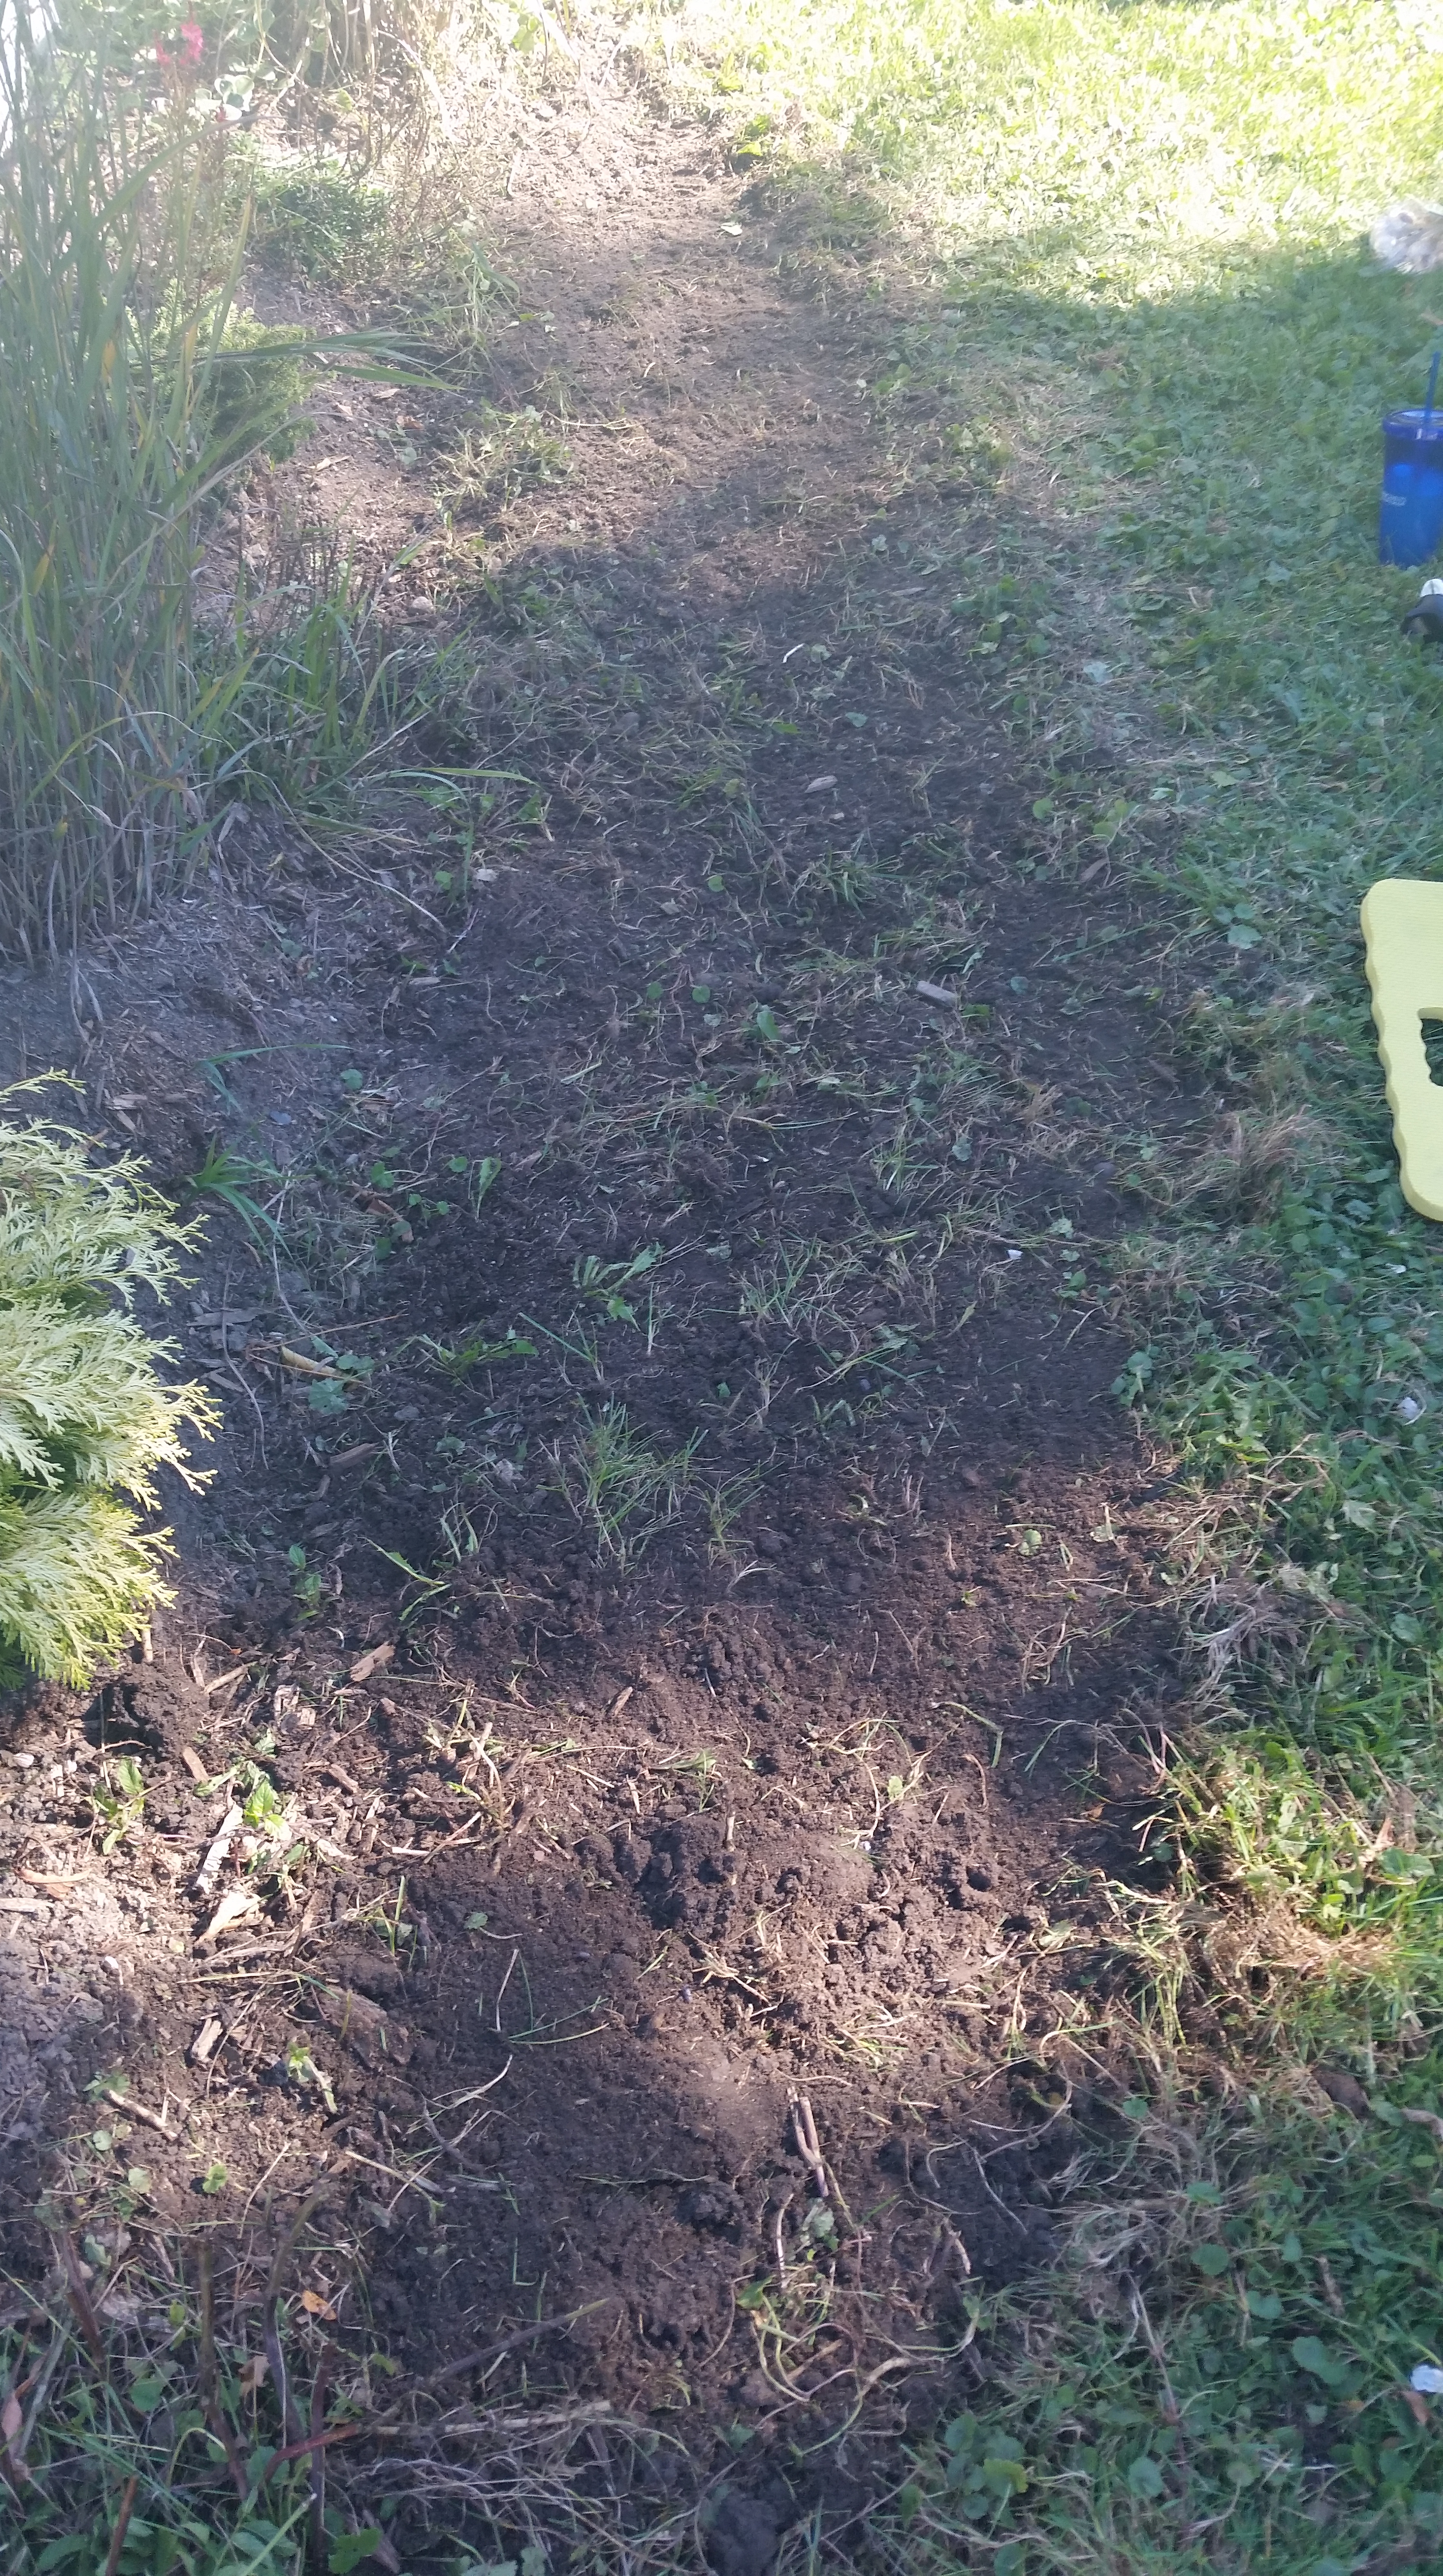
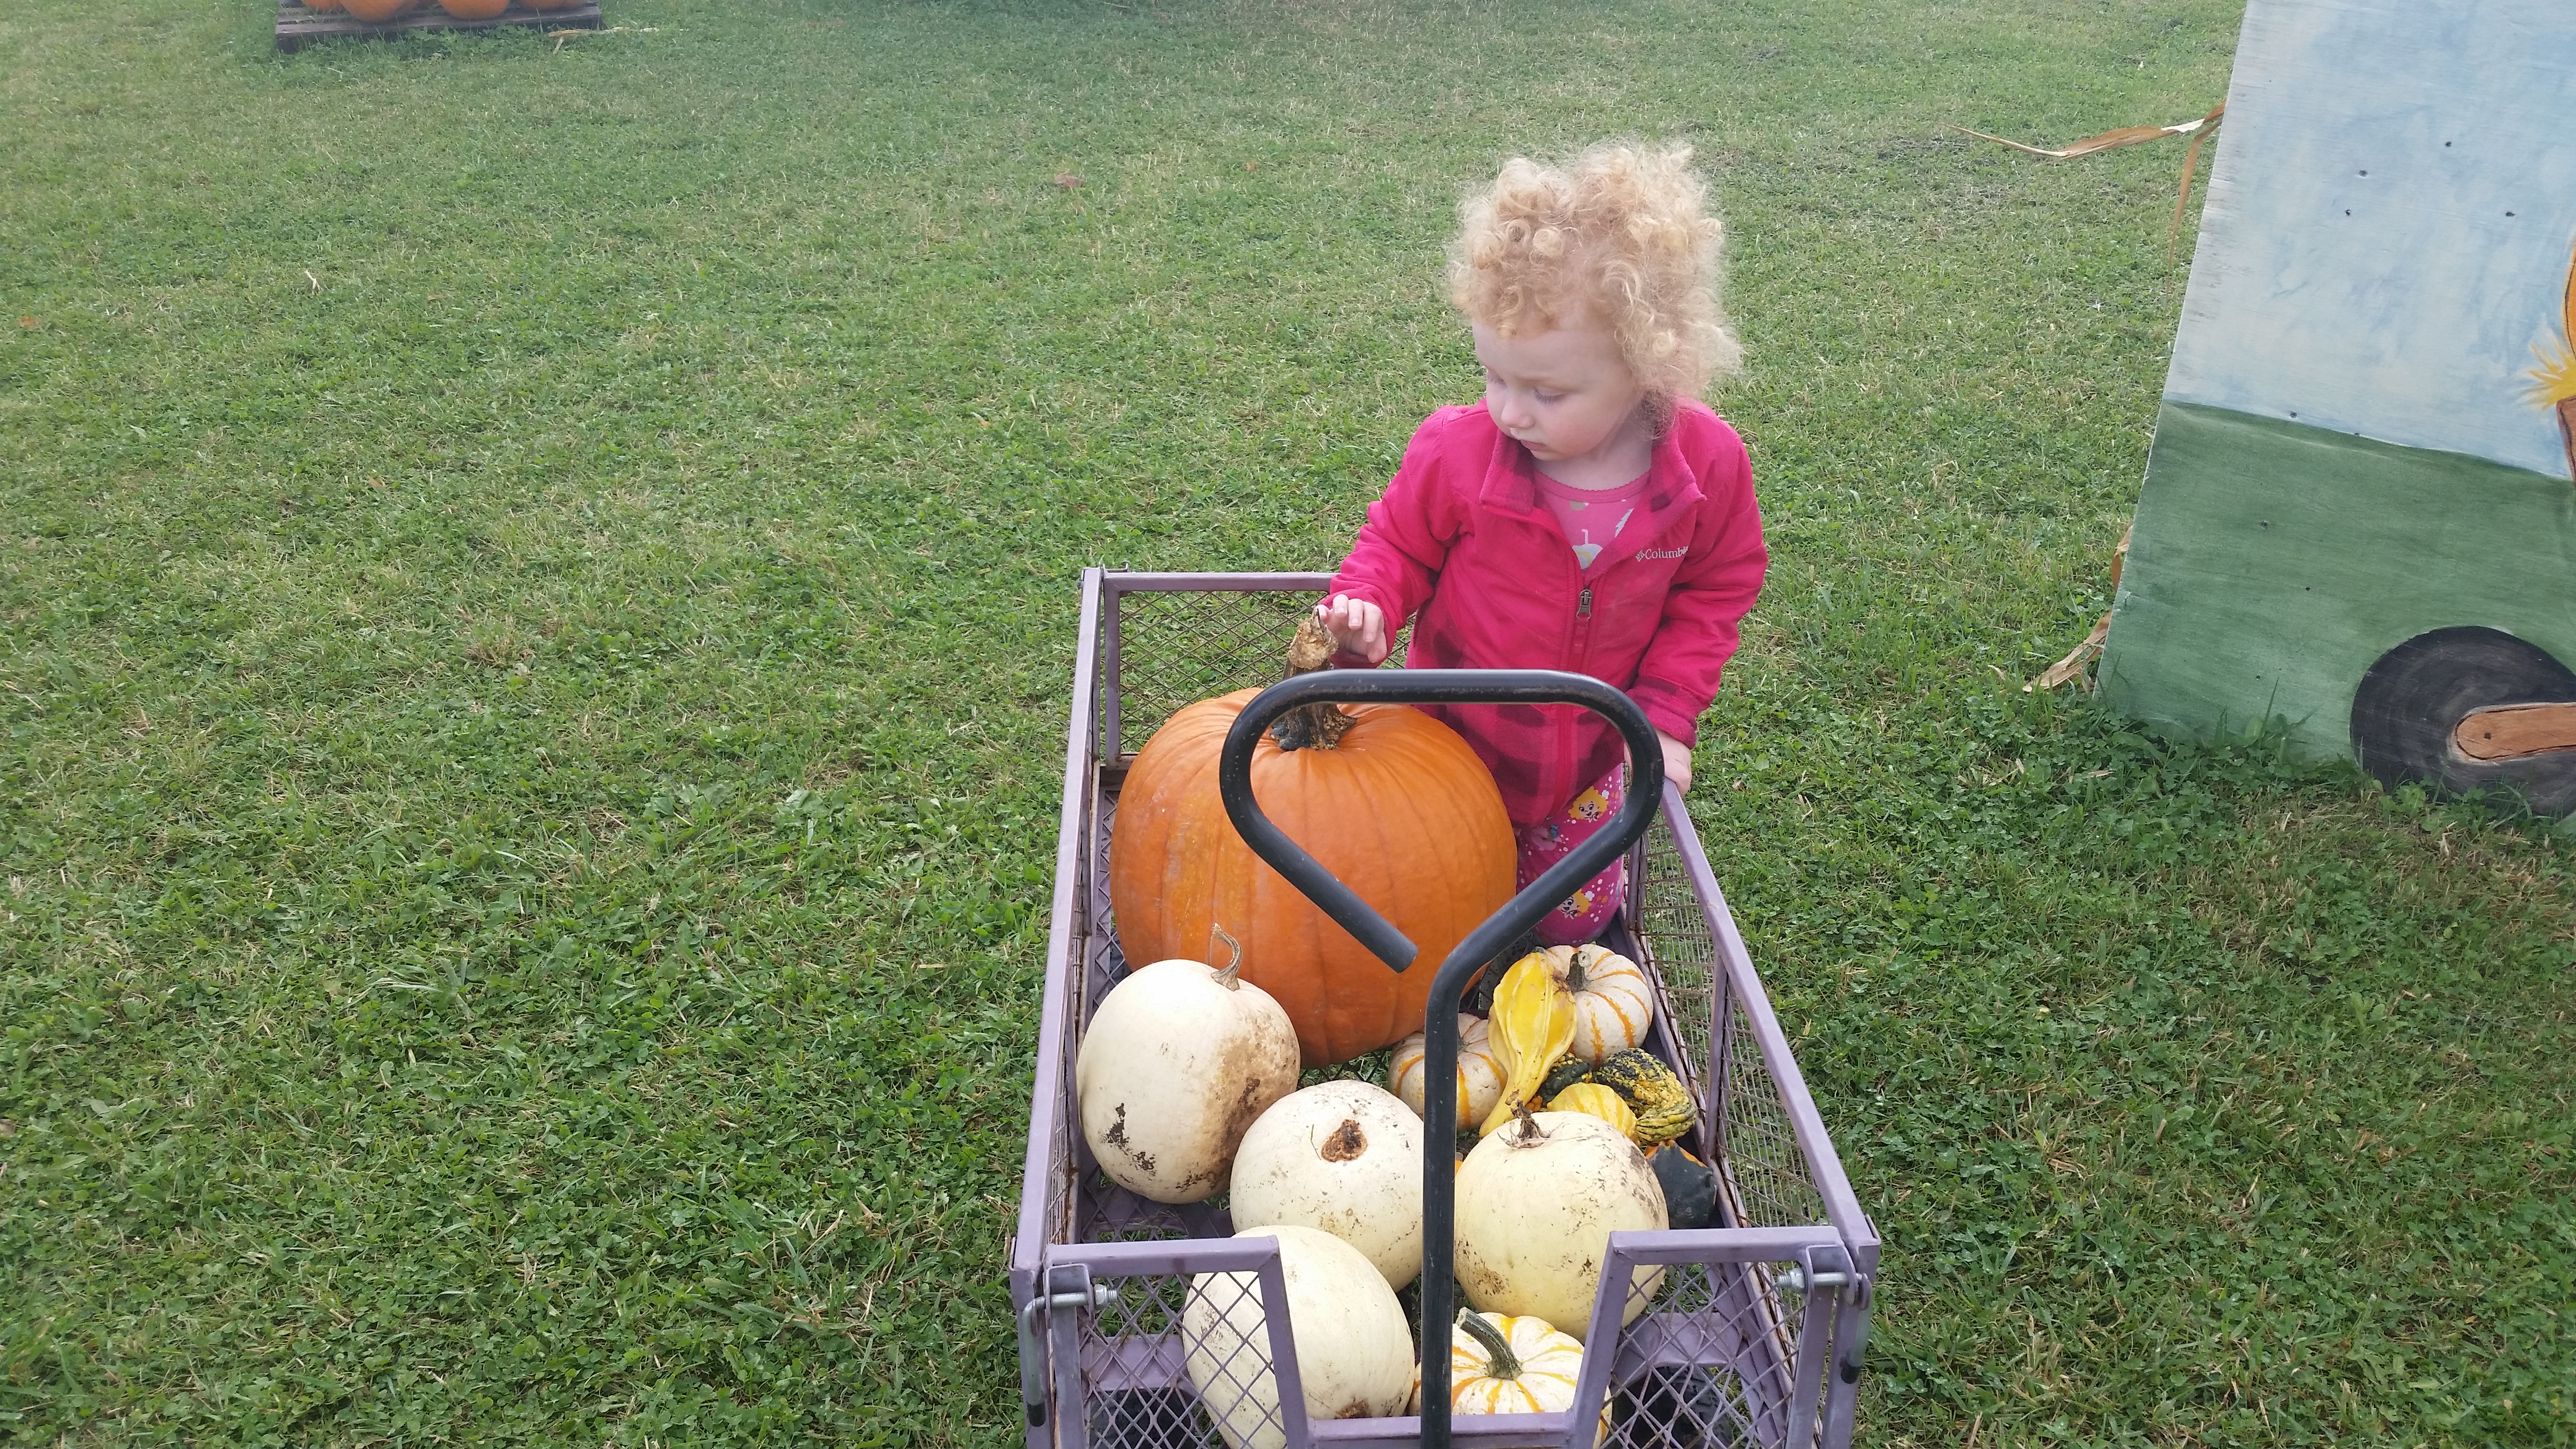
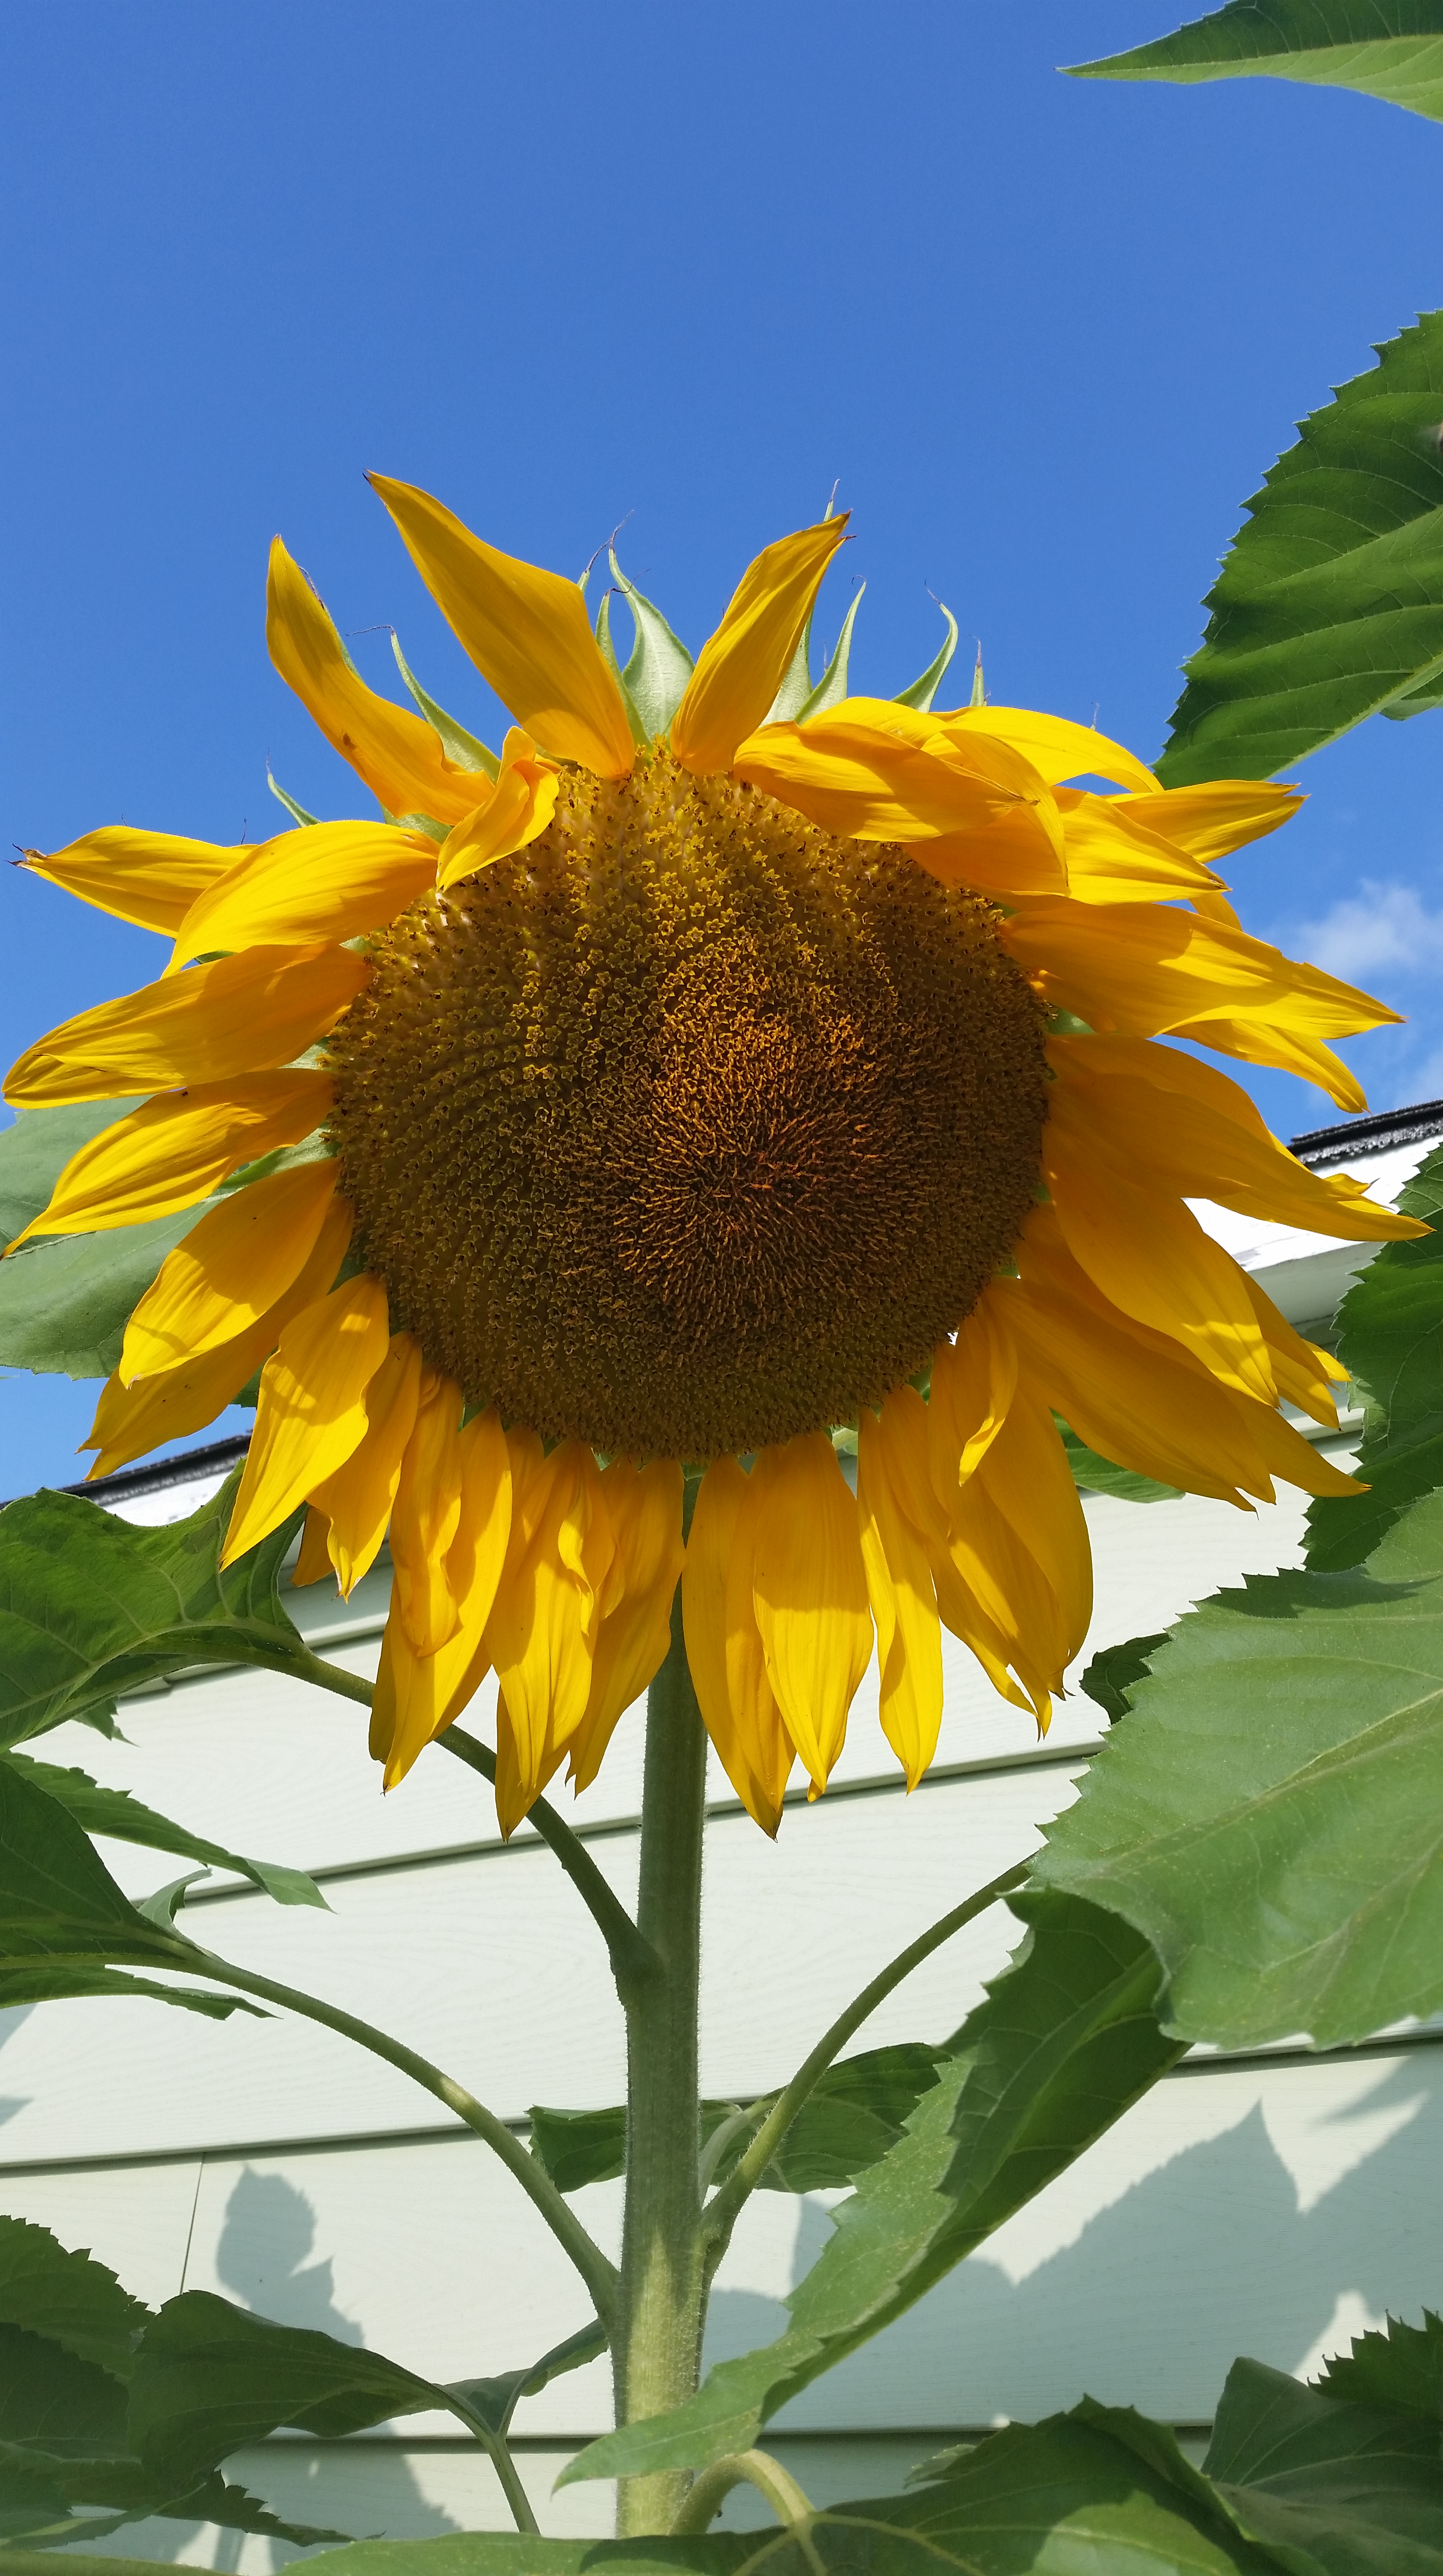
I really can’t believe this is the last weekend of October already! I have accomplished quite a bit of what I wanted to do this growing season, so I am very happy for that. I still have to do a couple of things, but all in all, I feel accomplished. When I was planting bulbs a few weeks ago, I was talking about how you can plant bulbs right up until the ground freezes. Well, what does that mean exactly?

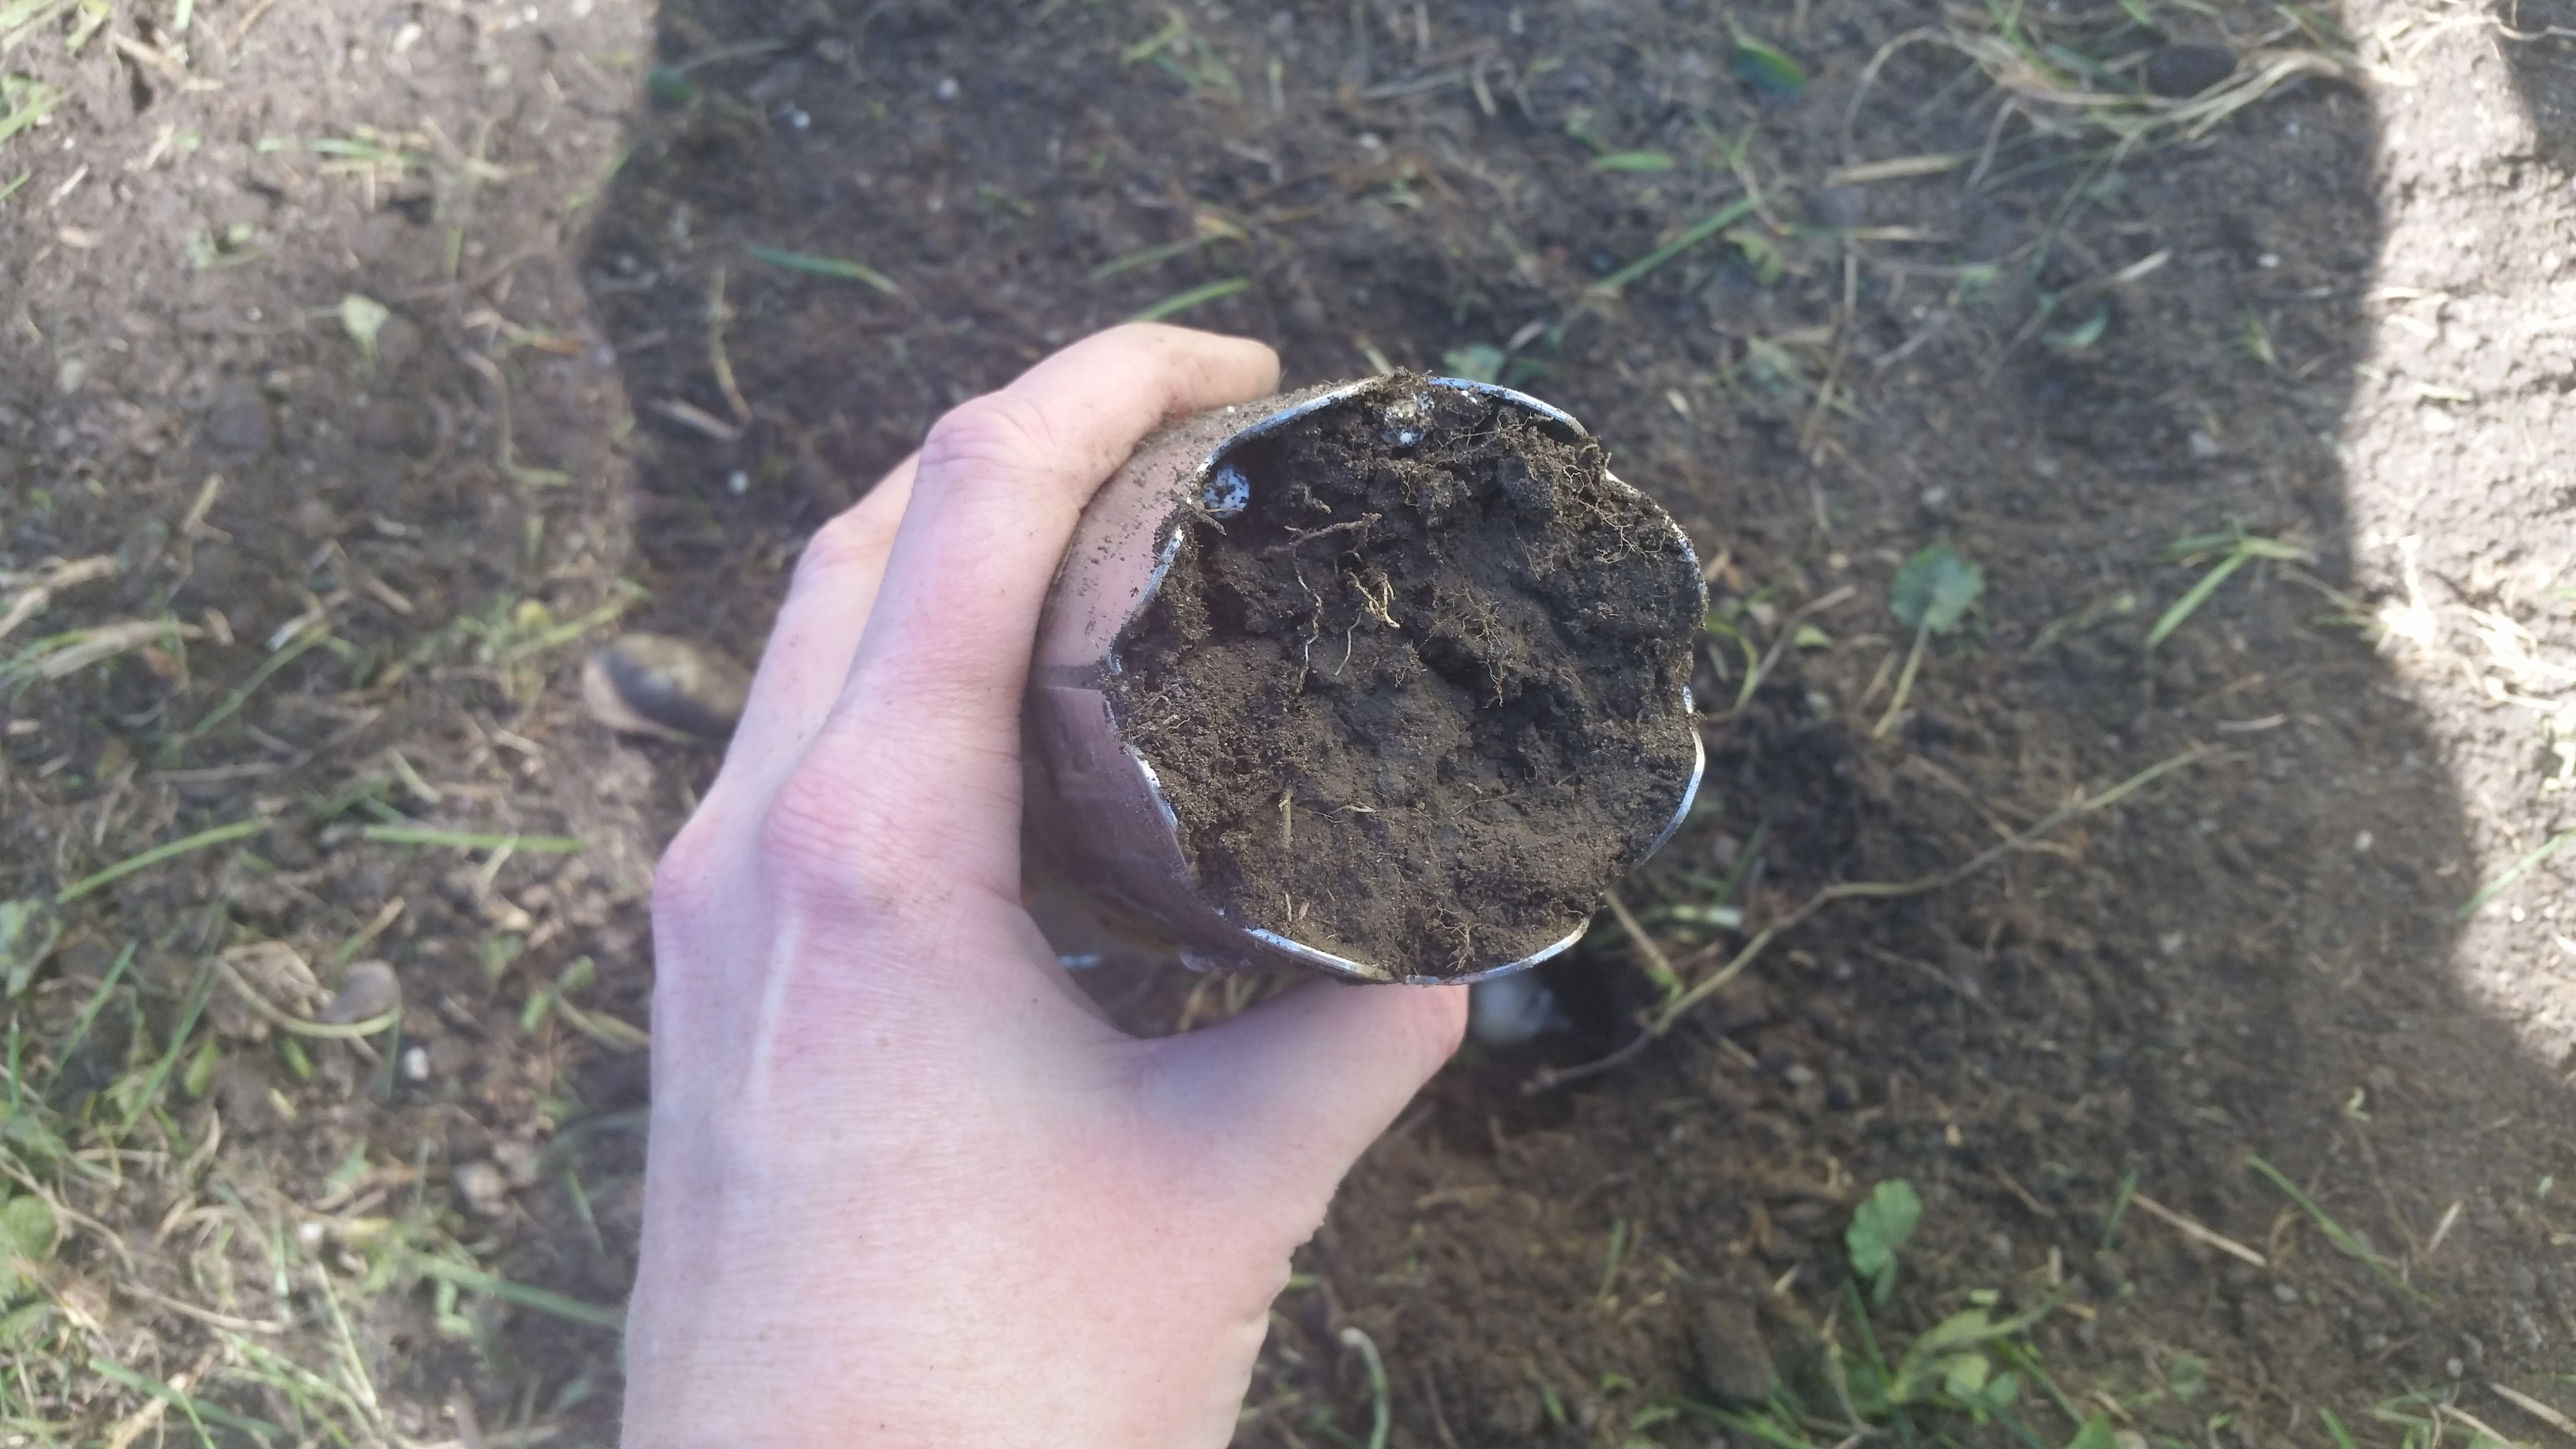
  • Freeze– when the ground turns solid. This happens when the air temperature drops down to 32 degrees Fahrenheit ( 0 degrees Celsius) or colder.

Please don’t get it confused with this:

20141012_085138

This is what you call frost. Frost is an ice coating on the ground that usually happens at night as temperatures dip down to or close to freezing, but there is still plenty of humidity in the air. The above picture happened two weeks ago for me. Frosts happen in early spring and late fall; the beginning and end of the growing season. Frost is part of the freezing process, and it will kill any delicate plants you have planted. That’s why you usually hear the weather person on television say to “cover up any tender vegetation” you may have if a frost is looming. I remember as a child watching my parents take big, old sheets and covering up plants, mainly in the spring, since they had just planted them.

So, what exactly is a growing season? A growing season is a period of time in every year that allows for the most growth in your plants. A “frost free” time, if you will. And growing seasons vary for everyone in every different part of the country, and even the world! And now that you know what a growing season is, you will also need to know your regional hardiness zone. There are many factors that make up your region’s hardiness zone, but one of the main factors is just how cold your area gets. The USDA Hardiness Zone Map is a great one to check out, and once you find out your hardiness zone, you will be able to purchase plants and seeds that will thrive in your zone.

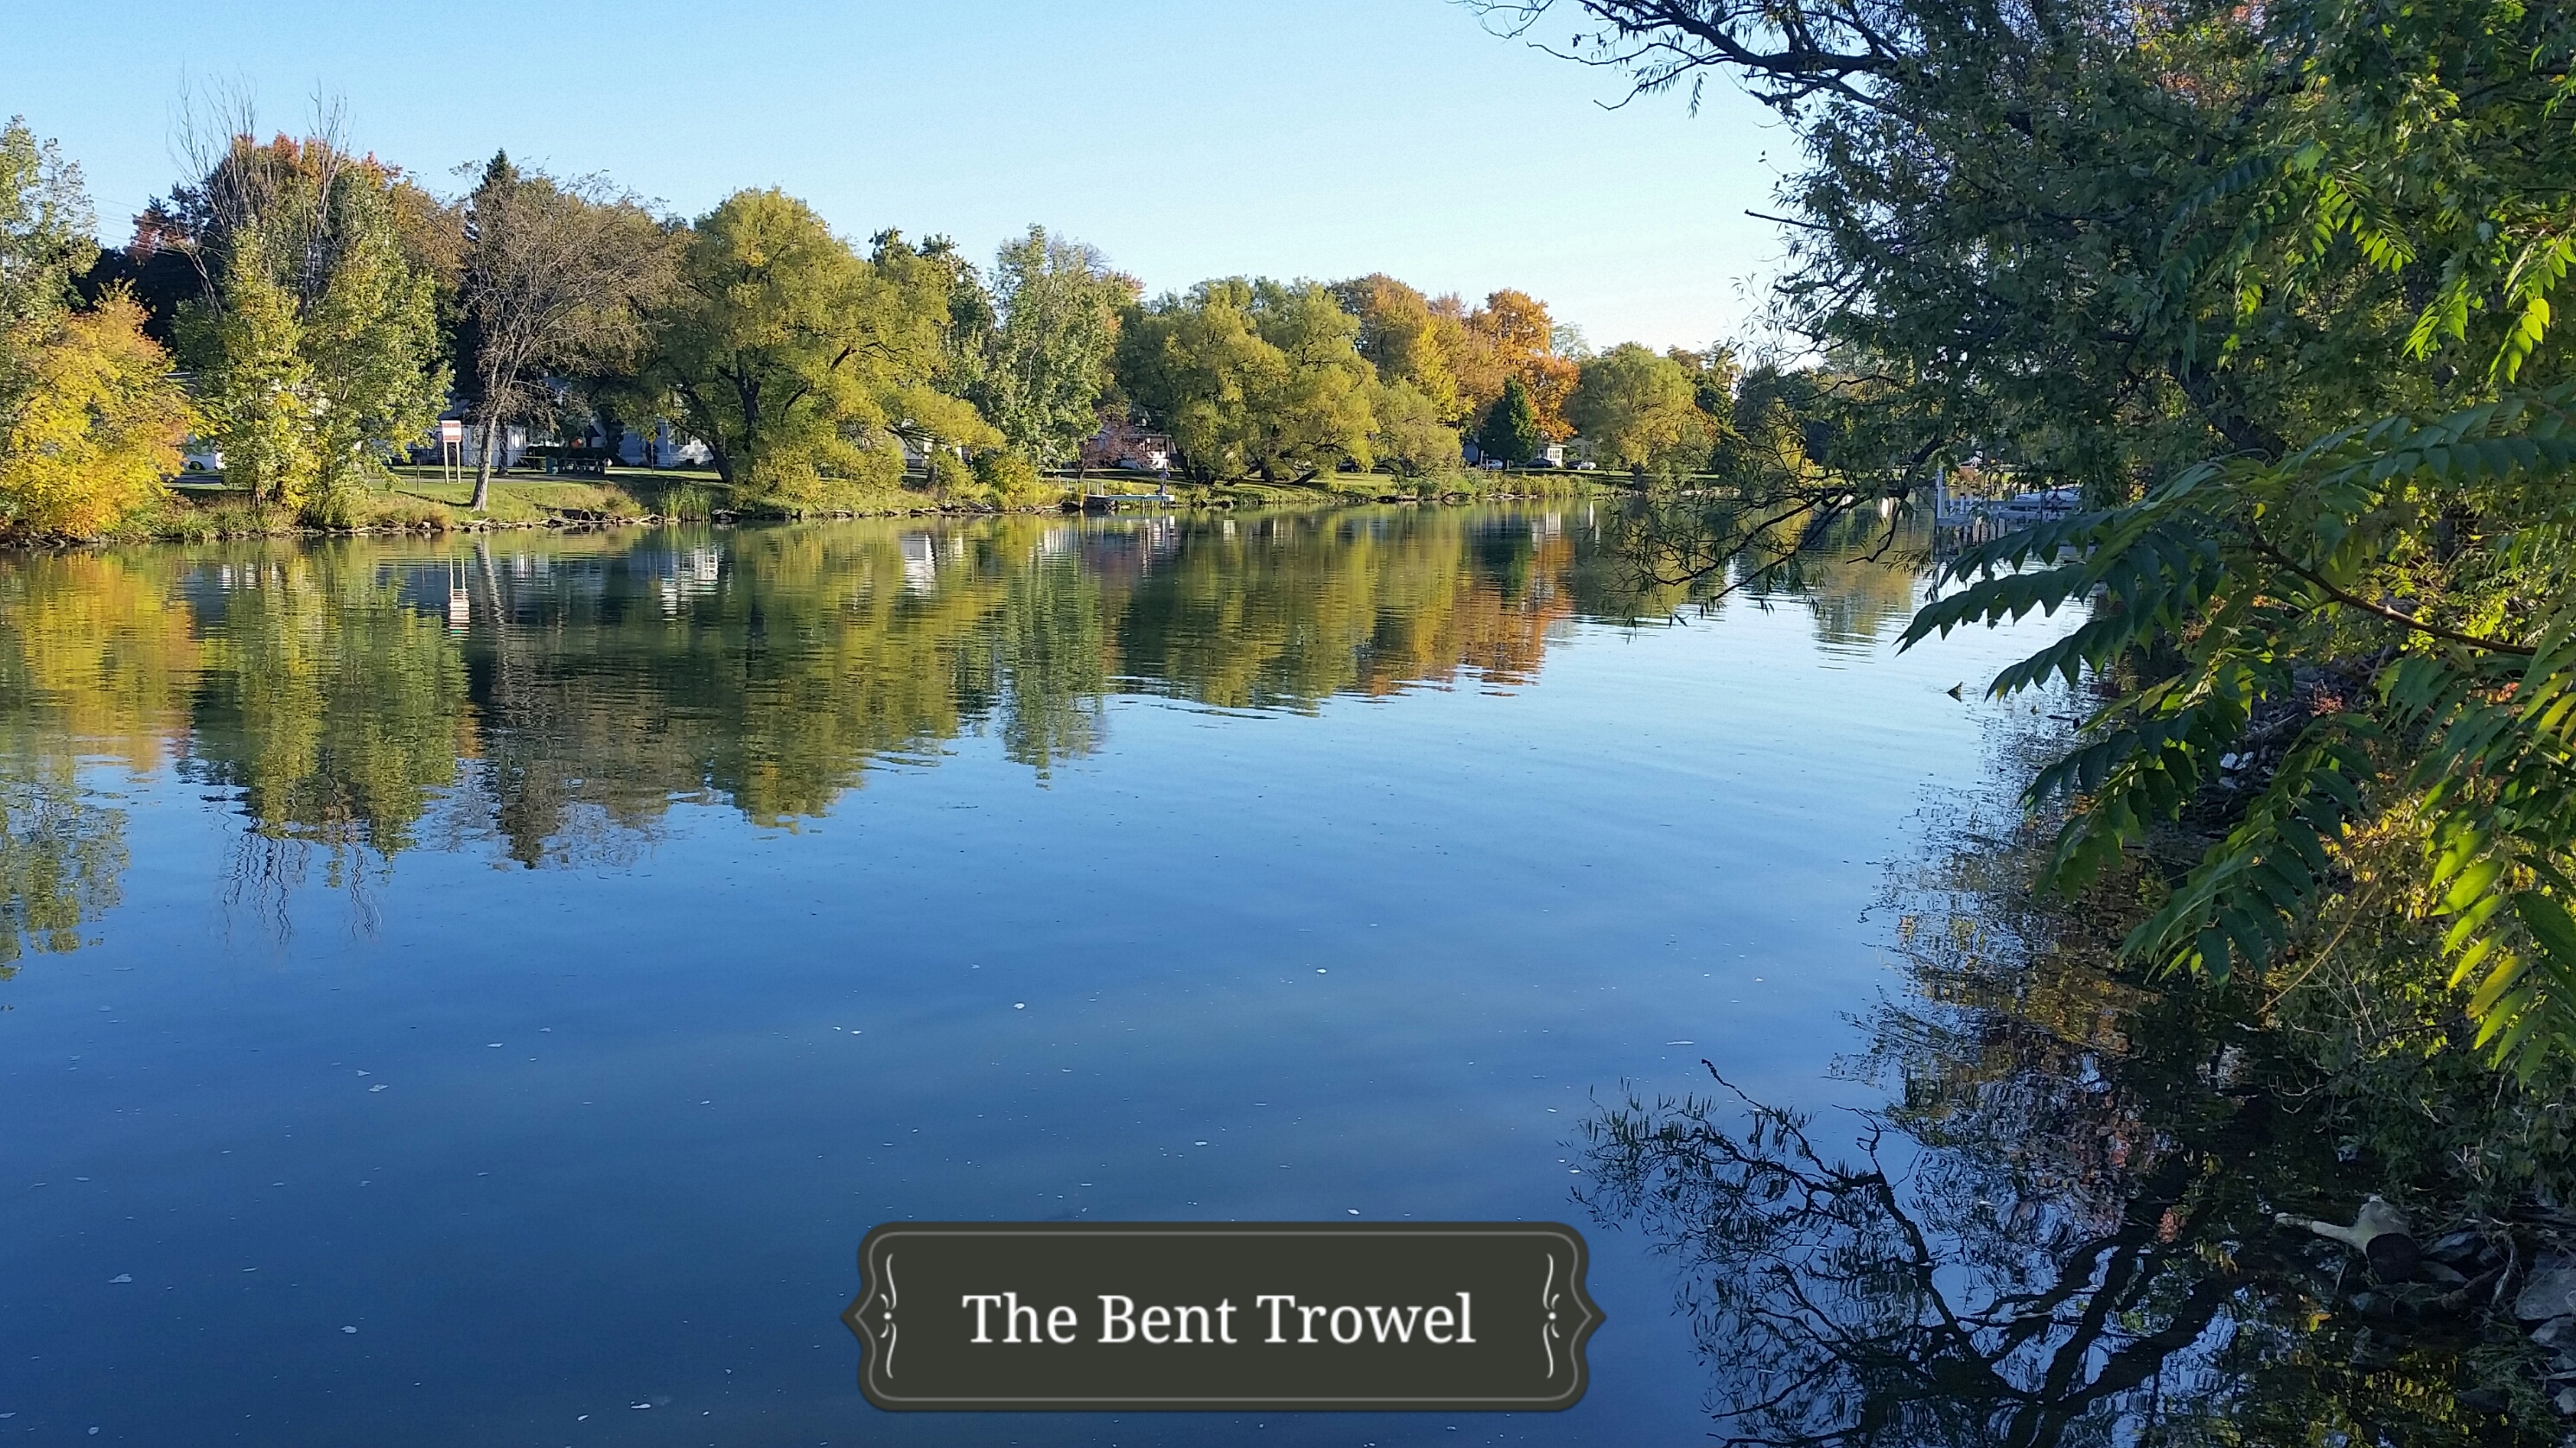
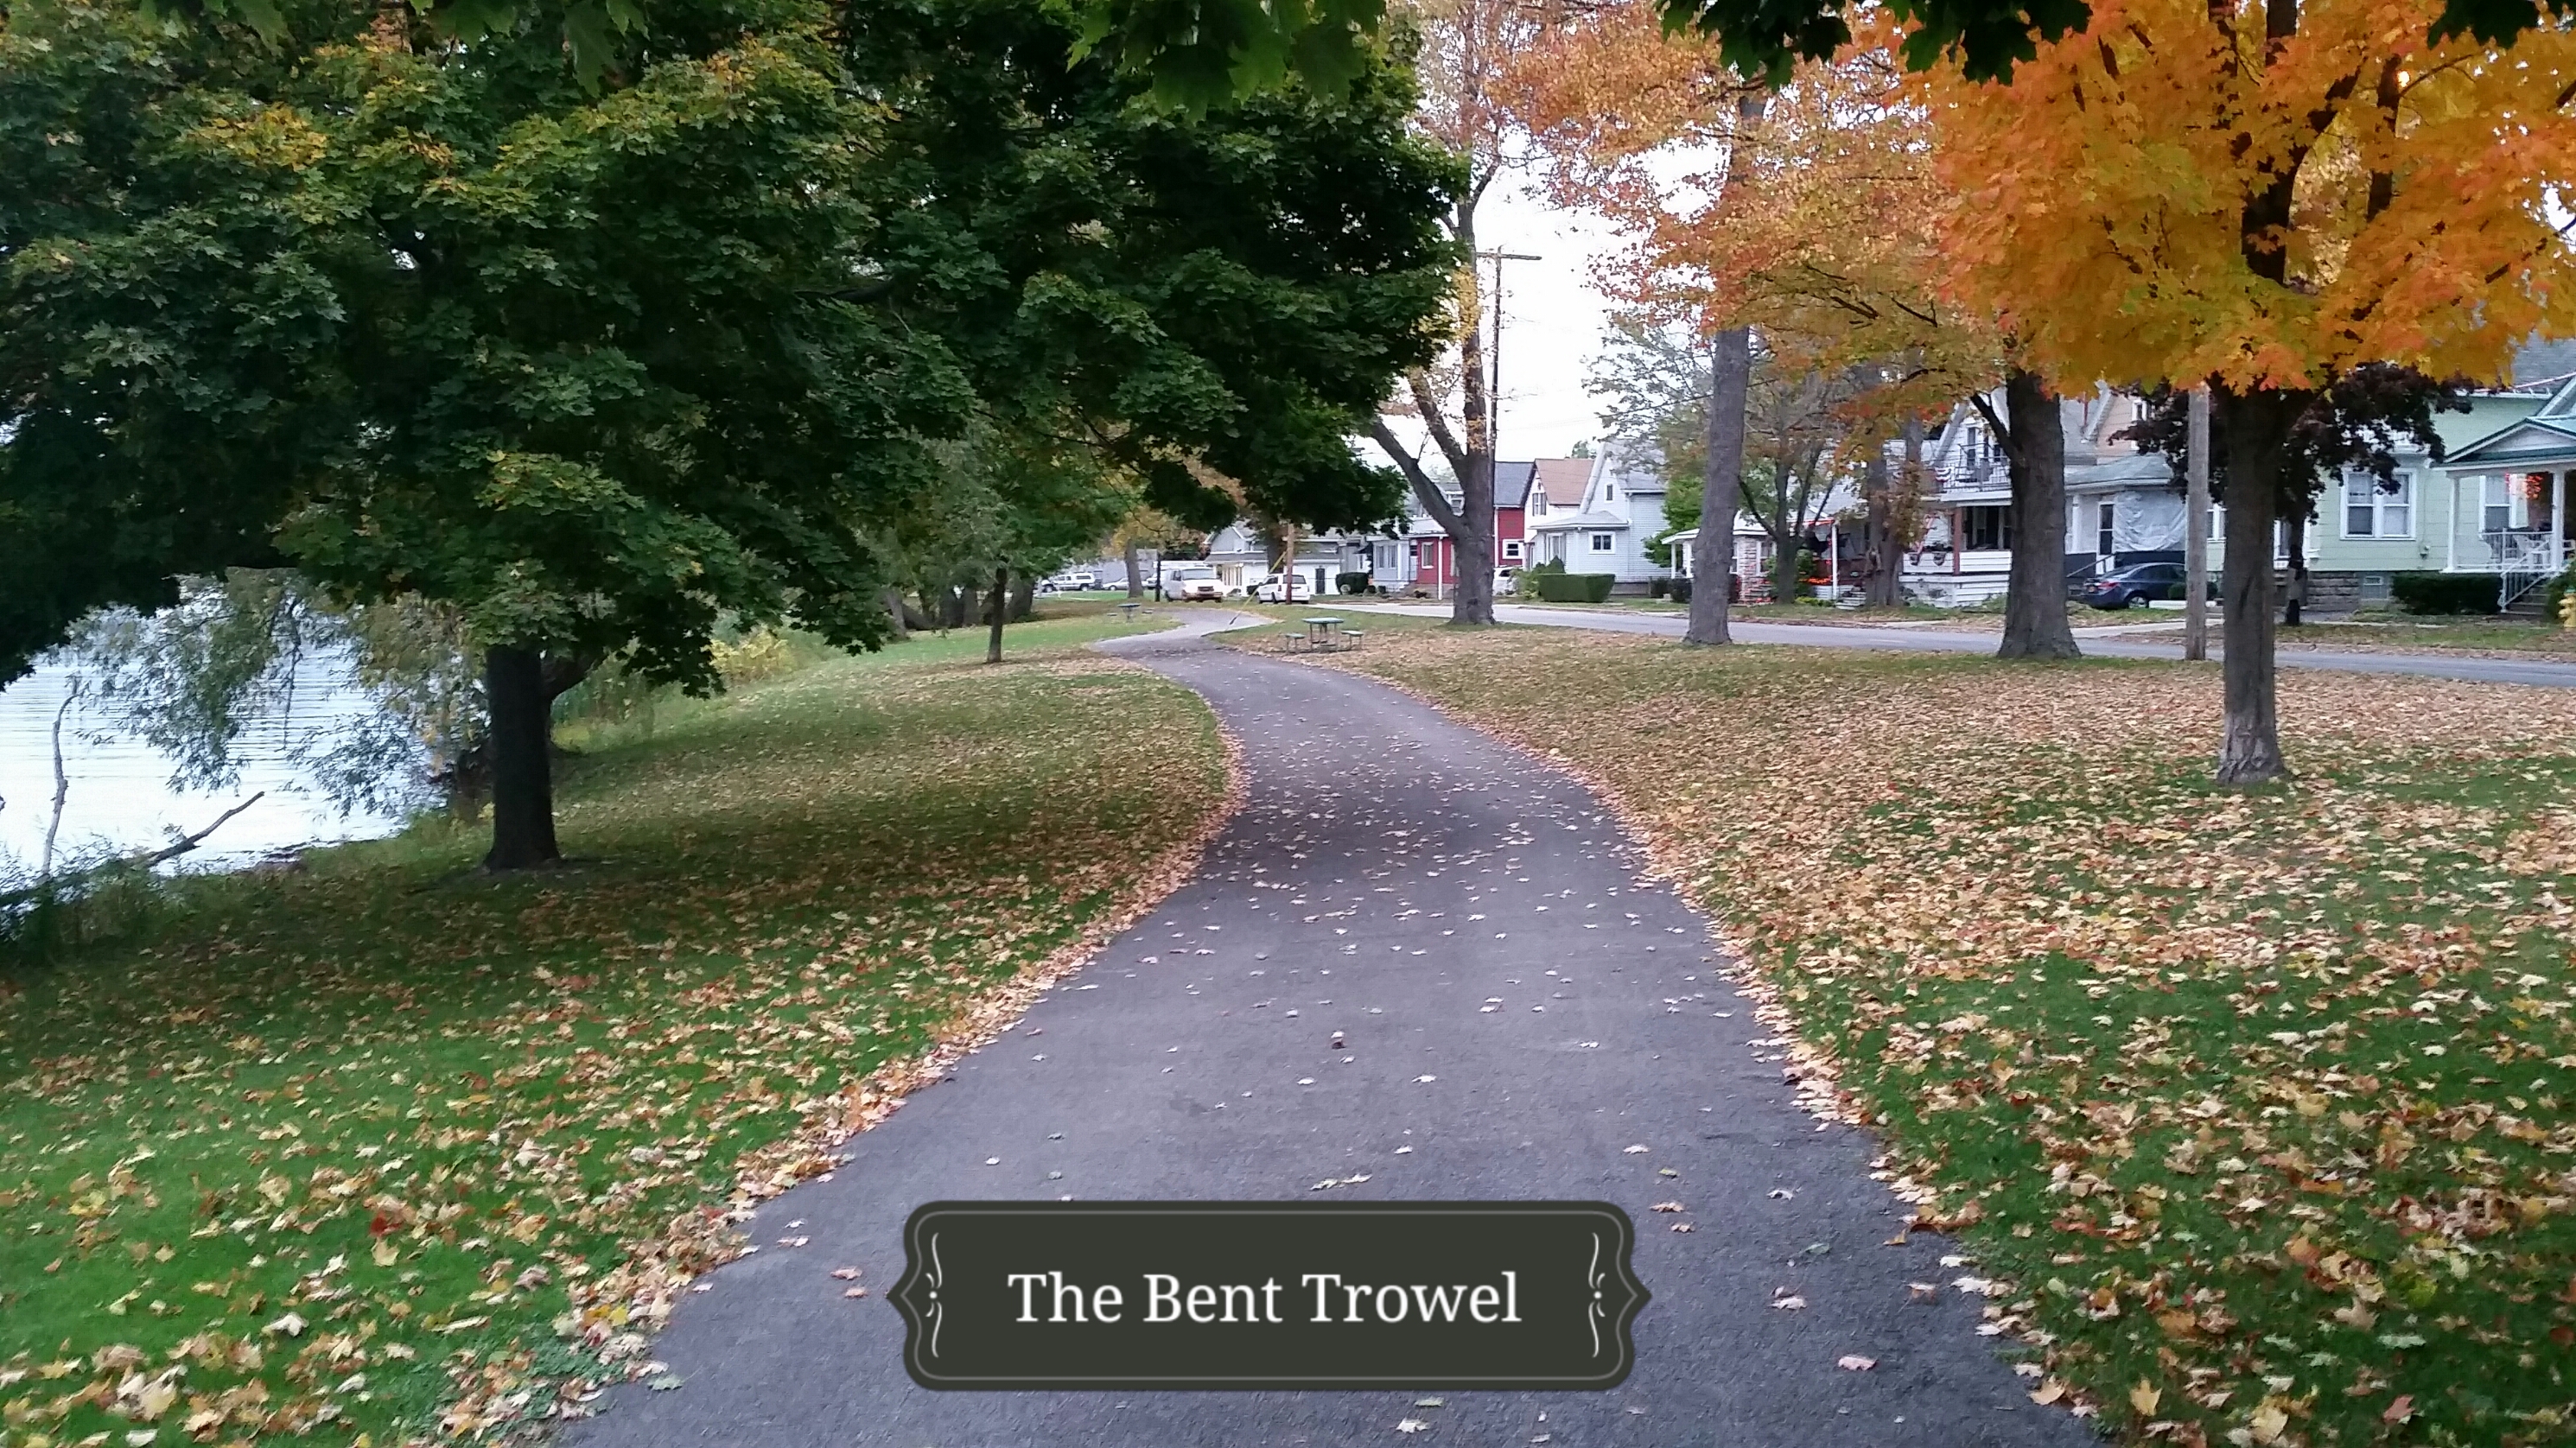
An interesting thing to note is that even though I now reside about 1 hour and a half north from where I grew up, my hardiness zone is different from my parents. My parents reside within zone 5a, whereas I now reside within zone 6a. Why is that? Well, I am surrounded by two huge bodies of water, Lake Erie and Lake Ontario. I am going to have warmer temperatures than my parents who reside further south and further interior. They get much colder and much more snow than I do, believe it or not.

Whatever your little part of the world, you will be able to garden with optimum results if you know your growing season and hardiness zone. Taking the time to find out this important information will help you better understand what plants you can grow and how you can get the most out of your growing season!

A Natural Pause

One of the biggest inspirations for my home gardening comes right from nature itself. As an outdoor enthusiast, I always have my camera on hand to take pictures of anything that I find intriguing and beautiful when I am running, walking or hiking. As Wednesday is considered “hump day” in every work week, it’s also the perfect day for a “natural pause”, for just a few pictures of nature and my community that inspire me not only in the garden, but in my everyday life. Enjoy.

Erie Canal  North Tonawanda, NY

Erie Canal
North Tonawanda, NY

Erie Basin Marina Buffalo, NY

Erie Basin Marina
Buffalo, NY

Niawanda Park Tonawanda, NY

Niawanda Park
Tonawanda, NY

Niagara River Tonawanda, NY

Niagara River
Tonawanda, NY

Erie Canal Path North Tonawanda, NY

Erie Canal Path
North Tonawanda, NY

To Every Season, Urn, Urn…

As I have said before, Fall is one of my favorite times of the year. I love the sights, smells, everything. I have apple pie flavored coffee, and “crisp fall leaves” smelling wax melts in my candlewarmer. I have four totes in my crawl space full of fall decorations that I put up in my house Labor Day Weekend. It’s funny how when you move into a house, you all of a sudden love to buy decorations for every season. I buy too much! The core of my fall decorating will stay out until Christmas, but I will swap out Halloween decorations with Thanksgiving decorations when needed.

This also goes for my decorations on my front entryway. You don’t have to spend a fortune to make a nice entryway. My decor has changed over the years, as it naturally will, because your tastes change and you finally understand how to make things look nice and put together! I have to admit I am still working on this, but I’m finally understanding more as time goes on. Like everything, including my home, it’s a work in progress!

And all you need are a couple of planters. Or urns, like I have stated in the title. And you can get pretty much use anything. Back in the Spring, I really wanted a couple of urns to put out on our small porch. Well, urns are expensive. And trust me, I like to splurge, but I really didn’t feel I wanted to splurge on urns. I knew better. But, lo and behold, I found two black plastic urns for $11.98 each. Yay! What a bargain! And, they were just the right size for my small entryway. So, as Summer came, I planted a few annuals in it. But now that it’s Fall, I wanted to decorate accordingly, and will probably do it for the Winter, too.

This is what I decorated my urns with, maybe this will give you some ideas on how to decorate your planters!

20141011_140604

I have put some gourds, which are very inexpensive, in the urn, along with some fake grasses that I purchased at a craft store. Mixing real plants with a few fake plants to fill in the holes will add nice textures, along with improving the aesthetics of the planter.

  • Find something you really like to put in your planter and make it the “star” of the decor. Everything else you choose should enhance the main interest in the planter.

As you can see, my “star” of my planter are the brown, fuzzy corn-dog looking things called Cattails. What are they? Cattails are a marsh and wetland plant that are really interesting looking. Since I live so close to the Erie Canal, my daughter and I went what I like to call “stroller off-roading” one beautiful September day on the canal path and snipped some off.

cattails cattails canal

They are very fuzzy, and when they mature, the seeds float off into the air. They look like little feathers from a down coat! I have used cattails in my fall decorations for the past couple of years. I actually rode my mountain bike many miles one year to find them! I’m always up for an adventure!

Even if you don’t have access to cattails, you can use ANYTHING– tree branches, corn stalks, hay bales, pumpkins (orange and white), and fall favorite plant, mums! Anything can be used, it’s all in what makes you happy!

20141019_144400

This is what I continued to work on. I love white pumpkins, so I added them and my daughter’s regular pumpkin ready to be carved, along with a yellow mum, and a bowling ball… yes I will elaborate on using bowling balls as decoration in a Spring post!

Outdoor decorating can be made into anything you want it to be. It doesn’t have to take a lot of time or money either. It all depends on what is right for you and your home. So, sit back and enjoy the wonders of the Fall season. Winter will be here before you know it!

Dig In To Some Great Fall Planting

Today was such a beautiful day, and it almost didn’t happen. Meaning, I had two big hurdles that I had to jump over to get any work in my garden done– 1. The Buffalo Bills-New England Patriots game was on. 2. My daughter came down with a cold yesterday. So, I did everything in pieces today.

For me, Fall garden preparation comes in two phases– the first one is planting spring bulbs. Here are some of the more common spring bulbs you will find in your local garden stores that are very affordable and readily available:

  • Crocus
  • Daffodil
  • Tulip
  • Hyacinth
  • Muscari, or Grape Hyacinth
  • Allium

As I mentioned in an earlier post, I went to my local garden store last month, and purchased some fantastic Allium bulbs. I figured I had to take advantage of the nice weather we are having and get these bulbs into the ground now, despite the fact I had a few setbacks.

Before I could plant my 35 new Allium bulbs, I needed my husband to roto-till some more of my yard for me! Unfortunately, I didn’t get a chance to take pictures as I was tending to my toddler who was a little under the weather. But, I did get to take a picture of the extension later on when I finally got a chance to dig in and get planting!

To get started, I needed to gather the tools I was going to be using.

For this garden session, I will be using a bow rake, bulb planter, shovel and knee pad.

For this garden session, I will be using a bow rake, bulb planter, shovel and knee pad.

The first one being a bow rake. A bow rake is helps level off or loosen soil. This has 16 “tines”. This is excellent for evening out large mounds of dirt or other uneven surfaces. It’s also good for leveling gravel or mulch, or any other loose items for the garden.

20141012_115126

The second one is a bulb planter. This tool comes in handy for the first-time gardener who has never planted bulbs before. You simply push it into the ground until the whole shaft of the planter is completely in the ground, and you will create a hole deep enough to plant a bulb. Now, once you become a pro at bulb planting, you will know that you can dig a whole between 5-6 inches deep if you don’t have a bulb planter handy, because that is the average depth that bulbs are planted.

20141012_115819

Of course, your trusty shovel will come in handy if a part of your yard is too difficult to you use your bulb planter.

And…. a knee pad! The knee pad saves you from much pain, and they are cheap! I purchased mine at a dollar store!

How to Plant Your Bulbs

Here is my beautifully newly tilled spot for my Alliums, thanks to my husband:

20141012_122334

I used the bow rake and shovel to remove all the “rubbish” which is the grass that was tilled up along with the soil. I got a whole wheel barrow full!

20141012_115053     20141012_115935

And then I reached for my bulb planter and got to work!

20141012_120301

I simply pushed it into the ground, though you might have to put a little elbow grease into it. My yard has an exceptional amount of tree roots, and I had to use both hands to push this into the ground.

As I pulled the planter out, the center of it is filled with soil. This is what you will use to cover up your bulb with.

20141012_120653

And then you place a bulb in the hole that you dug and cover up the bulb. It’s that easy!

20141012_120638

Keep doing this until you have put all your bulbs in the ground. One good thing to know is that you can keep planting bulbs right up before the ground freezes. I planted bulbs in November last year.

It’s hard work, but you will be glad you did it when Spring comes and you can finally see the fruits of your labor!

Harvesting the Sun

For the most part, this past week was absolutely beautiful. This weekend, not so much. As I type this, I am looking at the lake effect rain (yea, we get that too) from my dining room window that is pouring down in 50 degree weather, shivering as I sip my tea. I shudder to think that right around the corner, snow will be falling. I did manage to get some outdoor things done yesterday in between the rain, like taking my daughter to get her pumpkin from a local pumpkin farm.

20141004_121038    20141004_122421

But, for the most part, I was cooped up inside getting indoor things done, like laundry, which included washing two of my down coats. I am preparing myself for the weather to come within the next few weeks. Mother Nature, please give us a least two more weekends of good weather so we can get out on our little fishing boat a few more times!

With that being said, yes, after a rather fabulous September in Buffalo, October has started out not so good. Cold and dreary. Cold rain is the worst. Even though it was cold, I had a project literally fall for me that would keep me feeling happy and sunny through the cold and drizzle.

On Friday, as I got home from work, I noticed that a few of my sunflowers I had grown this year, had collapsed under the weight of their heads and fallen to the ground.

20141004_102853

Upon closer inspection, I understood why they did. The inside of their stems rotted out.

20141004_103150

So, instead of waiting a little longer to let them dry out on their own, I had an opportunity to learn how to harvest the ones that fell, not being on the stem.

Let’s start from the beginning. Sunflowers are one of the easiest flowers to grow. I purchased a packet of Mammoth Sunflower seeds for under $2.00 last Winter, to get a jump-start on the season. Sunflowers happen to be a favorite of my husband, so I figured they would be perfect for the side of the garage that was not used up yet, and has nothing but full-on sunshine. So, I had my husband use our tiller to till up the dirt on the empty side of the garage. Mammoth Sunflowers happen to be annuals, but there are many different kinds of sunflowers that are perennials as well. They come in all shapes and sizes. But something about the size of the heads on the Mammoths intrigued me to give them a try. And, it was worth it:

After many garden fails, the sunflowers definitely made up for other disappointment.

After many garden fails, the sunflowers definitely made up for other disappointment.

Fast forward to this past Friday, and my sweet little sunflower patch was finally showing the season was wearing on it.

20141004_103041

So, my next step was to take a nice pair of garden clippers and cut the sunflower heads off, leaving 12 inches of the stem. While it was very cold and rainy, the sun did manage to come out and shine down on my lovely, half-dried sunflower heads.

20141004_104323

I wanted to remove the roots from my little patch after I cut down the sunflowers so I could be free of any “root rubbish” before the next growing season. Knowing that all of these sunflowers were at least 10 feet tall ( I had one that was 15 feet!), it was not going to be easy to get to the root of this stem. No hand cultivator would do, so I had to get out another one of my most coveted garden tools, the garden fork. The garden fork has four “tines” that help aerate and turn up the earth. I find this works the best when you are transplanting or digging up big, massive plants that have complex root systems.

20141004_103339

It did not surprise me at all to see that these mammoth sunflowers had mammoth root systems.

20141004_103831

So, after I cut them down, I took them inside to my basement where I went to work on drying them out. Using my great grandmother’s antique enamel top table as a work space, I started the process of drying these great beauties.

20141005_144431

The heads on these babies are so big, I am using paper grocery bags to cover them up. Paper bags are used to catch the seeds as they fall out when they are completely dry, and also to allow the flower head to breath during the drying process. You will also need some string and a pair of scissors.

20141005_145405                  20141005_144801

Place the sunflower in the paper bag, with the stem sticking out.

20141005_144702

Take a good length of string, and place it around the base of the sunflower and grocery bag.

20141005_144752

You can then hang it up anywhere that you have a space to in your basement, or any other part of your house, and let it dry out thoroughly. You will know when it is dried out when the sunflower head is completely brown, and the seeds are falling out on their own. This should take a few days or longer, depending on how far along the sunflower was in the drying process on the stem when the heads were cut. The natural drying process on the stem begins when they start drooping over and the backside of the head begins turning a deep yellow.

Once you have harvested the seeds, you can save them to plant next year, give as gifts, bake them to have as a healthy treat, or just let the birds have the seeds– birds LOVE sunflower seeds. They happen to be highly nutritious for them as well!

Sunflowers are a great plant to consider in your garden. The seeds are inexpensive and they are extremely low maintenance. Sunflowers make people happy, and are a wonderful addition to your landscaping. Just when you thought summer was over, you can still have a little piece of it when you take the time to harvest these fantastic flowers!