Wow! I had an extended three-day weekend, and Friday and Saturday were great!! I took my daughter to the beach on Friday, and Saturday was a playground/shopping day. I was really glad I got the bulk of my yard work done a few weeks ago, so I could enjoy an awesome beach day:
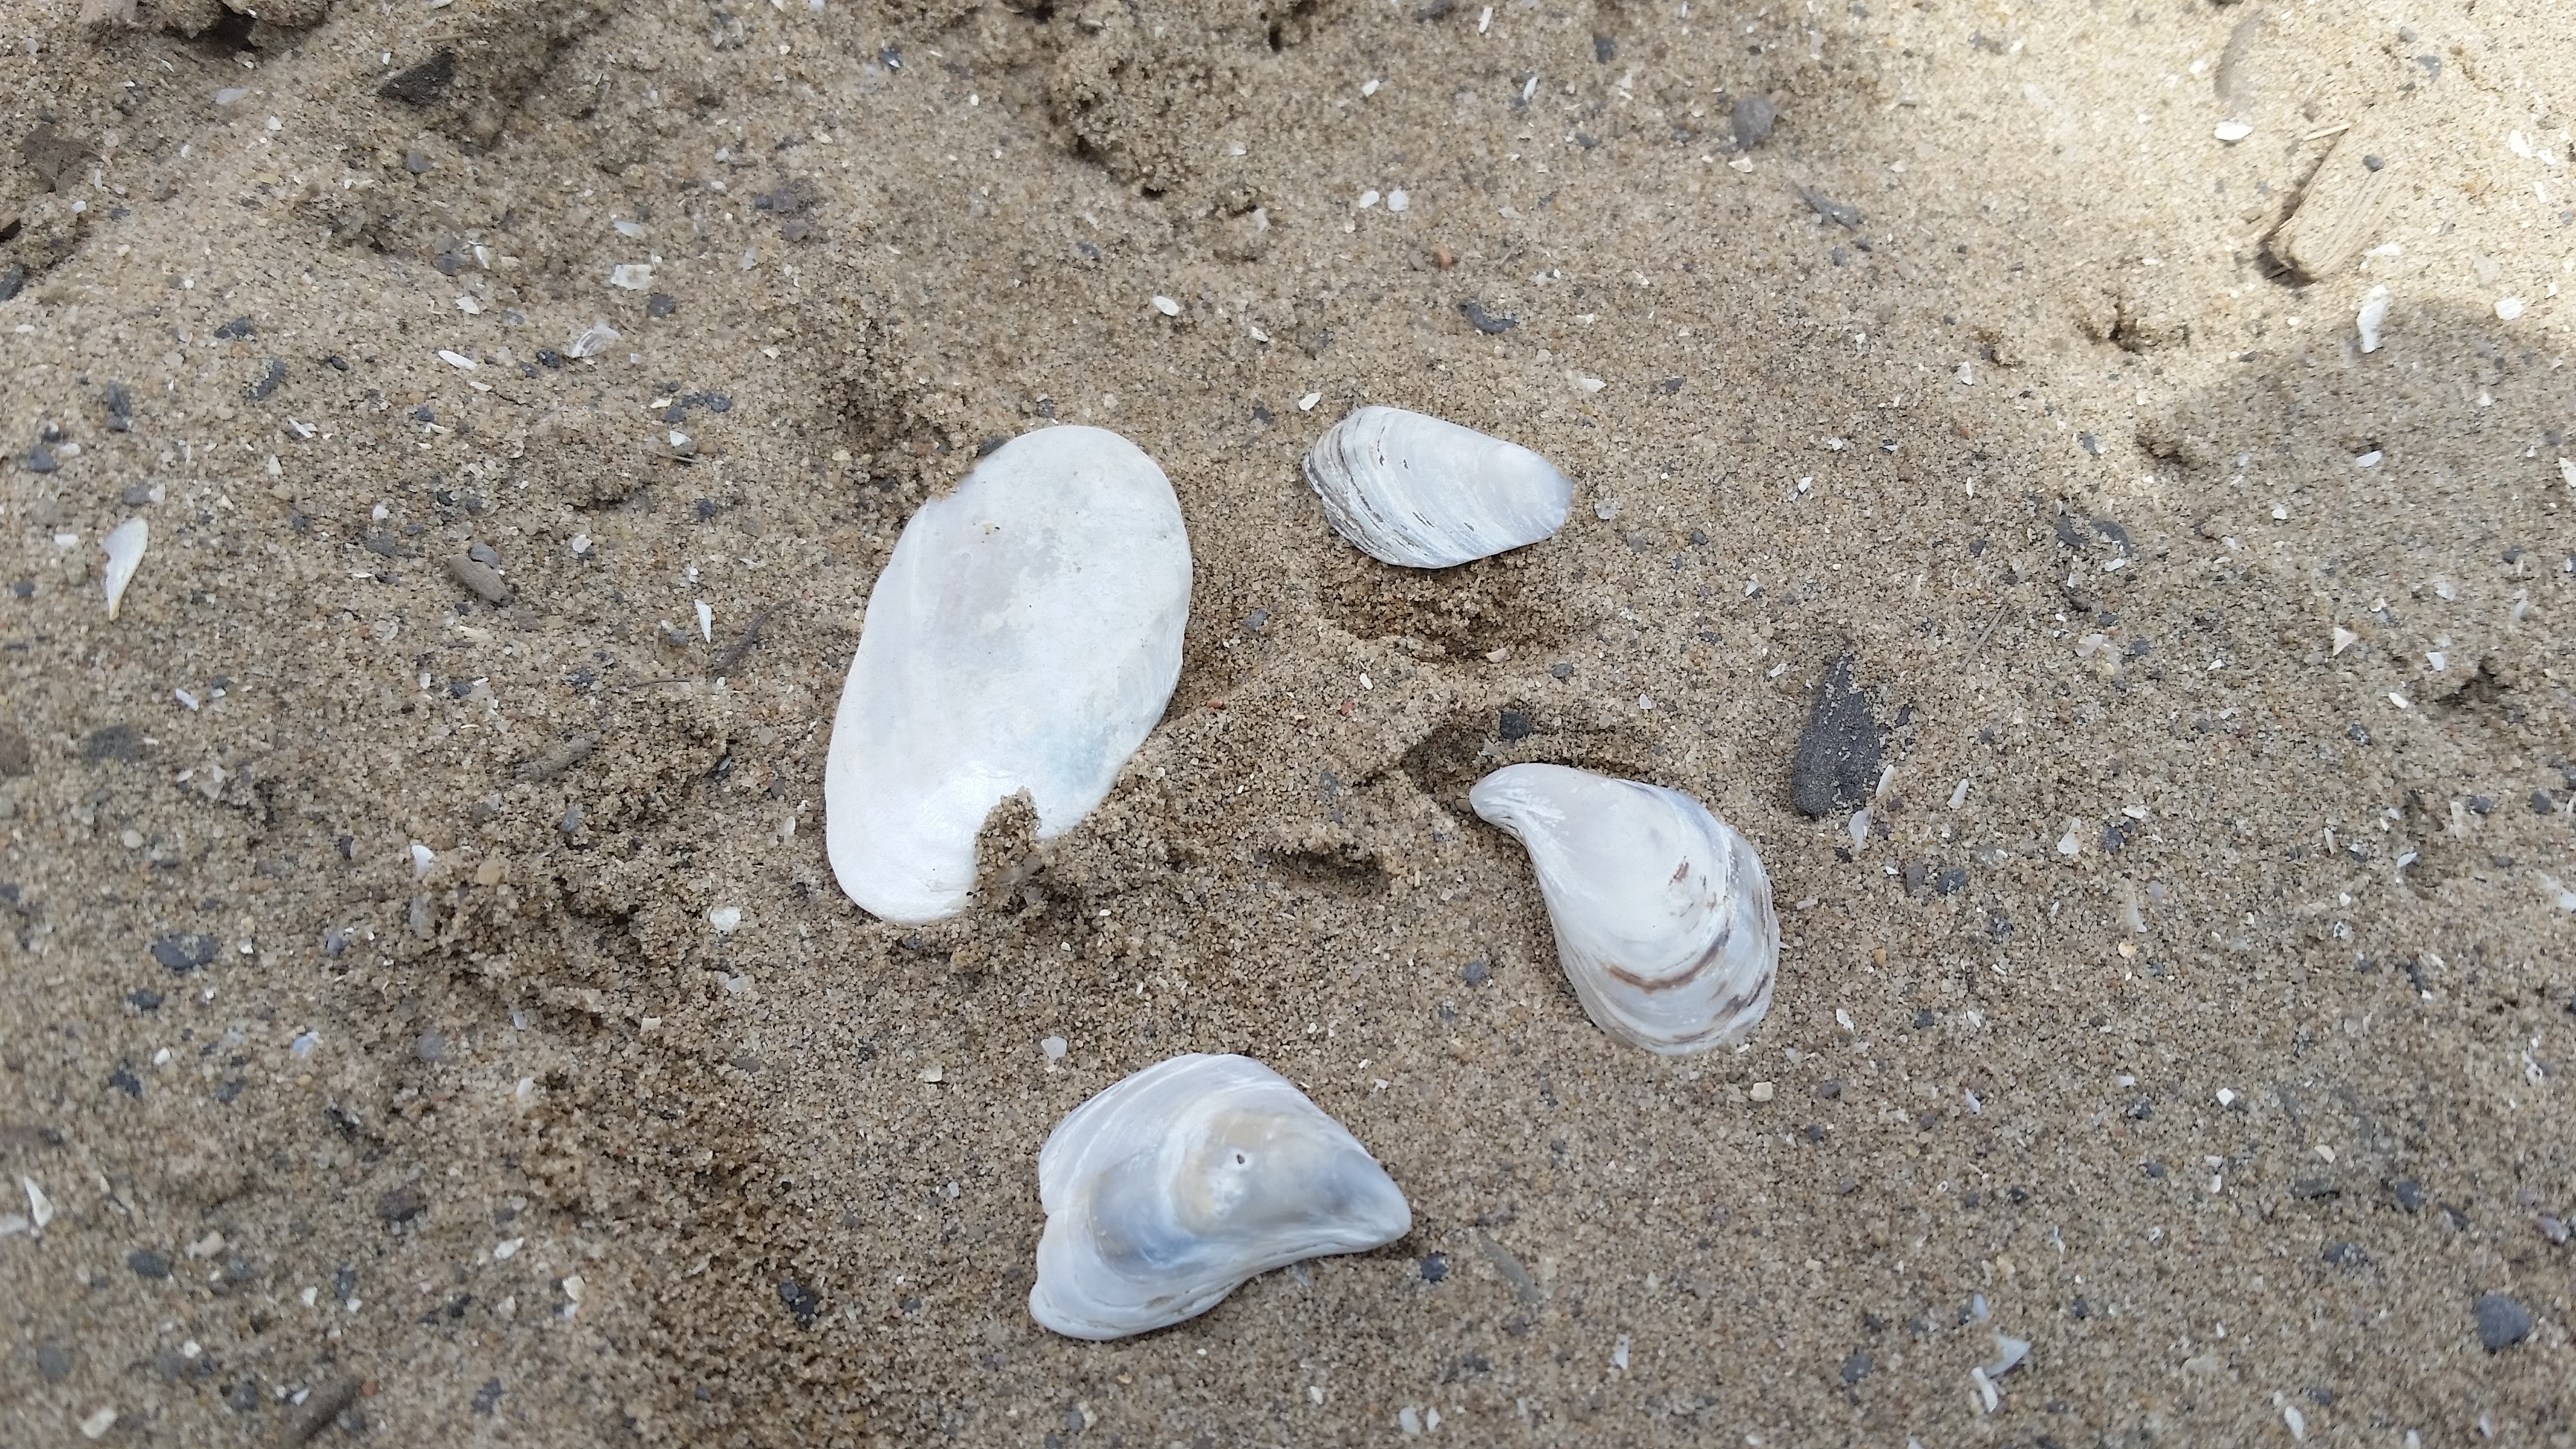
My daughter was introduced to shell and beach glass collecting!
But since today ended up being a cold and much-needed rainy day, I started thinking about my next project– a new bottle tree. Unfortunately, the wind and rain of last fall brought my first bottle tree down with a great thud, and it was done for.
So, I am sure you are wondering, what is a bottle tree?!
For a truncated explanation, (you can read more about the history of bottle trees here at http://www.felderrushing.net/HistoryofBottleTrees.htm), bottle trees originated several centuries ago in Africa, and the idea was brought to the United States during slavery. Bottle trees are very prominent in the Southern portion of the good ole’ USA. It is believed that the bottles that are hung on trees catch bad spirits. Now, they are primarily used as unique garden glass decor.

This is a picture of one of my mother’s many bottle trees.
Bottle trees can be expensive, but also very affordable to make, and that all depends on the avenue you choose to go down when it comes to just how fancy you would like it to be.
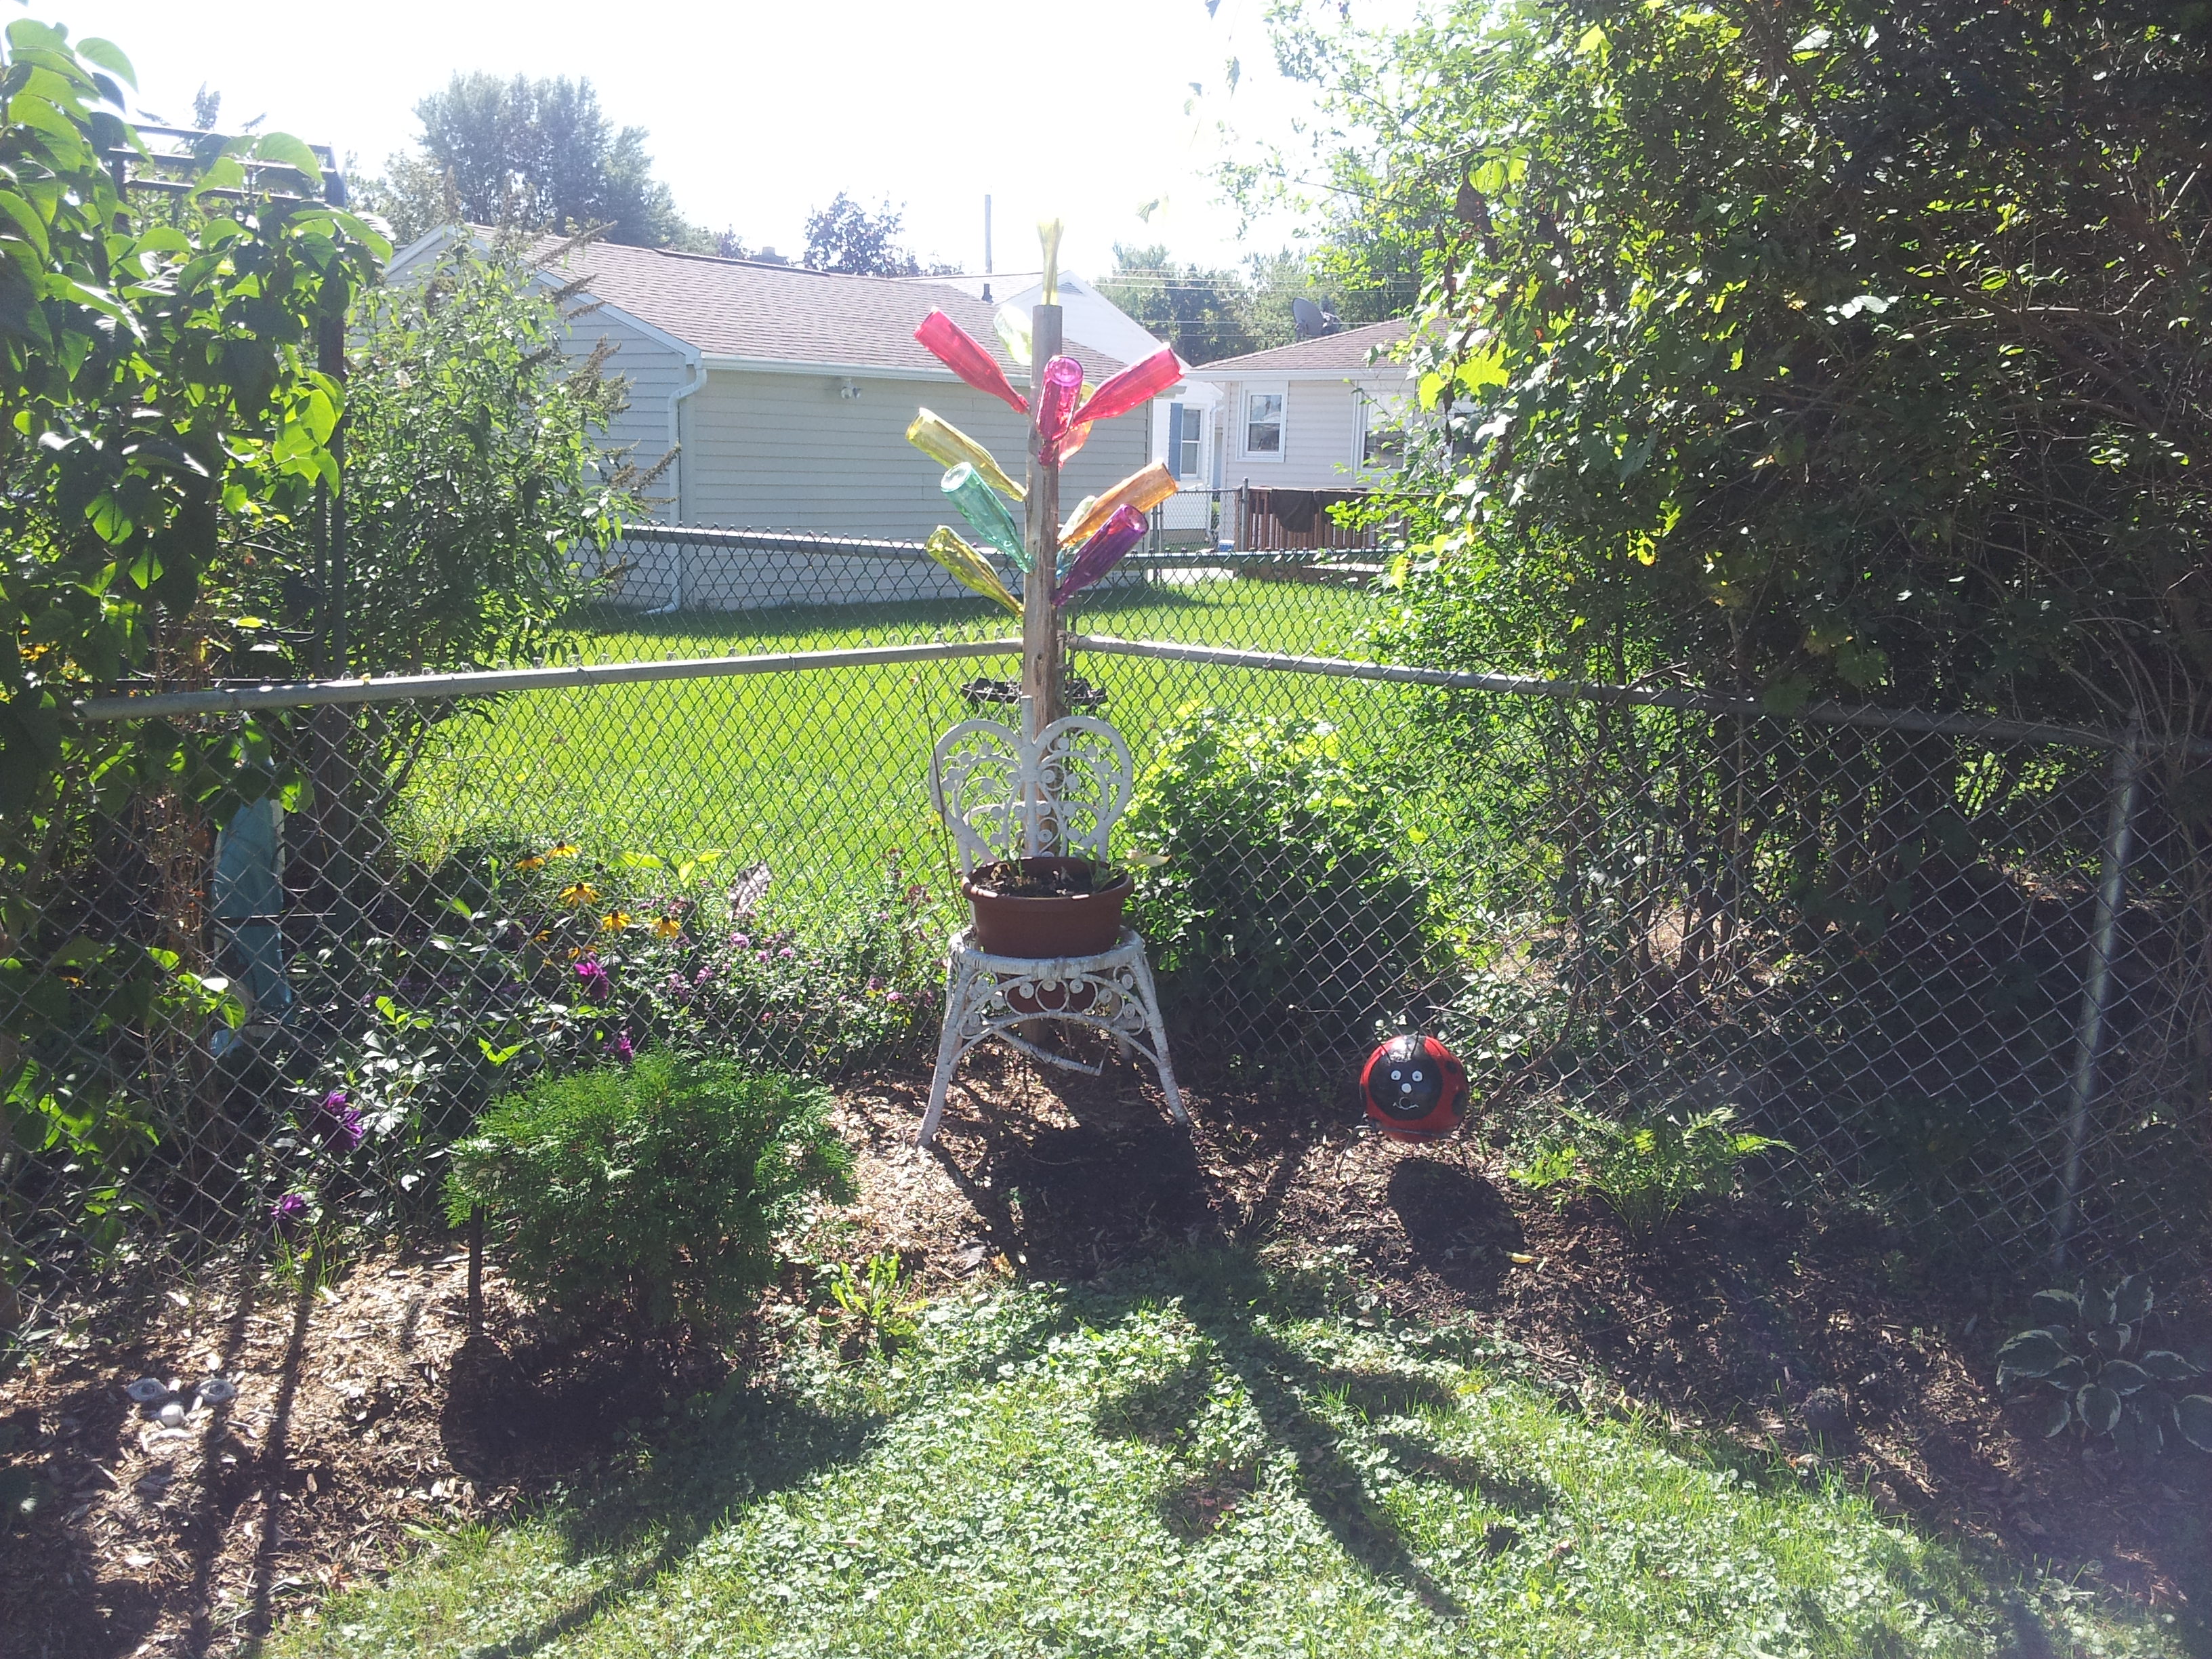
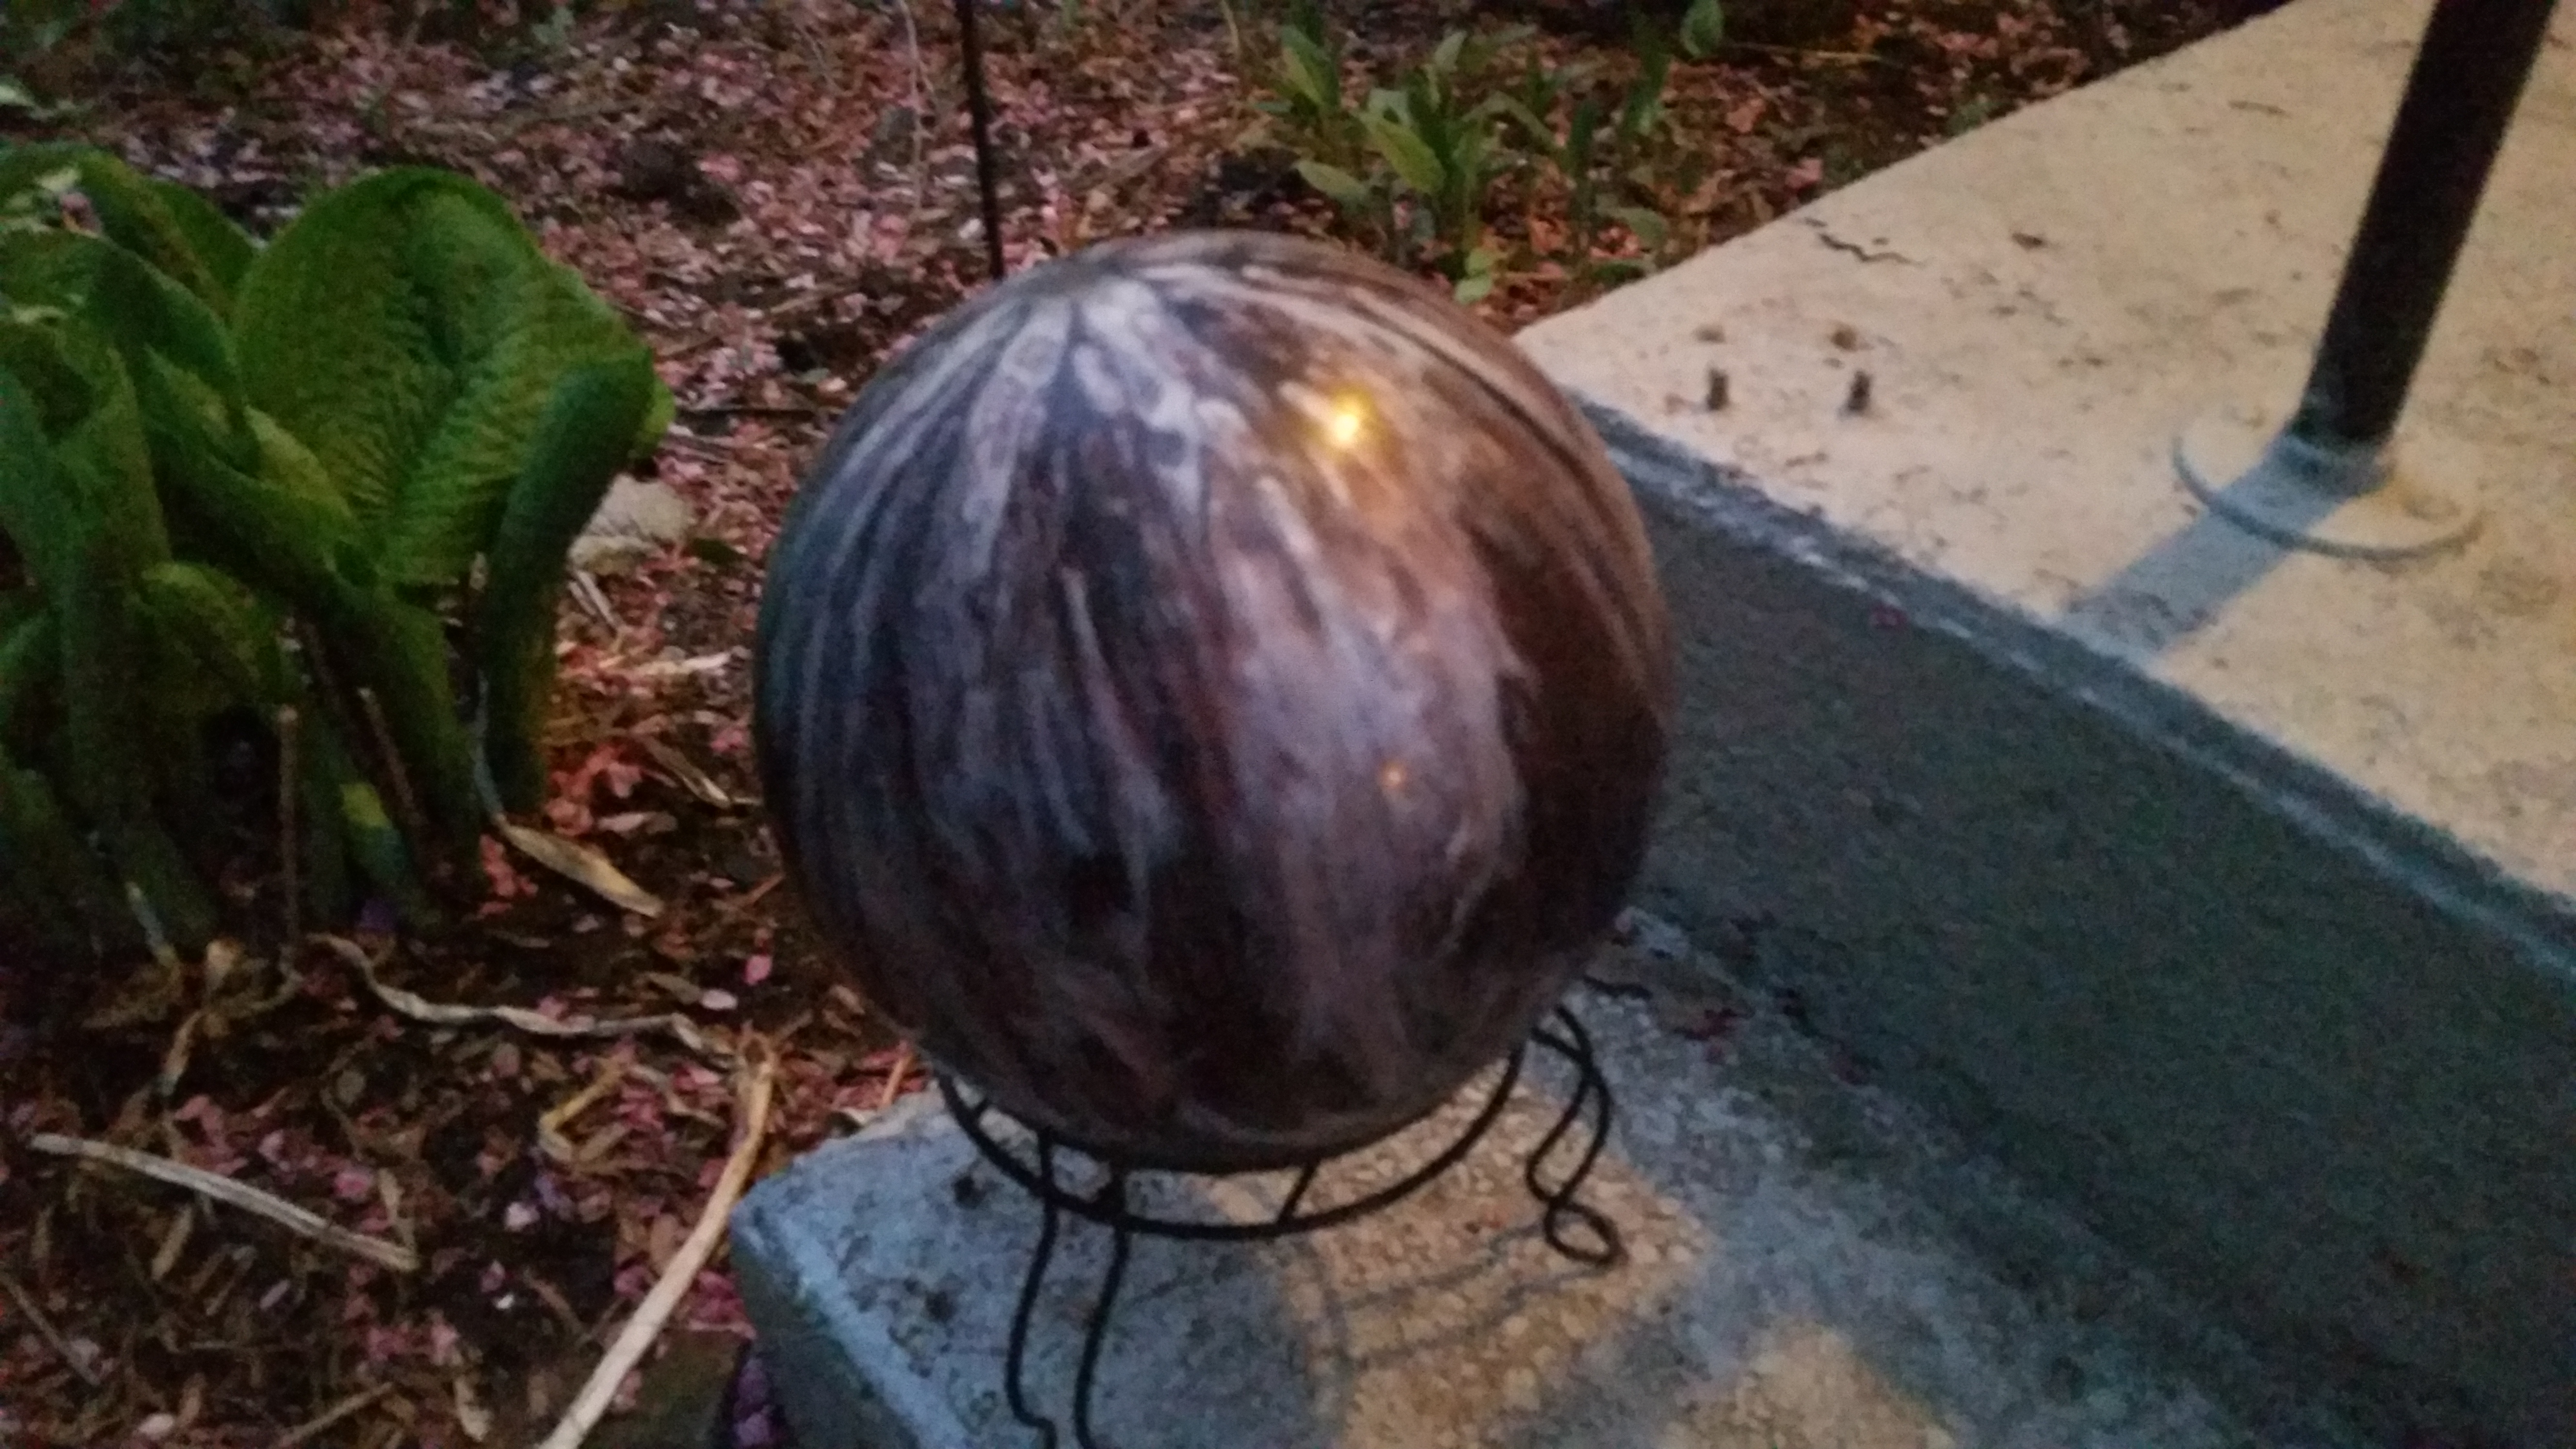
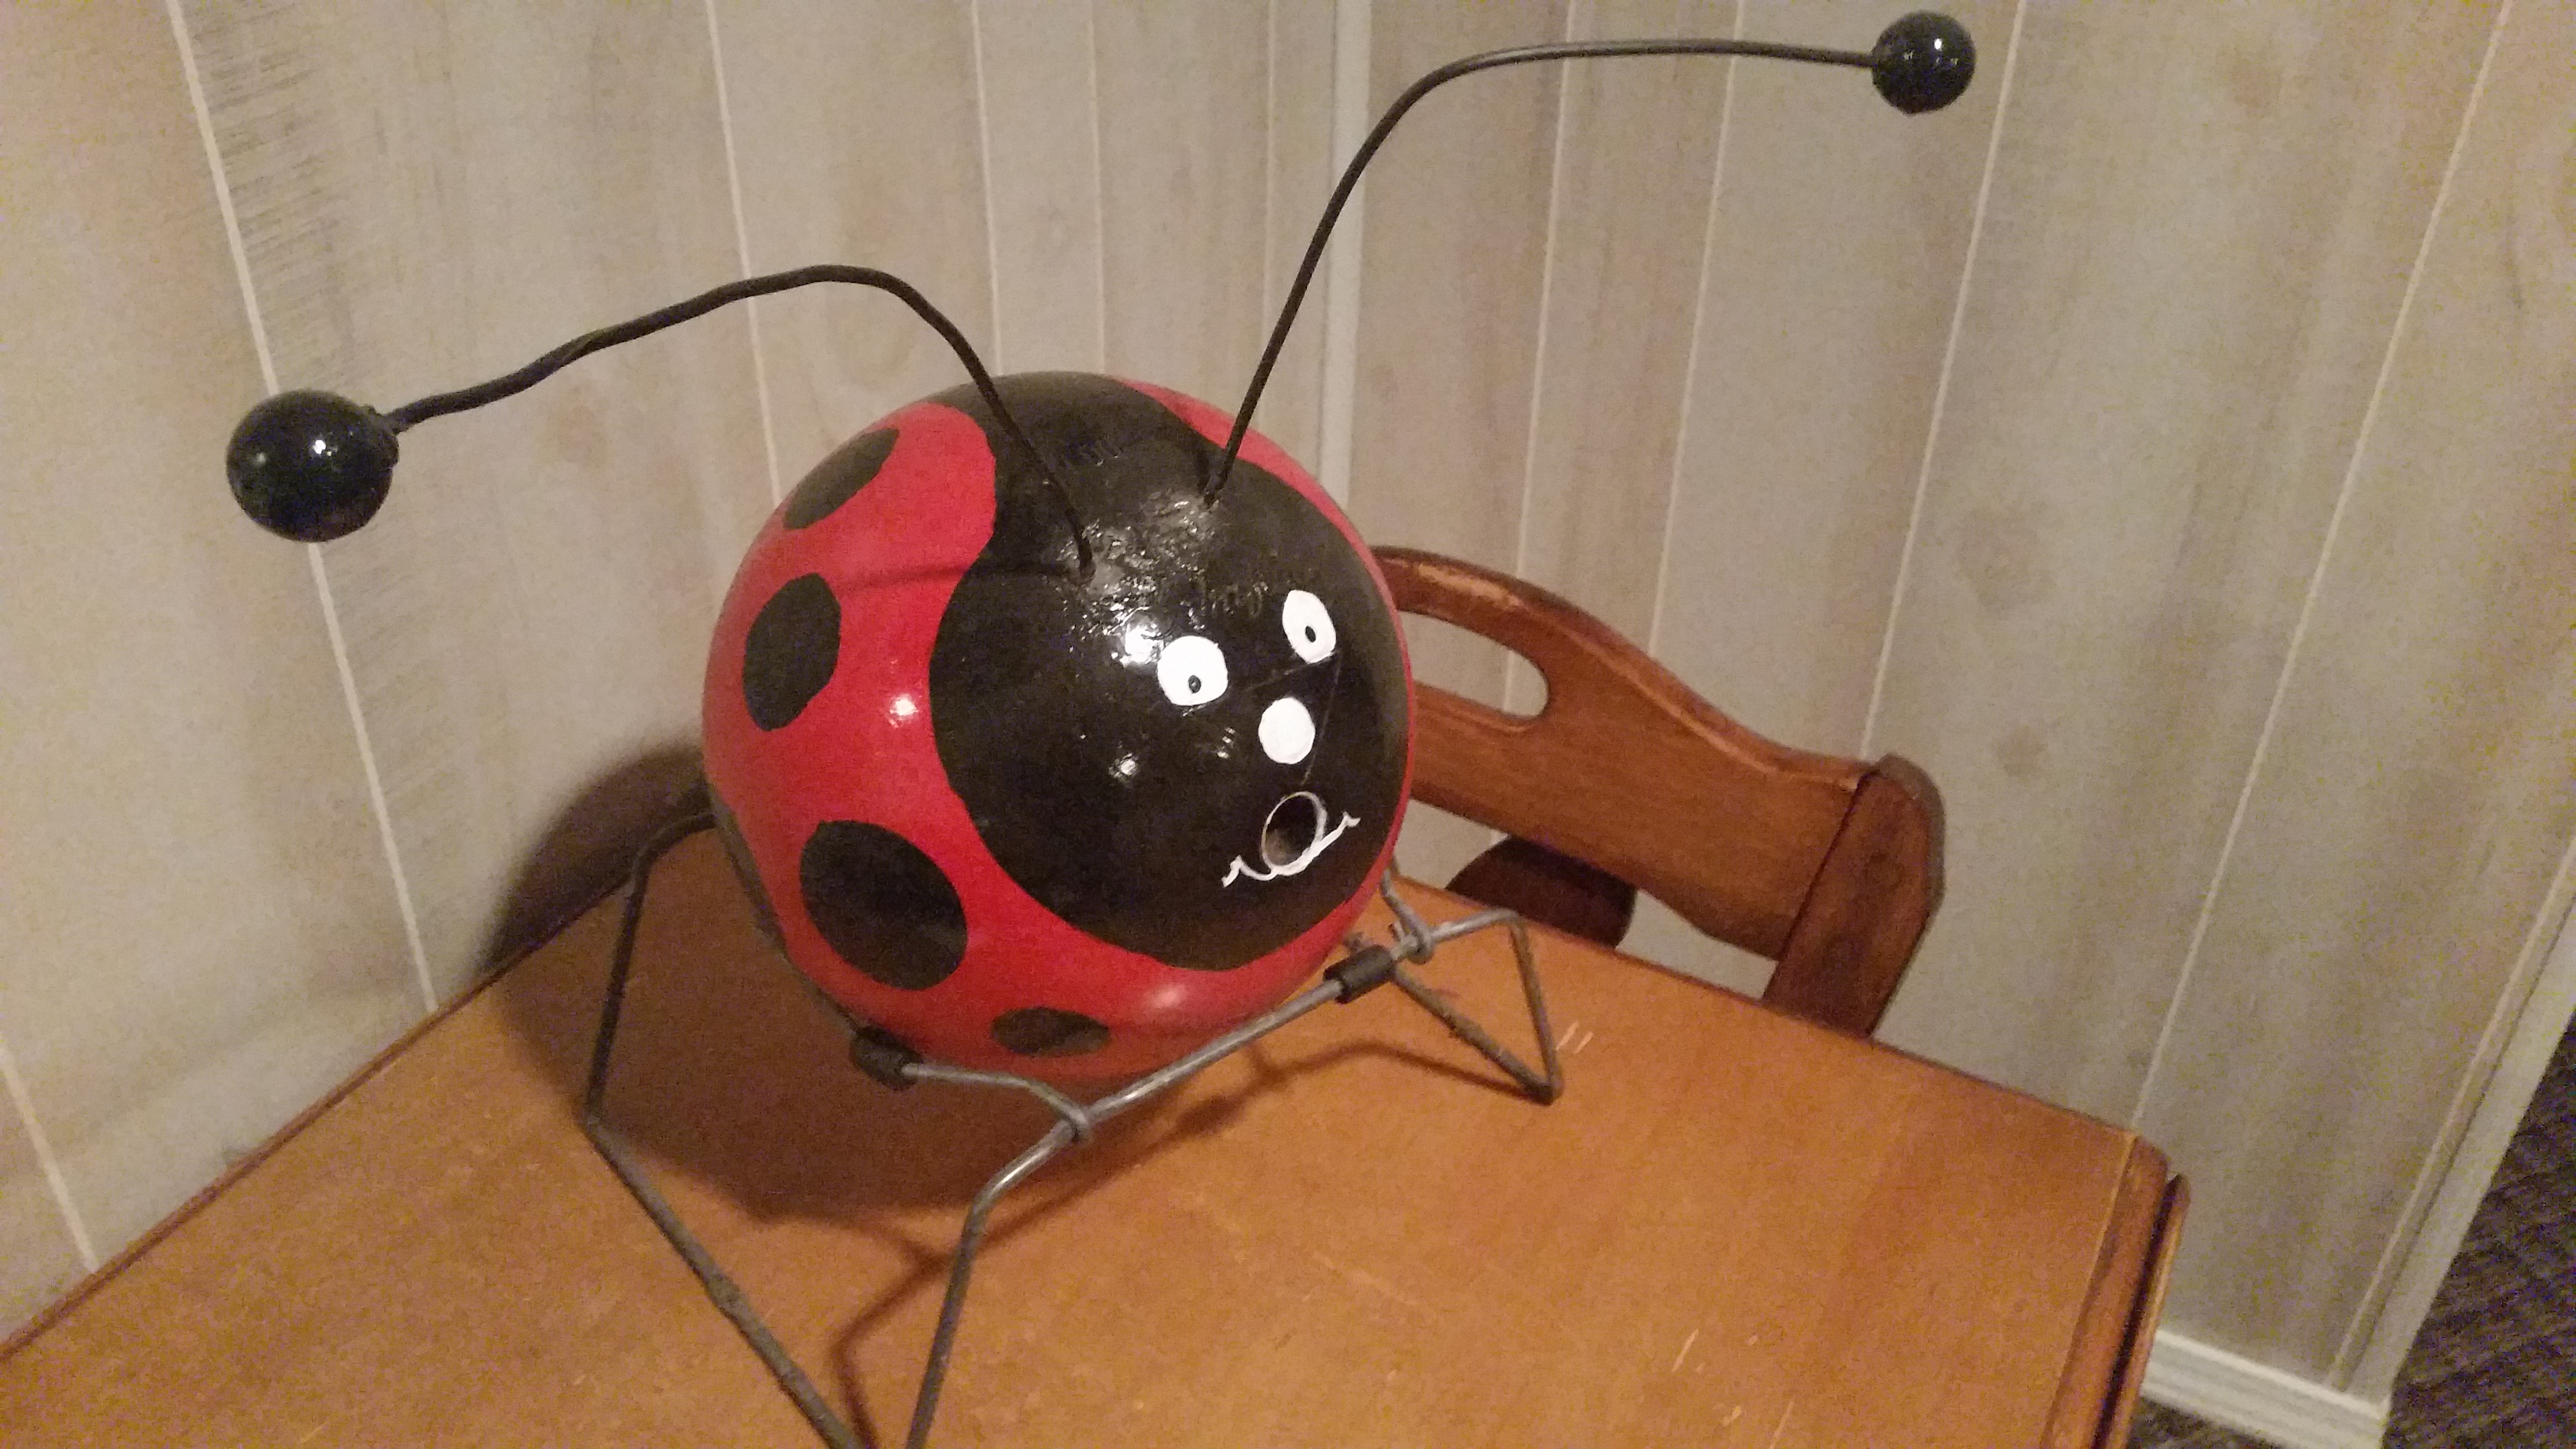
My bottle tree, seeing better days.
Now, there are several kits you can purchase online for $100 or up, but I suggest not purchasing those. I have heard from several people that most of those kits are metal bottle trees, and they tend to be very flimsy and don’t hold up very well.
So, this is what I recommend to you and myself, the second go-round:
–Get a pressure treated 8ft. post from your local hardware, home store. They are about $12, but they will last longer than other non-treated posts.
-If you don’t want to spend that much, buy a cedar fence post from your local lumber or farm store. That was what I used for my first bottle tree. It cost me $4.
–I purchased a bag of gutter spikes that screw into the post. Purchase any sort of spike available at your local hardware store. If you get the spikes that screw in, get yourself a power drill and insert them in your post. They will not rot like the flimsy balsa wood dowels that I purchased for my first tree. They will last for a long time.
-You can either shovel a hole for your tree or purchase a post hole digger. For the thrifty gardener, it might be more than you want to spend– about $25. If you would rather not go that way, just use the shovel. That what I use!
And… the bottles!
–Use ANY bottle. You can buy colorful ones from discount stores, though I found my batch from the grocery store. Or, hit up friends and family, or save your wine bottles! I even used a colorful flower vase!
Bottle trees are meant to be creative, so go wild and have fun making one! They are a very unique addition to the garden! Stay tuned for pictures when I finally finish my second one!