Everything is Coming Up Roses — Back in the Garden!

It has been wayyyy to long since I have last blogged! We have had a lot going on in our home– since March, we have been laying down new flooring in phases– which, we finally finished this past weekend! That, and winter being sooo longggg here, it’s been a tough few months, but I got back in the garden this past week, and I have learned quite a bit!

I bought my first Davin Austin® Rose this year! My plans were a little loose as far as the garden was concerned, but one of my major plans was to plant a rose. I splurged and purchased my new “The Pilgrim” rose in February, and they mailed it to me two weeks ago!

Photo source: David Austin Roses

Here’s a little bit of information about The Pilgrim:

  • As you can see above, it is a beautiful yellow climbing rose. Climbing roses to have bigger flowers and don’t grow as fast or vigorously as rambler roses.
  • It does very well in shady areas— particularly North facing areas, which, I was thrilled about, because I planted the rose on the front of my house, which happens to be North facing.

20180501_191416.jpg

I got the rose on the Thursday before we went camping, and, by the way, it was SNOWING and 30 degrees that weekend. I left the bare root in the box. I called David Austin® Roses USA based out of Texas, the Monday after we got back, and wanted to get some info about my rose, and when I should plant it, considering it was snowing the past weekend–why would I bother until it got a little warmer? The customer service representative was a little snarky with me, saying I needed to get the bare root in the ground immediately, but first, I needed to soak it in water for several hours before I planted it. If you follow me on Instagram, you know my desperate call for help when it came to soaking the bare root– several hours, or several days, or just a couple hours? I soaked mine for seven hours and then planted it.

20180501_190902.jpg

My first experience with a bare root anything!! 

Thanks in large part to the David Austin® Roses website, which, I highly recommend visiting, because it is an extremely easy and informative website to understand when it comes to everything roses.

So, what has this rose-growing novice learned so far?

  • Bare root roses need to be soaked for hours (that could be anything from 2 hours to 2 days, everybody has a different preference), so it can be re-hydrated before it is planted in the ground.
  • Make a hole large enough to fit the large root system of the stem. (You could go with the usual rule for any plant, make a hole twice as large as the plant).
  • Give your rose some room to grow– make sure it is not competing too much with other plants. Hmmm…I think my plants might be a little closer than they should be, but hopefully it won’t be a huge issue.

I am happy to report that so far, so good. My bare root has buds on it, and they are growing. I will be giving a full report and time goes on and as I learn more about roses, and what I need to do to keep them alive! I honestly never thought I would ever grow a rose, so the fact I am actually doing it now is very exciting to me.

Stay tuned for more info. I hope you all weathered the long winter well!

A Thoughtful Approach to the Garden in the New Year

Happy New Year, everyone! If you were like me, you have been hibernating this week because of sub-zero temperatures. I have actually been pretty busy with getting everything back to normal after the holidays. Our holidays were wonderful, and I hope yours were too. However, there is something about normalcy that makes me buzz along. As I have said before, 2017 was a great year. I am looking forward to 2018 in the garden. One big thing that has been on my list this year has been keeping me busy during the super cold weather:

20180107_171149.jpg

…it FINALLY came. My David Austin® roses catalog!!! I requested this months ago, and was absolutely thrilled when I finally received it. I would like to pick out a rose or two to add to my landscape this year. I have to plan appropriately, and make sure I find the right place for one. I am very excited to start this next chapter, for me, at least– growing roses!

I usually have resolutions for the garden and my home every year– and I have decided that my resolution will be to “go with the flow”. Plans don’t always work out, but other opportunities come along, and that’s fine too!

This time of the year is a great time. Garden planning, pouring over seed and plant catalogs– picking out what you would like for the garden this year. Nothing has to be fancy or expensive that you do in the garden. Little additions and improvements go a long way.

I say this because I was talking to a few people who said, “they can’t afford to garden.” Anybody can afford to garden. The smallest addition, which includes buying a packet of seeds, or buying small garden decor that add value to your landscape goes a LONG way. Gardening is one of the best investments out there– the joy and value it adds to your life cannot compare to a lot of other things. It’s a work in process– just like your home. Do a little bit when you can, and do more when you can. It’s all perspective, I guess. Don’t ever think you can’t. It doesn’t happen overnight, so enjoy the journey that comes with it.

So, with that, I hope you have a great start to the new year, and happy gardening!

Dahlia Tubers- the Short and Sweet of It

Why is it, the older I get, the faster time goes? I didn’t even get to post at all in the month of November, and I feel like it was just yesterday that I actually dug up my dahlia tubers and gladiola bulbs. I have been meaning to write this blog post for a month now, and I apologize for the un-timeliness of it. I like to post when its relevant, but sometimes, it doesn’t turn out that way, and again, I apologize.

So, this is going to be a short and sweet article on digging up and storing dahlia tubers, and if you should or shouldn’t separate them right after you dig them up.  I got the advice from research, family and friends. The general consensus is that most people wait until spring to separate their tubers. 

20171104_111115.jpg

I was very excited to get so many tubers from my first ever Dahlia! 

Why?

  • When stored away for the winter, dahlia tubers grow eyes, or buds, from the crown. You want viable eyes to ensure healthy growing tubers for the next growing season.

There is also nothing wrong with separating tubers now, it will not harm them. There is debate as to if you will get any viable eyes if you separate before winter, but I believe it to be based on an individual basis. Every gardener’s tubers are different, and given the difference in many factors, including storage, temperature, etc., you may or may not get eyes at all.

Go with what you feel is right for you. You really can’t go wrong. Gardening is all just Trial and Error.

Oh, wait, I forgot– how do I store tubers?

  • Dahlia tubers need a cool, dry place to sleep for the winter. I have placed mine in a small cardboard box and tucked it away in a very dark corner of my basement. Basements are the best place to store away tubers and bulbs of all kinds.

I know this article will still help some people, as they are not in lake effect snow- prone areas of the world, so you still have some time to pack things up and get them ready for winter. For the rest of us, this can be a reference for the newbie Dahlia grower who needs a quick reference to ensuring a great growing season the next year!

Guest Blogger: Amsterdam Tulip Museum Online

I can’t think of a better time than now to talk about tulips! As everyone is out picking out their bulbs for spring, please take a look at this great article that our guest blogger Chris has written up all about this historical flower!

 You can get more information and shop their beautiful gift shop at:

www.amsterdamtulipmuseumonline.com 

Broken Tulips: The Beautiful Curse

Broken Tulip Single Tulip Tulip Breaking Virus Plastic Sheet Takao Inoue www.takaoinoue.com

Bold. Flared. Striking.

Broken Tulips are like nothing else in the Tulip world…like nothing else in the flower world. Their distinct streaks immediately attract the eye and don’t let go.

At the height of Tulip Mania, it was the ‘broken’ flowers that had speculators running wild. Viceroy, Admiraal Van Der Eijk, the legendary Semper Augustus – they all had the distinct, broken pattern.

Semper Augustus Tulip Broken Tulip Tulip Mania Tulip Catalog Red and White Tulip

But today, these once-legendary flowers no longer exist. And Broken Tulips in general have fallen out of favor with growers and breeders. What happened? With their striking looks, wouldn’t the industry want to share these flowers with the masses? Wouldn’t they want to be able to offer a piece of the Tulip Mania history?

Unfortunately, the source of this beauty is also a curse. While Tulip Fanatics had long noticed that broken Tulips often seemed smaller and a bit weaker, it was not until 1928 that scientist Dorothy Cayley discovered the cause to be a Virus.

Broken Tulip In the Garden Tulip Breaking Virus Red Tulip Broken Takao Inoue www.takaoinoue.com

Spread by aphids, this virus infects the Tulip bulb and causes the flower to ‘break’ its lock on a single color. This results in the intricate flaring, feathering streaks on the petals. The color variegation is a result of of the laid-on color of the Tulip (its anthocyanin) being suppressed, leaving the underlying white or yellow to show through.

Exact symptoms can vary depending on the Tulip, the strain of the virus, and even elements such as time of infection. However, once a bulb is infected, all of its daughter offshoots will be as well.

Over time, the virus weakens the bulb and inhibits proper offset reproduction. With each new generation, the bulb typically grows weaker and weaker, until it has no strength left to flower and withers away. It is for this reason that growers today view breaks not as a benefit but as a danger that must be purged (else it infect and weaken other Tulips around them). And this is also why legends of old, like the Semper Augustus, are now lost forever.

Broken Tulips Bouquet of Broken Tulips Tulip Breaking Virus Takao Inoue www.takaoinoue.com

Fortunately, there is still hope for these incredible flowers. A few broken breeds, such as the Absalon and Mabel, have somehow remained free of the worst effects of the virus and been able to successfully propagate in perpetuity (Absalon has existed since 1780!). And small groups and societies continue to grow and breed Broken Bulbs, unable to resist their beauty (see below for an example of a recent breed so beautiful that the provider asked to be unnamed for fear of a flood of demand).  One can only hope that, in time, we will find a way to safely return this beauty to the mainstream of the Tulip world for everyone to enjoy.

T. Wakefield Tulipa Wakefield Wakefield Flame Broken Tulip Tulip Breaking Virus

If you are planning to grow Broken Tulips in your garden, extra precautions should be taken to prevent the virus from spreading to your healthy Tulips (and Lilies). It is recommended to plant them far away from other flowers, as the virus (spread by aphids and other sucking insects) can be difficult to contain once it spreads.

Broken Tulip photographs courtesy of Takao Inoue (www.takaoinoue.com), final image provided by a small grower society that asked to remain anonymous.

Learn more about Tulips with our Virtual Tour!

Our Veggie Patch Round Up and a Fall Report

And just like that, fall has been underway for almost a month, and it has been fun, yet productive.

Though I have to admit it has certainly not felt like fall, temperatures in Western New York have been higher than they were all summer! So, I really didn’t get into the “Autumn spirit” until a couple of weeks ago, because I can’t justify decorating for fall when it’s 90 degrees outside!

I have had a wonderful time with my family pumpkin picking, apple picking, fossil digging, bike riding, and taking a drive to my parents house to see that their leaves are turning before ours!

wp-1508095889207.jpg

In between our busy activity schedule, I have managed to get some important Fall work done in my garden– seed collecting and cutting down perennials that look ragged. I also just purchased another 100 spring bulbs to plants out in my back yard, because I want to see spring everywhere in my yard, and not just certain spots! I know I am a little behind on the bulb planting, but with the weather the way it has been, I feel like I have a little more time to get the job done!

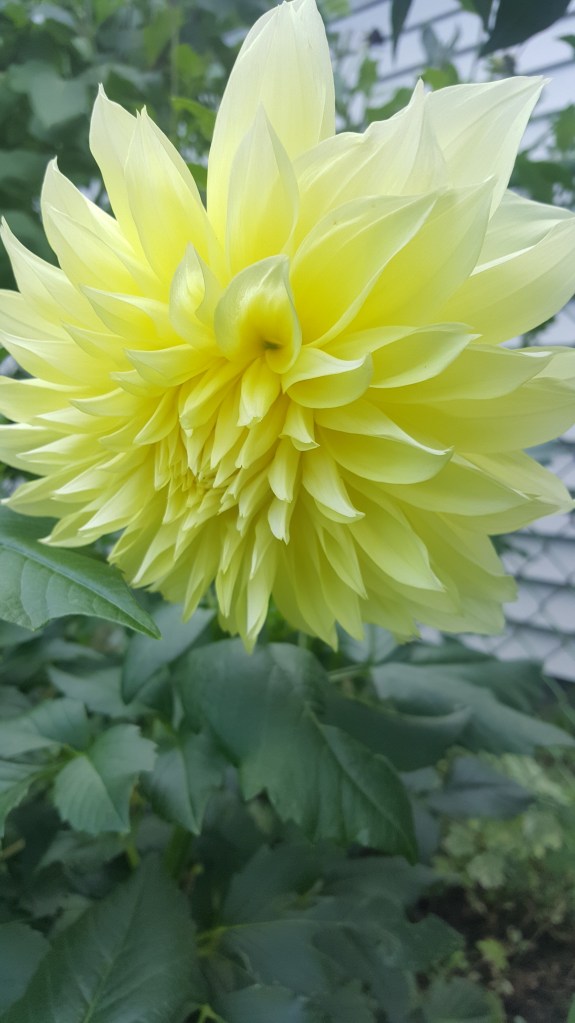
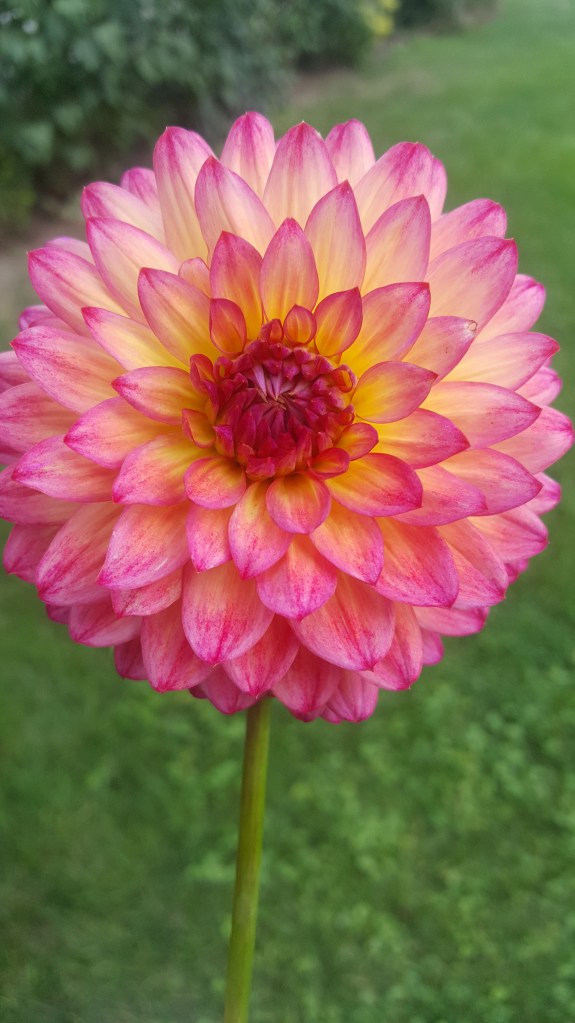
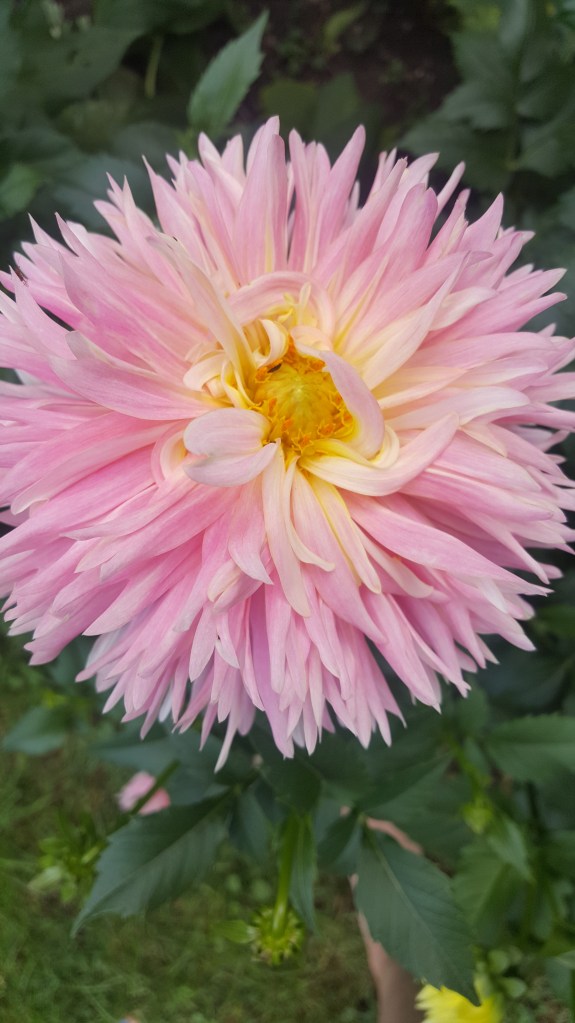
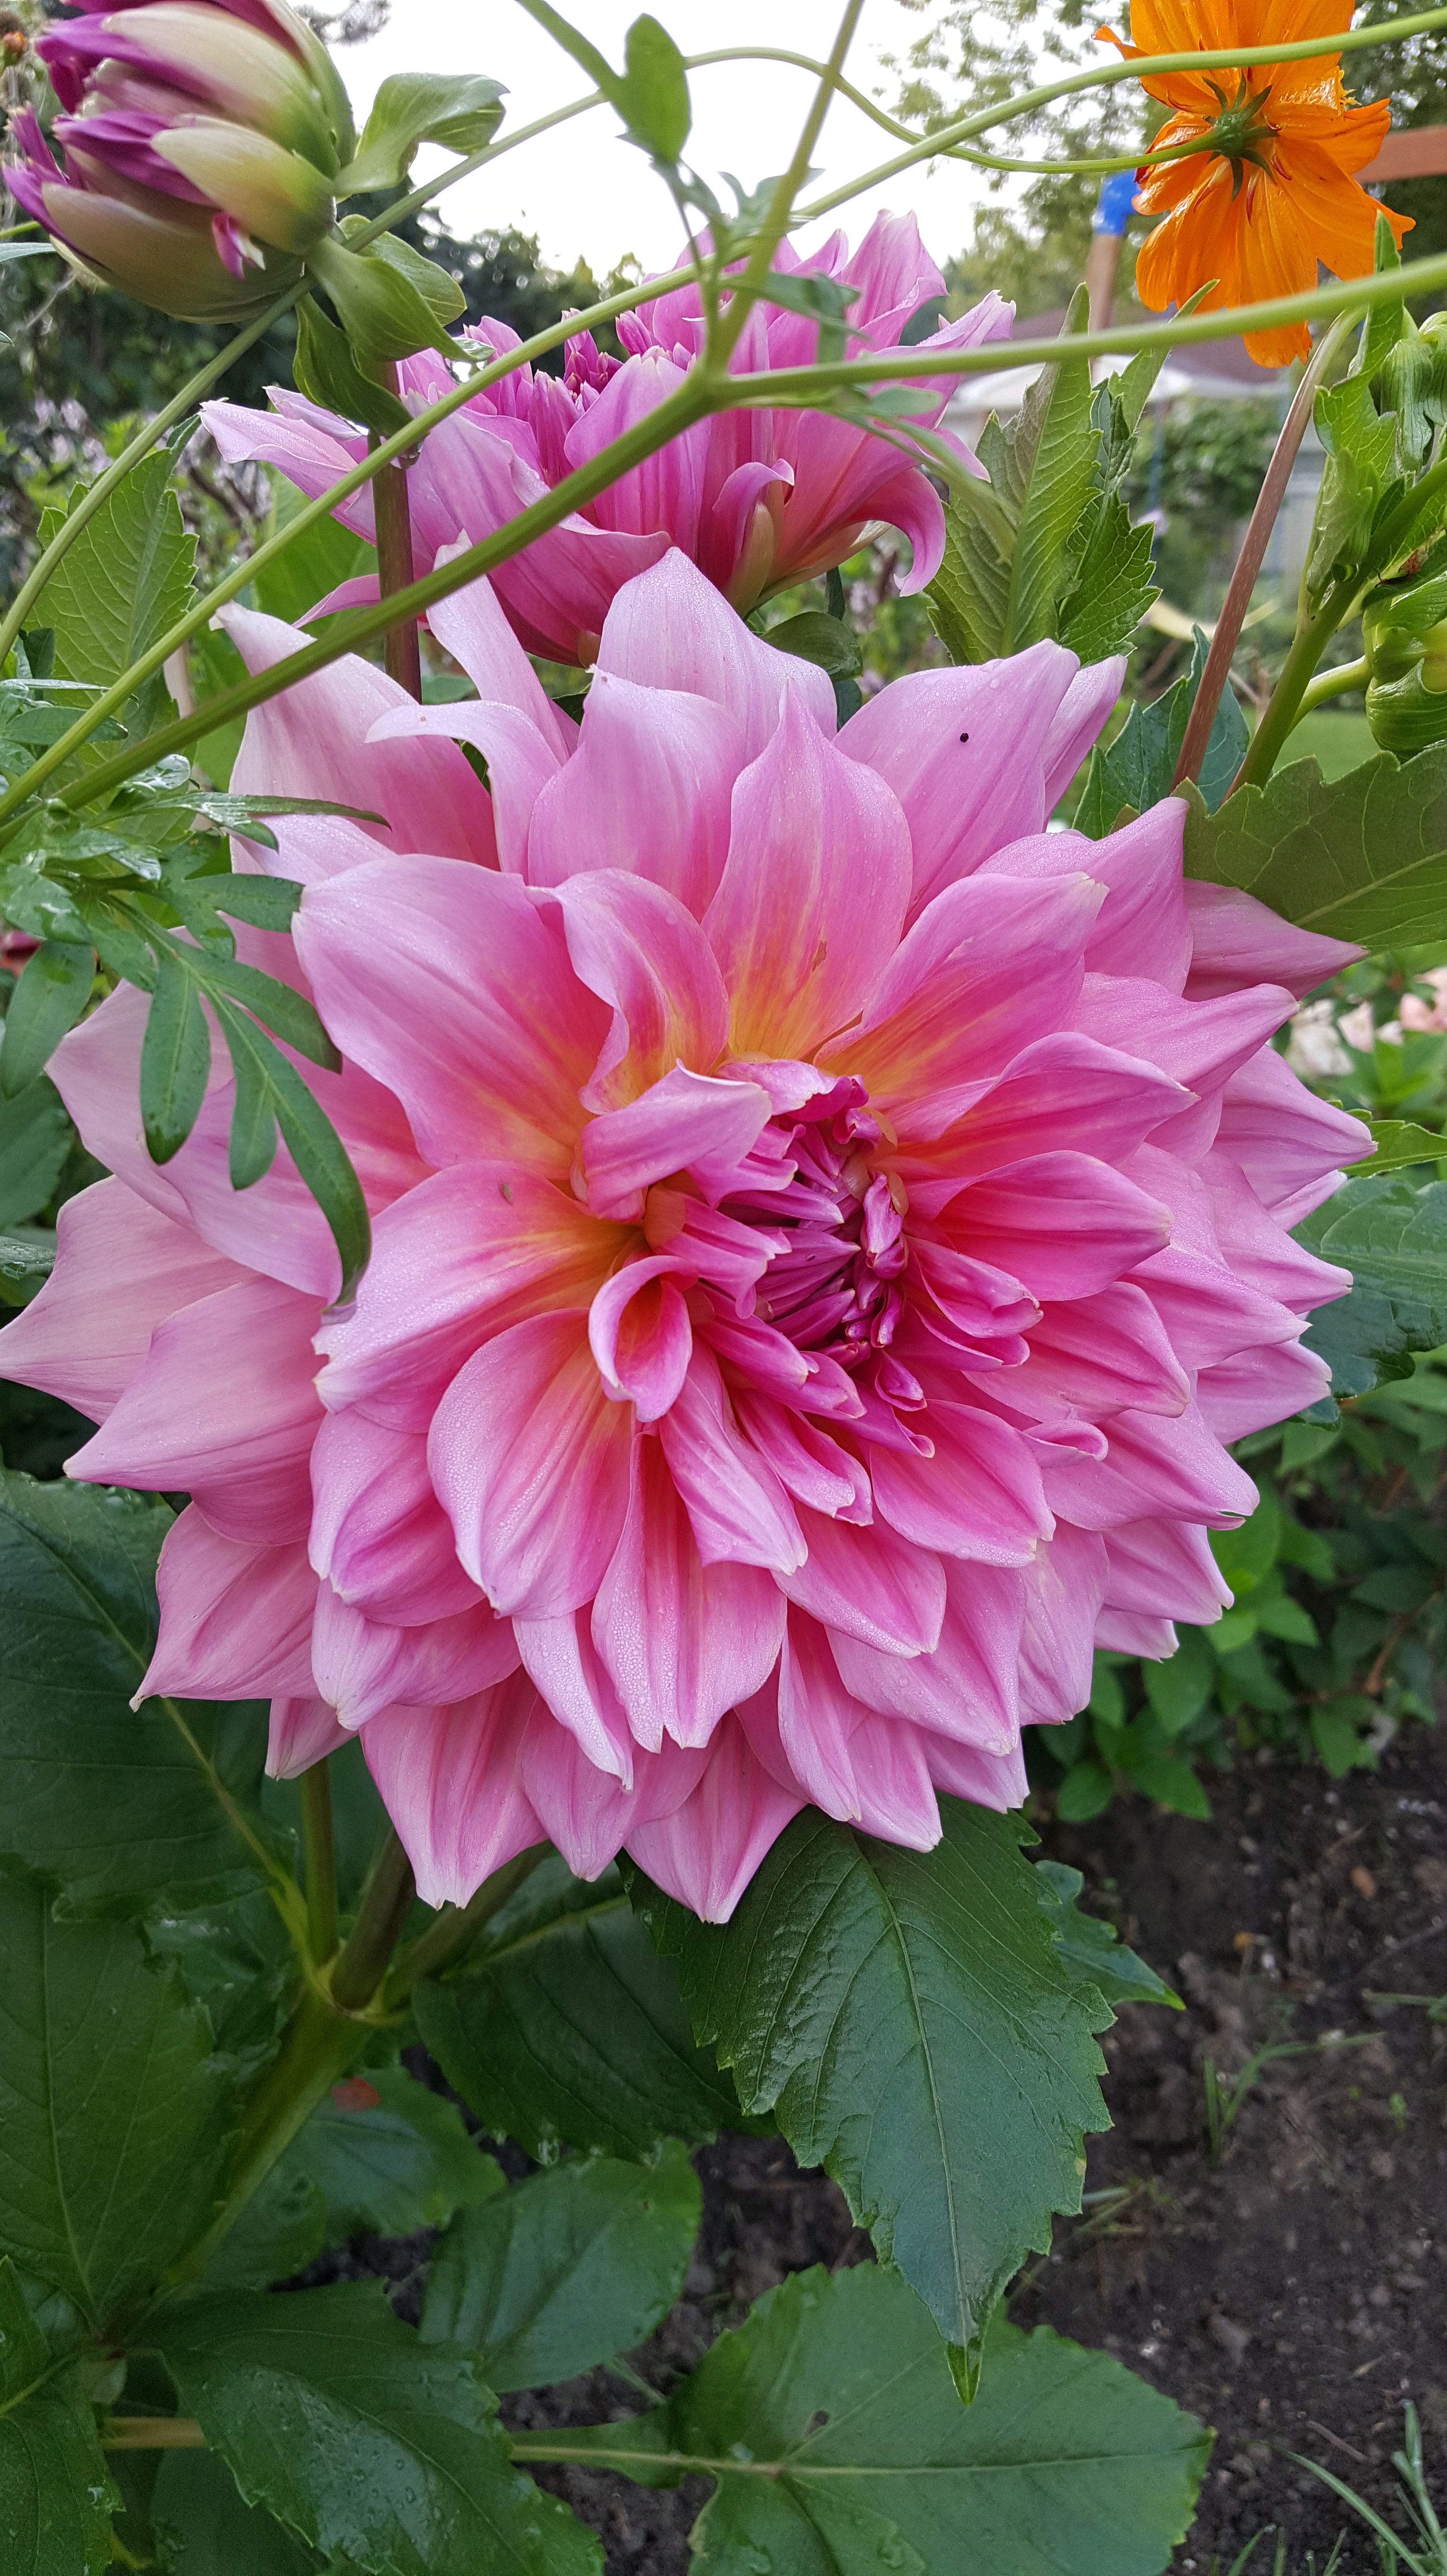
My dahlias are STILL blooming, and if there is any great joy I am getting more so this growing season, it’s definitely the dahlias. I love being able to go out in my back yard and cut those beautiful blooms through the fall. I will be writing up a post very soon about my dahlias and what I have learned from my first year growing them! You can see my beautiful blooms on Instagram @thebenttrowel.

Now, it’s time to talk veggies! Last year, we planted tomatoes as an introduction to a “starter” veggie garden. They did VERY well. We planted cherry and beefsteak tomatoes, which I recommend to anyone who wants to start a veggie garden but who’s unsure of how to start. Tomatoes are very easy to grow– a good “get your feet wet” veggie, I say!

This year, we expanded our veggie crop to include cherry tomatoes, corn, cayenne peppers, habenero peppers (my husband LOVES hot peppers). I happy to report, most everything did well, but because of our cold and rainy summer weather, some veggies took longer to ripen than usual.

Here’s the lowdown:

Tomatoes— we planted cherry tomatoes this year, and we did not get nearly as many this year than last year. In fact, we still have some that are green, and they are taking a long time to ripen. I plan on letting them go a little longer, but unfortunately, I have will have to pull them soon.

Corn— If there was any surprise in the veggie garden this year, it was definitely the corn! We planted 10 plants back in May, and we were just hoping for an ear or two. I was a little nervous with the weather, as corn tends to like hot conditions, but we had wonderful results! The corn was big, and I have to honestly say, was the best tasting corn I had ever had!

20170806_164338.jpg

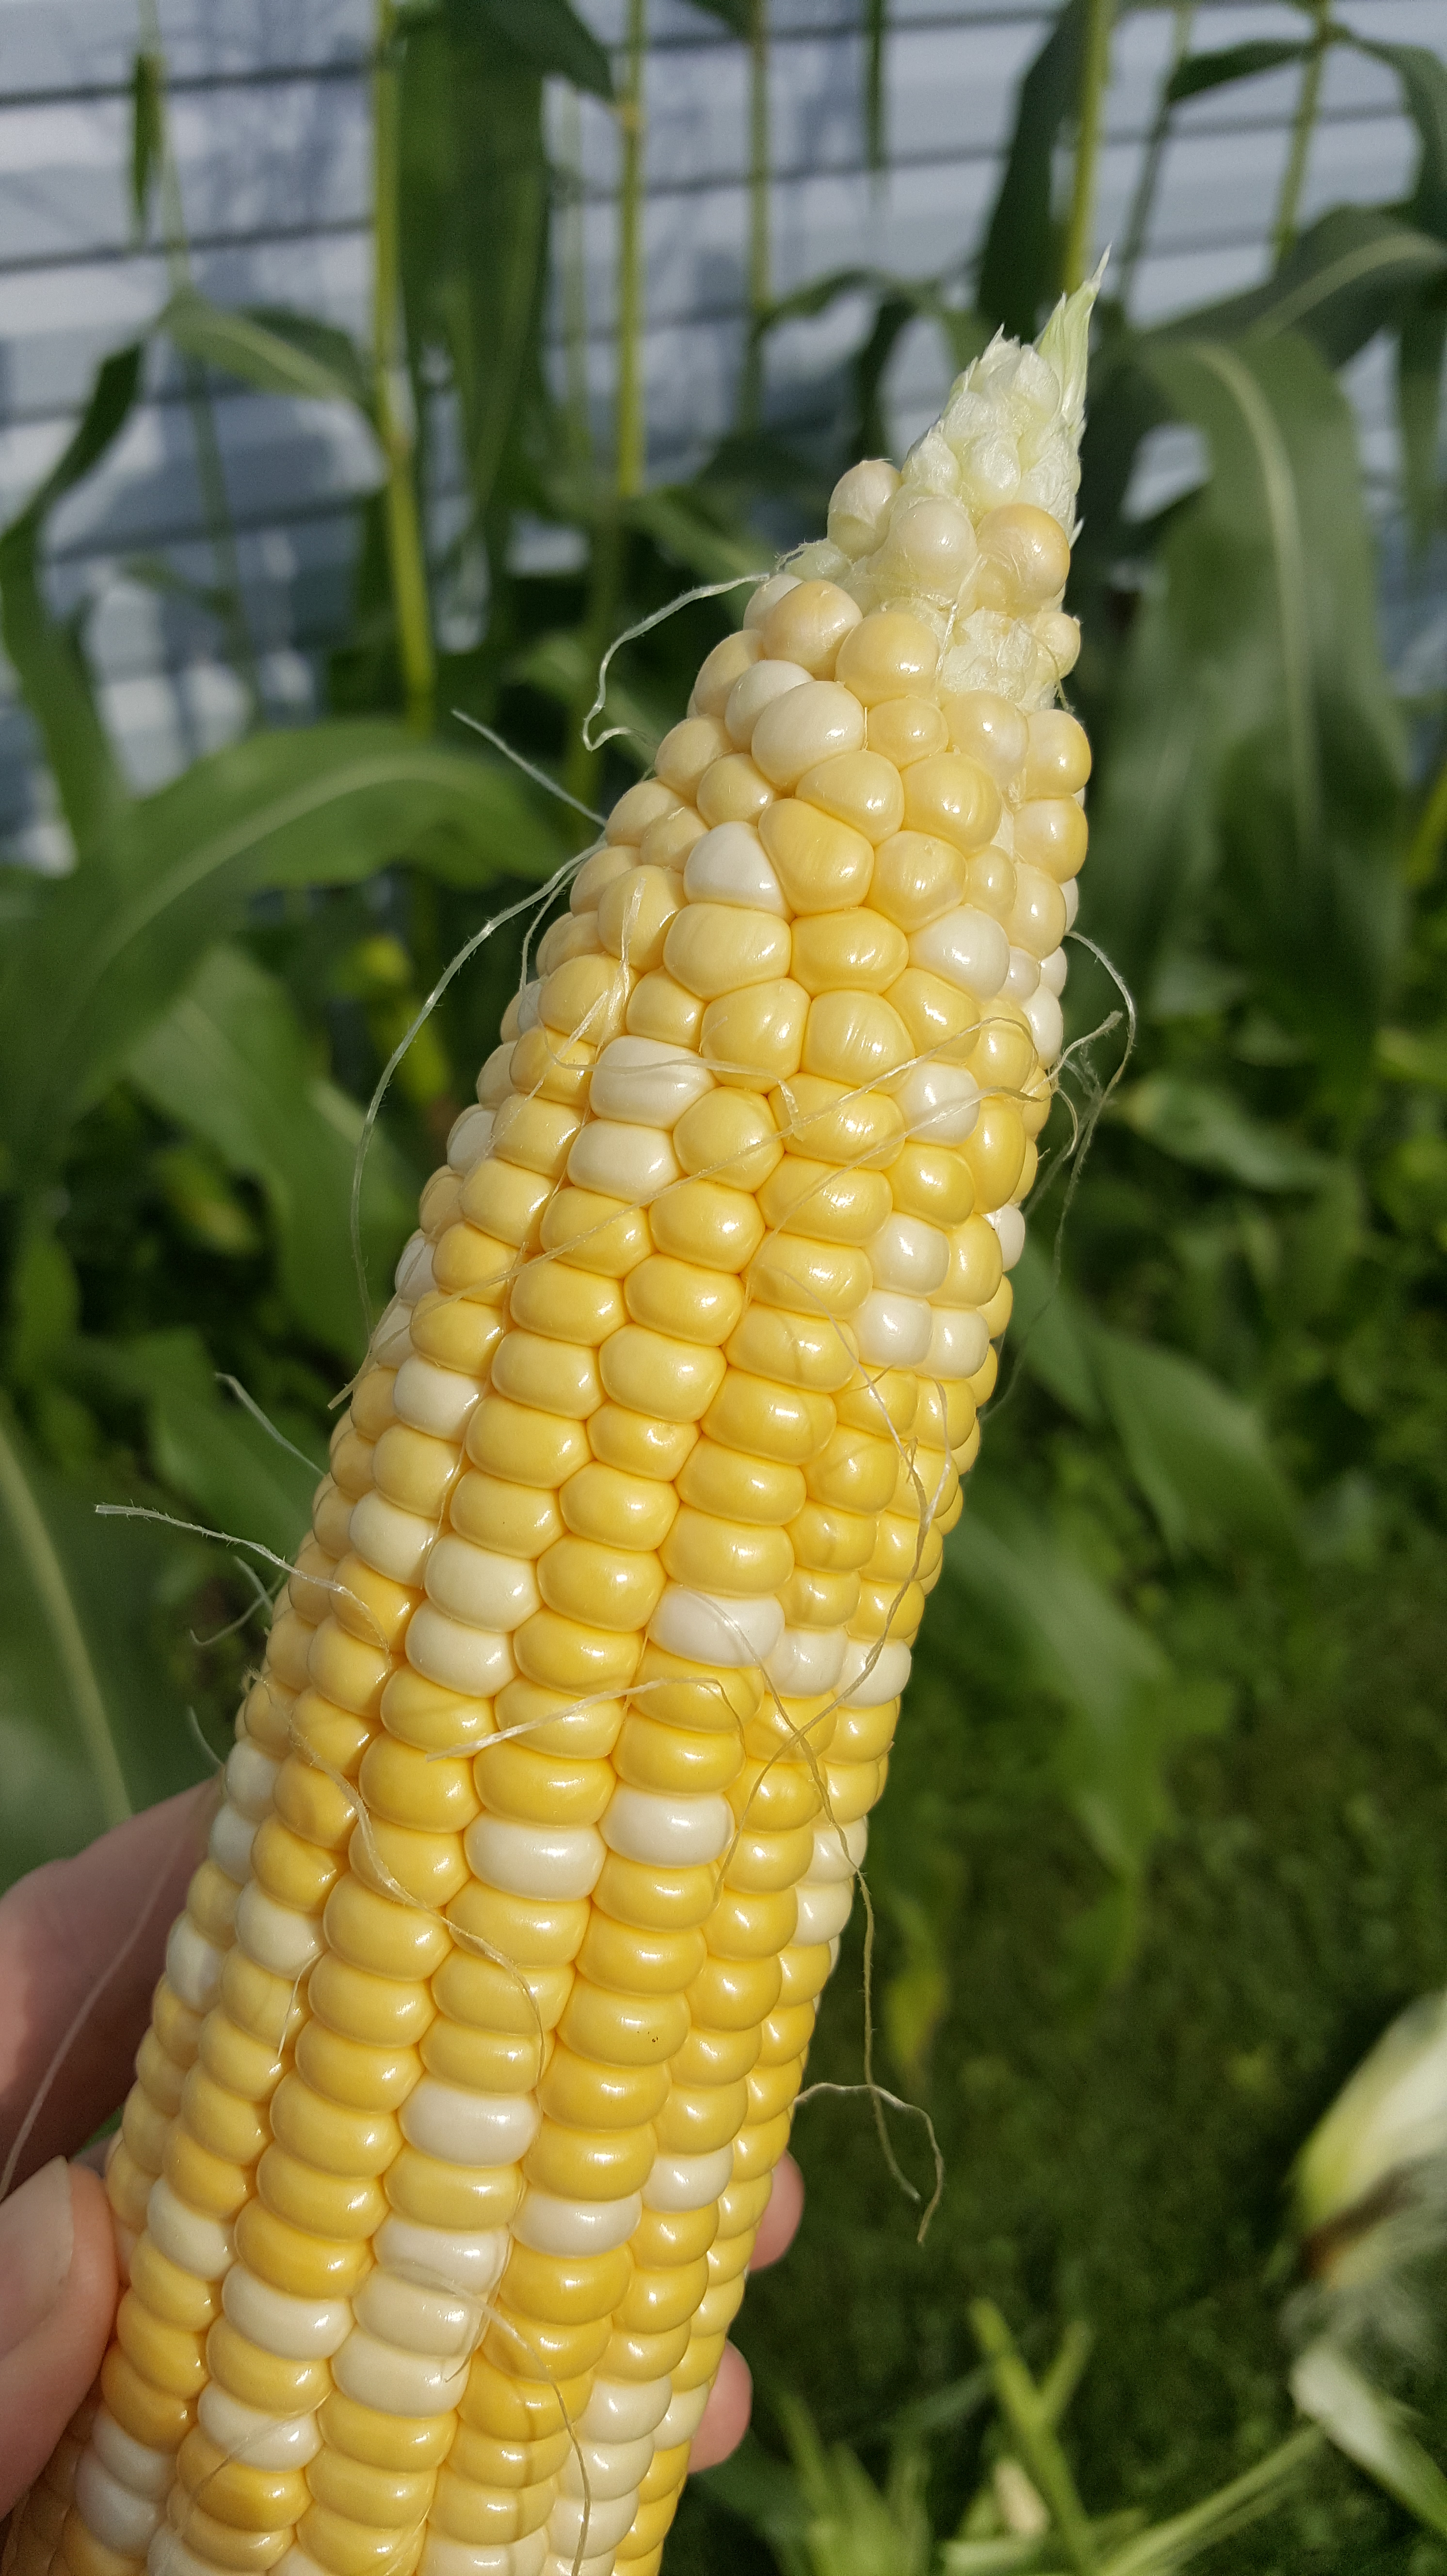
This corn was the best I have ever tasted! 

Cayenne Peppers — This was my husband’s pet project. He is all about very hot foods, and wanted to try to make his own rubs for chicken, beef or pork. The cayenne peppers ripened before everything else in our garden and were a beautiful bright red. My husband is trying to overwinter a plant and see if it makes it next year.

20170923_183945.jpg

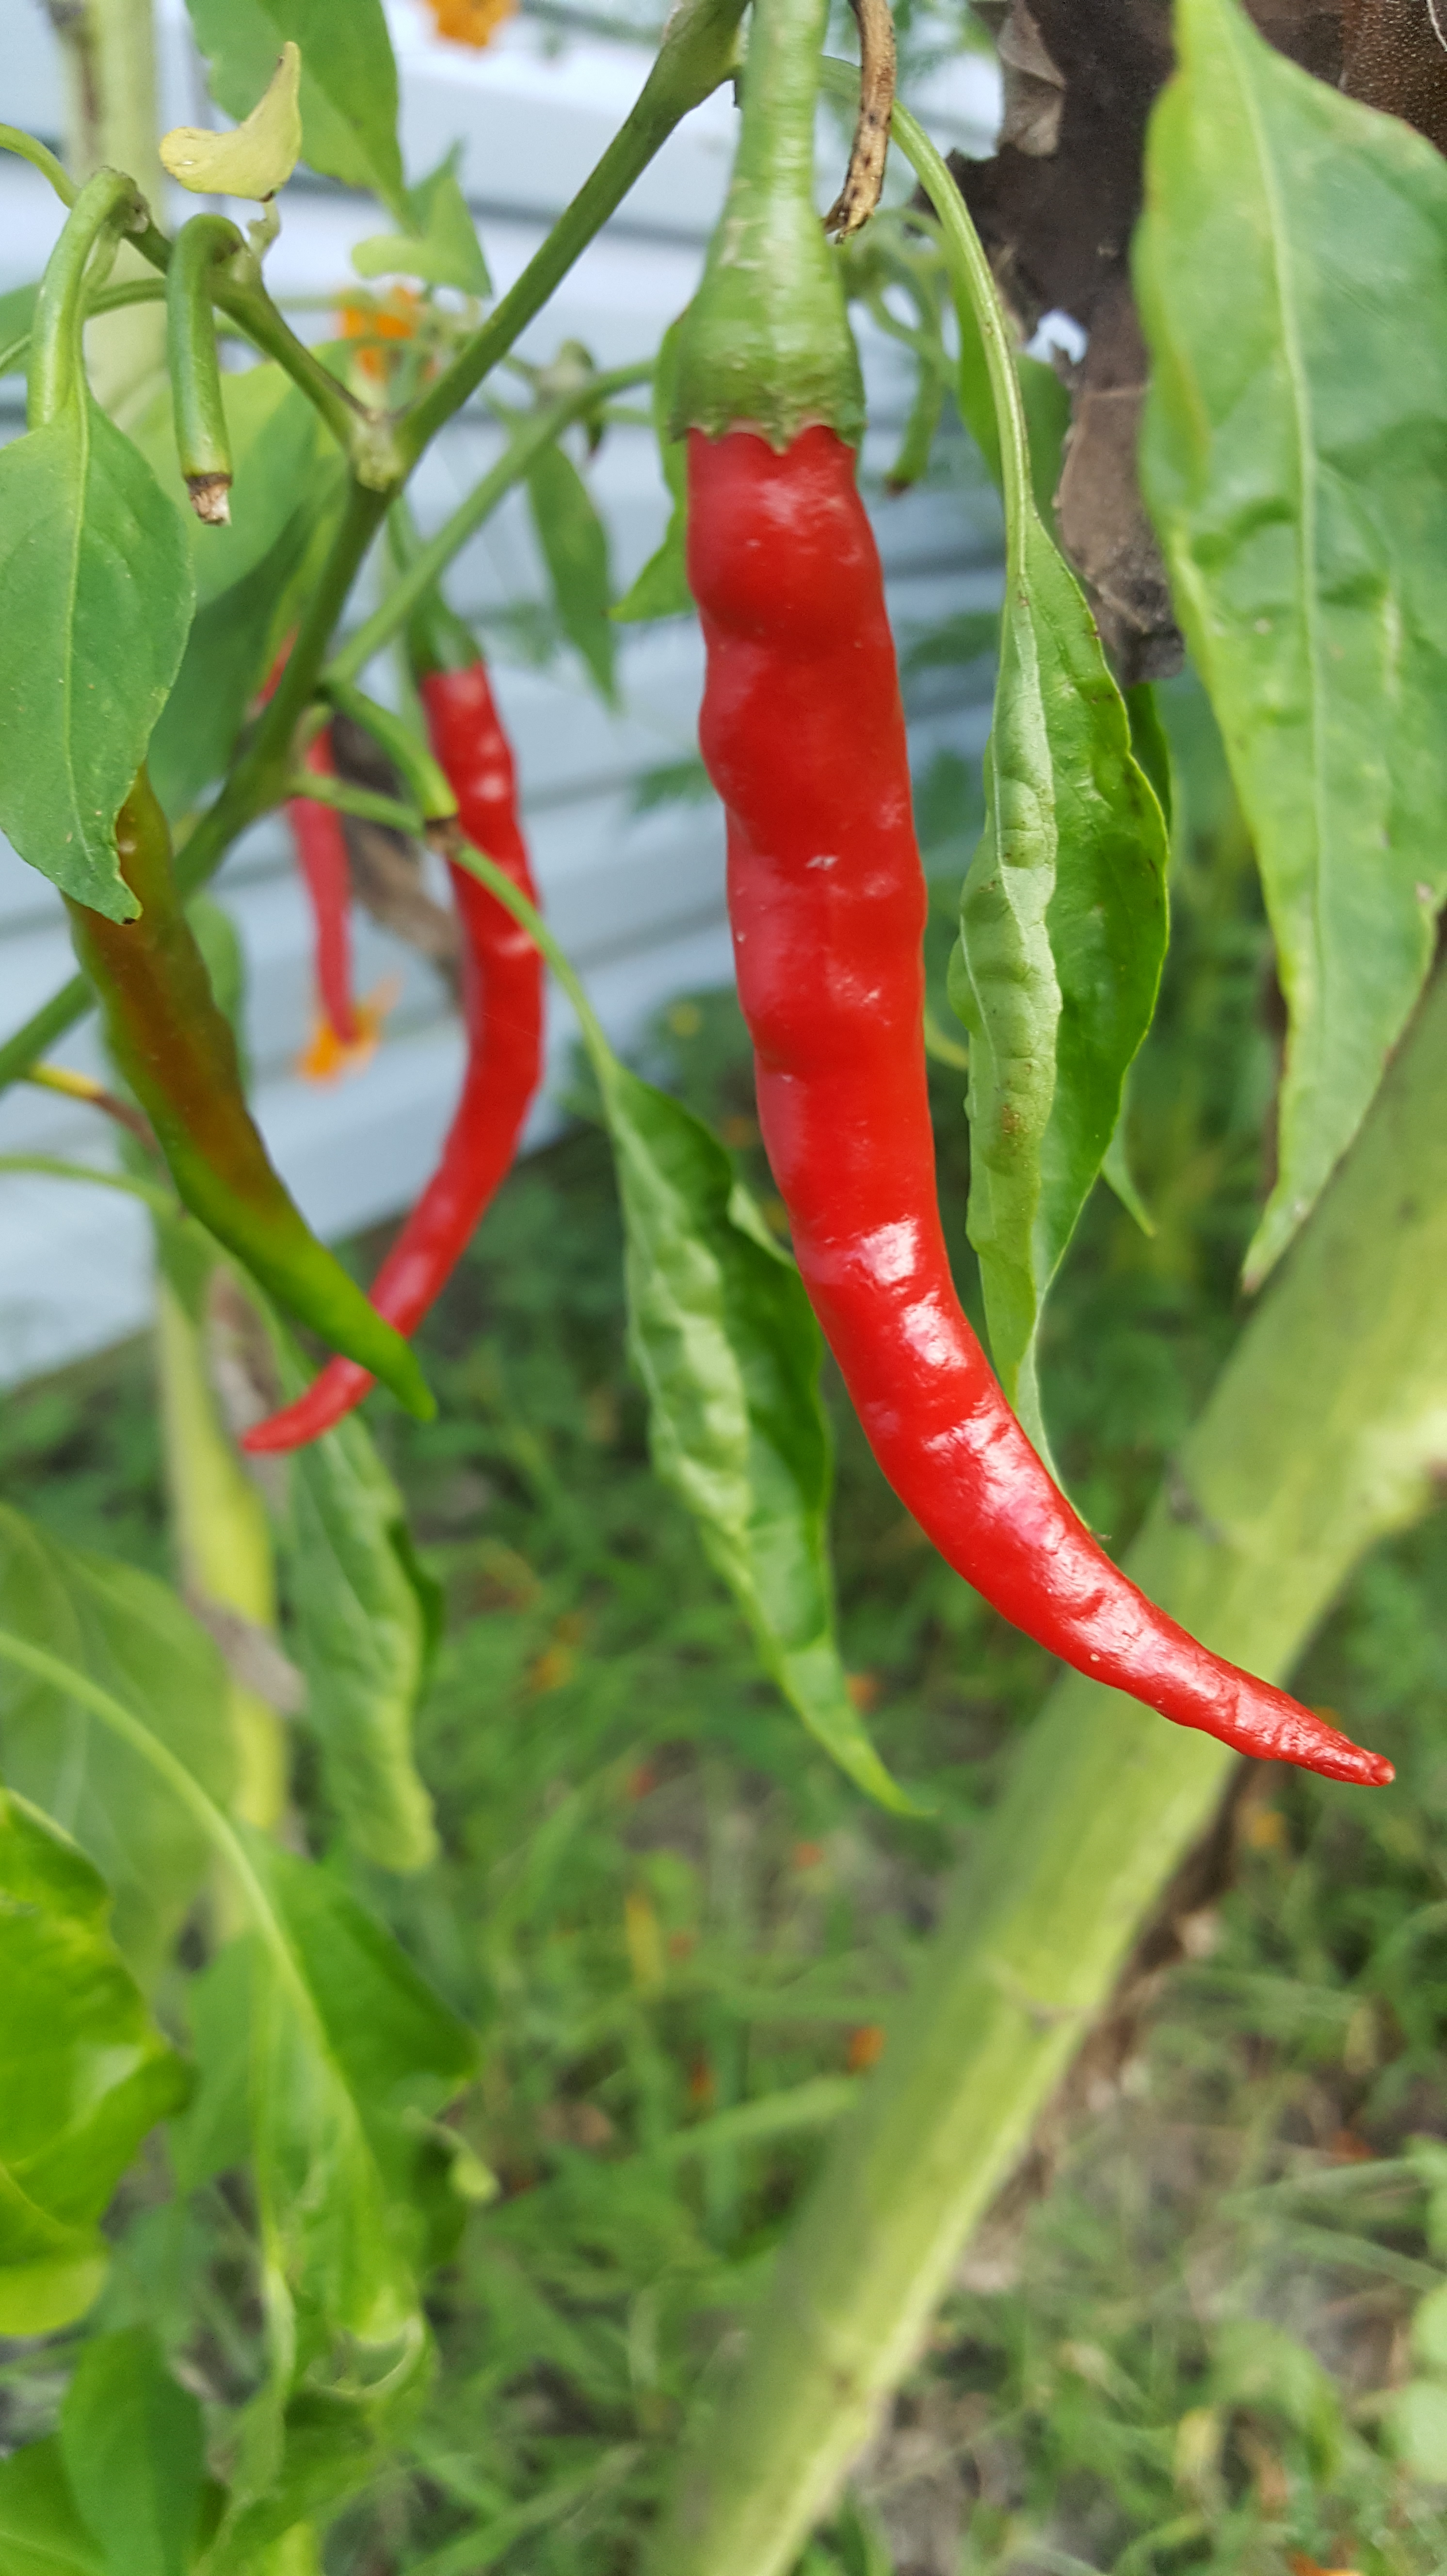
Cayenne peppers among the sunflowers!

Habenero Peppers — These were the most difficult out of everything we planted to grow. We planted these with everything else back in May, and we didn’t even start getting any kind of pepper until end of August, early September. I think these plants were the most sensitive to our finicky summer weather. We had blossoms forever, and kind of gave up hope. But, they ended up tricking us, and we got some pretty nice peppers!

20170923_184003.jpg

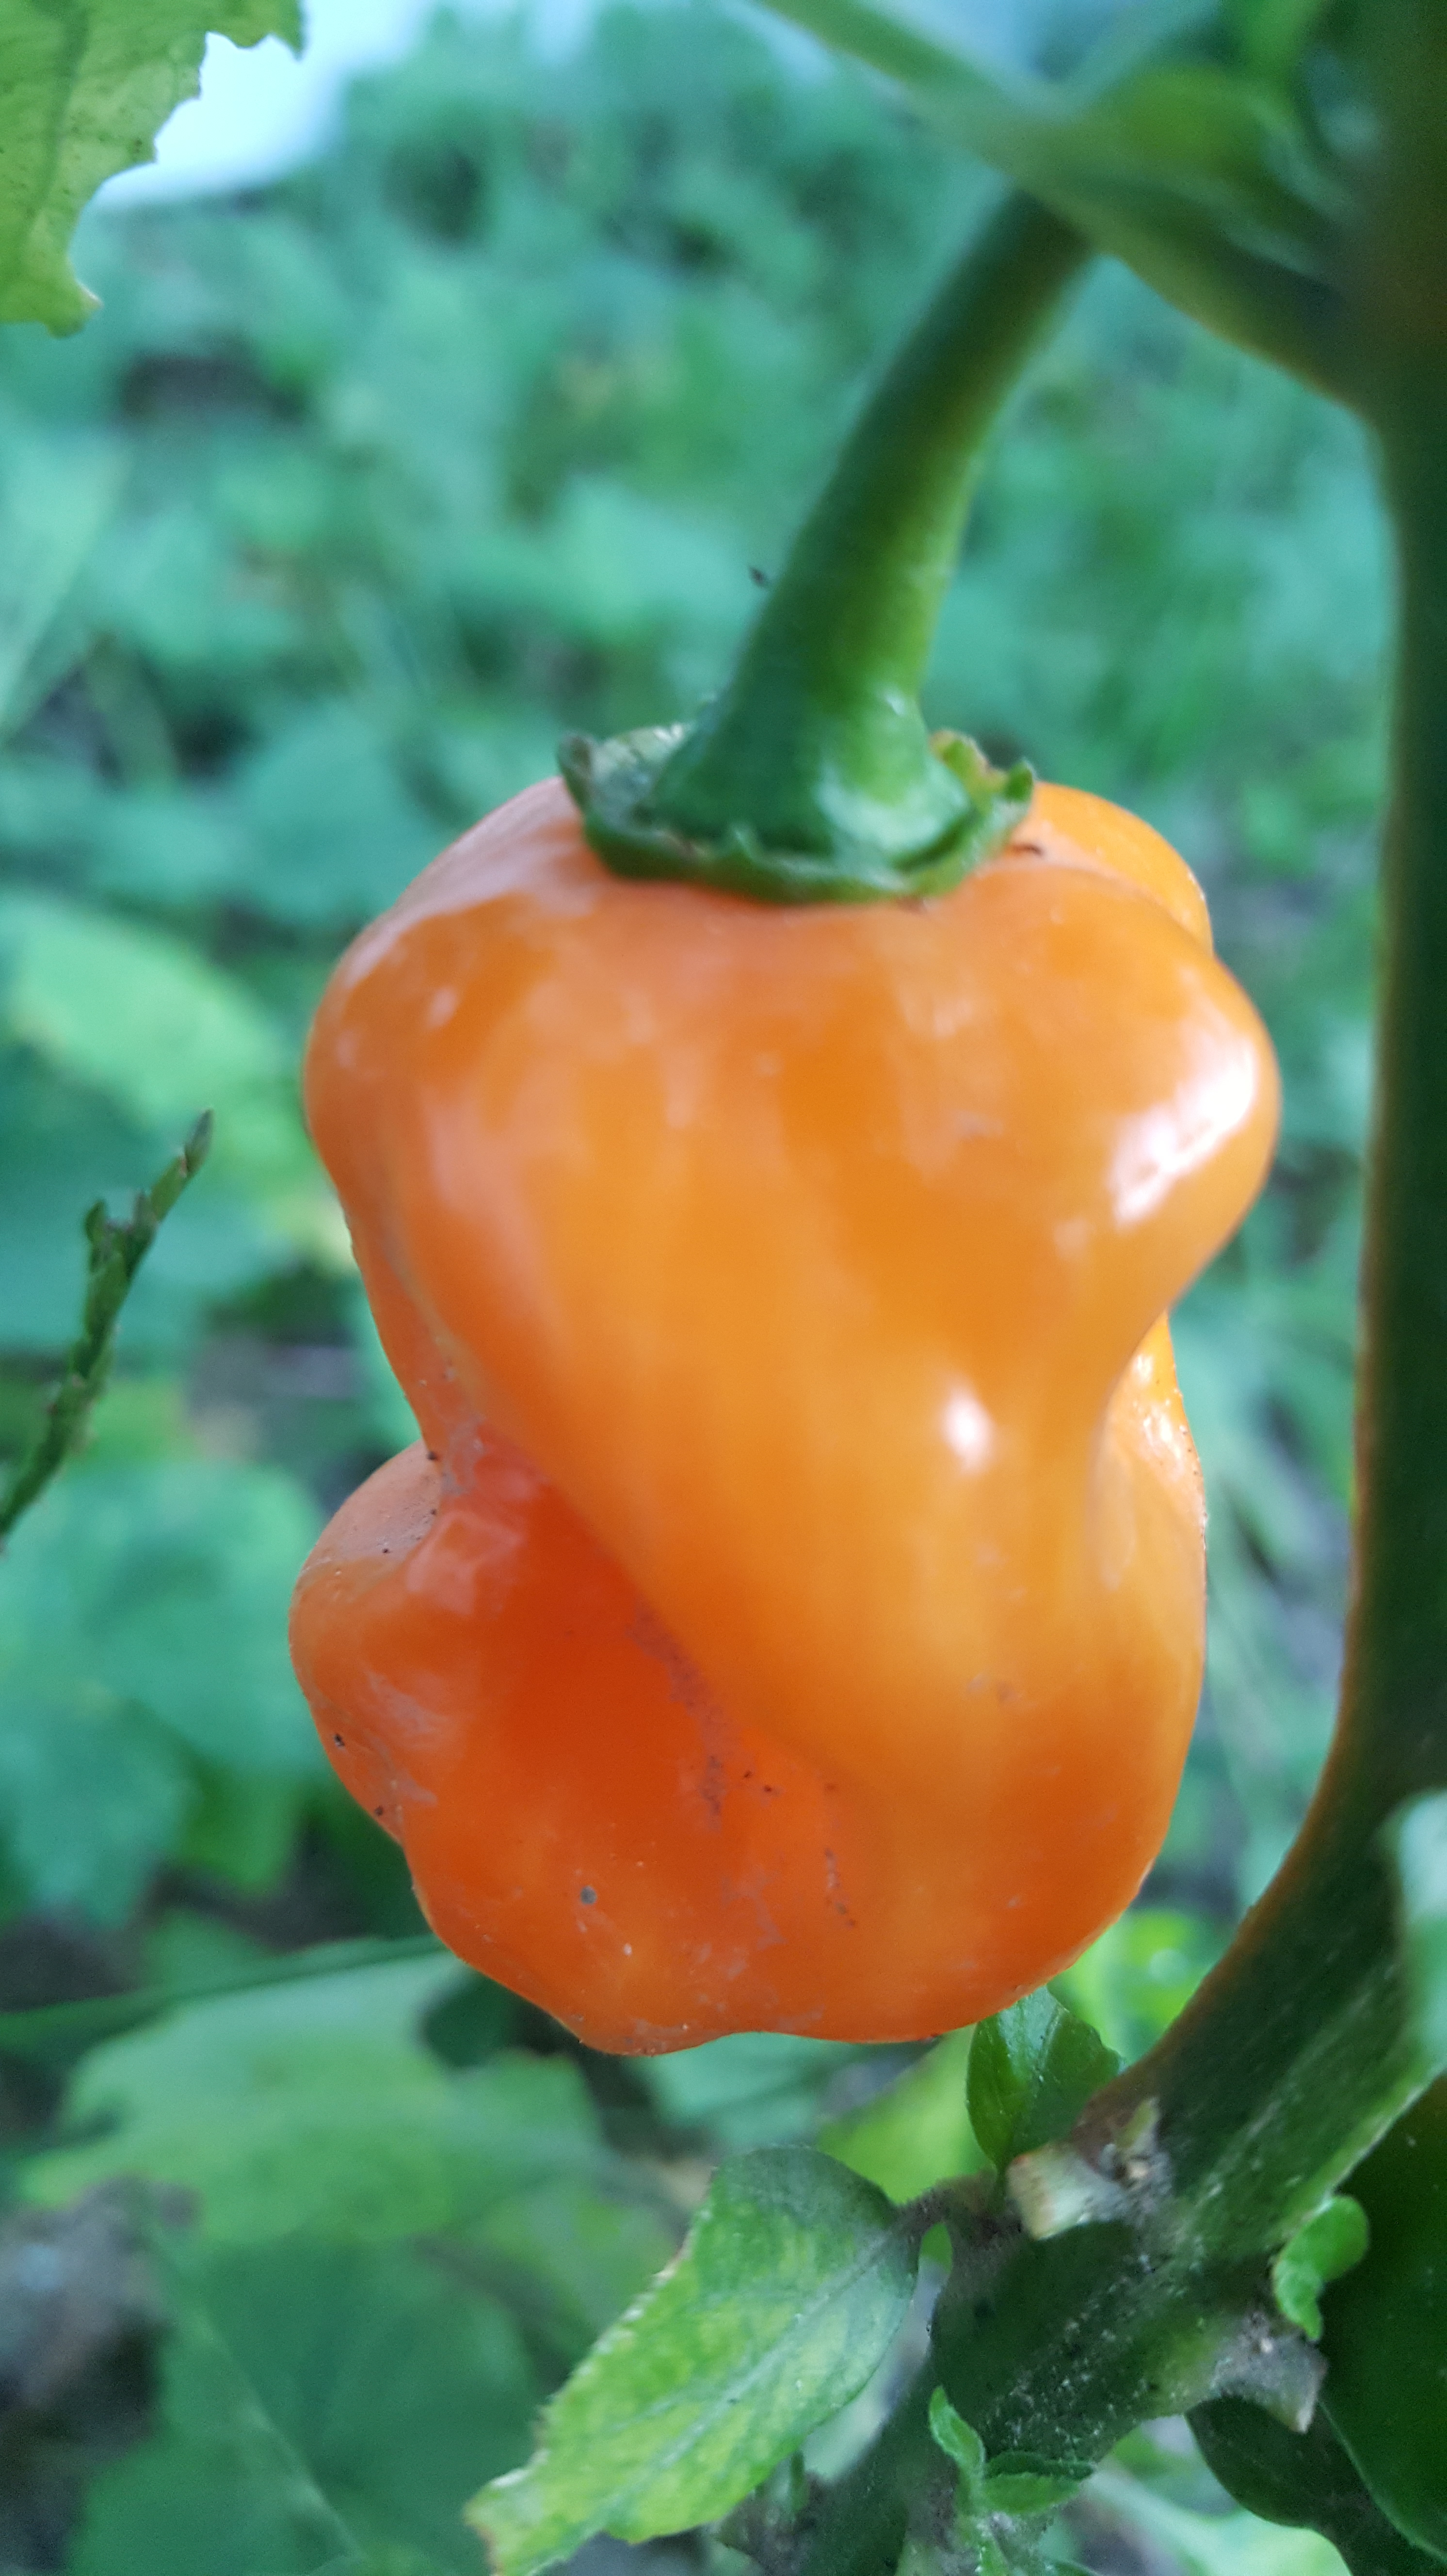
This little baby was well worth the wait!

So, that is the veggie patch round up, which will surely expand next year, and naturally, we will learn more as we “grow”.

What did you plant in your veggie patch this year? What would you recommend?


Beginners Guide to the Cutting Garden

How interesting it is that my first blog post since July would be on my 3 year blogging anniversary!! So, thank you to all of my followers and fellow bloggers who take time out read my blog posts– I really appreciate it!

This summer was wonderful for me and my family. August was filled to the brim with activity, which led to the void of blog writing for the month. I feel bad that I let it go like I did, because I have made it a habit to post at least once a month.

None the less, I am back, and now that fall is nearing, and school is back in session, it’s time to get back to routine. So, blogging, here I come!

I have mentioned in previous posts my desire to start a cutting garden. I purchased several different seeds and hoped for the best. I think this was a great start to a beginning cutting garden, and I would like to pass this along to anyone else who is thinking of doing the same some time.

A couple of things to remember:

-It’s all trial and error. That’s gardening in a nutshell. Experiment with different seeds and bulbs. See what does well and what doesn’t. It takes a while some times.

-There are some really easy seeds to start with. As I detail below, some seeds you should just buy and plant. It’s that easy.

I planted:

1. Bunny Tails. This is the second year trying these, and no dice. I will try one more time and see what happens. Degree of planting difficulty: MODERATE- they tend to be picky about where they are planted.

2. Zinnias. O.M.G. These were so easy! And beautiful– pinks, oranges and some peach colored ones to boot! I hear they also self-seed, and keep coming back every year. I recommend getting a packet of zinnia seeds should you ever want to start a cutting garden! Degree of planting difficulty: EASY

zinnia

My peachy-keen zinnia!

What came back for me from last year:

3. Cosmos. I think this was in part because last year was so warm for us– we were having 70 degree temps in November– and my cosmos kept going. I didn’t cut them down until this spring. Degree of planting difficulty: EASY

cosmo

4. Morning Glories. These actually surprised me. But, they too, were like the cosmos, and I left the brown stems up until this past spring. Even though they aren’t your typical cutting flower, they were wrapped around my cosmos, so I just lumped them in with them. Degree of planting difficulty: EASY

The bulbs I planted:

5. Dahlia. I was nervous, I have to admit. I planted dahlias a lifetime ago, it seems like, and they did nothing for me. This year, I have had great success, and am reaping the benefits. Dahlias are all over my house. Degree of planting difficulty: EASY

dahlia

*Beginner’s Tip– You will have to stake your dahlias. They are very top-heavy, and they fall over easy. 

*Dahlias are hardy in zones 8-10. If you live outside those zones, you will have to take the bulbs out and store them in a dark, dry place for the winter.

6. Gladiolus. I got these bulbs as a birthday gift from a co-worker, and they did not disappoint. I got beautiful pink and purple stalks that I have been enjoying all summer. I cut a few stems and I was very surprised at how long they lasted! Degree of planting difficulty: EASY

glads

*Gladiolus (“Glads”, as they are commonly referred to), are hardy in zones 8-11. Bulbs, too will have to come out if you are outside those zones. However, I have heard from some fellow gardeners that if you mulch heavily and live in zones 6-7, you can actually keep them in the ground and they will come up again the next year.  

So, I hope this helps you. There are SO many more cutting flowers out there. If anybody has one they recommend, please tell me. I will be expanding next year for sure!


Lessons Learned in the Garden – Midsummer Report

Happy summer! It’s hard to believe it’s the end of July– no doubt it’s been a busy one for us. My daughter is at an age where she can do a lot of stuff that she couldn’t before, and we have been taking advantage of it. Life has been busy, and unfortunately blogging has taken a back seat, but I honestly can say that I have been having the time of my life, and as long as I keep getting in a blog post in when I can, I am happy. Family time before all else!

Weather-wise, Western New York has been very rainy and much milder than last summer. I have enjoyed the cooler temps, though, but I have missed going to the beach! Honestly, I have not once had to actually water my plants. No sprinkler posts this year! My window boxes have been thriving, and have not looked sparse and brittle like last year!

wp-1500850365630.jpg

A little wilted after yet more rain, my window boxes are thriving this year! 

Despite the weather, we have busy bike riding, hiking, rollerblading, swimming, camping, all that good summer stuff, but I have been also doing a lot in the garden. I am at the stage where I really am not adding much, but doing more of the routine maintenance on what I do have, and there are certainly some lessons I have learned that I won’t try to intentionally “unlearn” in the future!

Lesson #1– It’s OK to have space between your plants.

I know, I have even mentioned this in past posts, I planted too many things VERY close together (we are talking so close you can smell the body odor on the person next to you close). I was so crazy about trying to get every plant I wanted, I planted them too close together– this resulted in what I like to say “The Survival of the Fittest” in my flower beds– I lost a lot of really cool varieties because I got a tad bit overzealous in my planting. I have spent a good portion of my summer thinning out a lot of my plants, and even moving them if needed…which leads me into the next lesson–

Lesson #2 Plants not blooming/growing that well? It’s OK to MOVE them.

Yes. The biggest thing I have learned in the past few years is if your plants are not doing well in the location you have them– try moving them. They just may need a new residence to make them happy!

A great example of this is my very pretty gayfeather. I purchased these three years ago for 50% off at the local farm store. I put them in an area I had some space, and they grew, but they never actually flowered. I finally had the sense last year to move them to a sunnier location. Ta-da! Full on flower power action!

wp-1500848205595.jpg

This bee is very happy I moved this lovely gayfeather!

Lesson #3 — Remember to do the little stuff.

I can honestly tell you that I don’t have time to weed my whole garden at once. BUT, when I am outside and my daughter is swinging on her swing, I pick an area and go to town! Even if it’s a little area, it makes such a difference! I have managed to keep weeding all summer– little by little, and I feel better about how my landscape looks! I also pruned my Lilac bushes this year, as they were getting a little to “bushy” for me. They were growing right over the area I have my daffodils and muscari, and I want that distinction, if you will, between all of my plants.

If you are follow me on instagram, you will see all the goings-on in my garden. I post pictures of my blooms and my gardening adventures. I will be posting about our little veggie patch, and my mini “cutting” garden. Two new ventures that I would like to expand next year! Until then, take care, and I hope that the summer has been good to you in your neck of the woods!

A Natural Pause

This summer has been filled with lots of activity and gardening. Stay tuned for an update on what I have been up to this growing season. Until then, please take a look at these beautiful water lilies we came across on a recent hike. Enjoy!

What’s Growing On In: Montana

Happy June, everyone! Life has been full and busy, which has lead me to get behind on posting. But, have no fear, I have been very busy preparing my gardens now, so I can relax and enjoy the summer time, and blog about them!

I wanted to take a minute and write about my travels this year. In April, our little family went on a spring break trip to Montana. Yes, you heard it right, Montana. We stayed in Kalispell, Montana and visited Glacier National Park where we did some exploring and wandering. We also did some hiking in Lone Pine State Park. I really recommend trying to make this a future trip for anyone. In fact, we didn’t get to see it all due to the snow, and plan on visiting again.

20170414_103022.jpg

From the top of Kalispell, Montana and a view of the Northern Rockies.

20170413_090331.jpg

We traveled on the famous Going to the Sun Road, but unfortunately only about 12 of over 50 miles of it were open. It takes all summer to plow out that road! 

Now, while most people went South to Florida, or the Carolinas, we decided to head out West, where in fact it was snowing while we were out there. But, it was definitely worth it!

So, I thought I would give you a little background on gardening in Montana, and what a great destination this is to travel to yourself some day!

Kalispell, Montana

  • Hardiness Zone(s): Zone 5a, primary, but go to the mountains close by and it’s one 3a.
  • Since it’s the Northern Rockies, you would have to wait a tad longer to start planting fruits, veggies and plants. Average time to put things in the ground is June-July.
  • The flora and fauna in the alpine environment is amazing. I took a lot of pictures of stuff you just don’t find around Buffalo!
20170413_092402.jpg

Gigantic Cedar Trees on the edge of a very foggy Lake MacDonald.

20170415_130045.jpg

A small hair lichen, one of many different kinds that grows on trees in alpine environments. I hope I have ID’d it right!!

20170414_112906.jpg

This, I believe is called Green Old Man’s Beard lichen, that hang from the trees in Montana!

So, I thought I would give you a glimpse of our trip and introduce you to some new-to-me botanicals that you only find in the mountains. I love going to different regions of the country and learning about not only the vegetation and wildlife, but the culture as well.