Cross-training night. I took a break from running to go for a mountain bike ride. I ended up zig-zagging my way to the Niagara River, where I got to experience one of the prettiest sunsets I have seen in a while. Enjoy.

Cross-training night. I took a break from running to go for a mountain bike ride. I ended up zig-zagging my way to the Niagara River, where I got to experience one of the prettiest sunsets I have seen in a while. Enjoy.
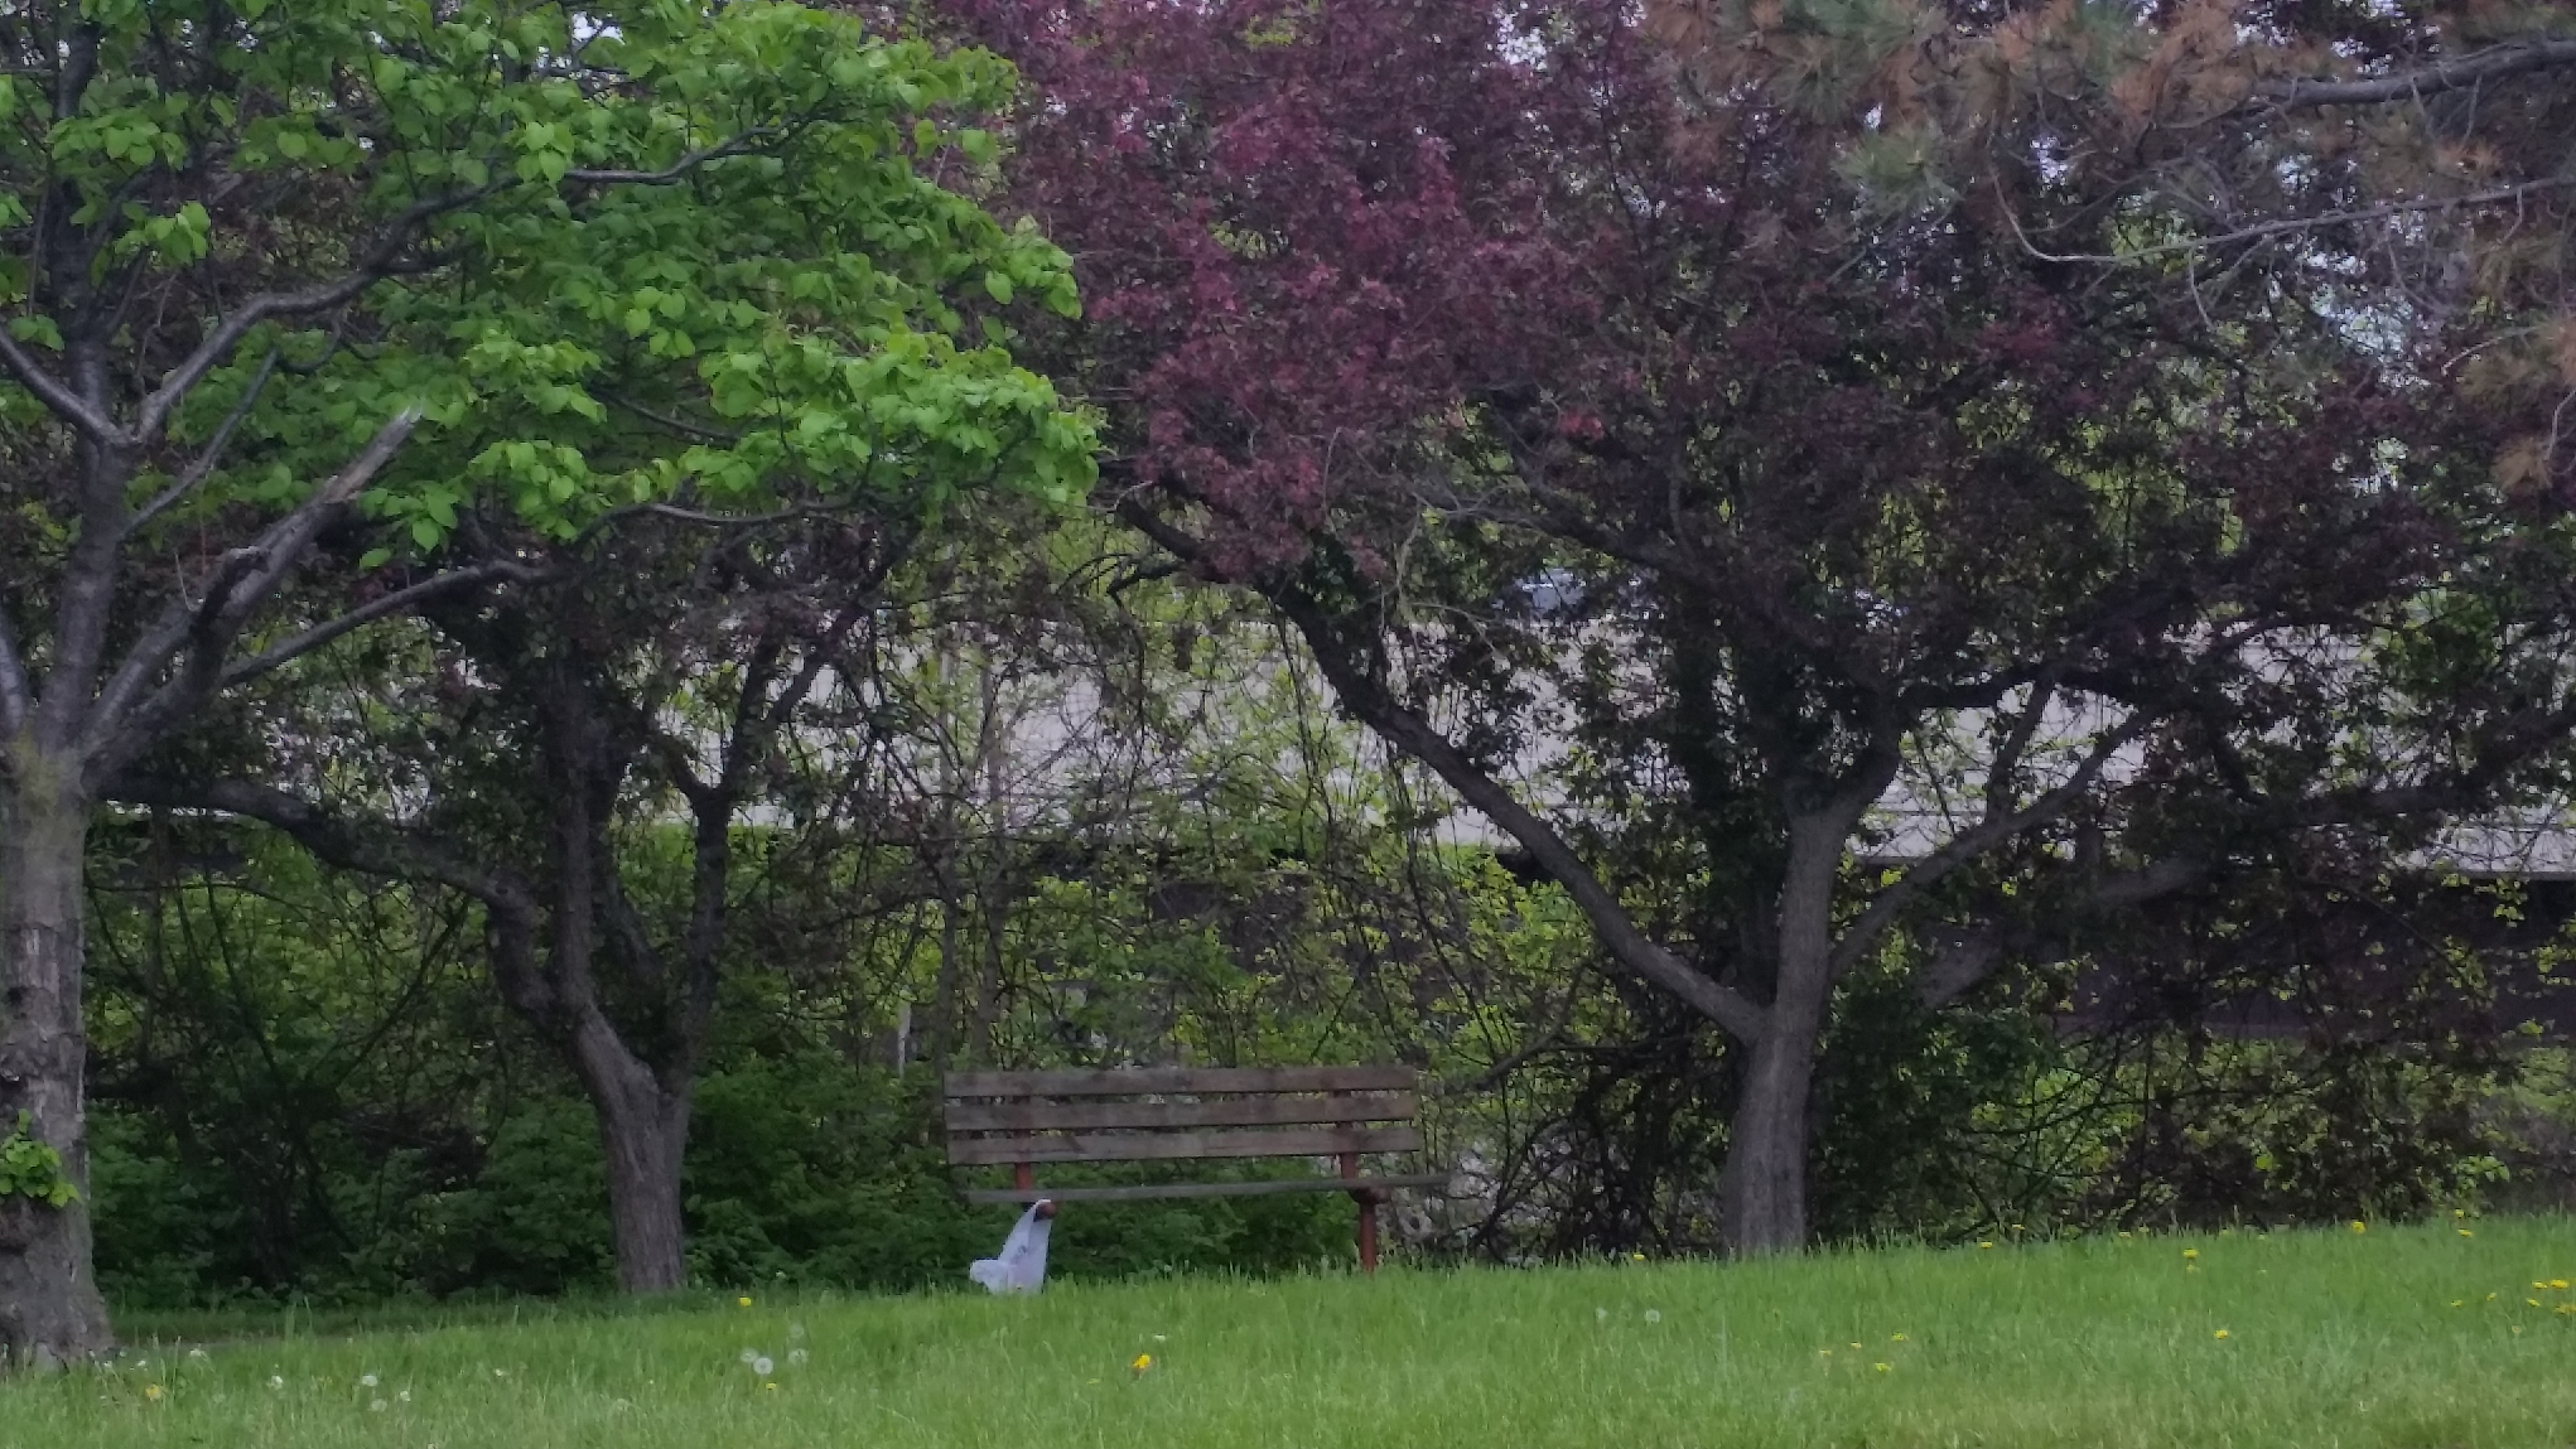
In Buffalo, summer is our “jam”. We have summers that people only wish they had. One summer tradition in Buffalo is Shakespeare in Delaware Park, where theater students hone their skills by performing in a Shakespeare play outdoors. Before the show went on, I took a walk over to the Japanese Garden of Buffalo. It was so nice and beautiful, I had to just stop and take it all in. Enjoy.

I hope everyone had a wonderful 4th of July weekend! Our weather couldn’t have been more perfect. Every minute of the weekend was booked, as usual.

This was quite a grand finale!
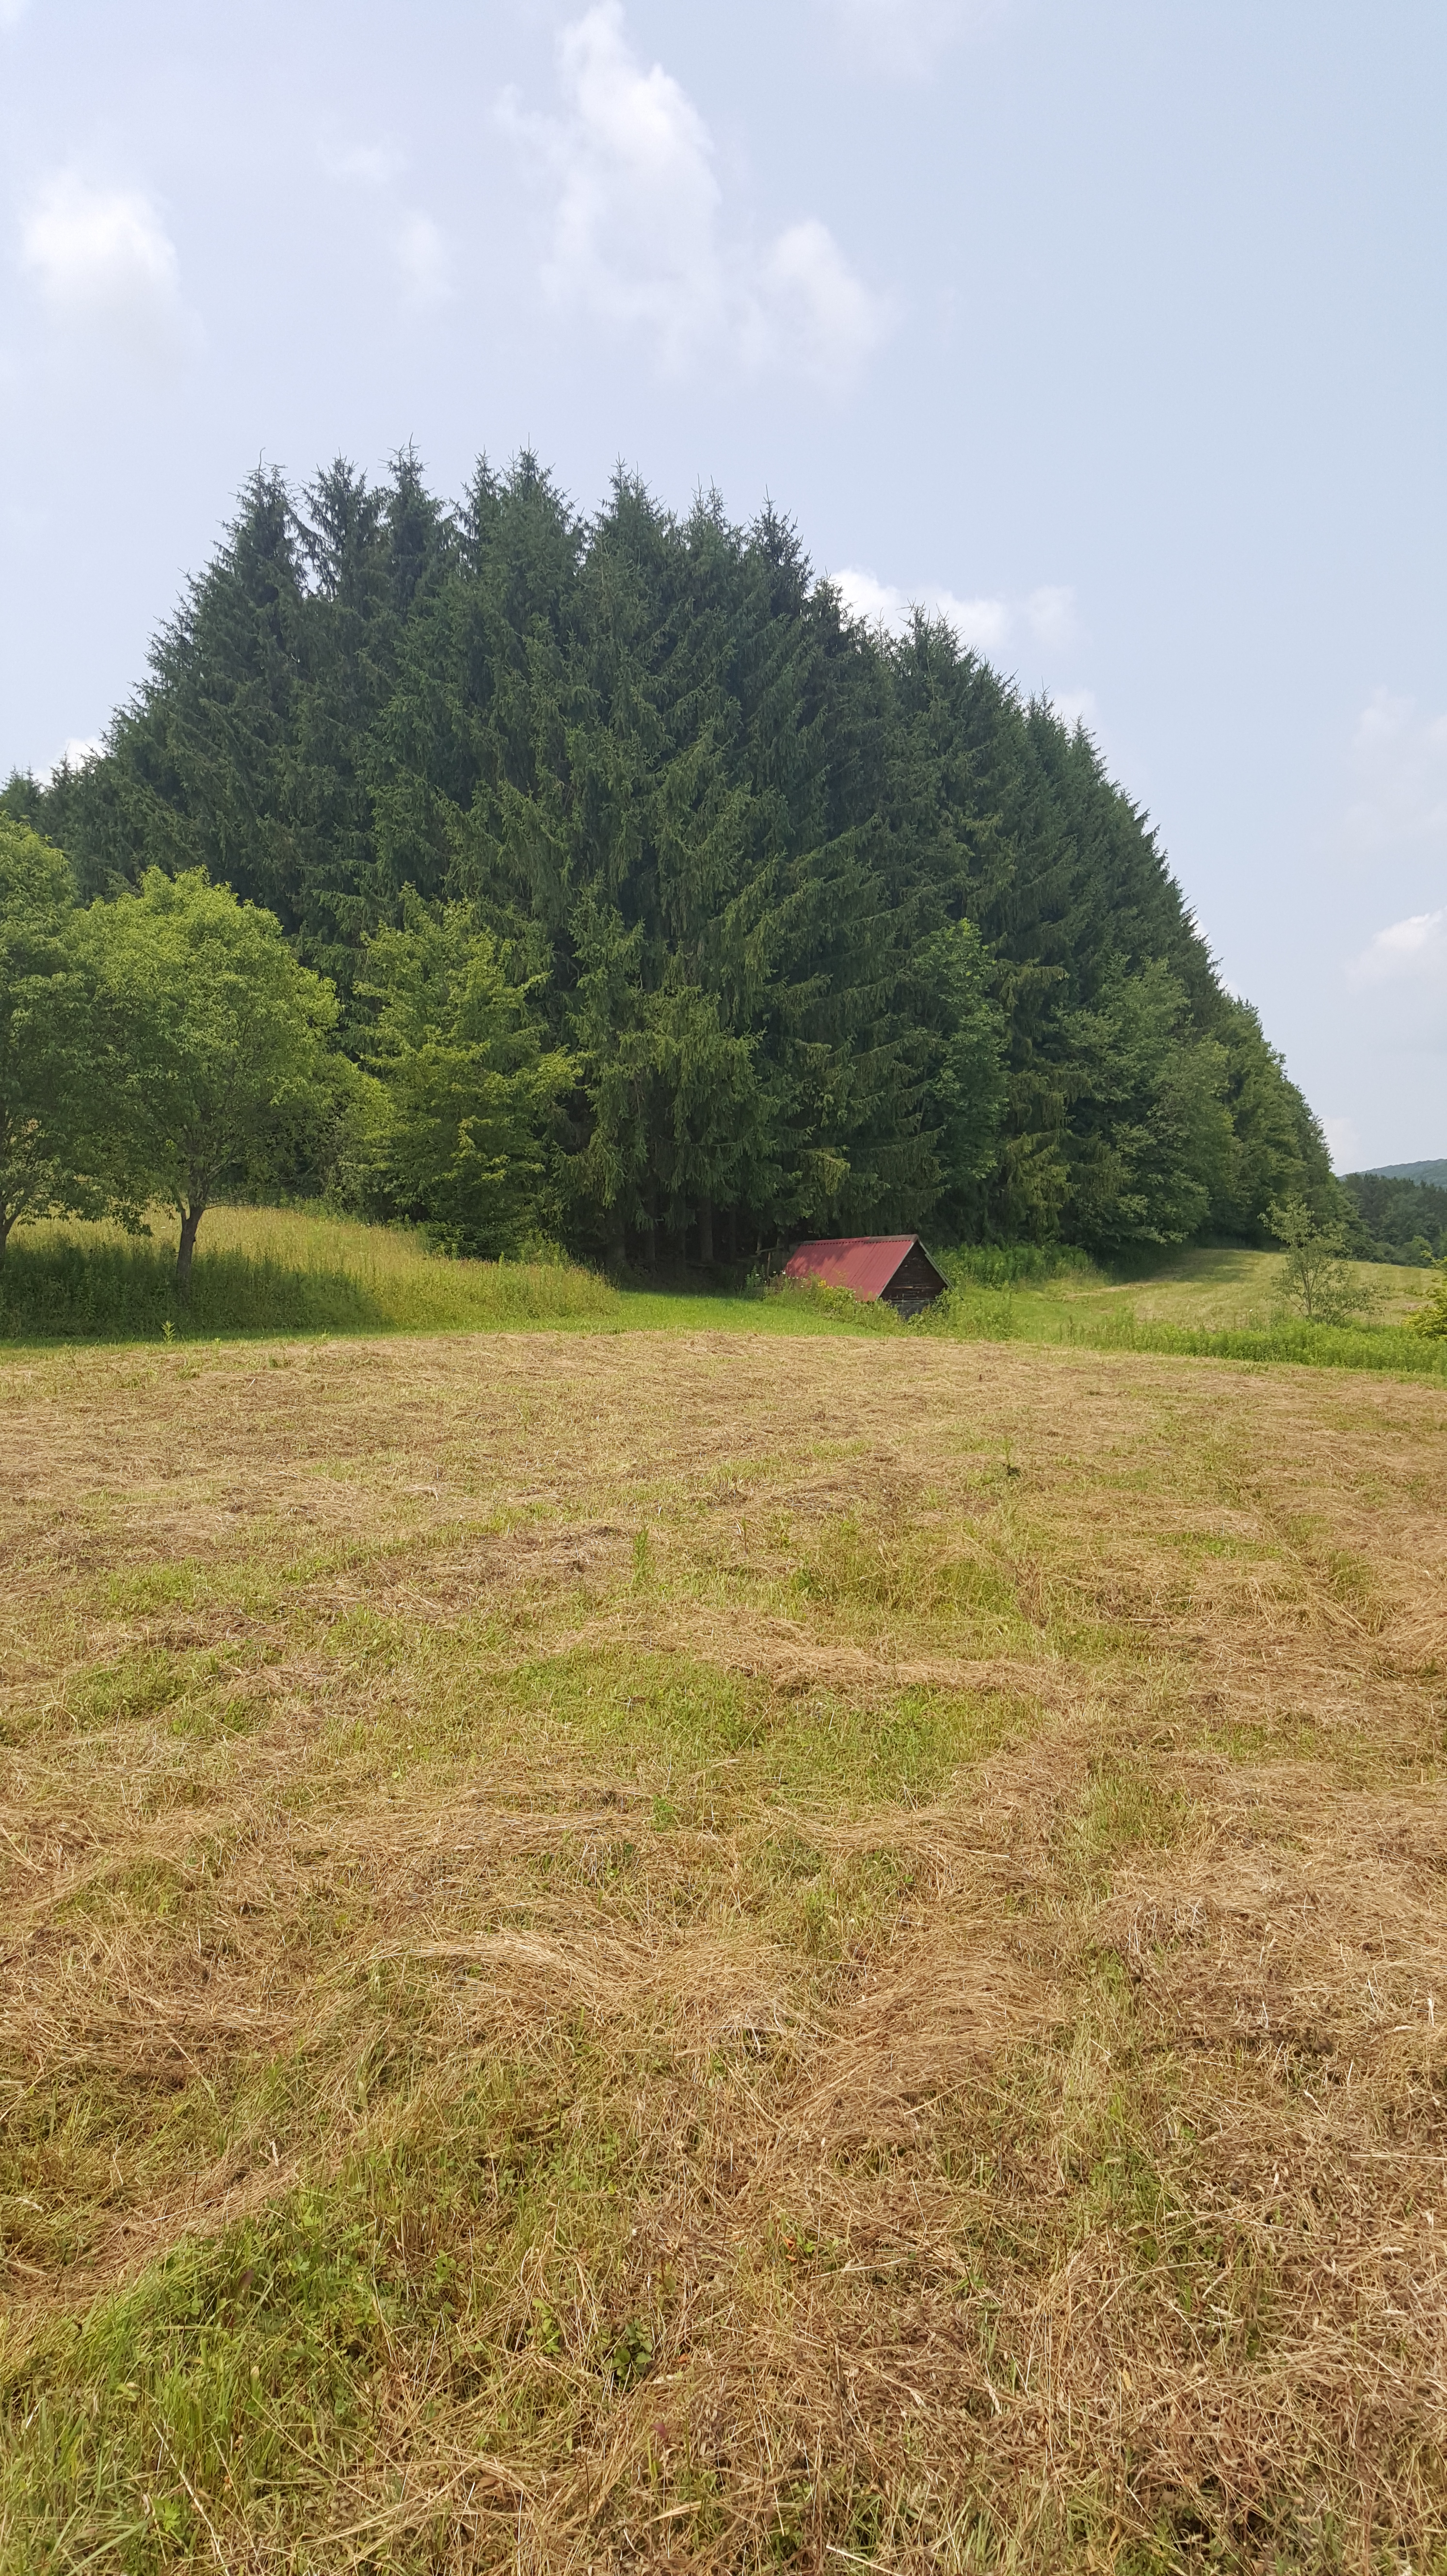
My weekend was rounded out with a trip down to my parents house, where the valley was abuzz because it’s haying season.
As I went and visited my with my Aunt at her house, she mentioned that her Lady’s Mantle was growing like crazy and that she still had to mulch her one bed that was full of it. So, that of course got me thinking about mulching and why it is important and why you should do it.
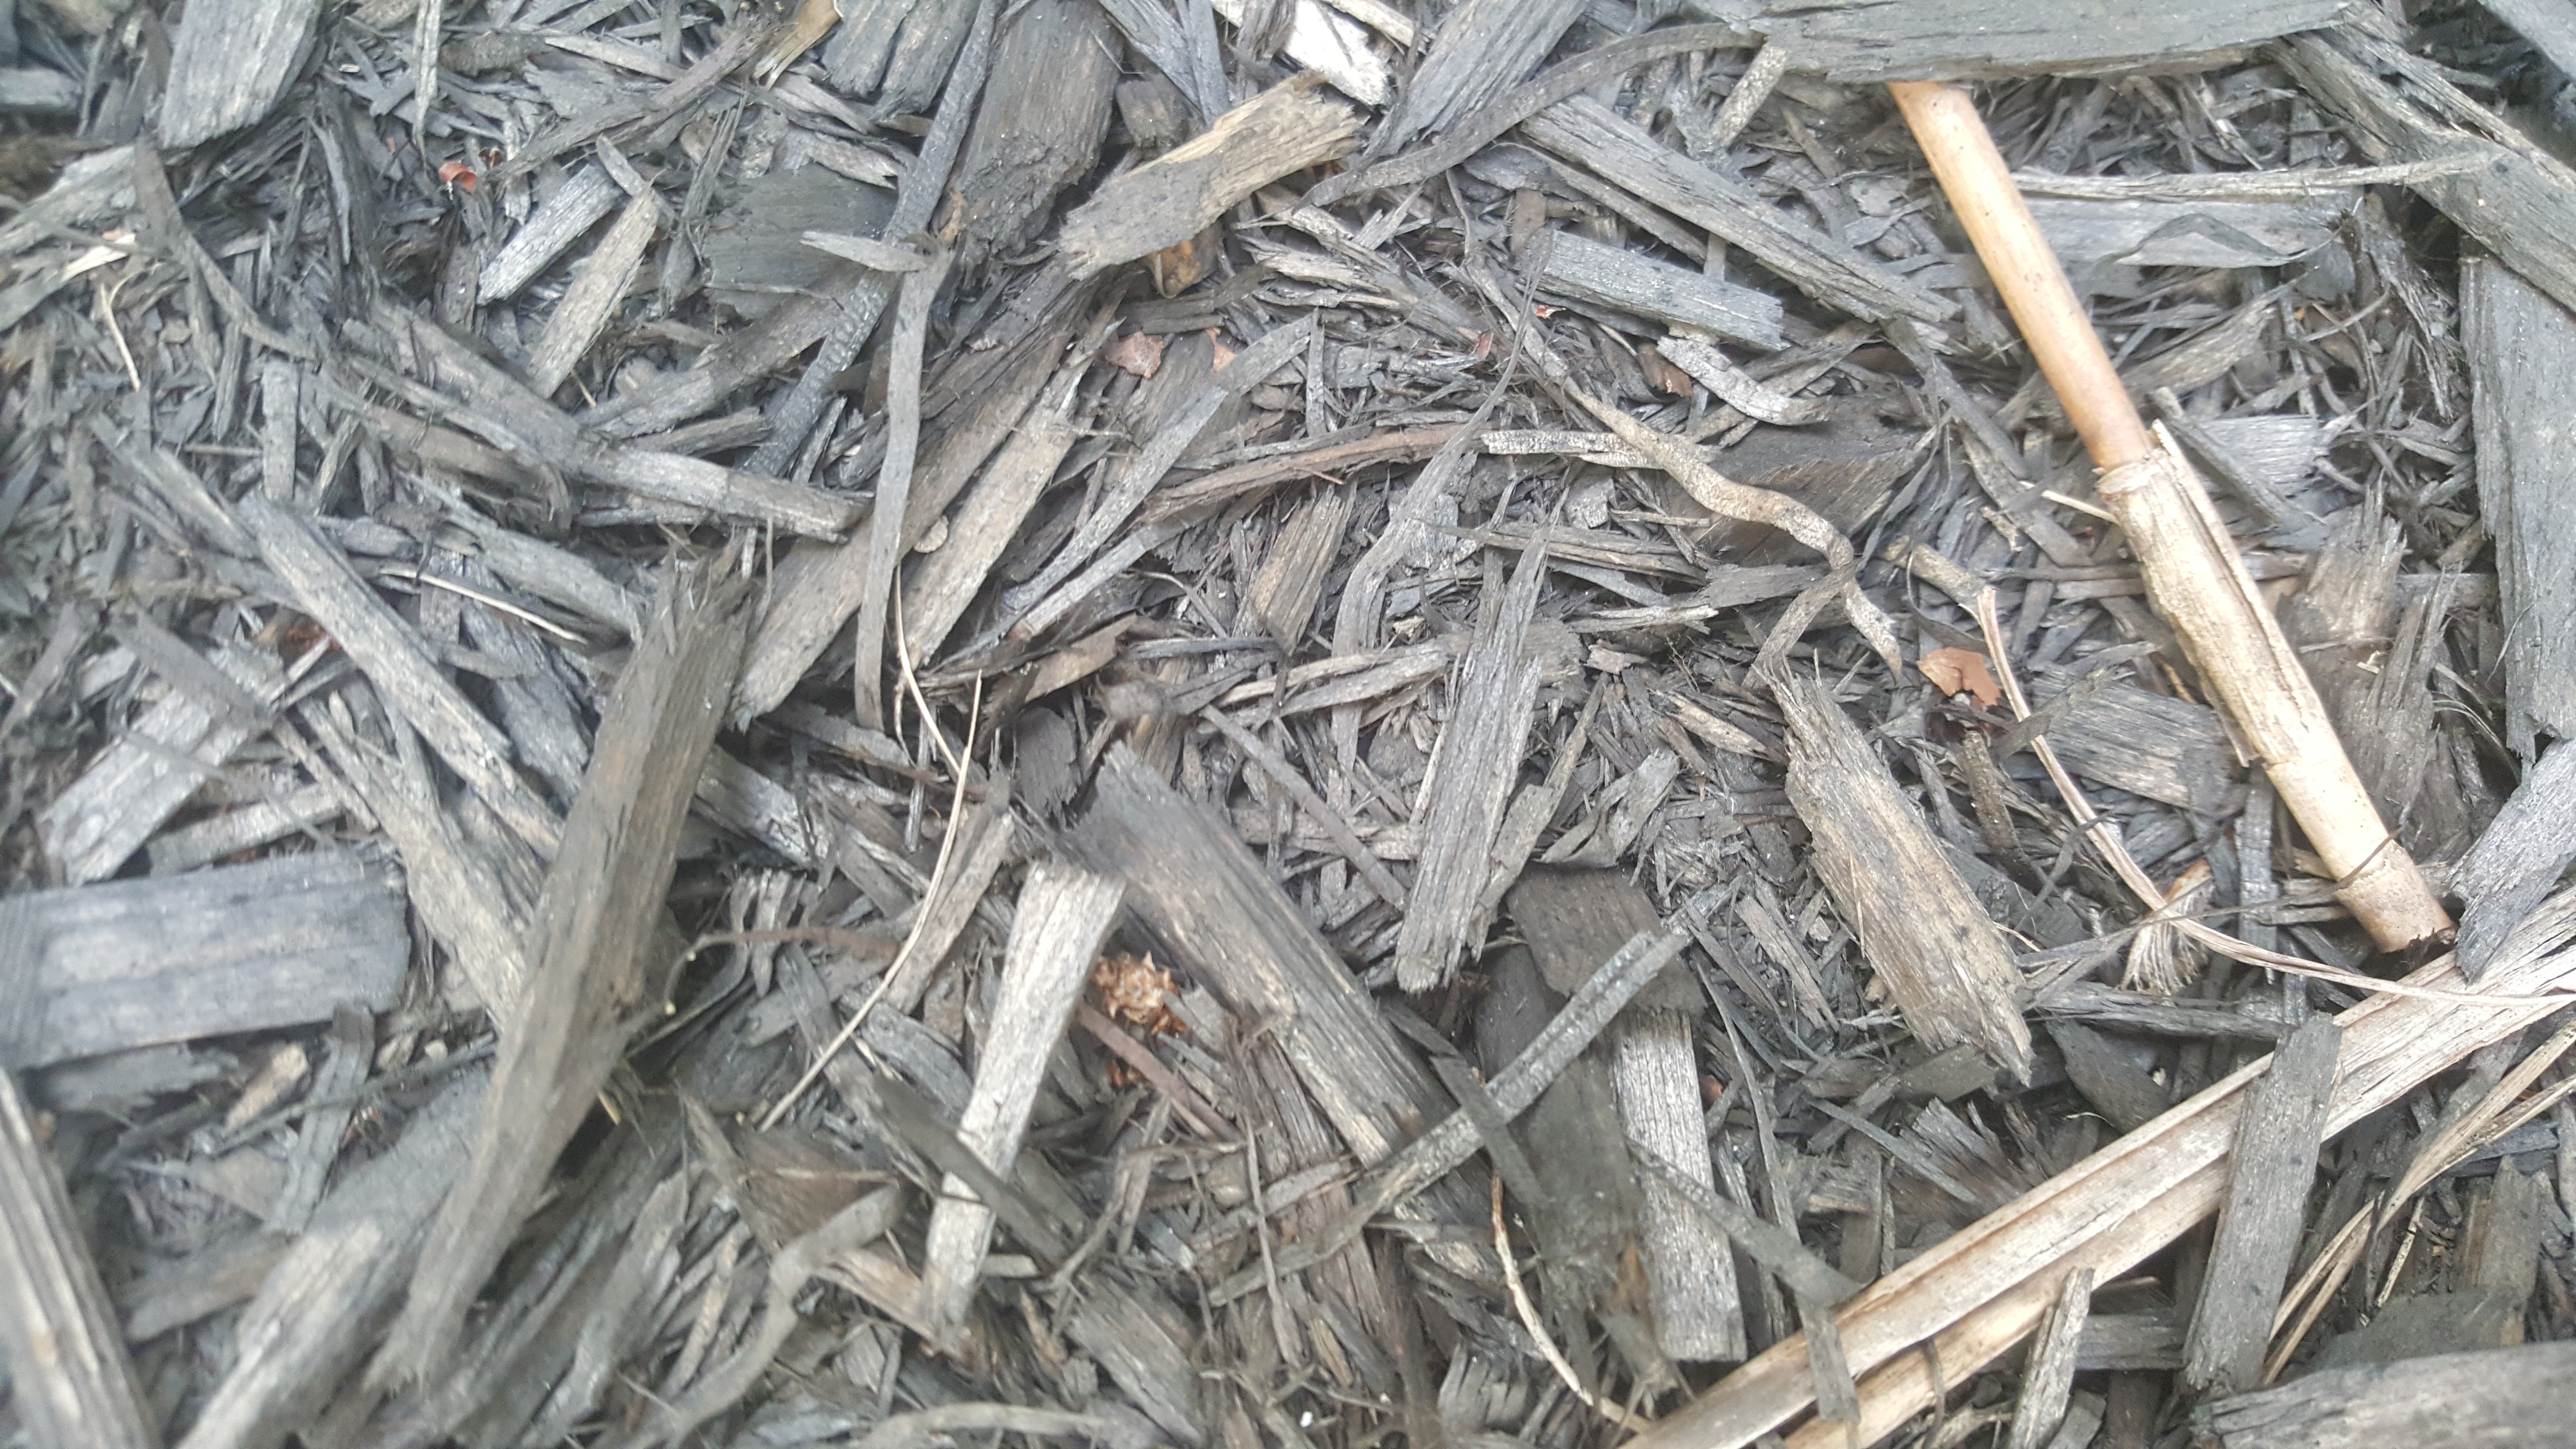
Mulch is any layer or covering over soil. Mulch can be a number of things, I found out. And I was surprised that some of it was considered to be mulch. But, it makes sense.
There are several types of mulch, the most common being bark or wood chips. This is considered organic mulch — mulch that will decompose over time. Some other examples of organic mulch include:
There are also several synthetic or inorganic mulches — mulch that does not decompose. Examples of synthetic mulch are:
What do they all have in common?
They keep the weeds out and retain moisture–they make your beds look nice and well-manicured.
What are the differences between organic and synthetic/inorganic?
Organic mulch decomposes, therefore it helps with the soil’s fertility. The more you use bark chips, grass, pine needles, etc, the more it enriches your soil. You will not get these benefits from synthetic mulch like plastic sheets. Even though it keeps the weeds away, it won’t allow water in either, which goes against the idea of using mulch in the first place.
The mulch most people closely associate with, bark or wood chip mulch, comes in different colors, and from different trees. Hardwoods and softwoods, such as Cedar, are made into bark or wood chip mulch. It comes in colors of red, black, and natural.
What mulch do I use?
Many moons ago, when I was just moving into our home, and the backyard was just that– a backyard with nothing in it, I took my first stab at landscaping the one side of my fence. I went over to Lowe’s and picked out a mulch that didn’t make me recoil– sorry folks, but I really don’t like the bright red mulch that most people/places have. It drives me nuts!
I asked the guy to load up my then Honda Civic with 8 bags of natural cedar mulch, and he told me I picked the best mulch there was! Totally a crapshoot. I liked the natural color, and because it’s Cedar, and, as we all know, Cedar retains moisture quite well, so it was a lucky guess!
Do you mulch only in the Summer/Growing Season?
No, you can mulch in the fall, too! BUT you don’t have to buy any, just wait for your leaves to come down from the trees! Leaves, in my opinion, are the best mulch for the winter– it protects your plants from harsh weather, and when it decomposes, it leaves your soil full of wonderful nutrients.
How often do you mulch?
You don’t have to mulch every year. In fact its better if you did it every other, or maybe every couple of years. However, I have mulched all of my beds the last two years, only because I keep making more! Once you have beds established, you don’t need to mulch as much. Just get out the ole garden hoe and mix up your mulch with your soil.
So “mulch” to talk about, but I believe this information will do for now. This is what I have learned about mulch, and I hope you find it of interest for your gardens, too!
The tree in my front yard seems to be the place for cicadas. I was lucky enough to catch this guy before he flew away! Enjoy.

Summer is just a week old, and you would think it was Fall the way the rain and cold has been pounding down. This weather is actually a blessing in disguise, because it forces me to get indoor work done that is usually neglected when it’s gardening season!
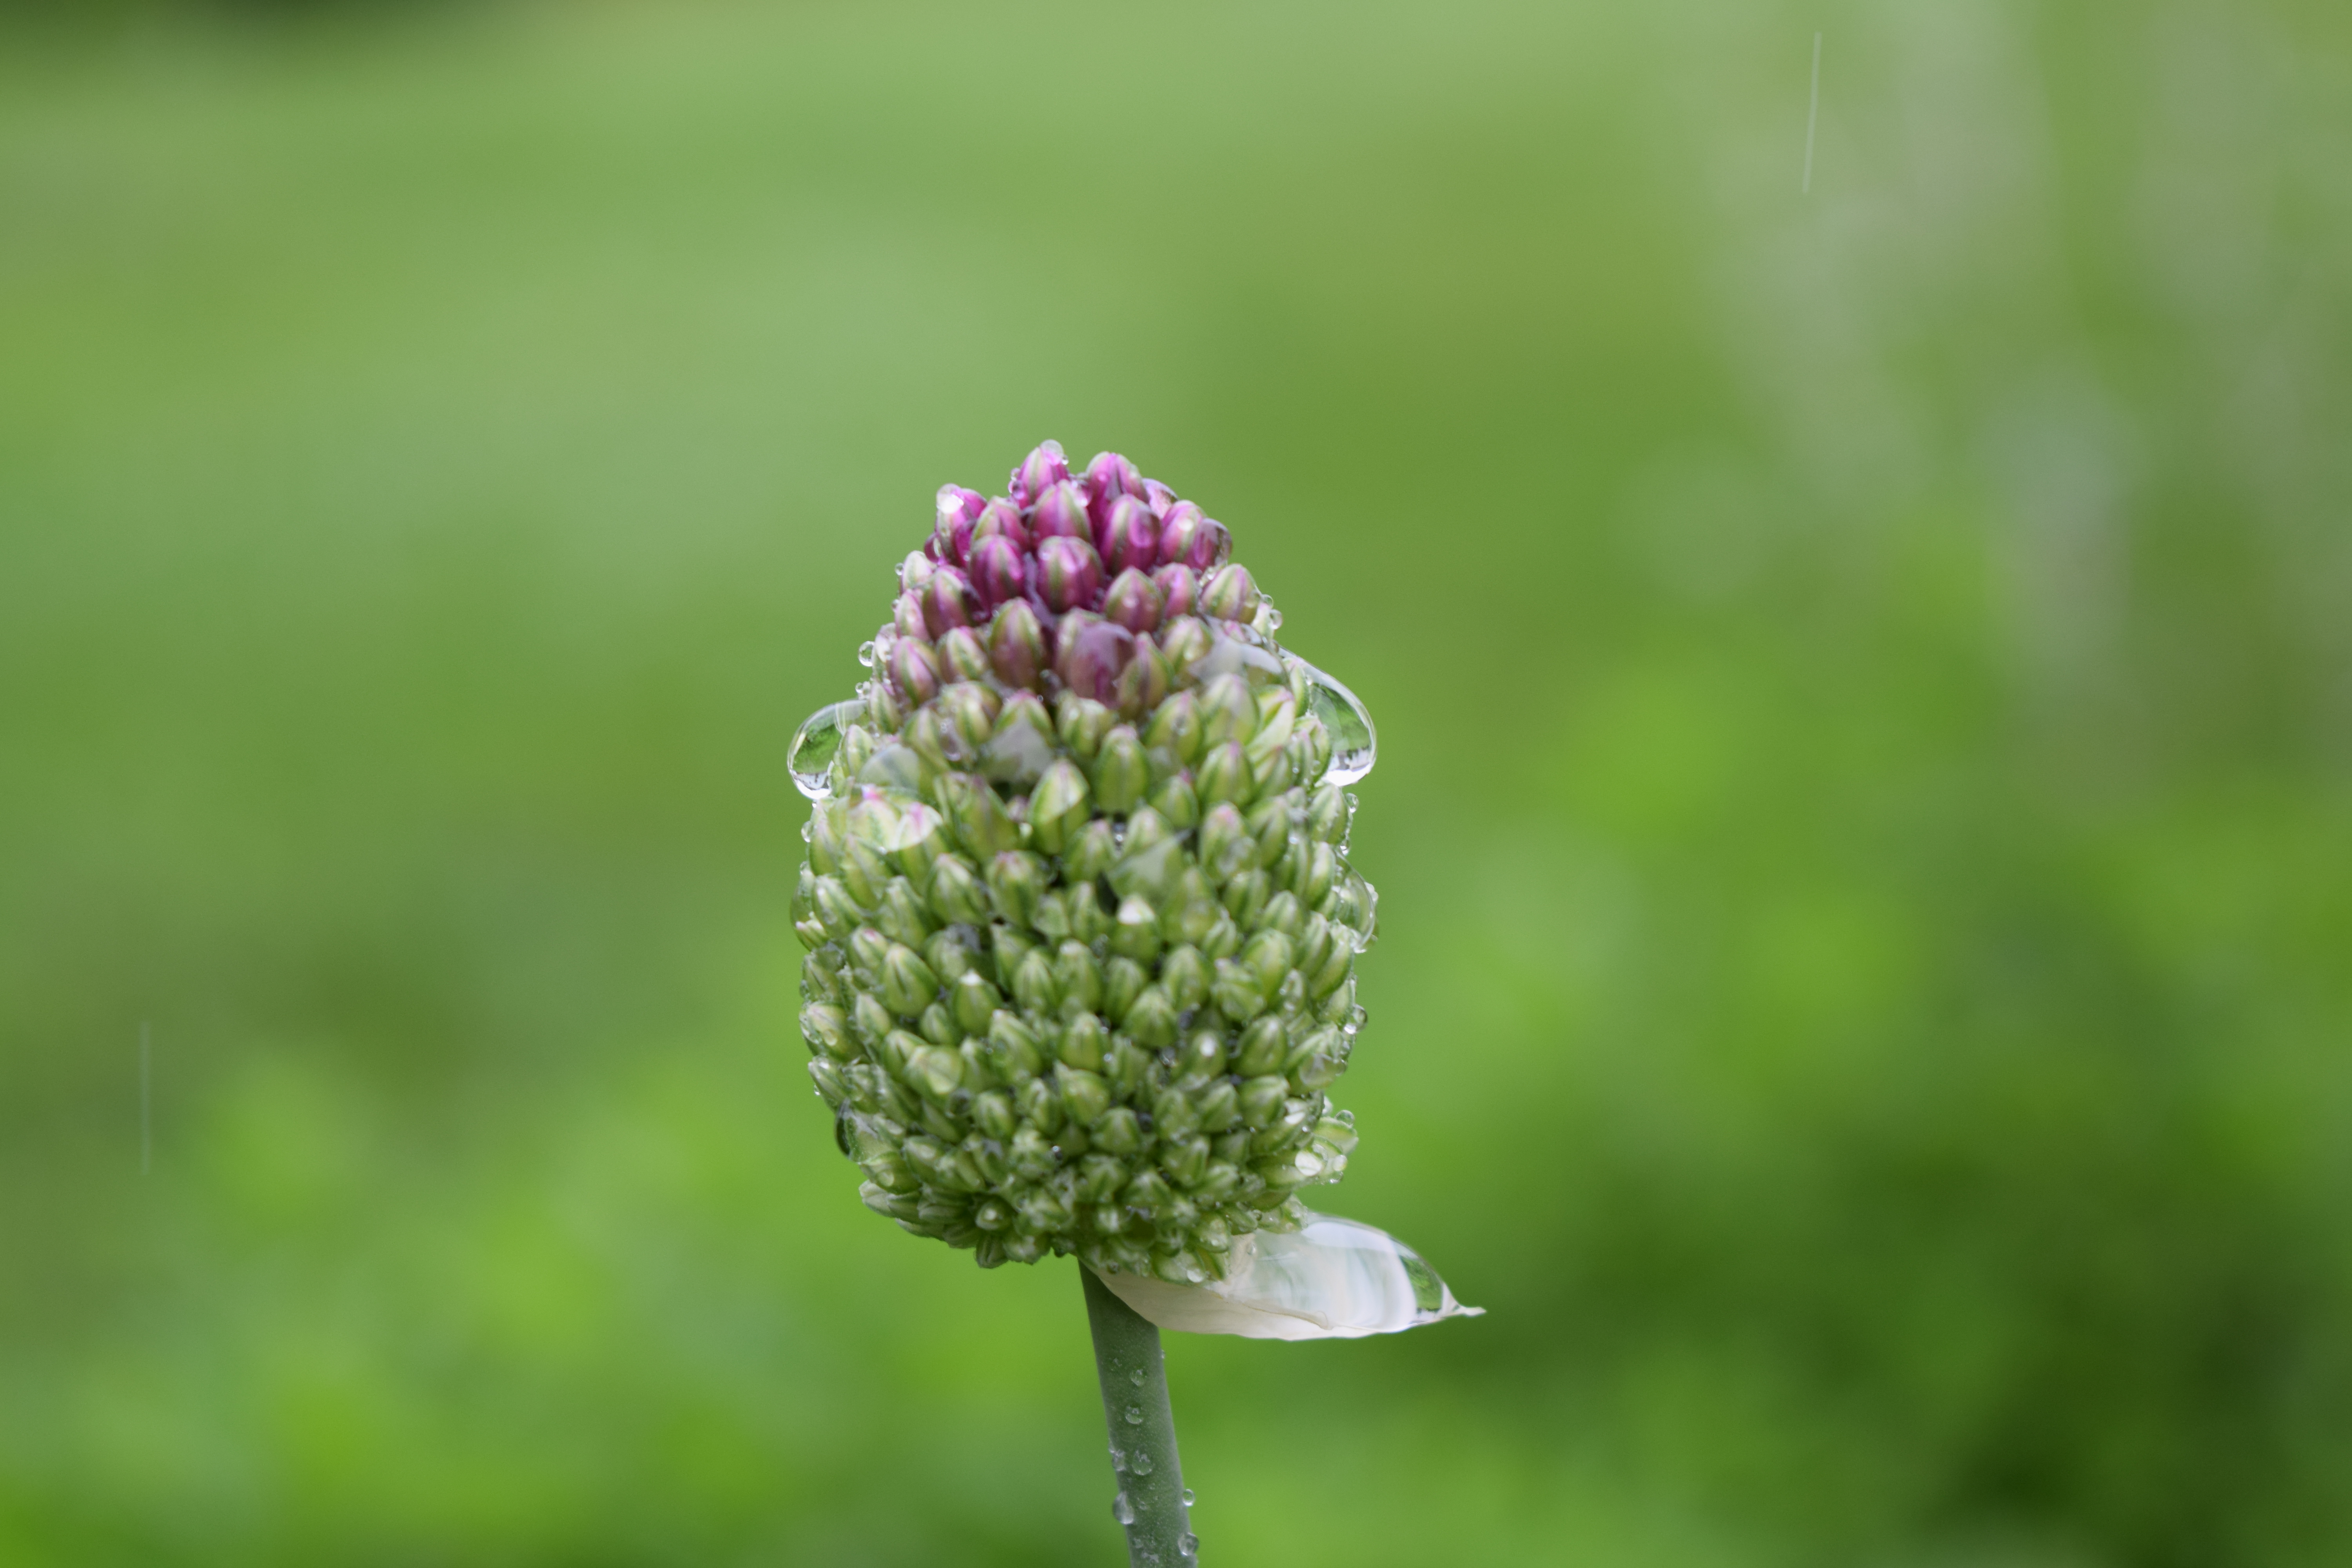
I have a late-blooming Allium that’s getting its share of rain!
So, I just thought I would give you a rundown of what’s “growing” on in my yard this year.
First, I have to say that everything is coming along just wonderfully this year. I think this endless rain has helped speed up the lush full-grown landscape that surrounds my home. I also believe that it’s the rain that has kept the deer at bay– I haven’t had to spray my hostas and other deer delicacies only twice so far. By this time last year, I was spraying my plants every week!
As always, there is never an end to gardening. I always tell myself EVERY year that what I have done is enough and I don’t need anymore. Well, of course, I keep adding and keeping making new beds. I comb through garden magazines, peruse garden centers and research online all the different perennials I could add to my garden for my hardiness zone of 6a.
Well, these are the plants I have added this year:
Beautyberry: I have wanted one of these plants for a long time. In the fall, they will have these beautiful (hence the name) purple berries on its branches. They require part sun/shade.

I can’t wait to see these berries in all their purpley-ness!
Indian Holly Fern: I love ferns, as everyone knows at this point. So, how could I not add yet another fern to my back yard shaded area? This fern has light stripes running down the middle of the fronds.

This fern has stunning contrasts!
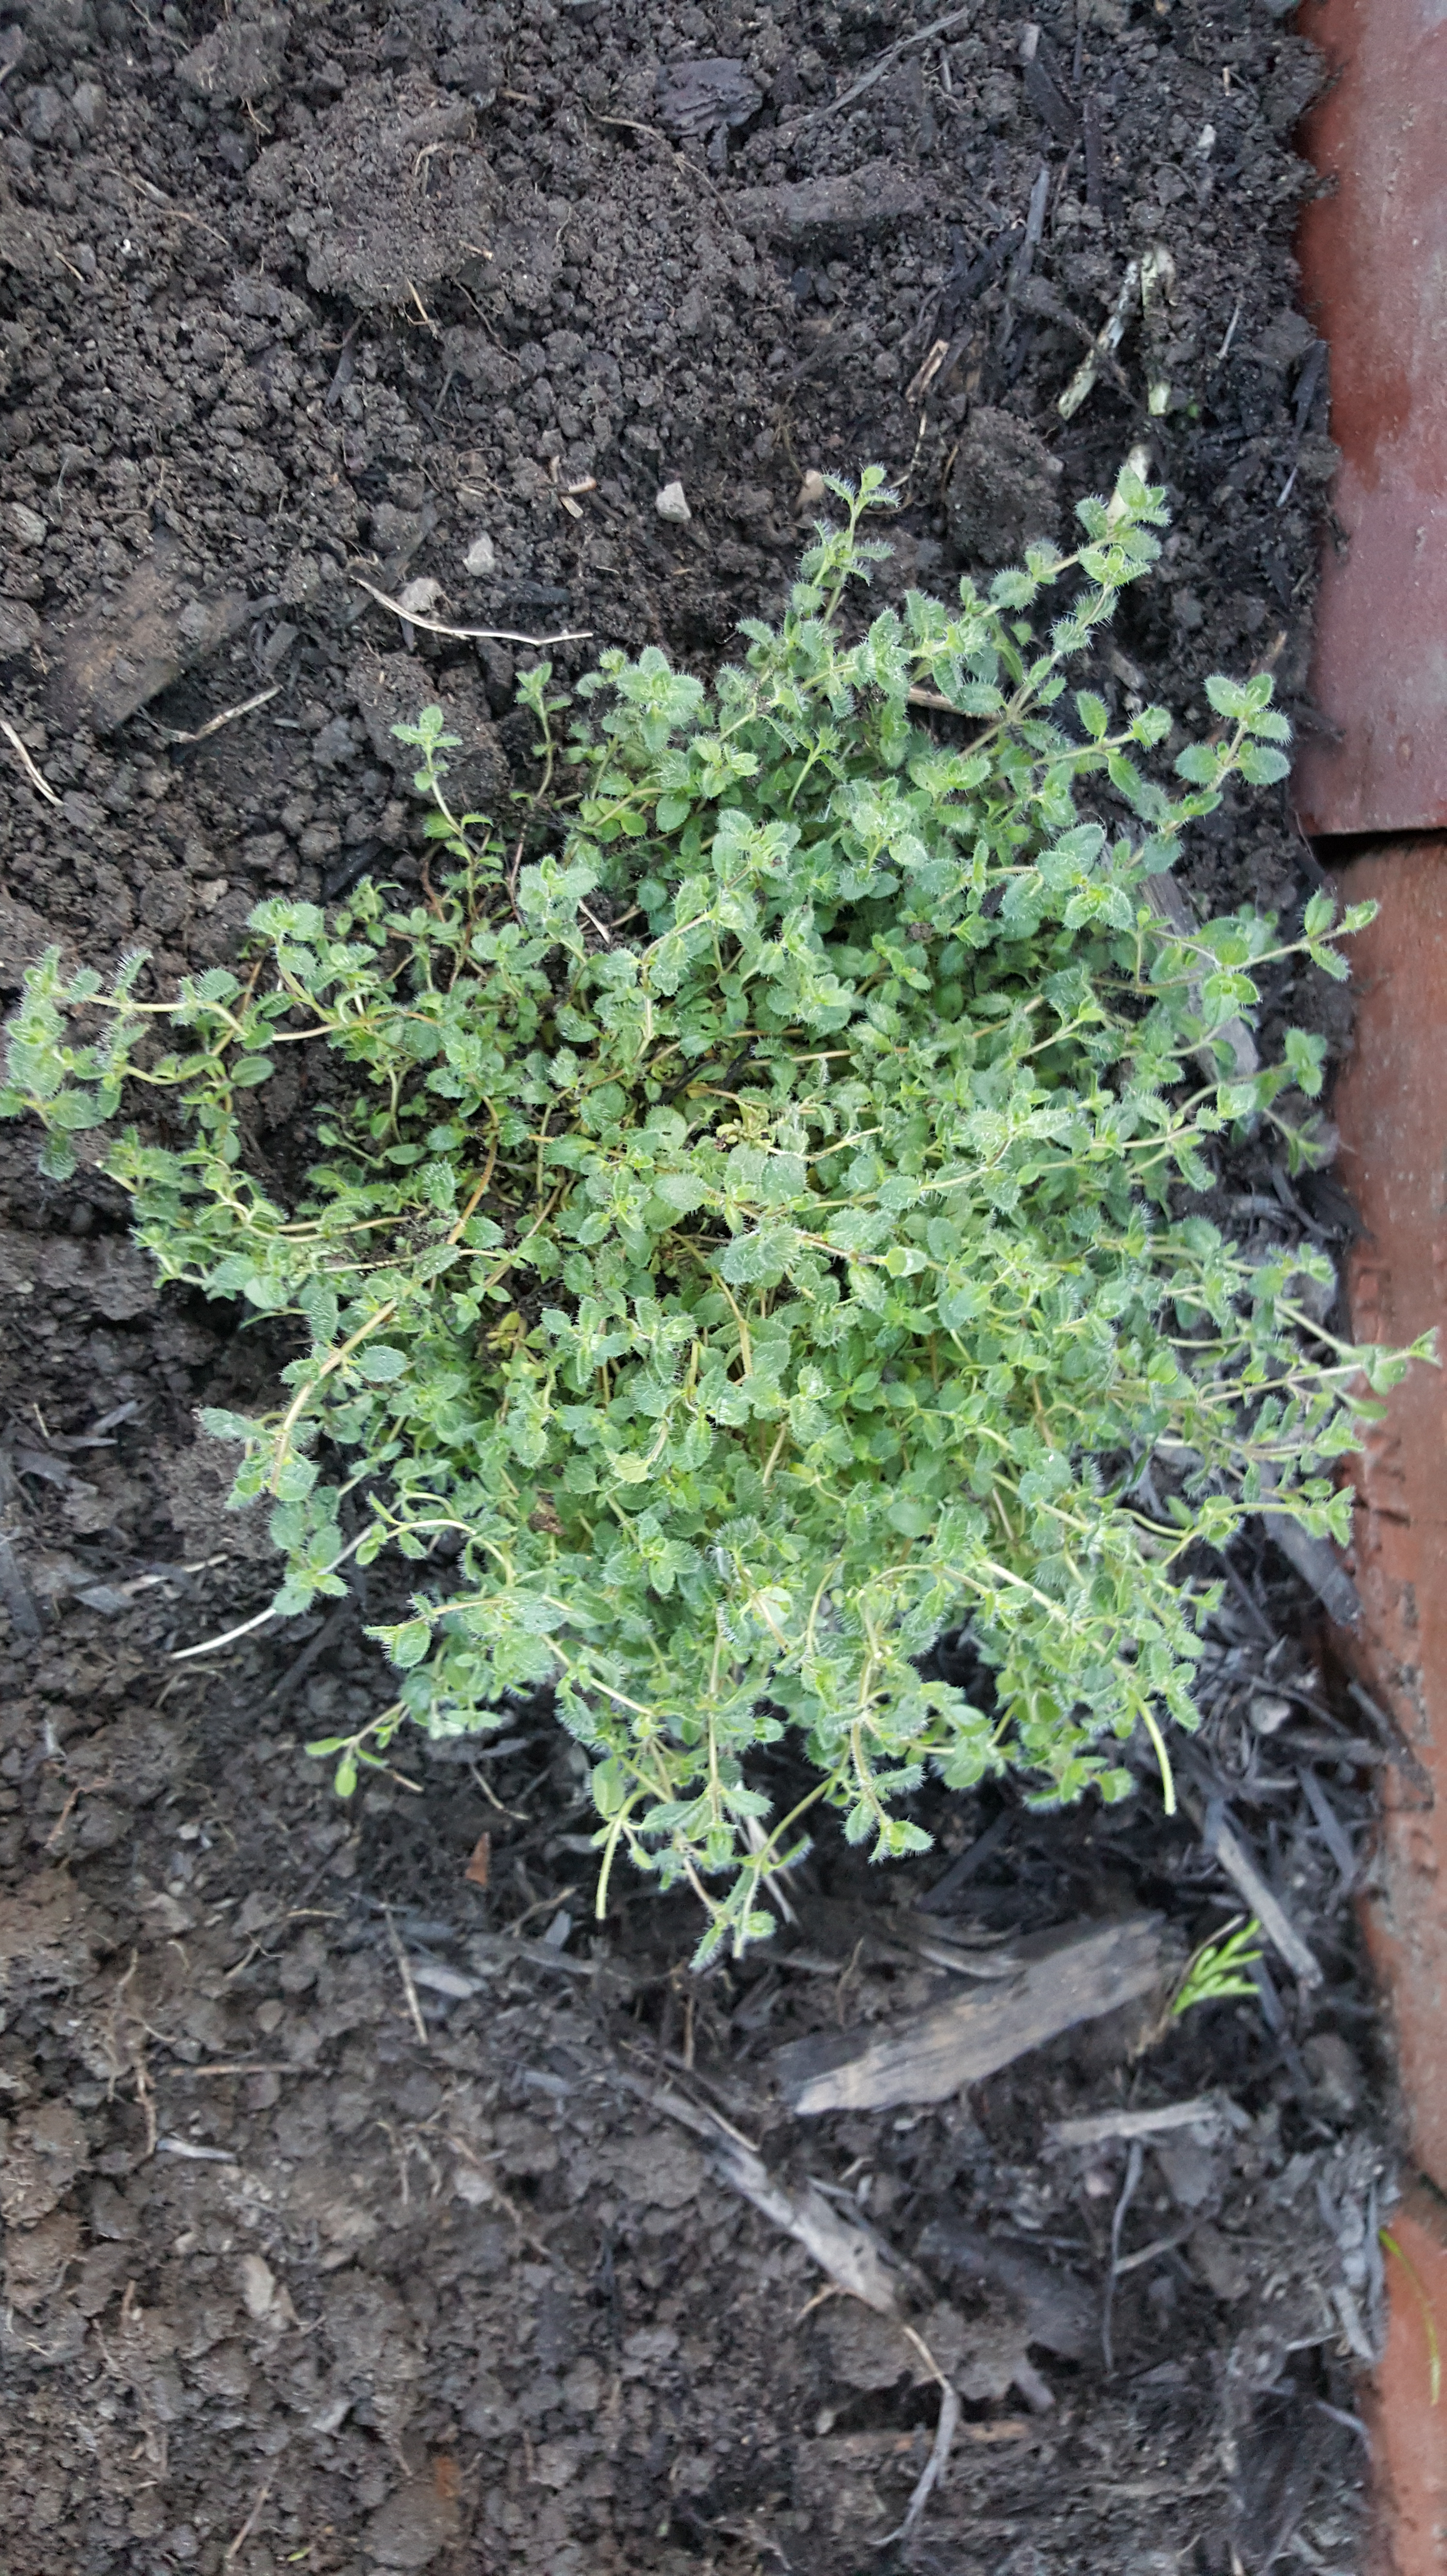
Creeping Thyme: I purchased four of these plants for this little brick wall I made for the flower bed directly behind the garage. I hope they will start growing over the bricks and make for an excellent groundcover look!
Some other views of my gardens that are blooming beautifully:

Maidenhair Fern

Cinnamon Fern

Yellow Loosestrife

Torch Lily
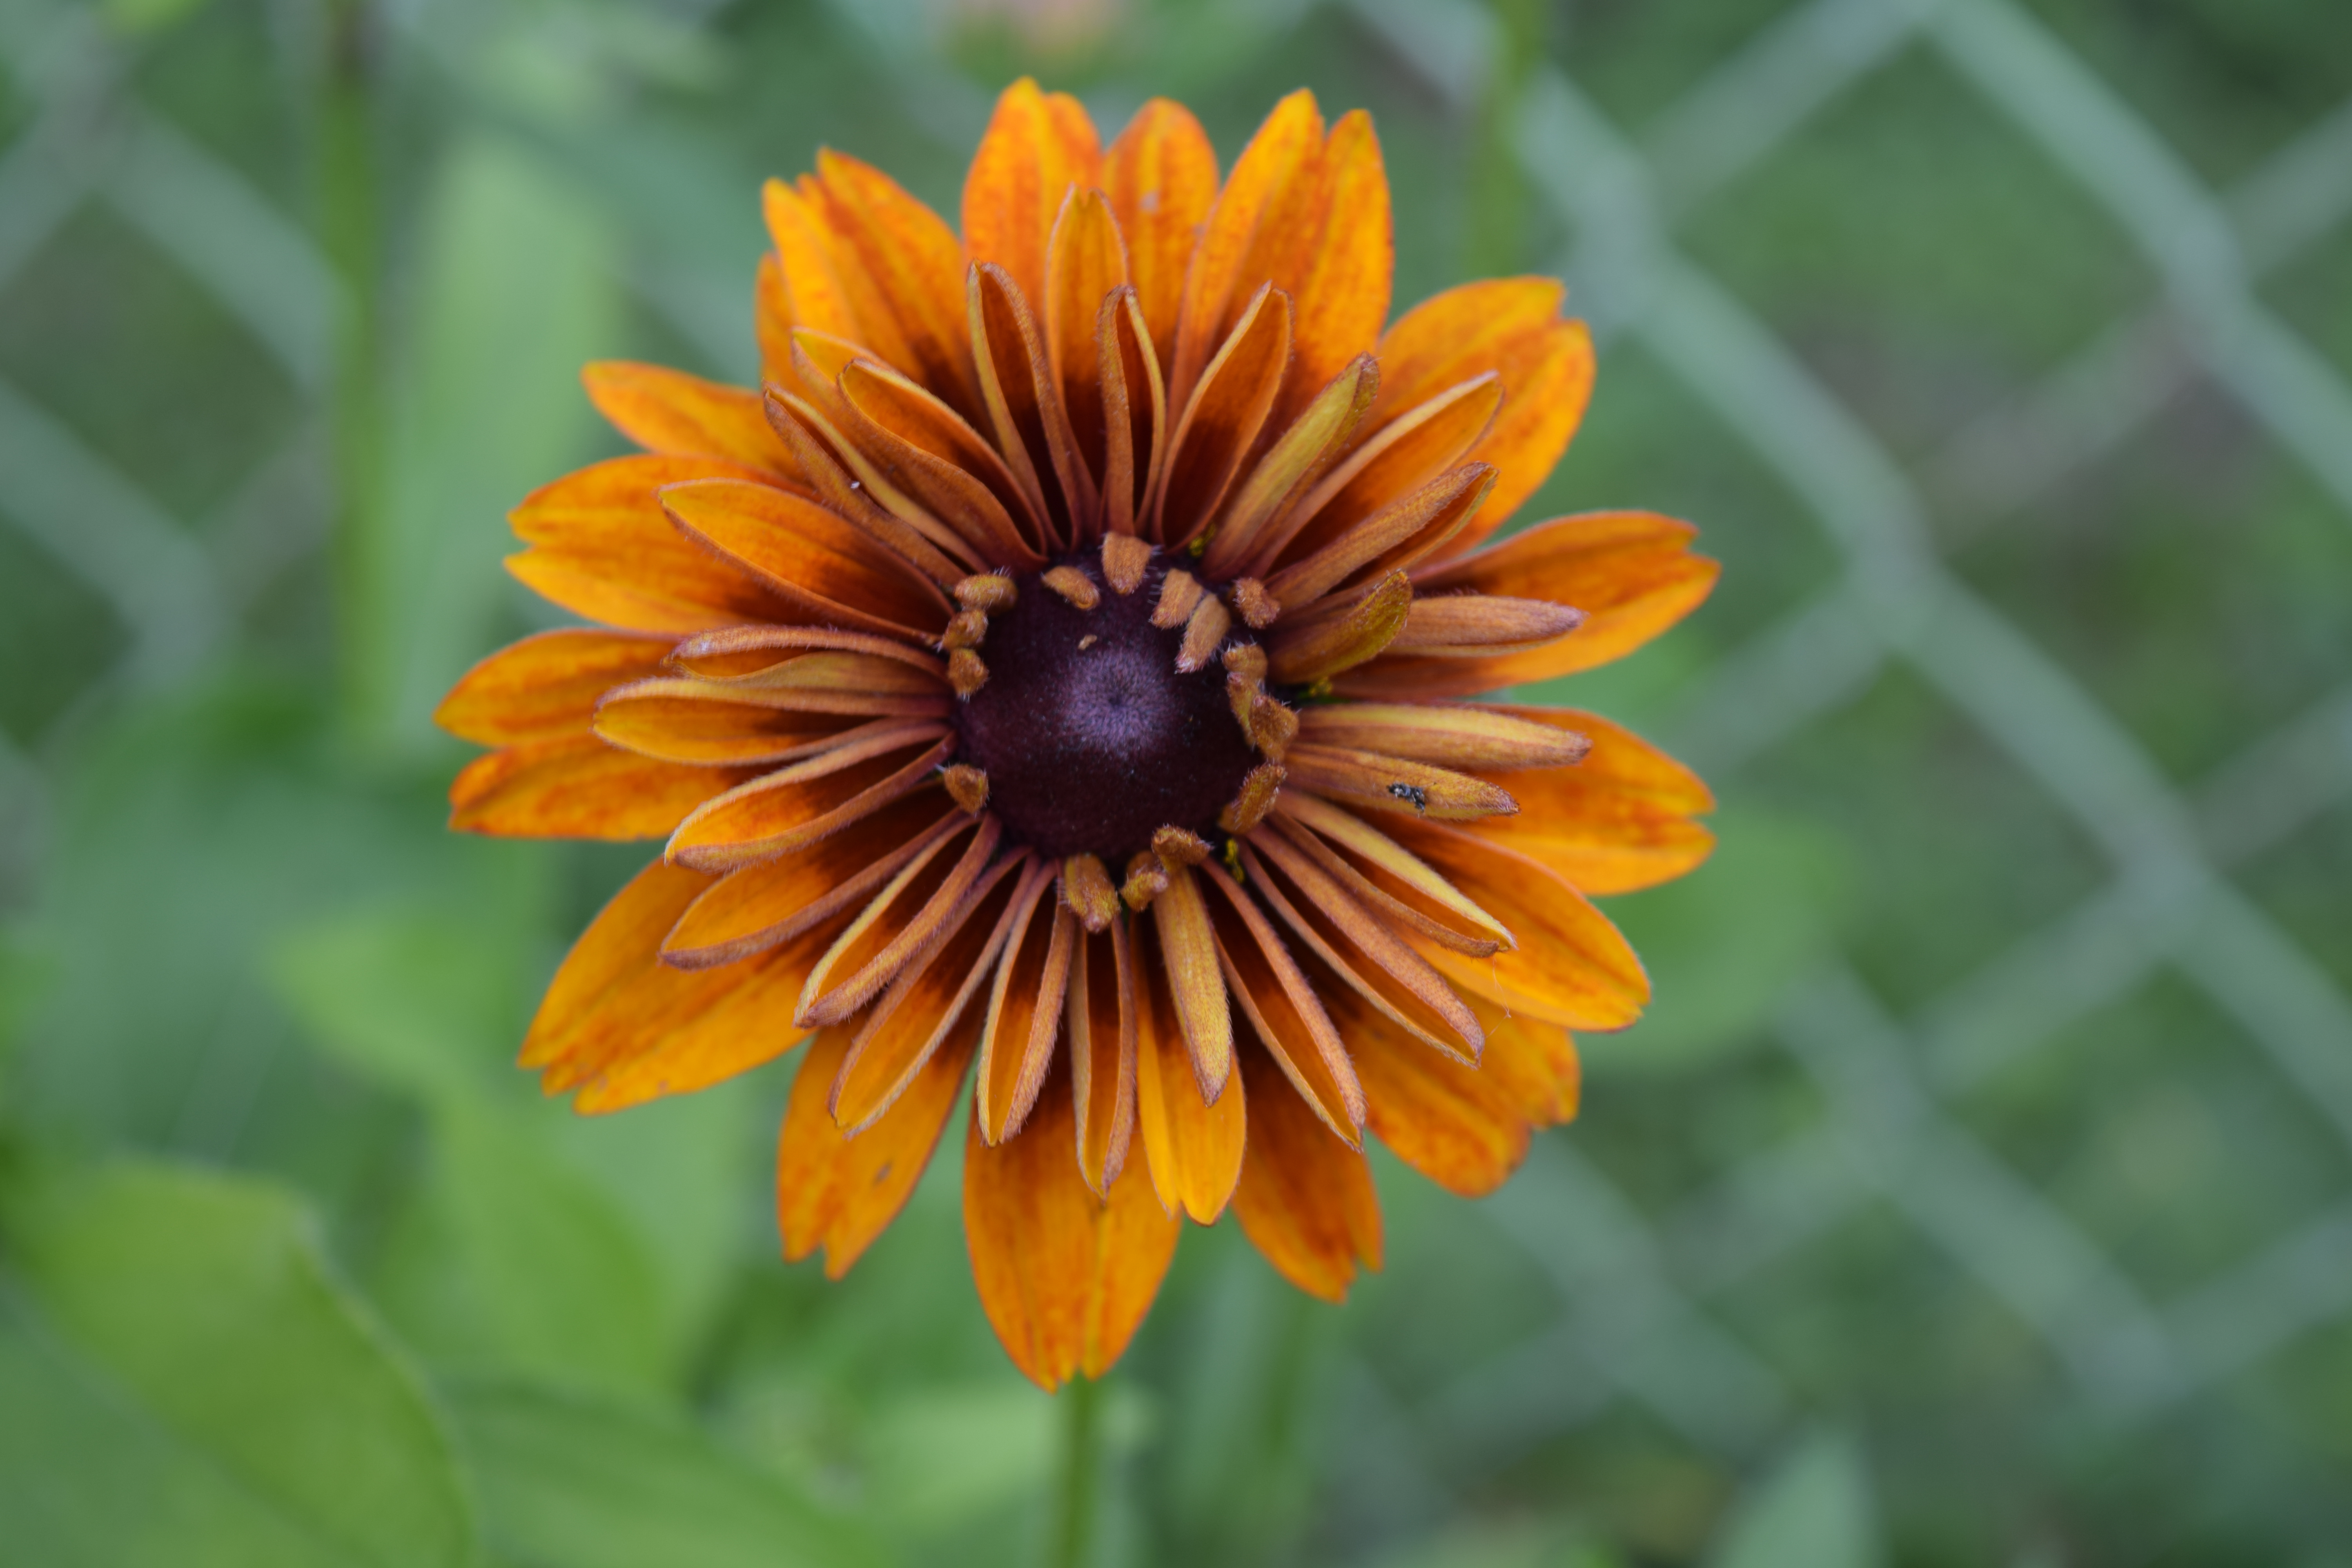
Rudbeckia

Sea Holly
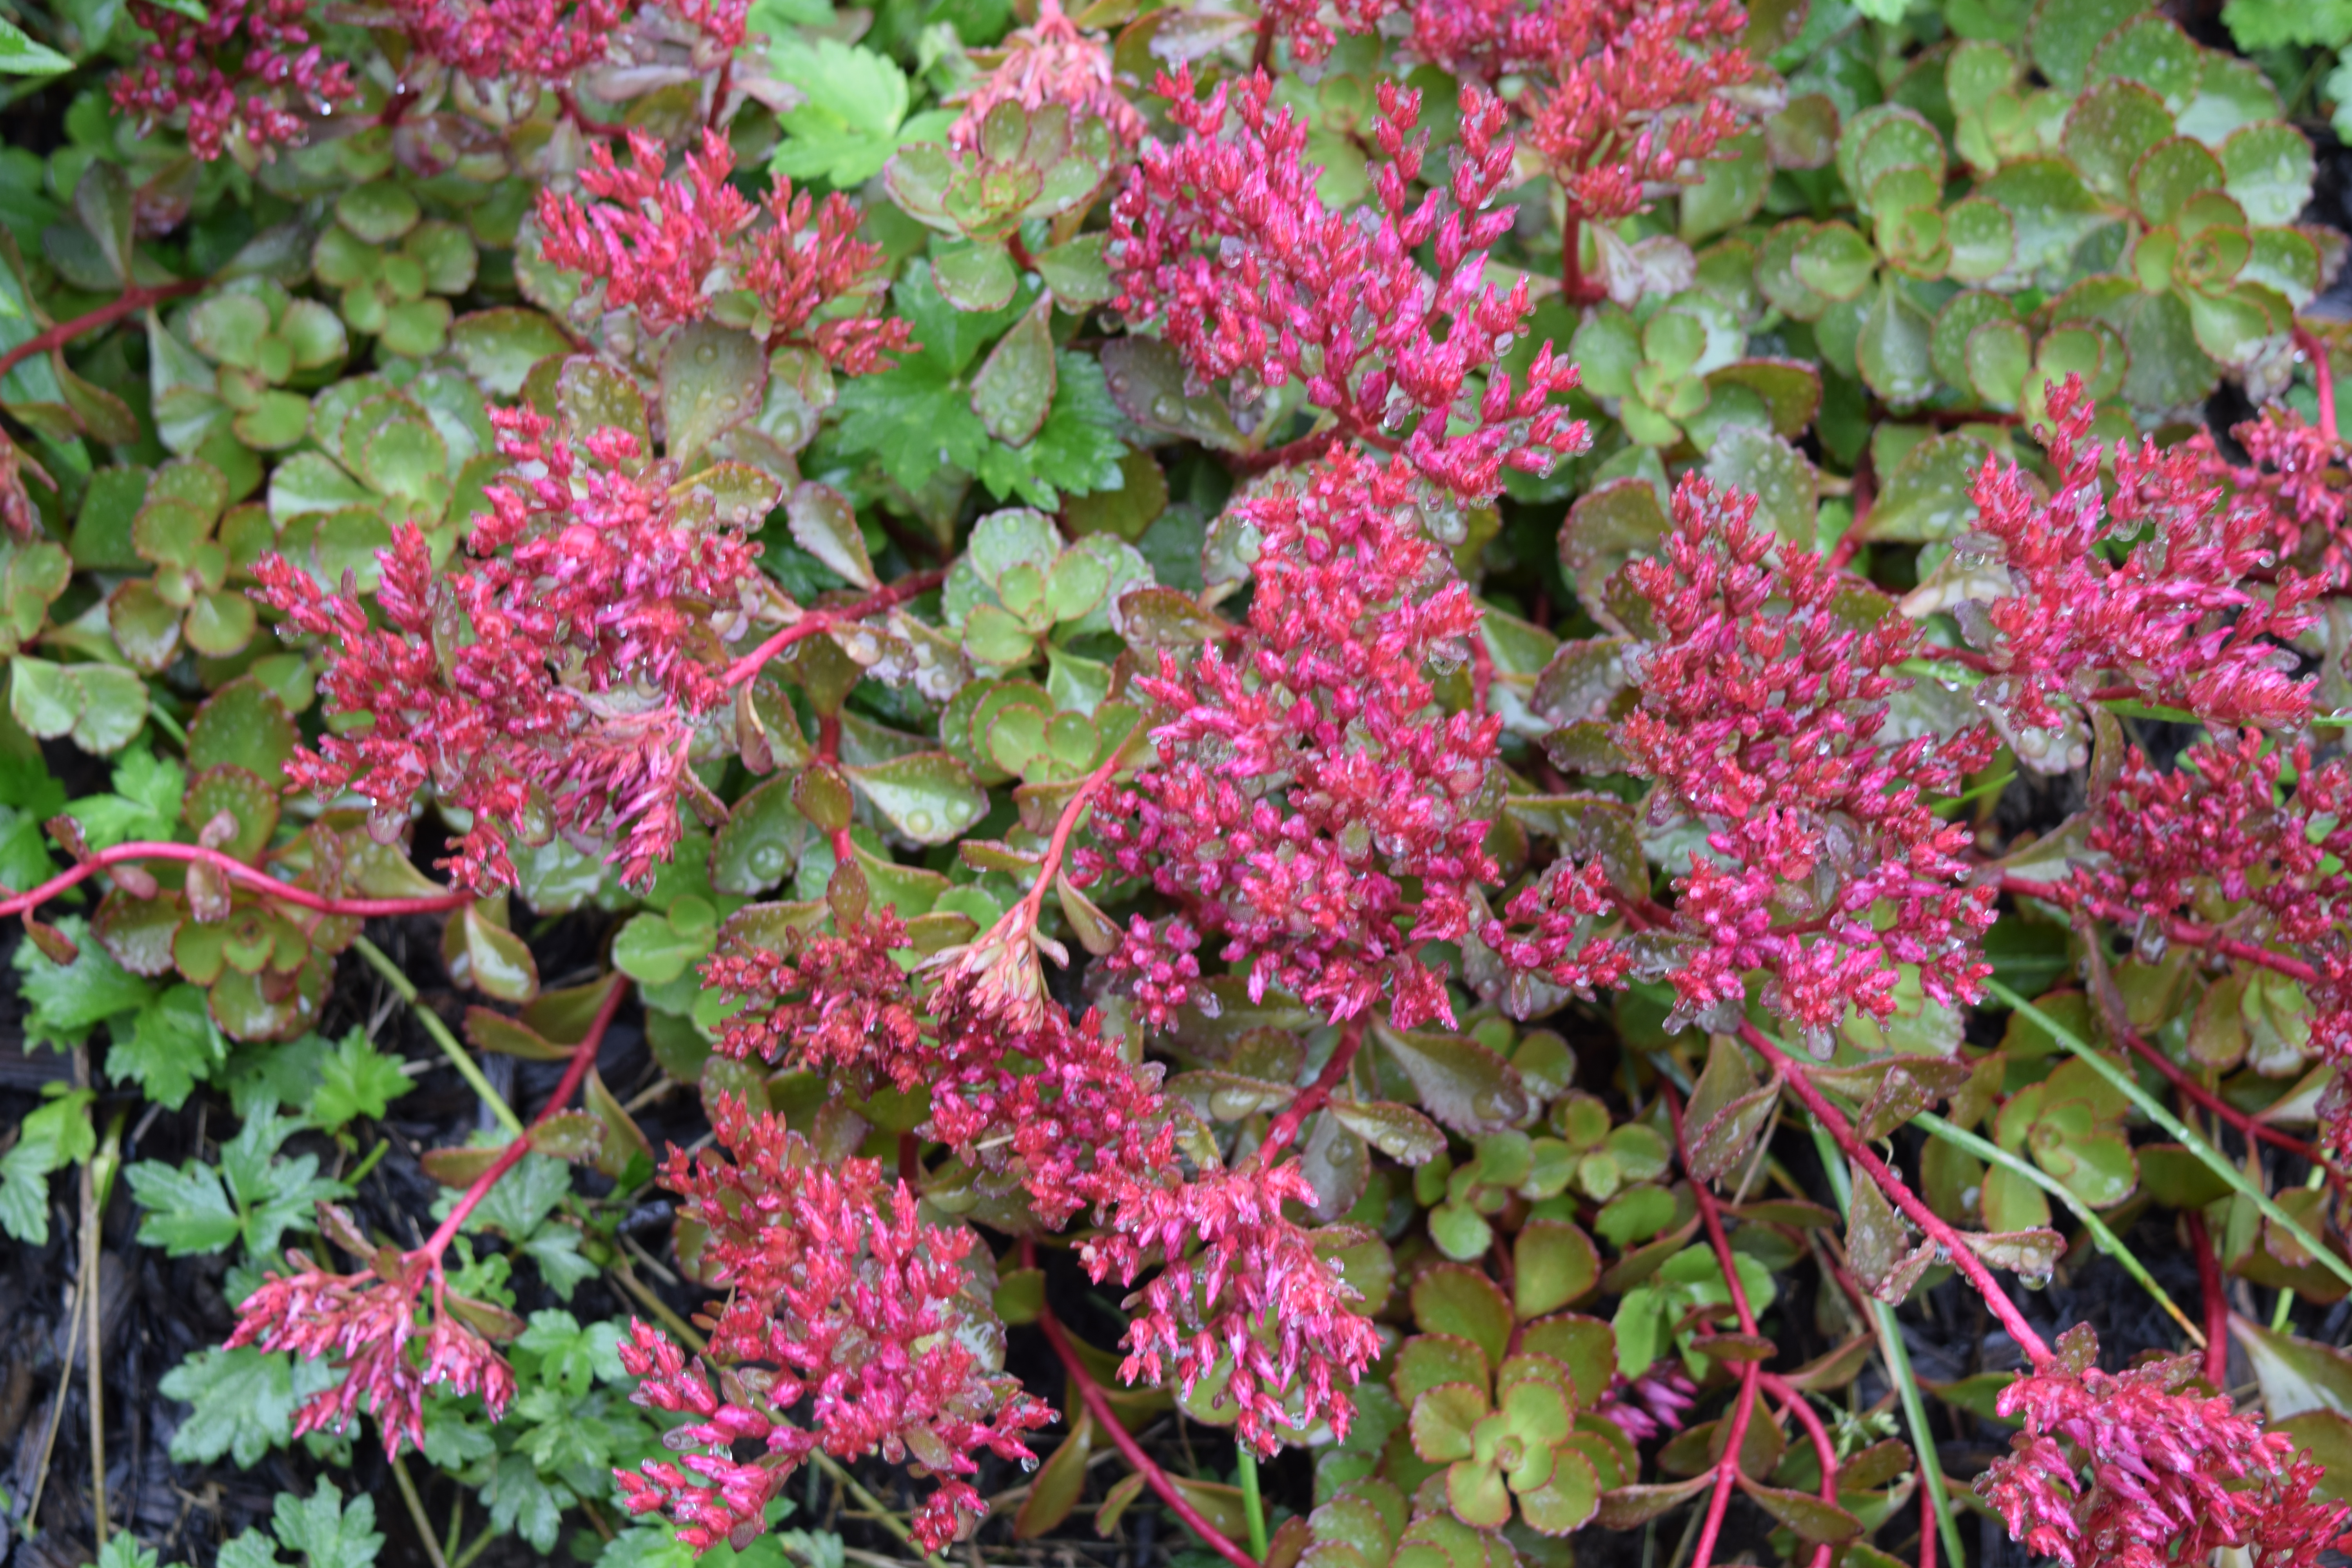
Two stone crop sedum
Stay tuned at a later date for some more pictures of other plants well on their way through the season. I hope that these pictures will give you some ideas of what you would like to add in your garden as well!
Have a wonderful summer week!
Welcome, Summer! The weather in Buffalo has been absolutely beautiful! Everybody, including myself, is soaking up the sun as much as possible! I am getting a little behind on blog posts because now that summer is in full swing, our calendars are absolutely packed. That’s what happens in Western New York when summer comes– you use up every single minute of it!

Meanwhile, I have added a couple of new plants to my garden, but next week I plan on doing a little update on new plants I have purchased, and also the other stuff that’s been growing in my gardens. I have also learned a few things.
Speaking of learning a few things– after going to my parents house a few weeks ago, I saw this really neat bowl that my mother had made. I asked what it was and she said, “Hypertufa”. I said, “What?!”
Here we go. Hypertufa is a sandy/concrete like-mixture that you make with Portland cement*. It is much lighter and porous than your typical terracotta pot or just plain old concrete, so that’s what makes it so good for growing plants in. This history behind it is really interesting. Hypertufa was invented for use in alpine gardens. It can withstand temperatures that dip to -22 degrees farenheit (-30 degrees celsius).
*This is very important. This is what makes Hypertufa different from regular garden ornaments you make out of just a mixture of sand, cement mix and water. Yes, it really is confusing.
How to make Hypertufa
If you go online you will find many different recipes, but this seems to be the most used amounts that I found:
-Three parts Portland Cement -Four parts Sphagnum moss -Five parts Perlite -Water
You can add sand, pebbles, or other anything you think might give your hypertufa more structural integrity, or strength.
**Make sure to use gloves and mask when using the above ingredients. The cement dust can be dangerous if inhaled in large amounts. The mixture should have a cottage cheese consistency before you put it in the mold.
Once you get more experience with creating hypertufa, get creative. Start thinking outside the box with it.
This will be what your finished project will look like:
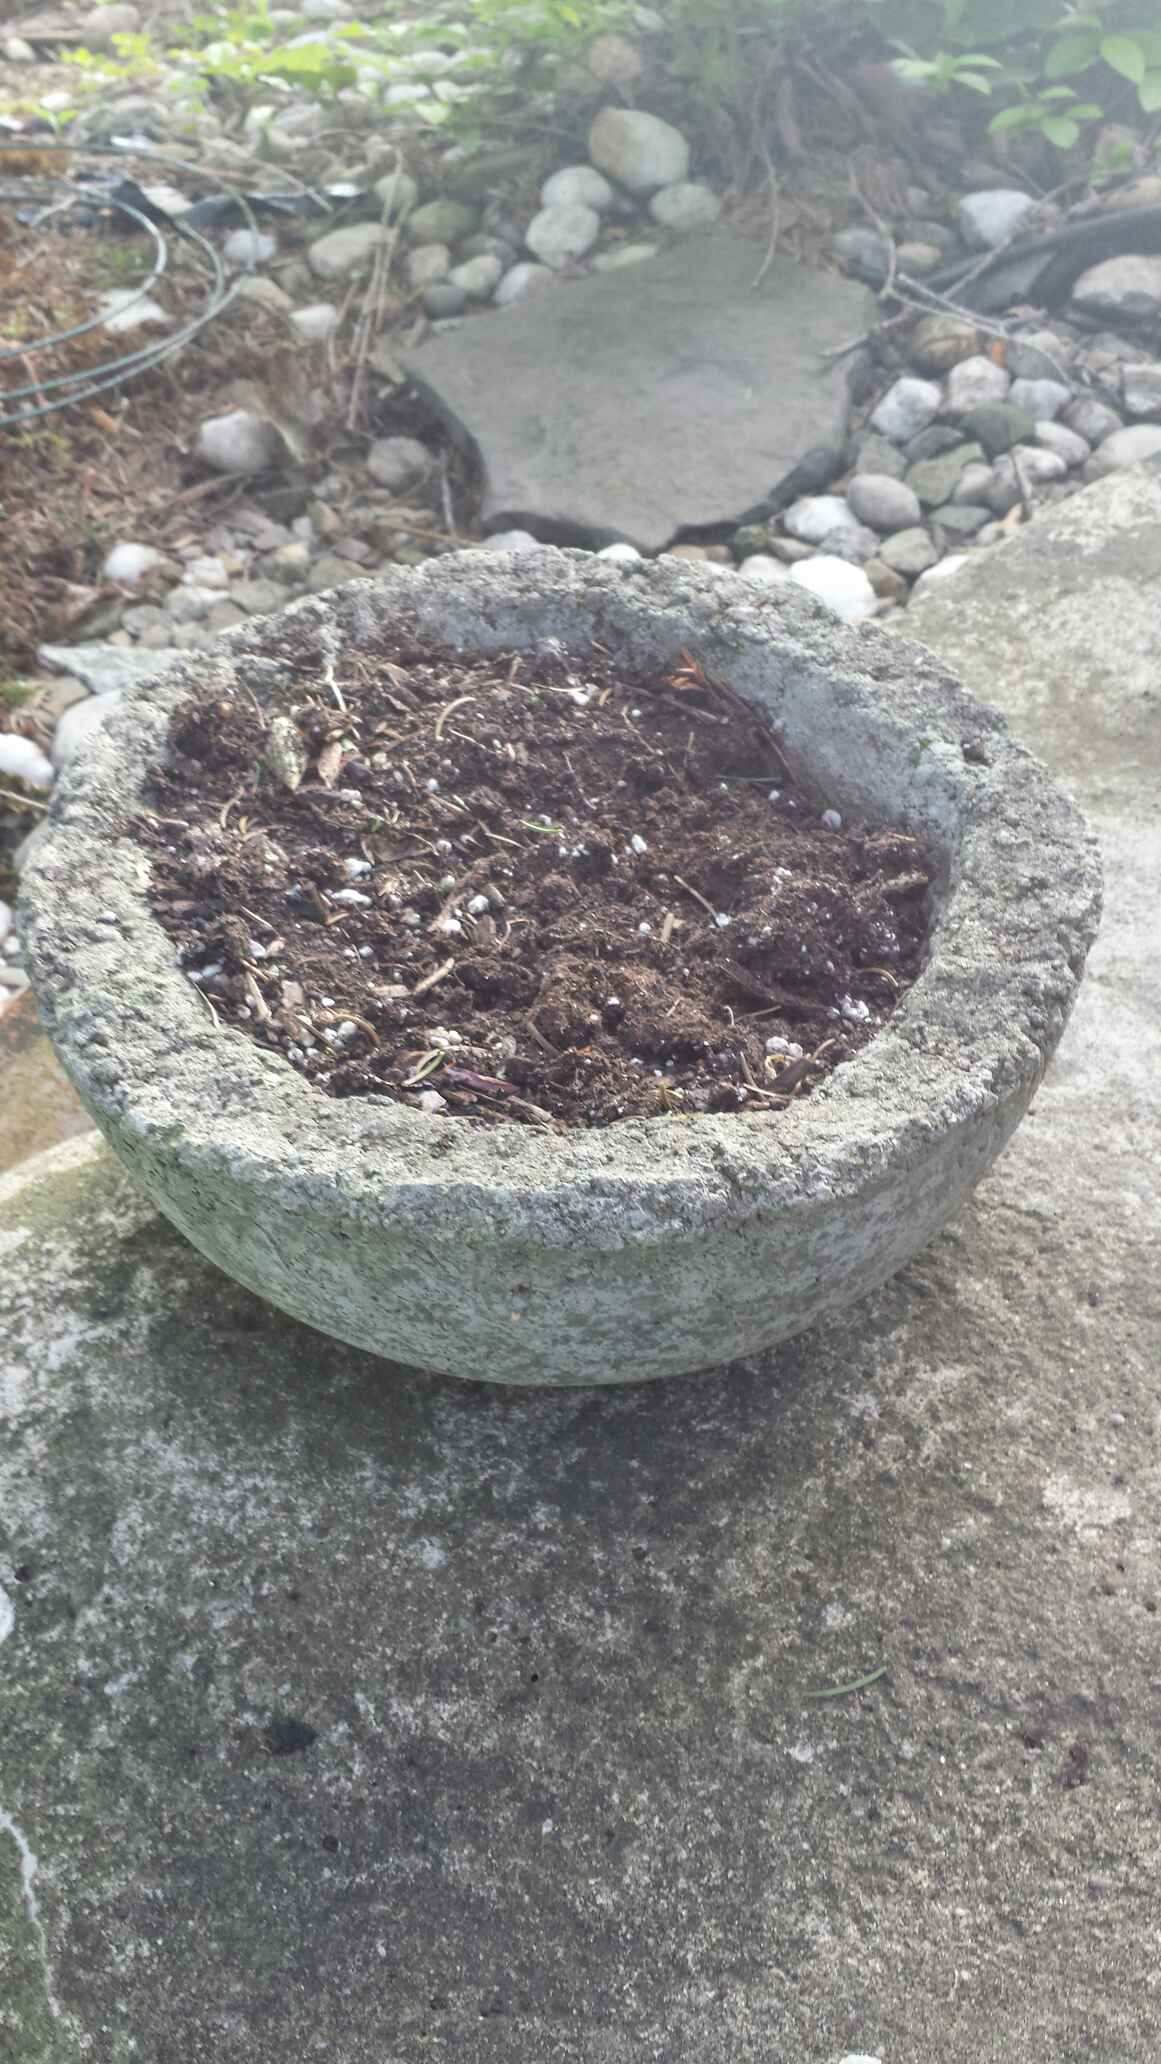
Photo: Colleen Dietrich
Hypertufa has endless possibilities. This is also a great Christmas gift idea. I plan on making a few of these! You can use anything! And your garden will thank you!
–
One of the prettiest wildflowers that I recall from my childhood. The “paintbrush”. Enjoy.


Wild daisies are a sure sign of summer!
With summer just over a week away, everybody is a busy body, scampering to greenhouses and home stores trying to get what they need done. So this post is going to be just as swift as you! Here are a few tips for the full-fledged gardening season that you need to keep in mind for the rest of the summer:
Good things come to those who wait: By the end of July/ early August, spring nursery stock gets slashed to 50% off. Pick up some things there to add to your landscape. It may seem like forever, but it’s not.
Mulch: Mulch fascinates me, actually. I don’t know why, but it does. I actually have a blog post in the works that is totally devoted to it. It’s both a time and money saver on your part. It retains water to keep your plants hydrated. And it really doesn’t cost that much for a bag. You can get it for $3. And it makes your flower beds look so darn neat and nice!
Keep the weeds out: I always have weeds. It really doesn’t matter what I do. But when I am preparing my beds in early spring, I used to lay down landscaping paper to keep the weeds out. But then I was given even better advice from my mother: lay down newspapers instead! So, to keep the weeds at bay, I lay down newspapers and then put the mulch on top. That saves you money from buying the sometimes costly landscaping paper– just use your Sunday paper! It’s better for the environment because it slowly decomposes over the growing season.
Don’t forget to enjoy it. We get so wrapped up in the work we put into our landscape that we have a hard time enjoying it. I’ve talked to some people who feel that gardening and landscaping is something they have to do, and absolutely hate it. My advice? Don’t do it! Just do what you have to do– mow your lawn and maintain what you need to. Nobody needs to do any of it, but for those of us who do the grunt work every year because we love it, stop and enjoy it. Get a nice patio umbrella and lounger and plant it right out in your yard. Sit down and relax and take in all the work you have been doing. Because, truth be told, we all get far more accomplished in the garden than we do anywhere else. Trust me on this.

Clematis beauty!
For me, I am satisfied with the results of my gardening thus far. I feel that I have finally found the “zen”, or balance that I have been striving for over several years now. Just another example of how gardening is a process, and it takes years to perfect!
Oh, I do apologize for not posting something sooner. I have had a busy week! It all started last Friday when I went on my first ever “momcation” (those of you following me on Twitter know what I am talking about). My brother and his fiance purchased a home in the Pittsburgh, PA area, and I, along with my parents, helped him move. Road trip! This is the first road trip I have done sans husband and child. Ever. I have pretty much stuck close to home and not gone anywhere since my daughter was born.
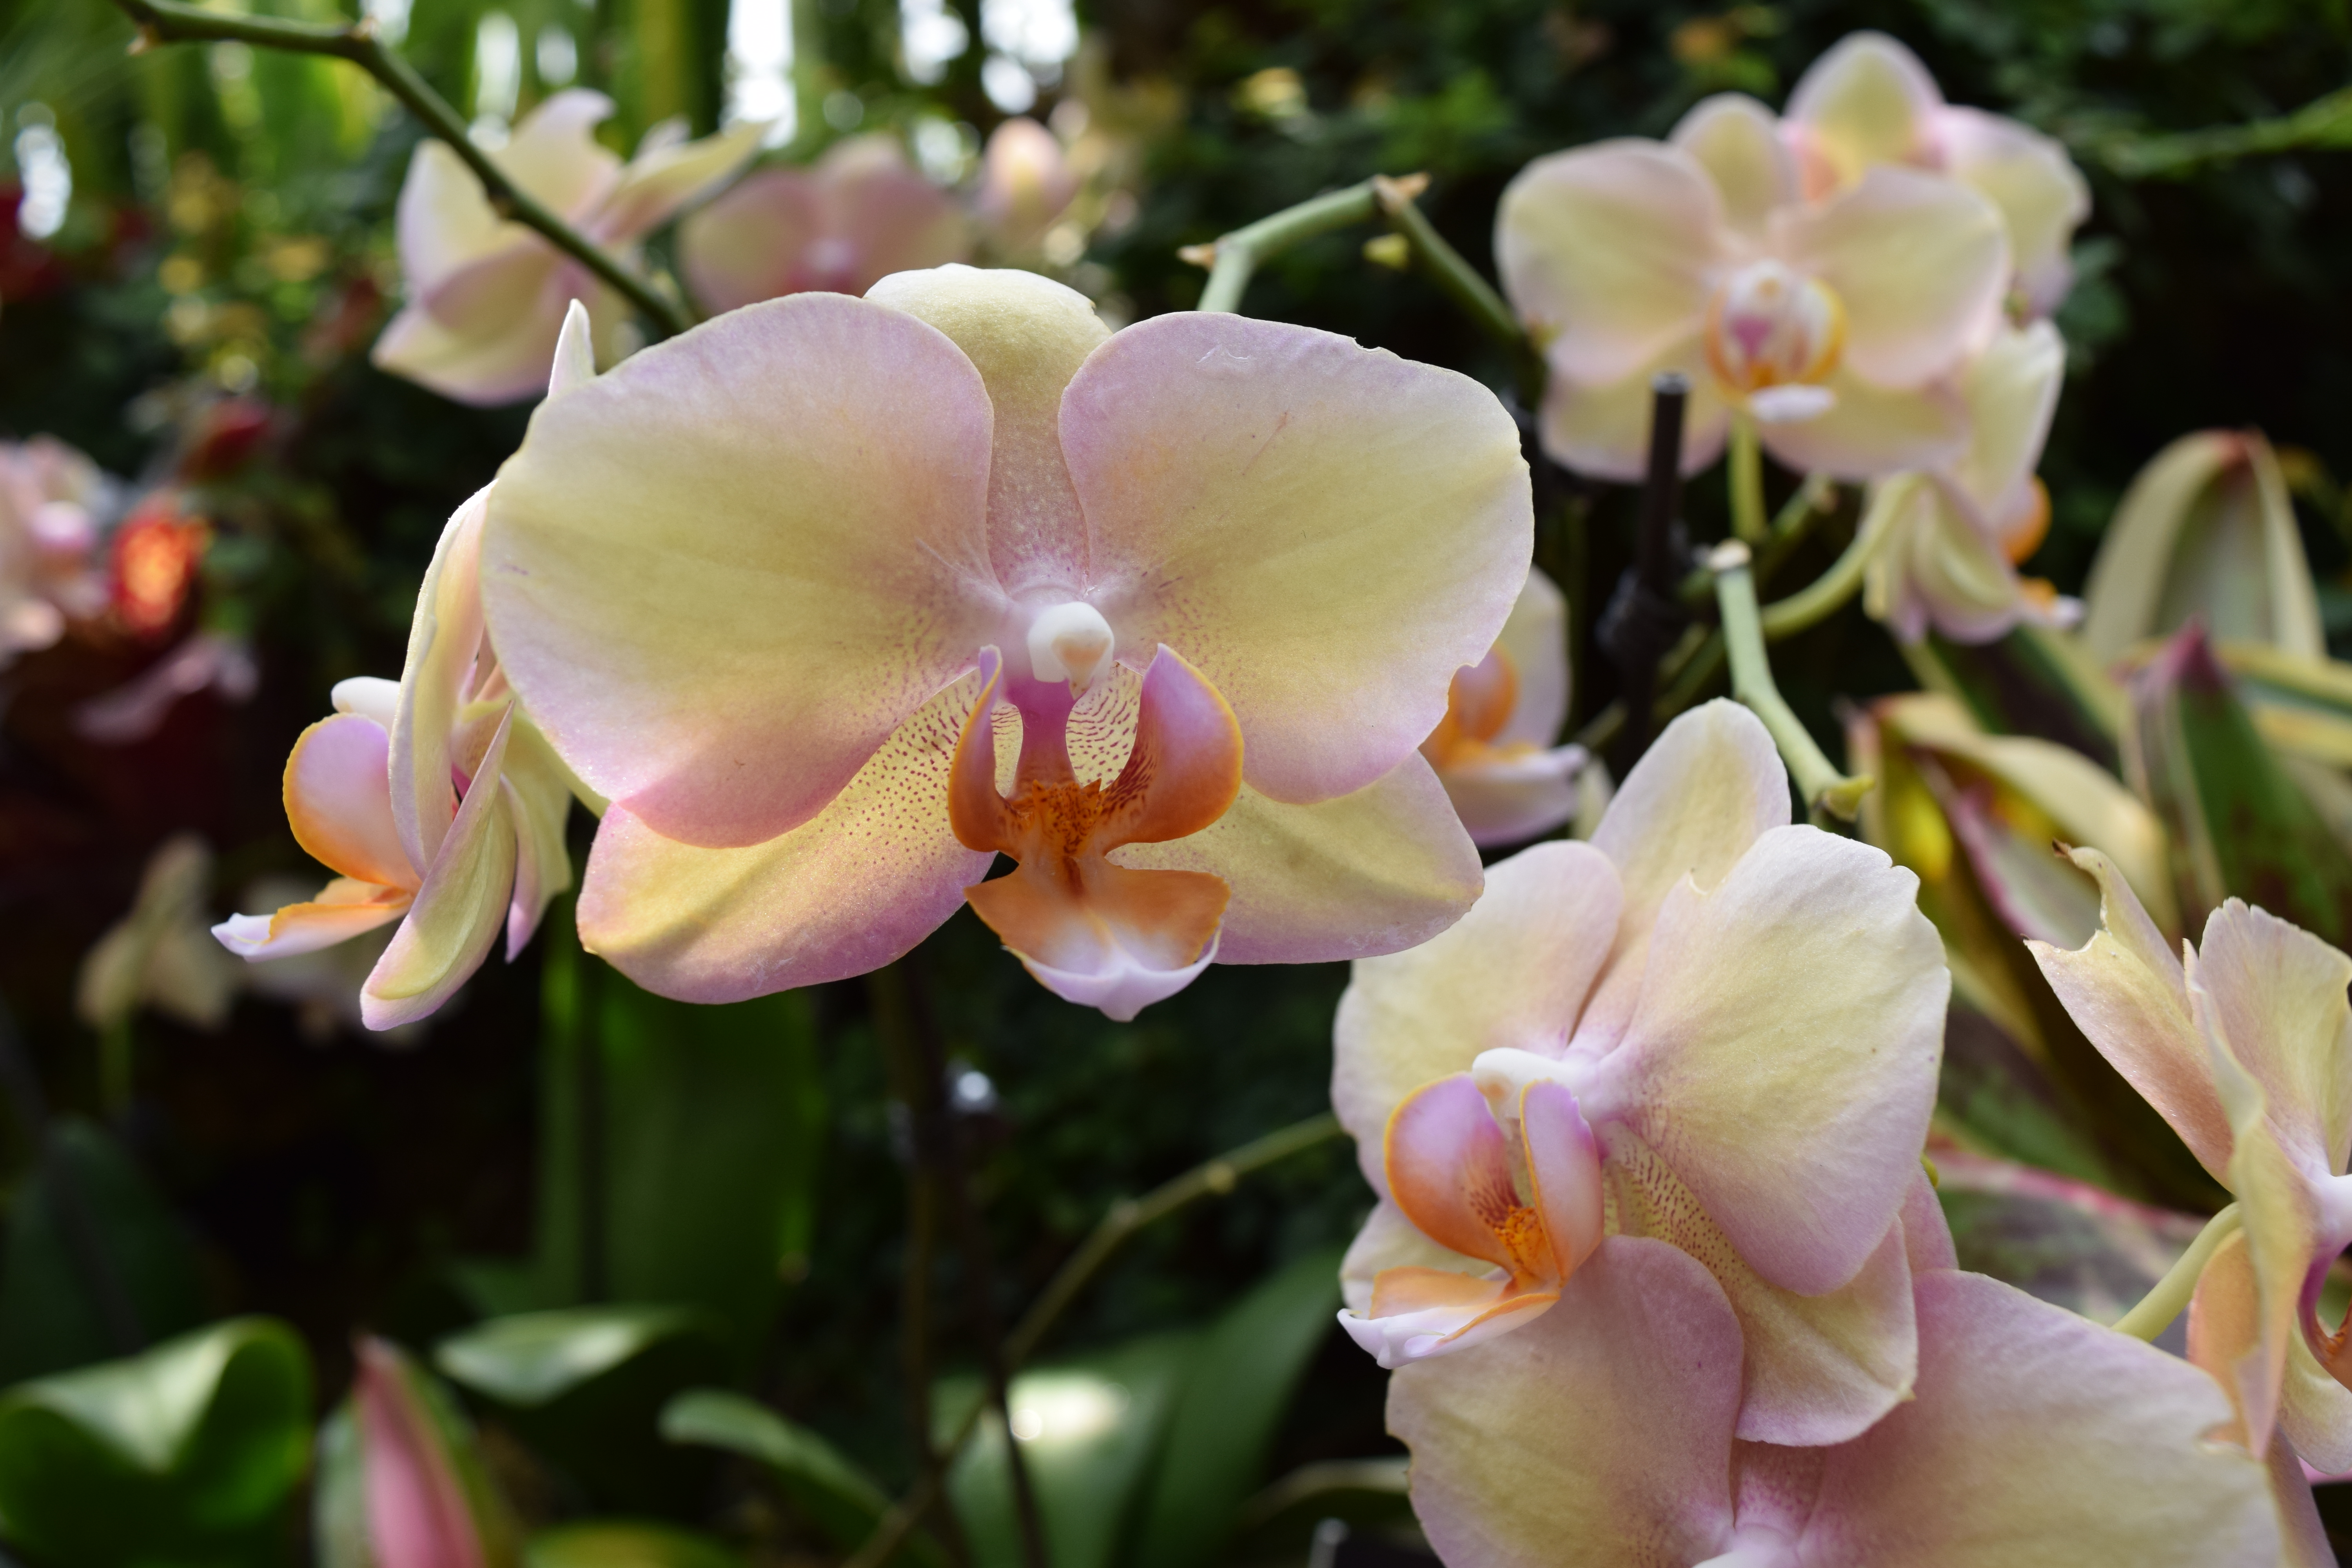
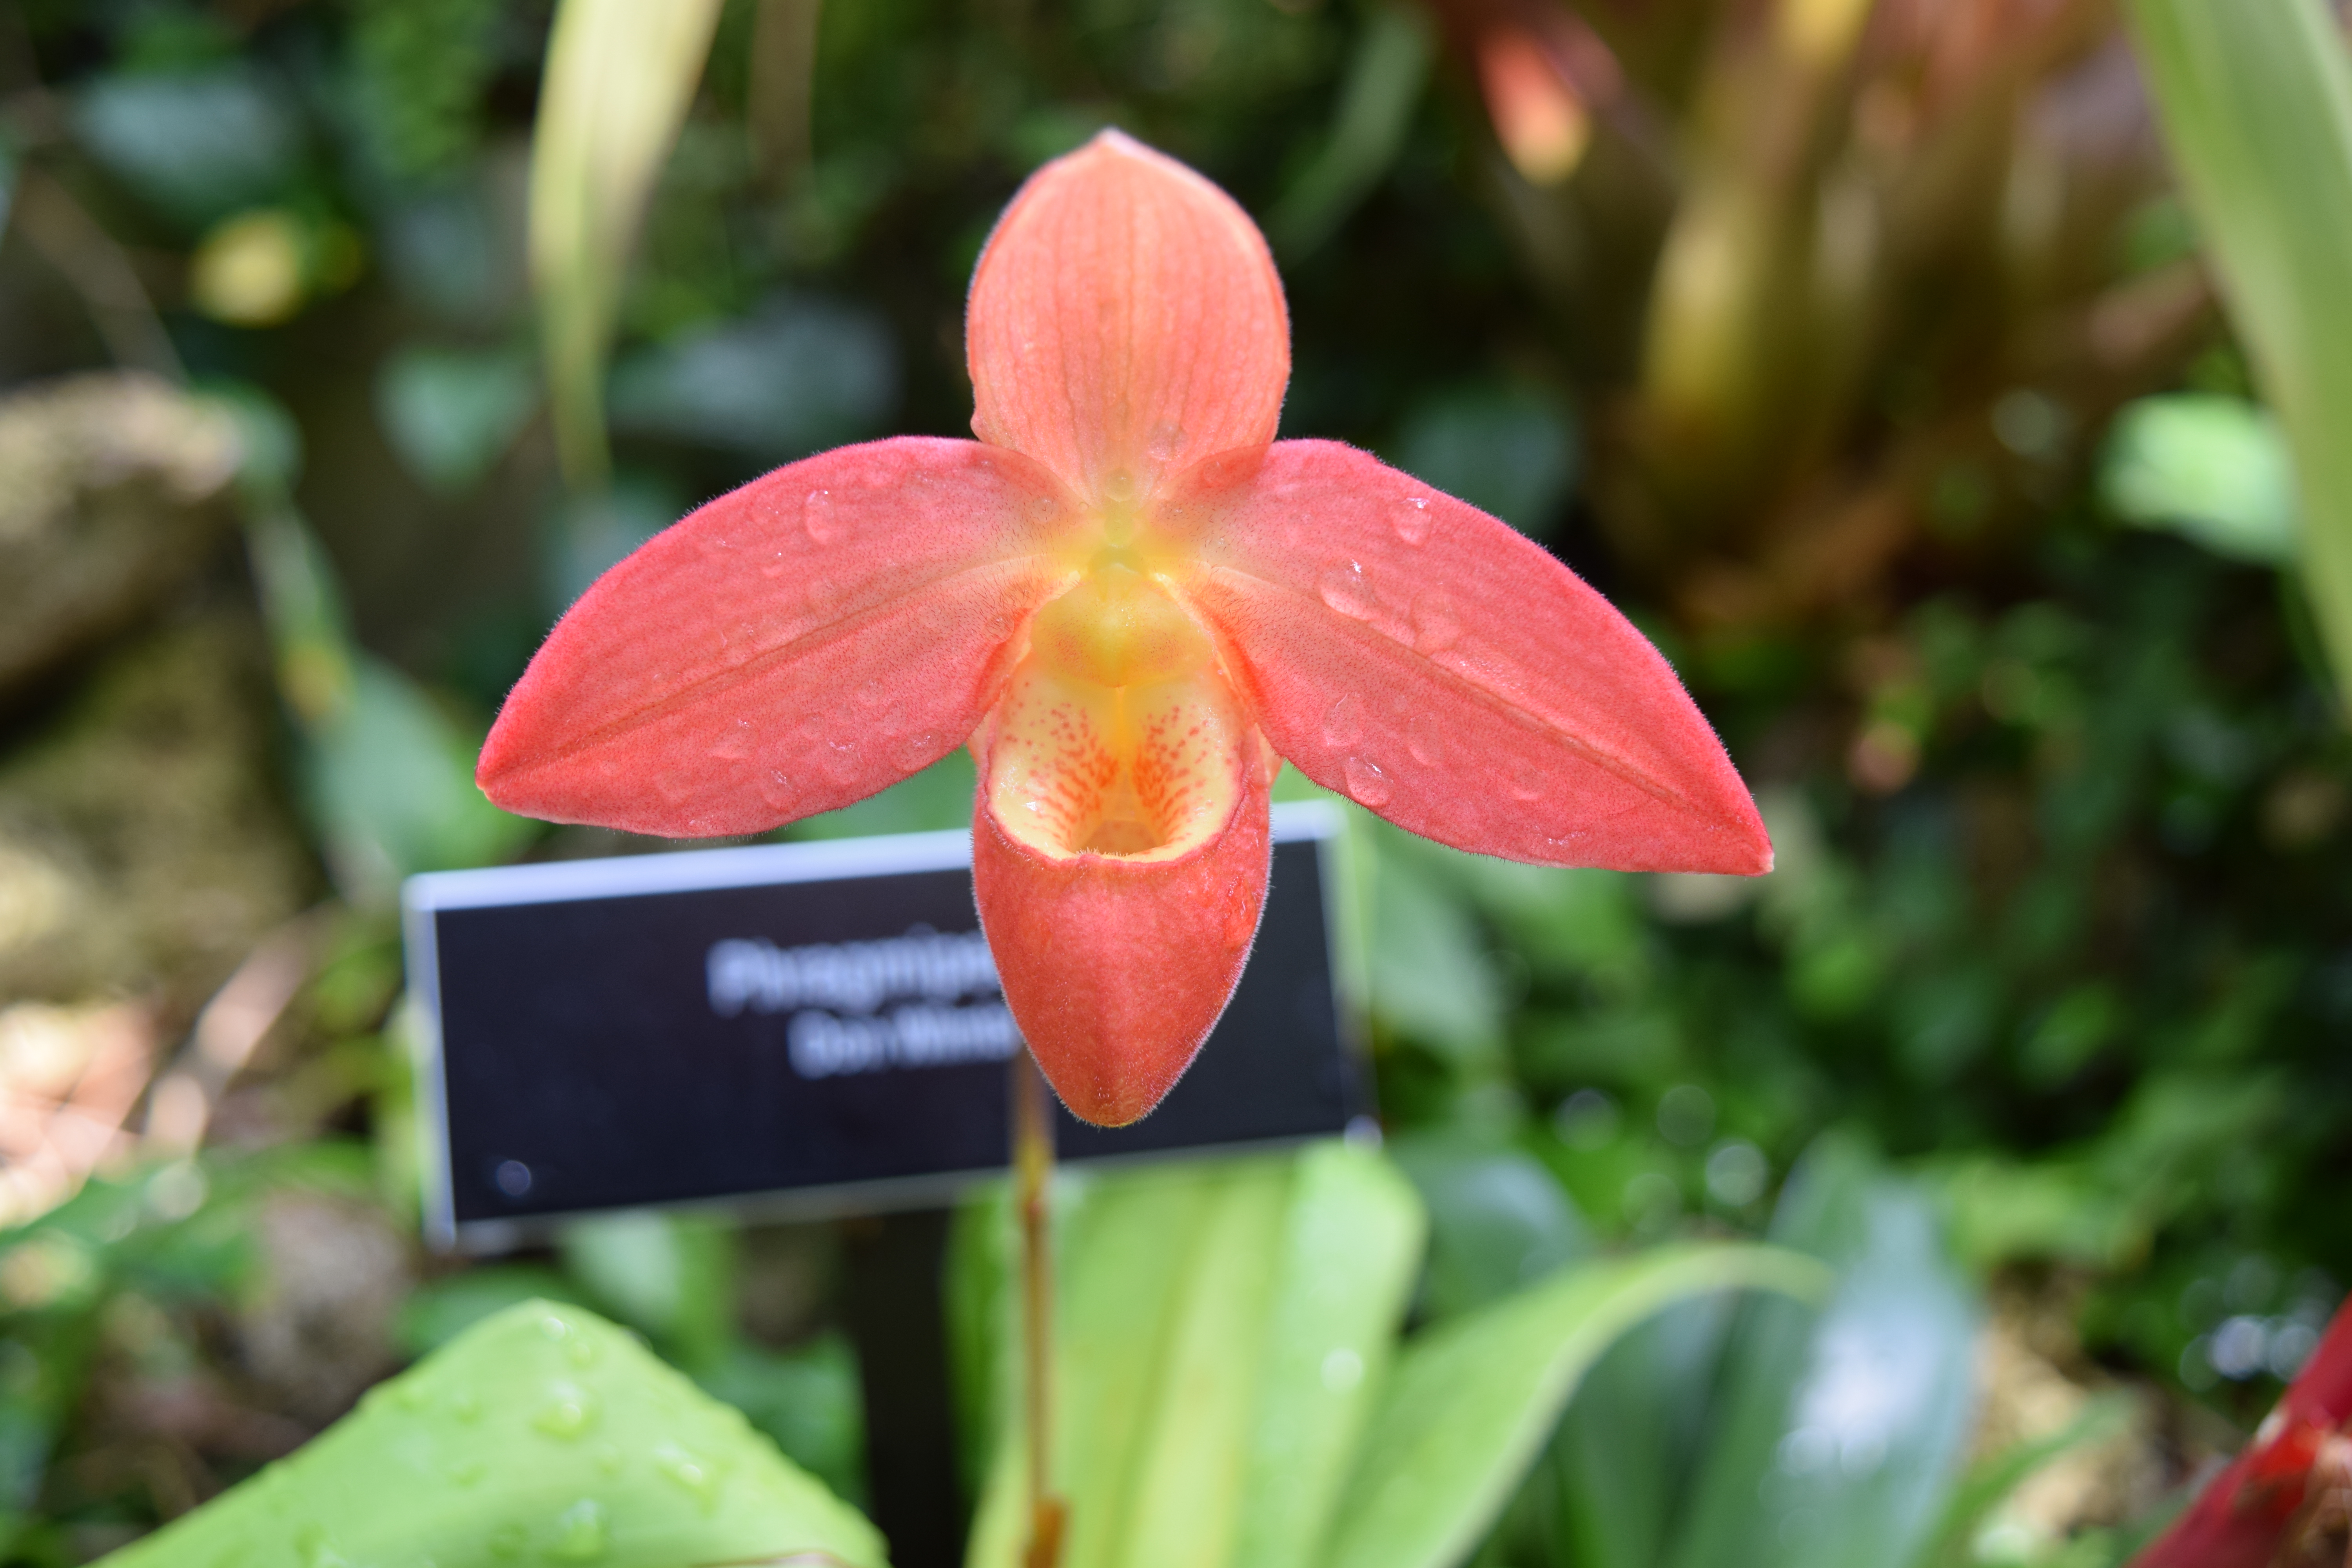
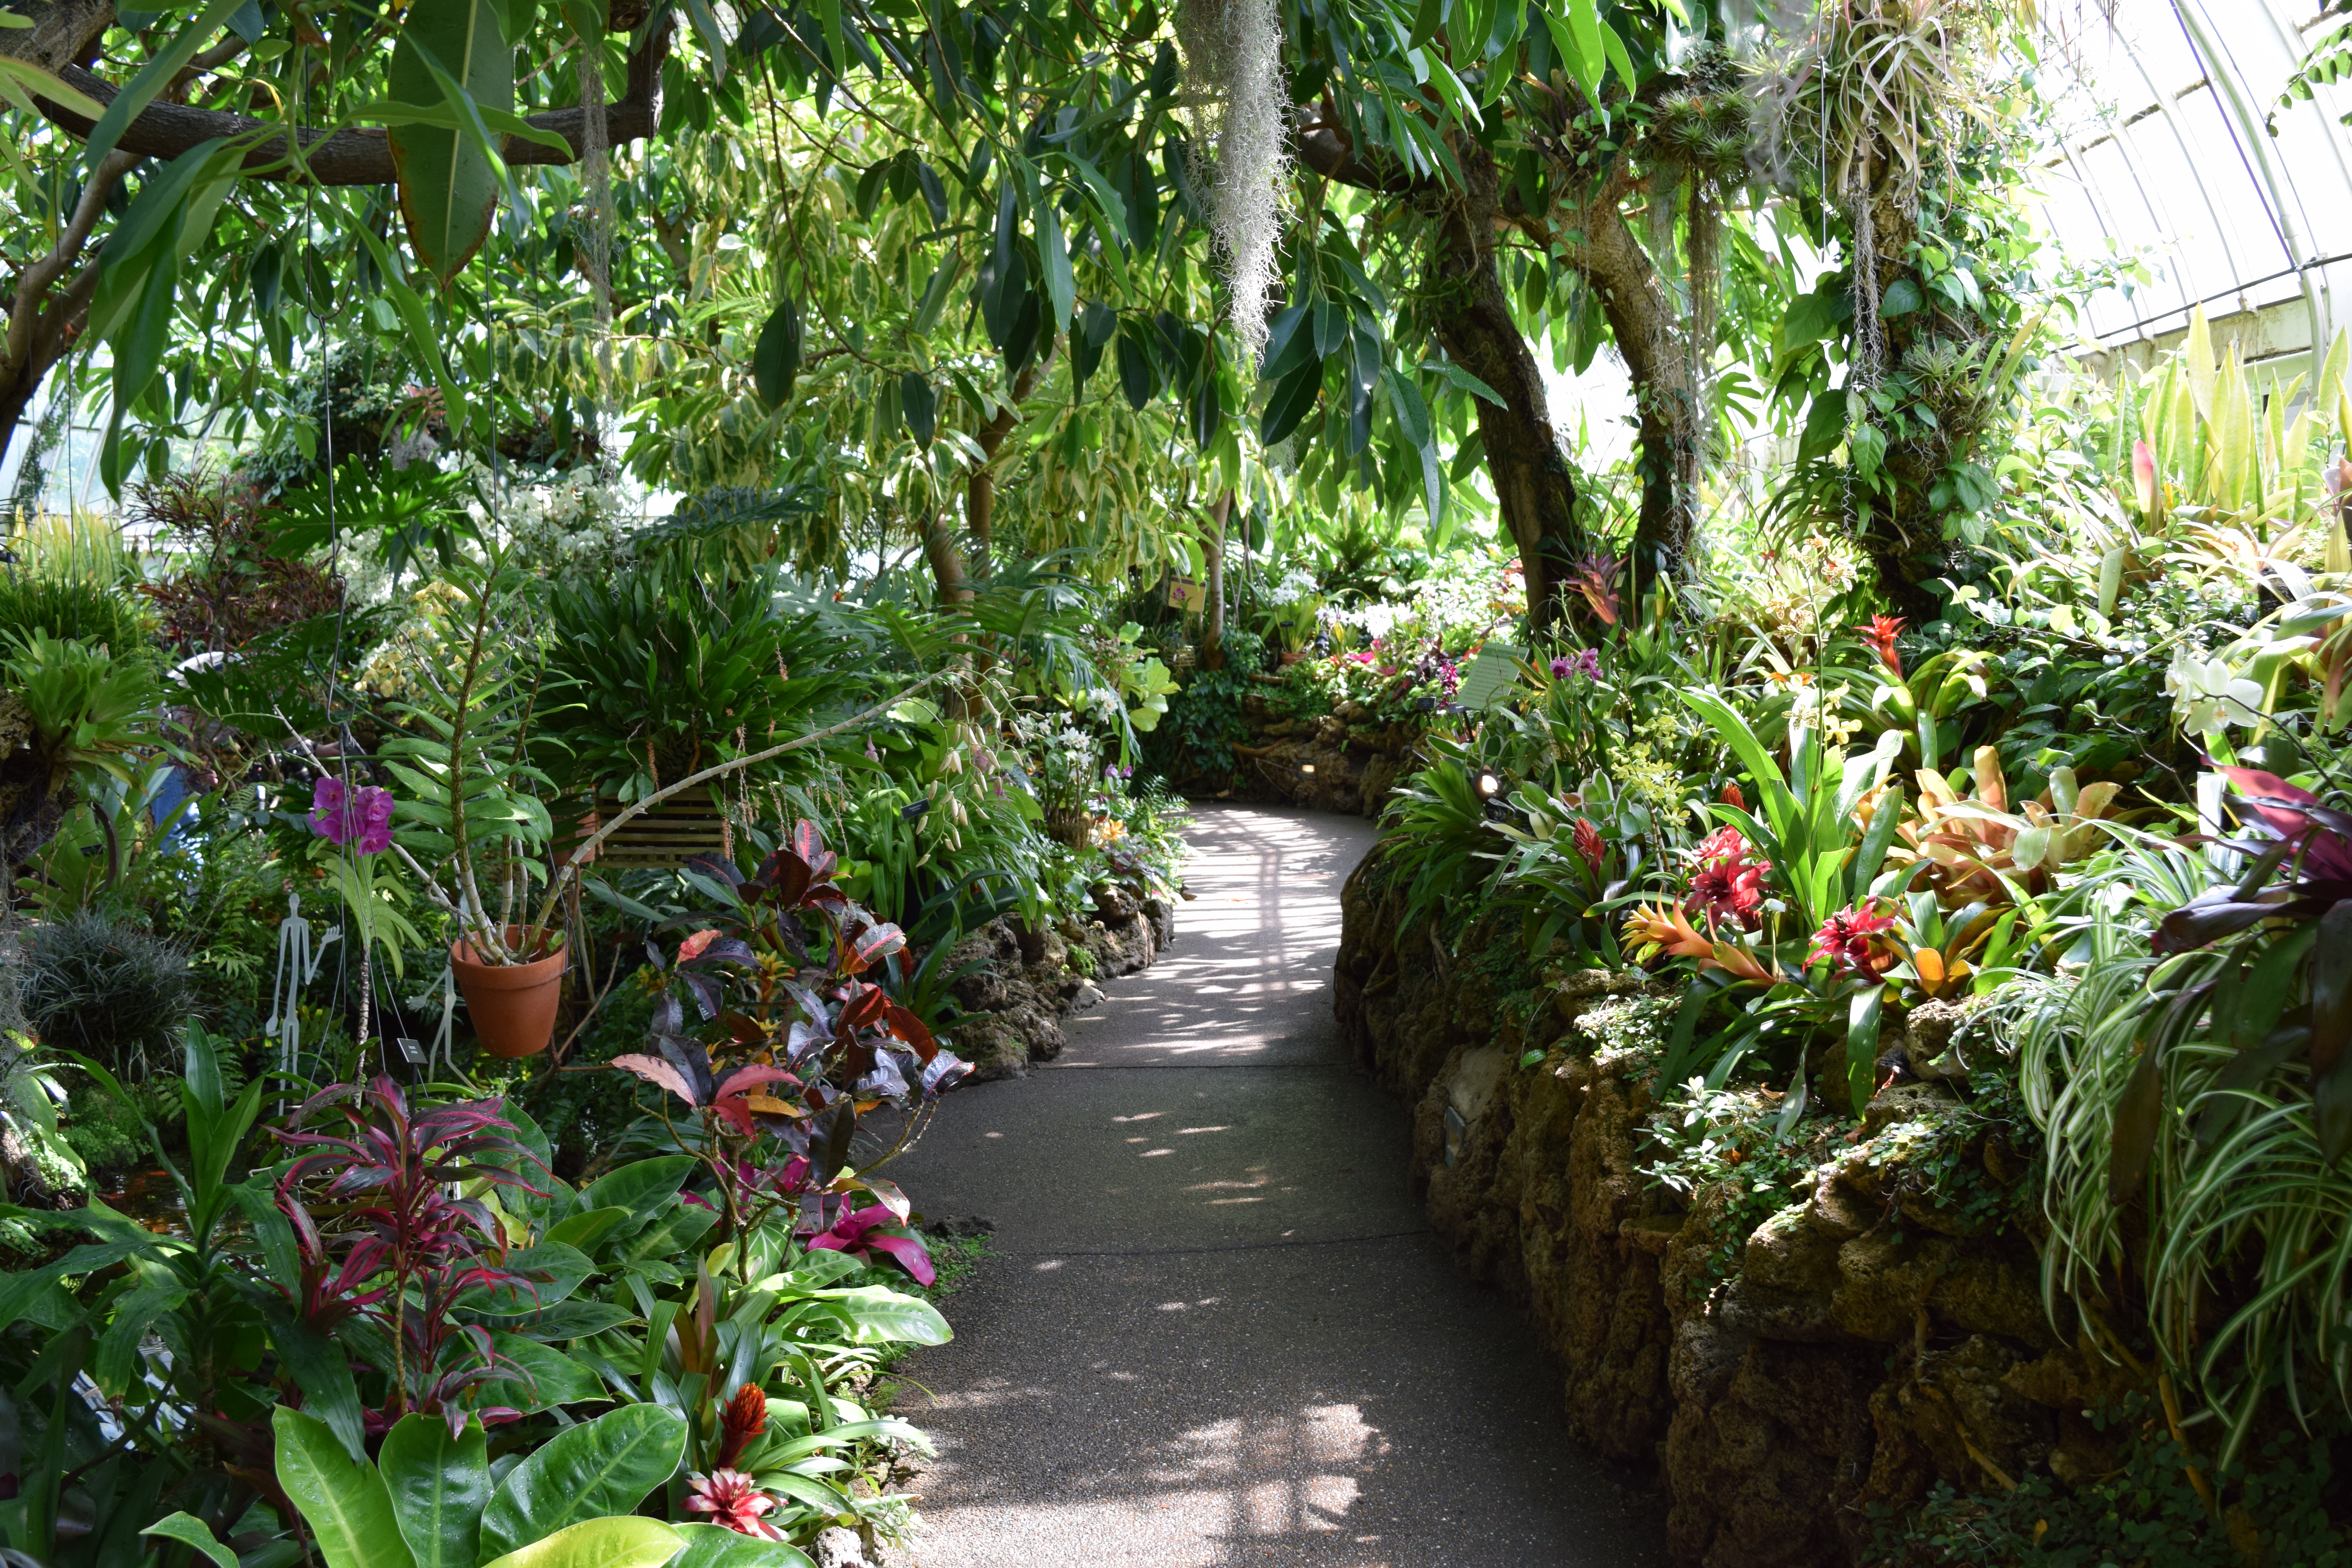
I was very excited to visit a city I have never been to. I am so glad I had the opportunity to do it! Pittsburgh is a wonderful city, just like everyone says it is! It’s basically all hills and gorges, and it blew my mind how so many houses are built on cliffs! After the moving was done on Saturday, we woke up early Sunday morning to visit Phipps Conservatory and Botanical Gardens. I really wanted to do this since I had learned I would be making the drive to Pittsburgh with my parents. I was NOT disappointed. It was everything I thought it would be, and more!
It took us a good two hours to stroll through the whole place and take everything in. They also had art pieces placed throughout the gardens by my most favorite glass sculptor/artist ever– Dale Chihuly. I really can’t explain how happy I was to take this trip. The next time I go will be with my family, and we will be visiting much more! Here are some photos from my trip, and tune in next time for a regularly scheduled post!


Dale Chihuly pieces are placed all over the grounds at Phipps. This is the first one to greet you when you walk in.

The start of your botanical journey!
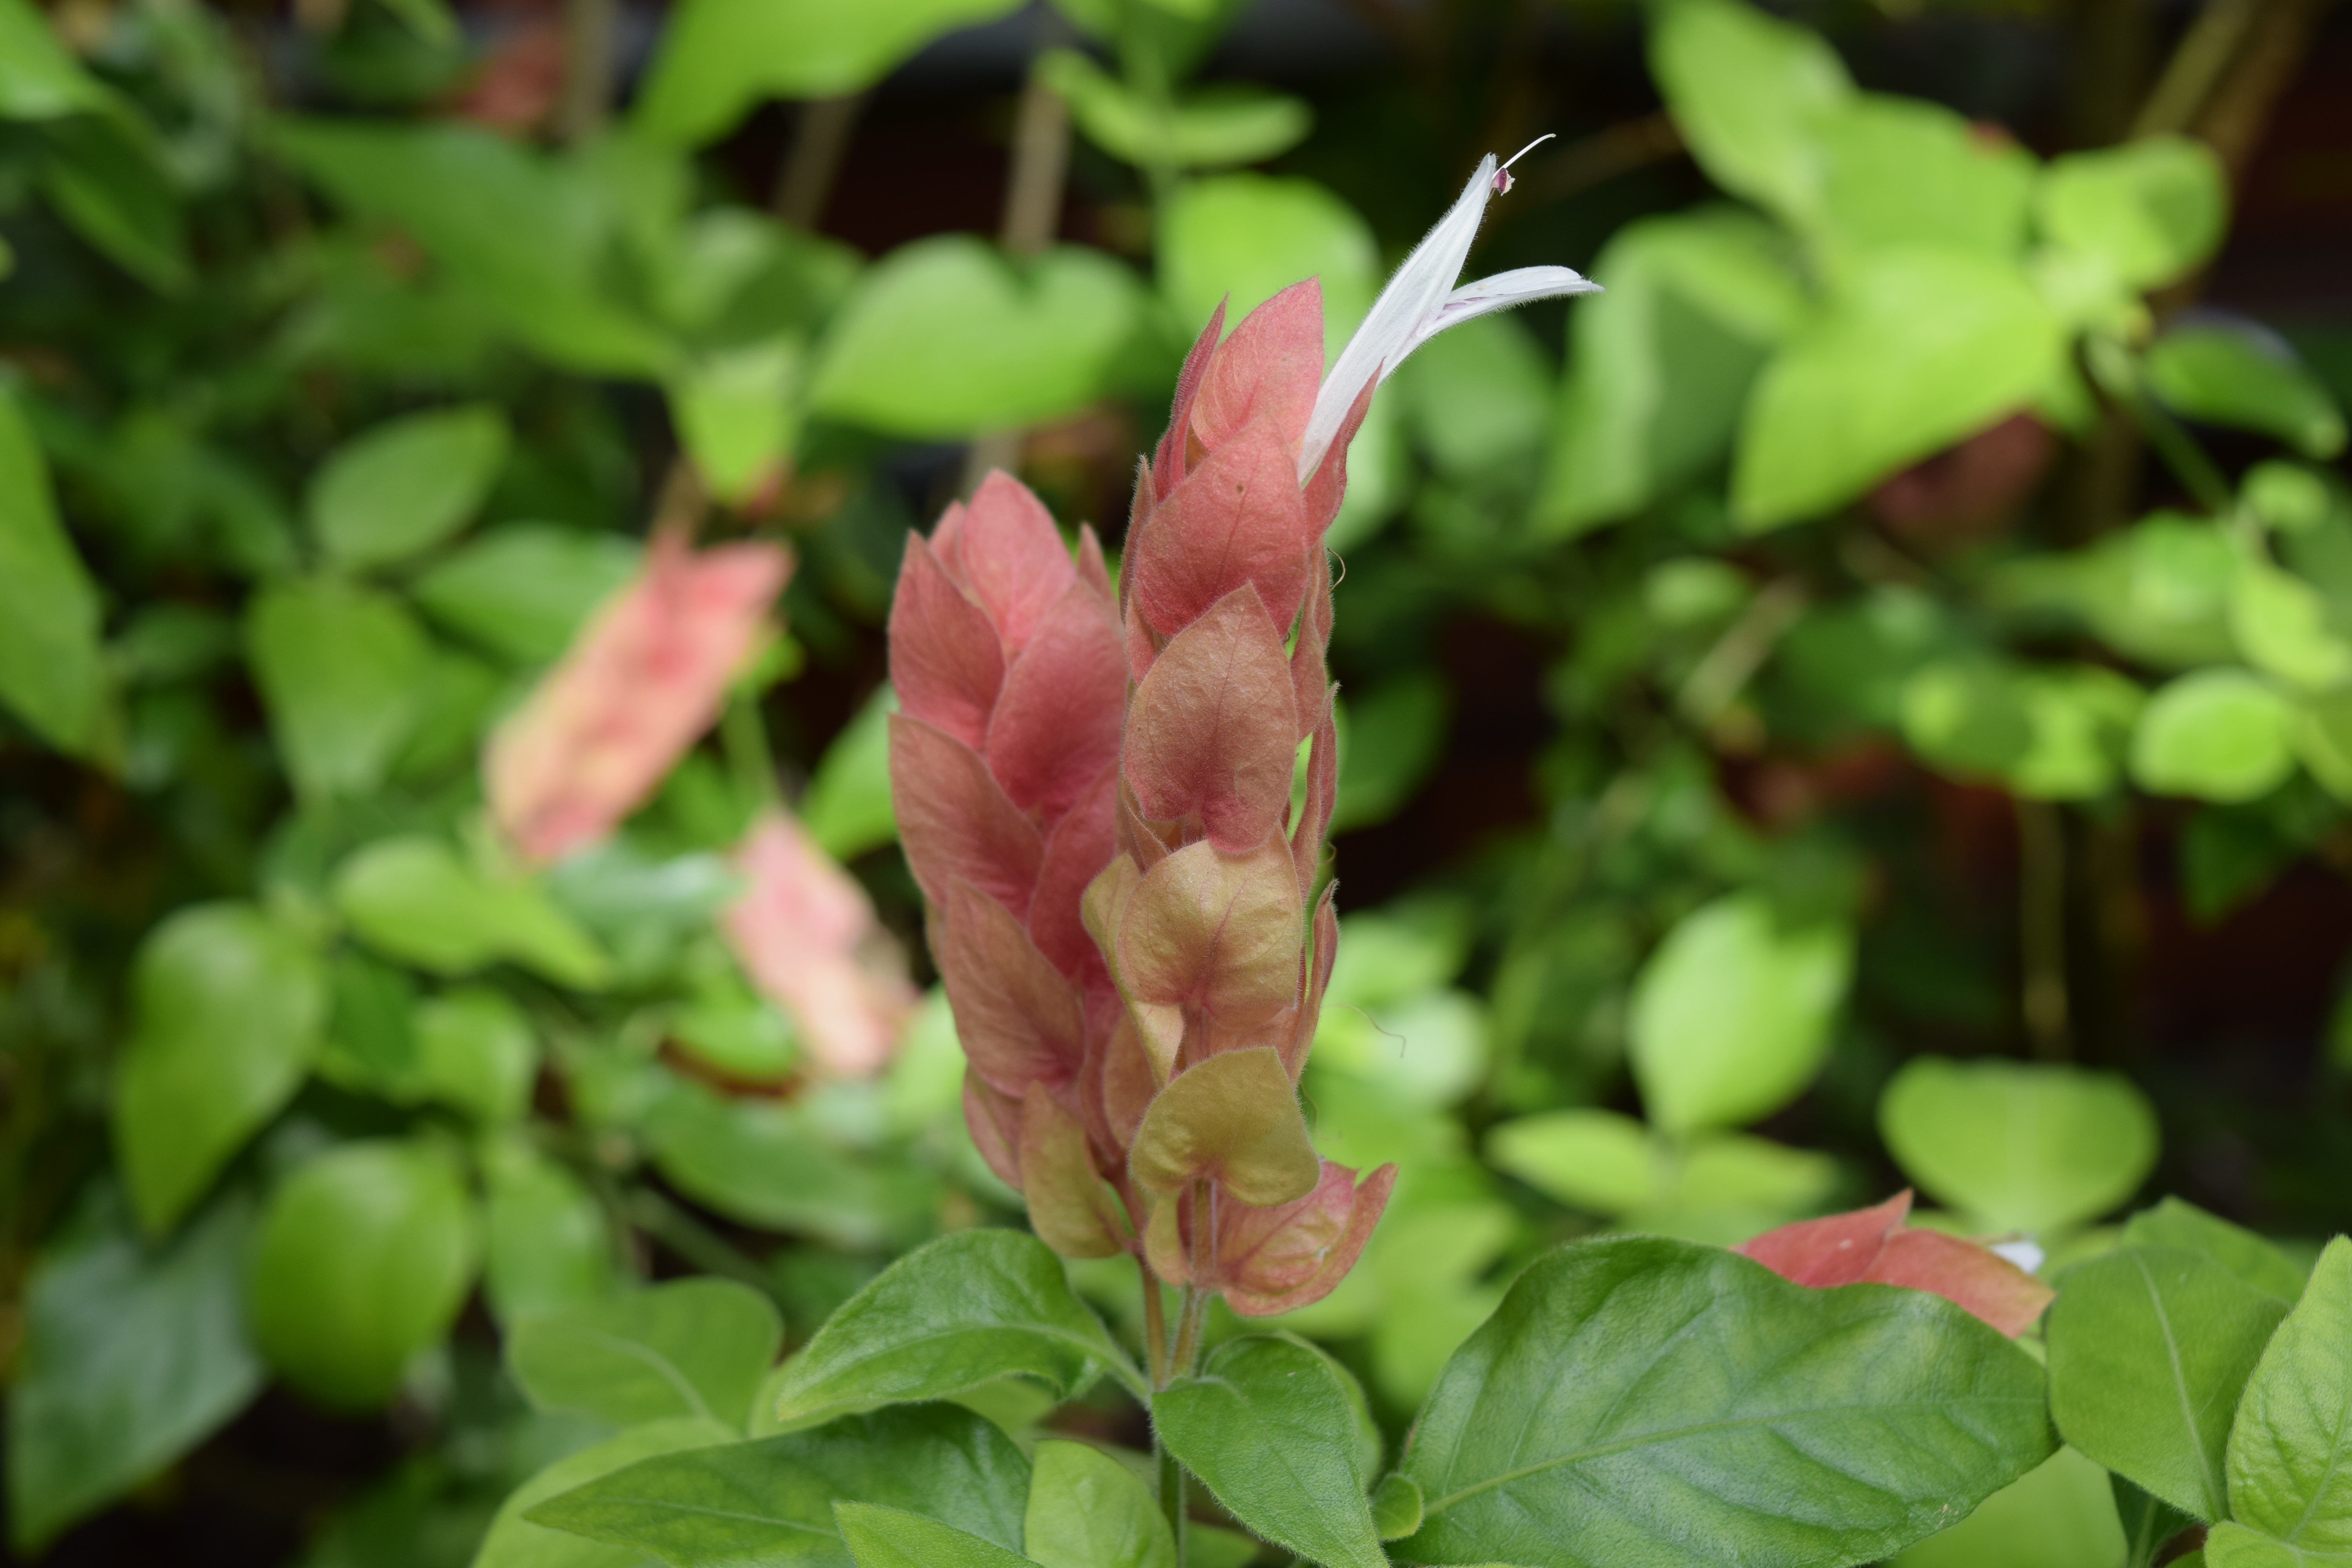
Shrimp Flower

The Butterfly Room. They were everywhere!

Chihuly in the Desert Room.

HUGE lily pads. They can hold a 30lb. child!

This picture sums up Pittsburgh–lots of gorges and bridges, along with some row houses in the distance.
The imperfection in the picture is actually what makes it perfect. Enjoy.