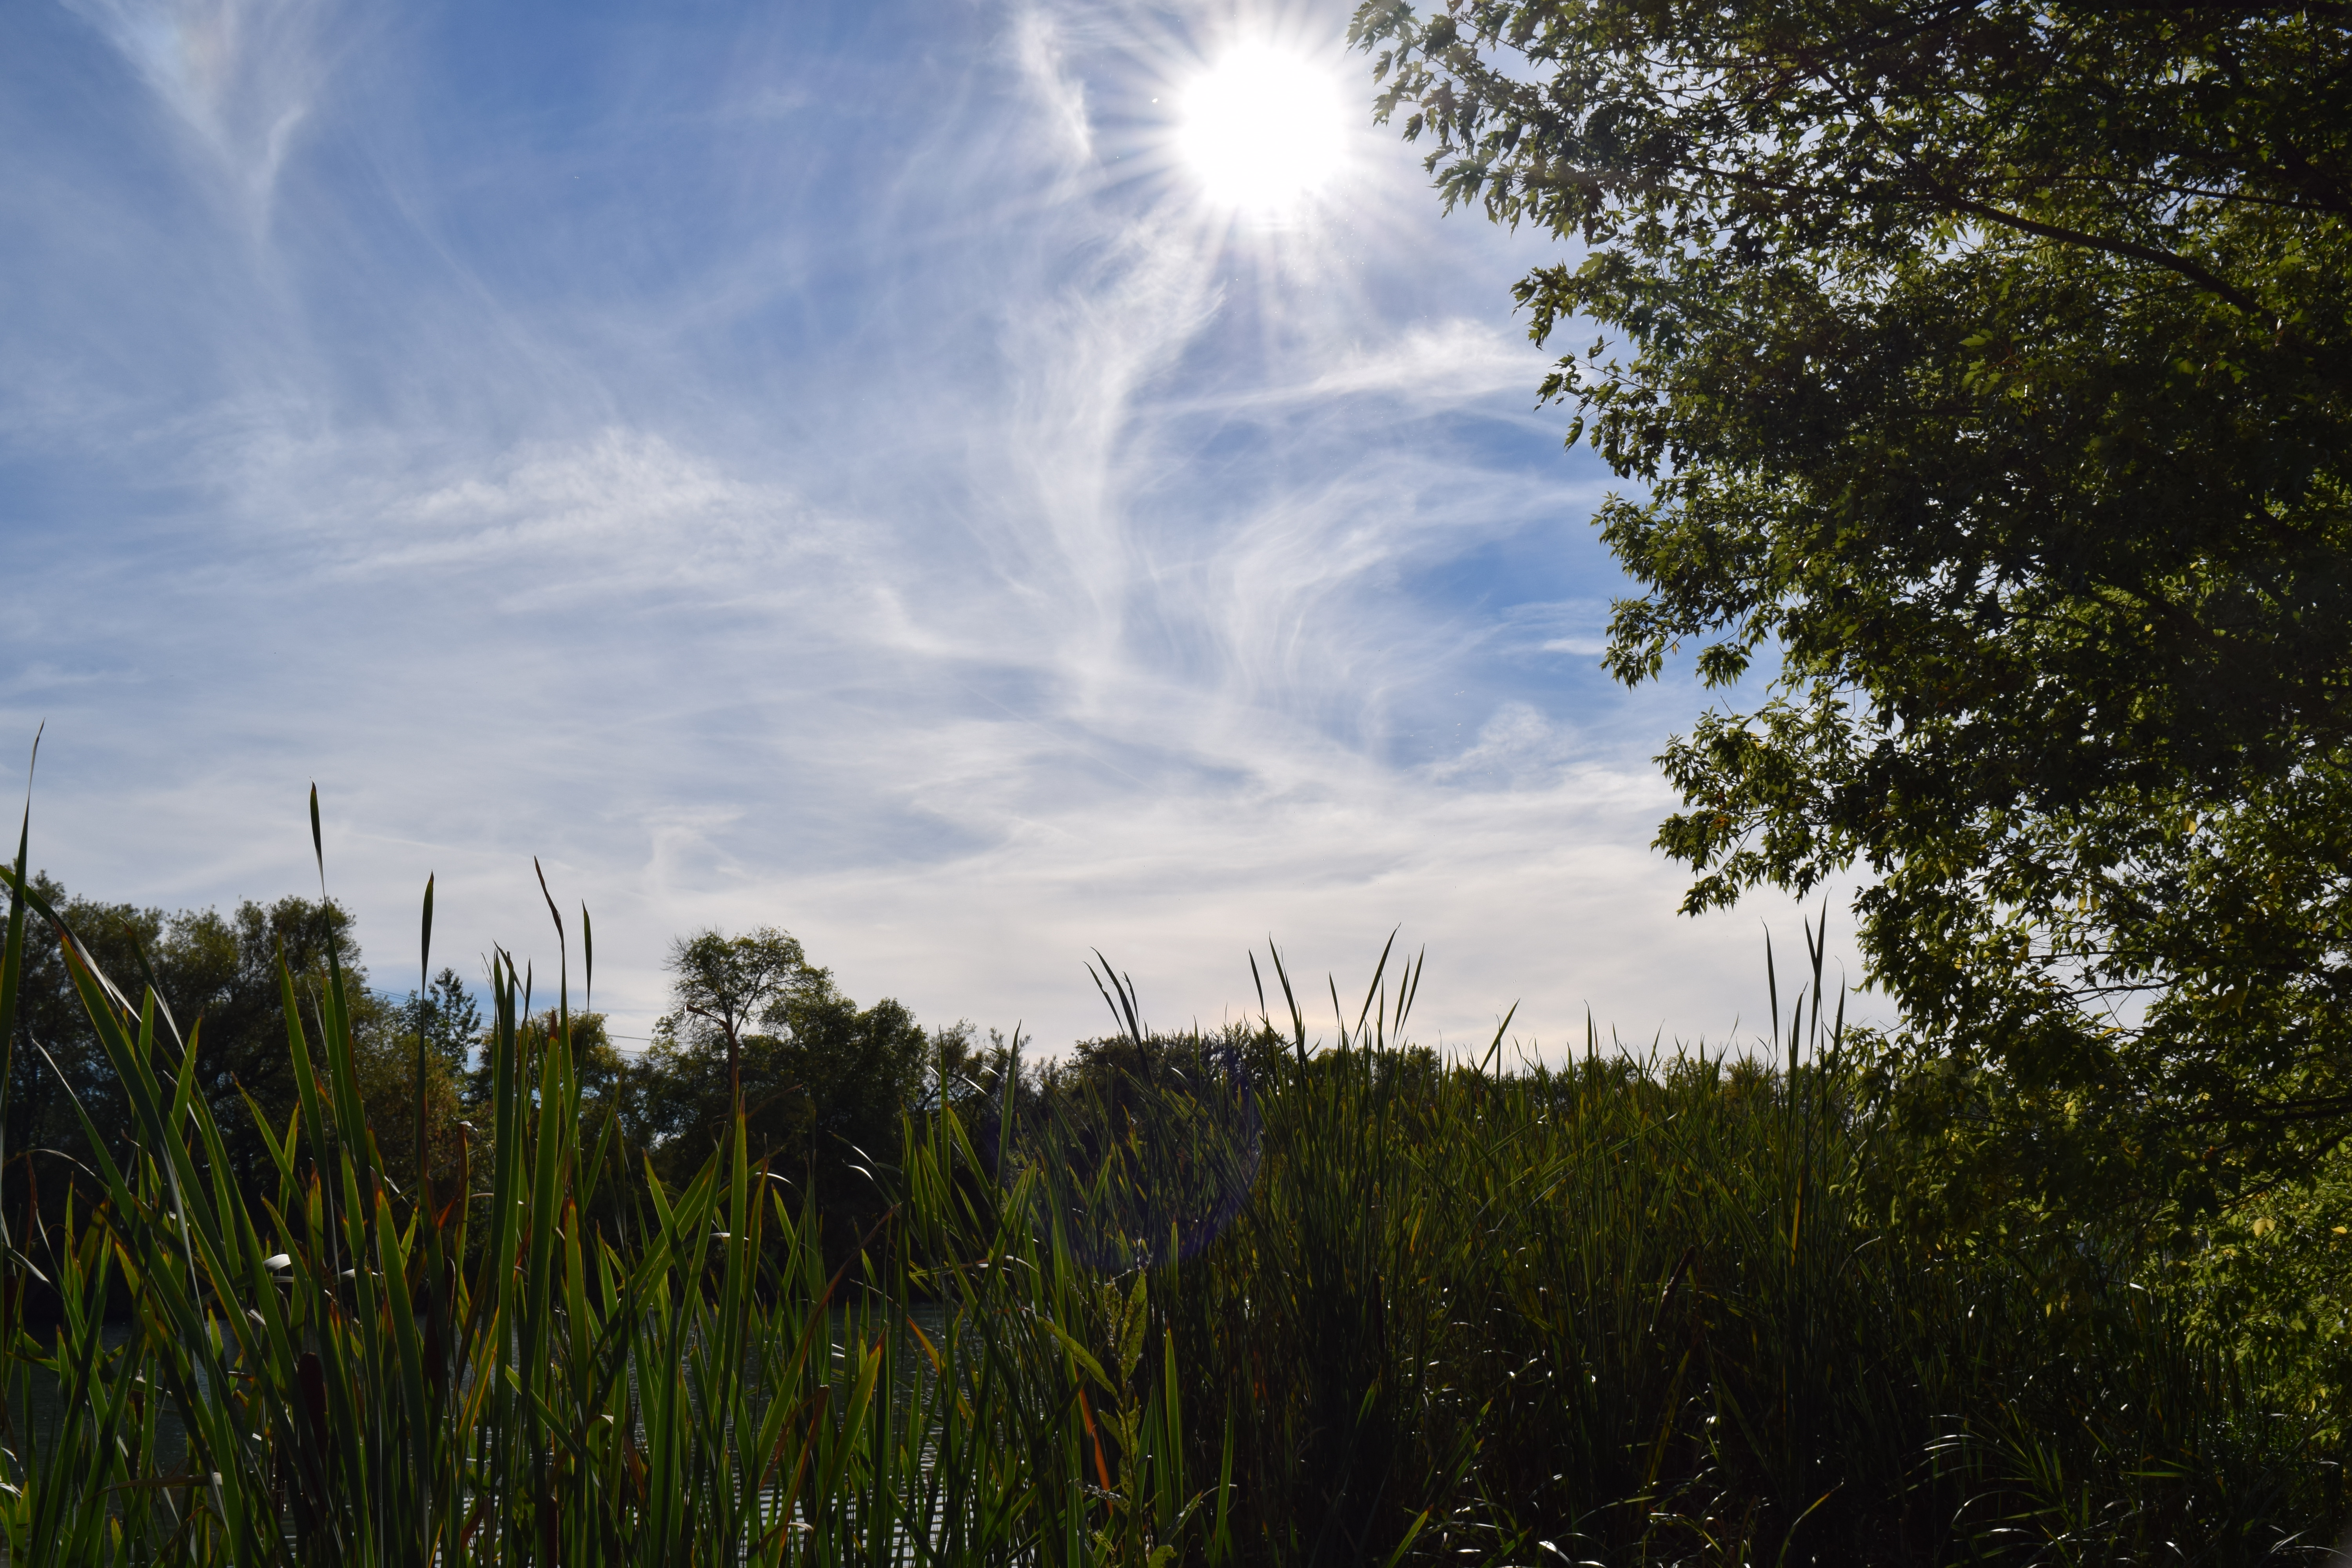
This past weekend was one of the nicest first weekends of fall that I can remember! All of my fall-blooming plants are doing so well– I am so happy that everything is coming along!
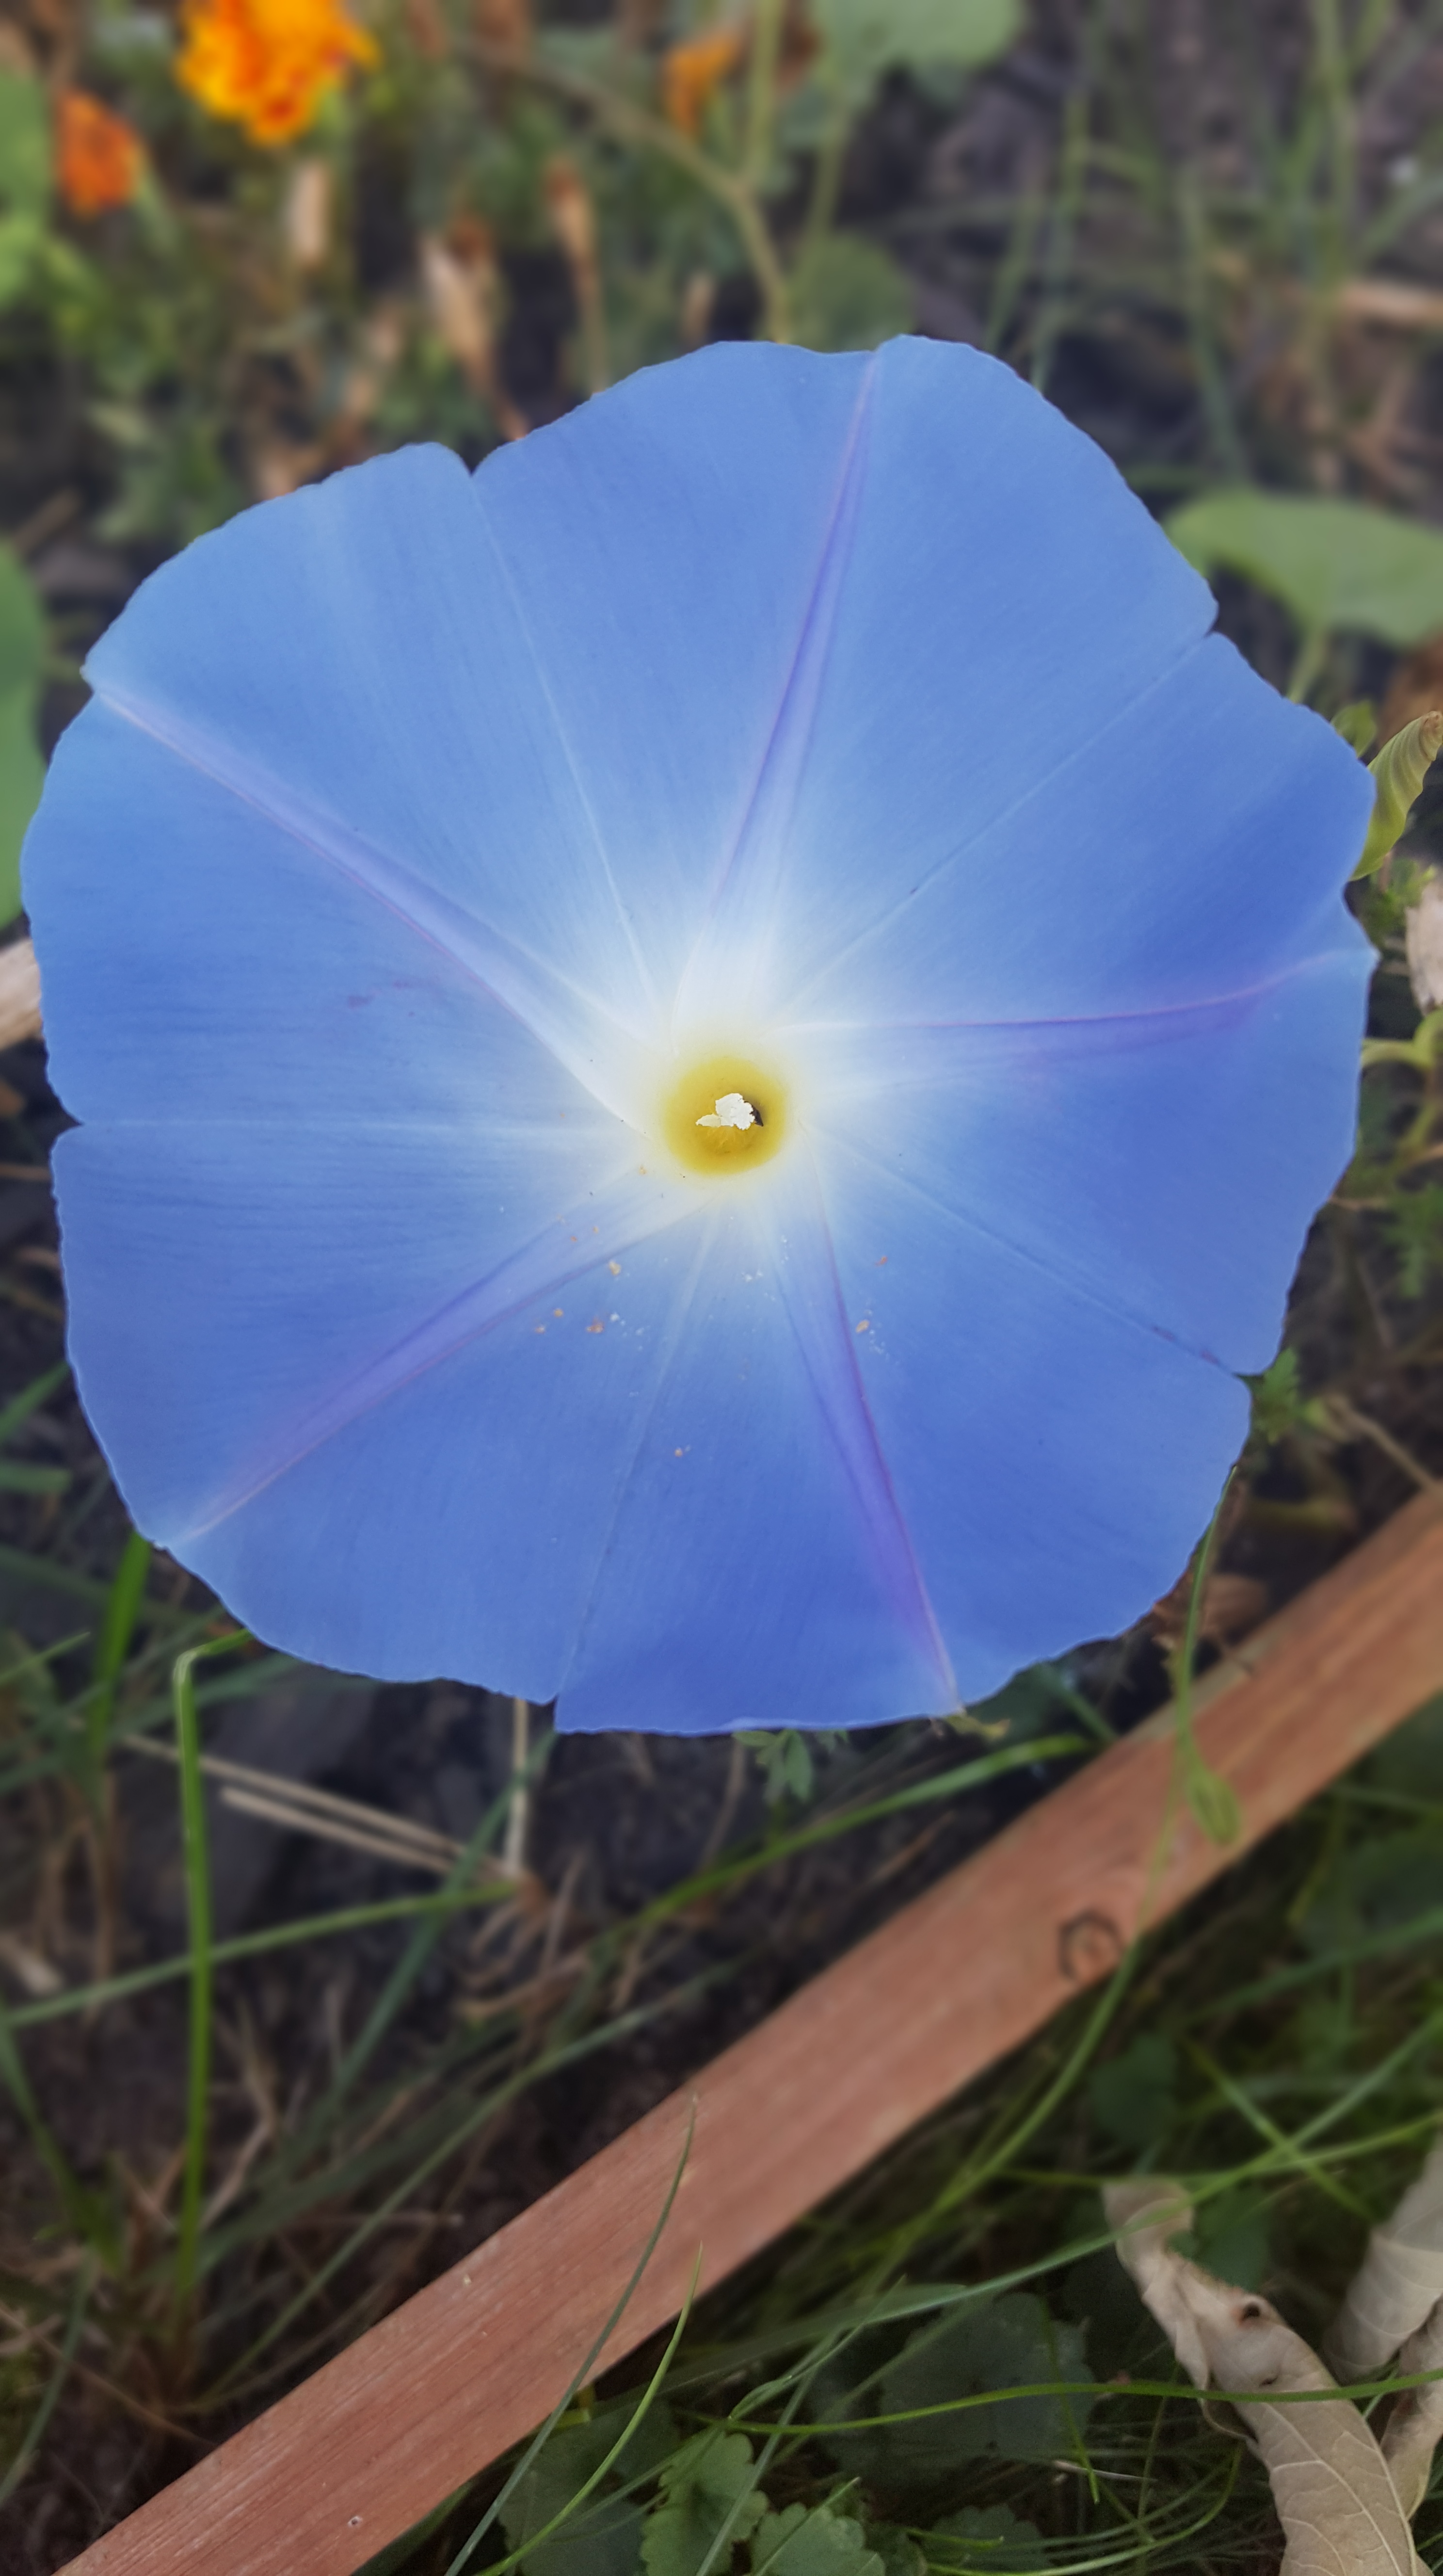
My first Morning Glory finally bloomed!
The problem with me is that when the weather is so nice, all I want to do is be outside, which leads to me neglecting my indoor household responsibilities. No worries, Monday and Tuesday were rain-filled days for us, and I was able to get a lot of stuff done inside. Which is the main reason why it’s Wednesday and I am just starting this post!
I was very busy in the garden over the weekend, and I went a little nuts on Friday after work. In a post not too long ago, I talked about Fall Bulbs and which ones I was going to plant. Heheheh ehh……yea, Friday night I went shopping at my local Lowe’s and ended up going bulb crazy! I also made sure to get my mums. I still would like to get a couple more of those as well.

Mums and Bulbs. Went a little crazy!
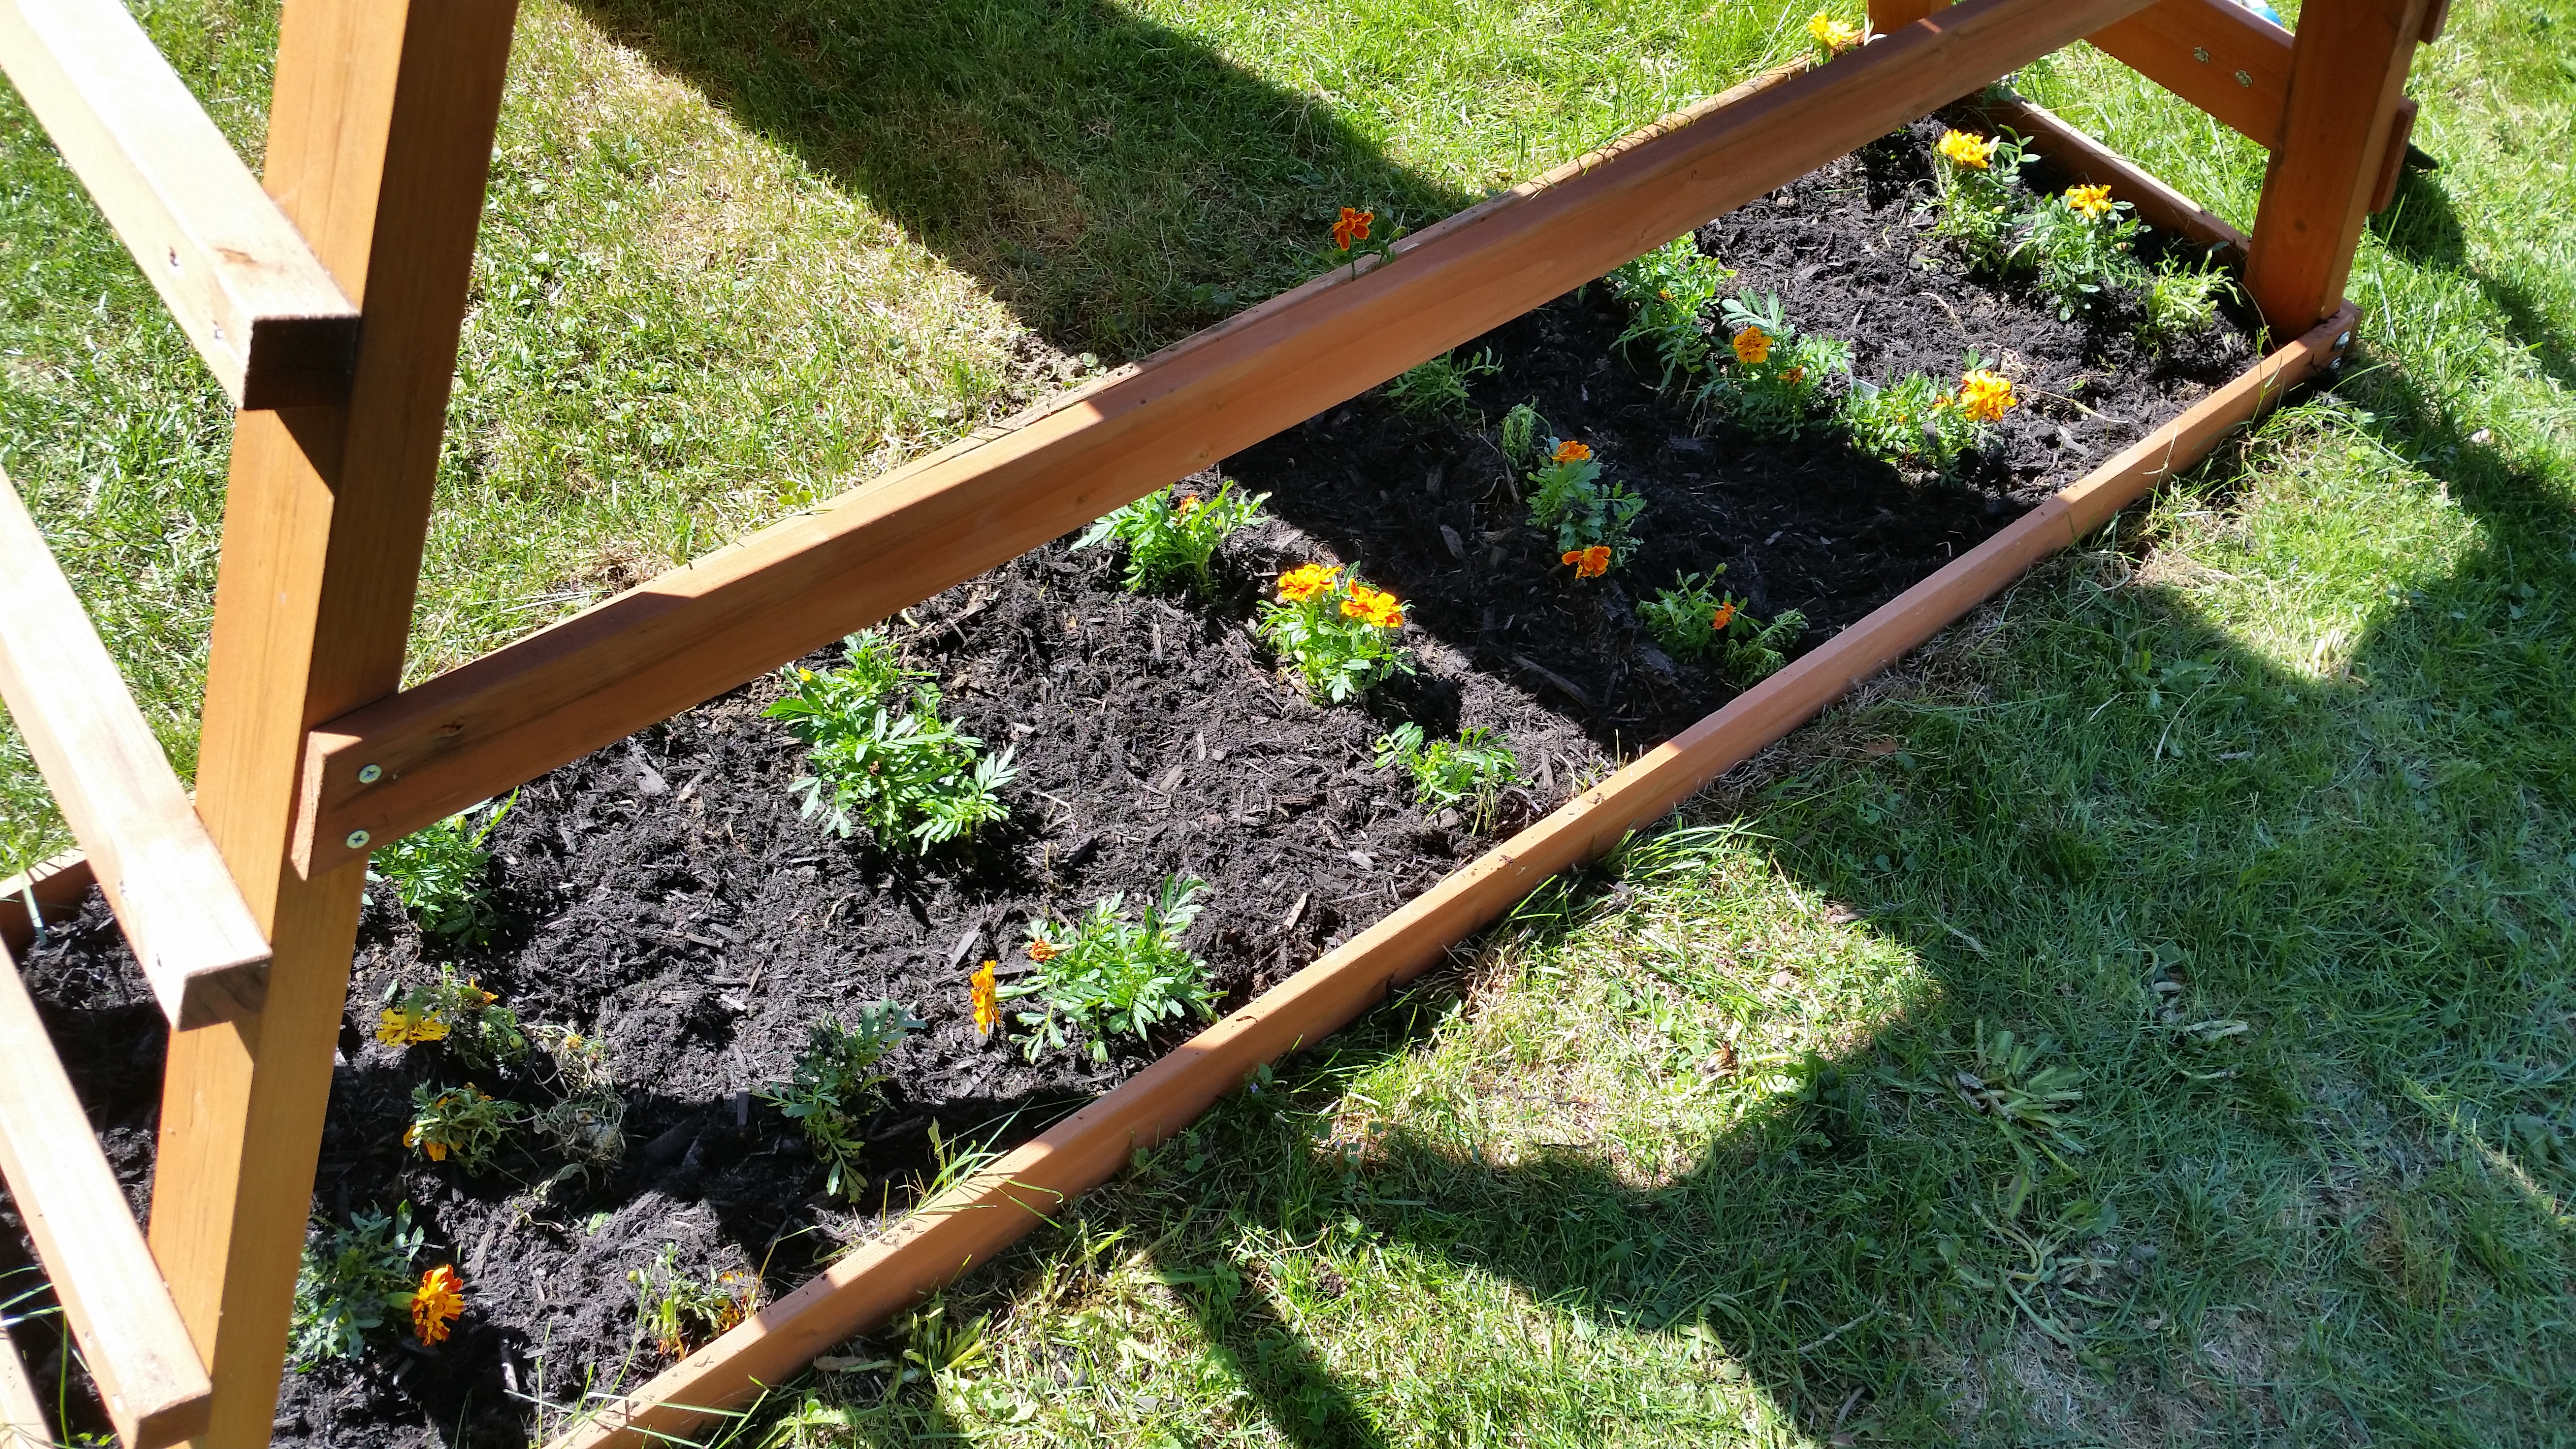
Yep, I even expanded my flower beds to accommodate the more than 100 bulbs I planted into that particular area!! And that was just one bed! I ended up with a total of 160+ bulbs in the ground by weekend’s end. Really?!!!
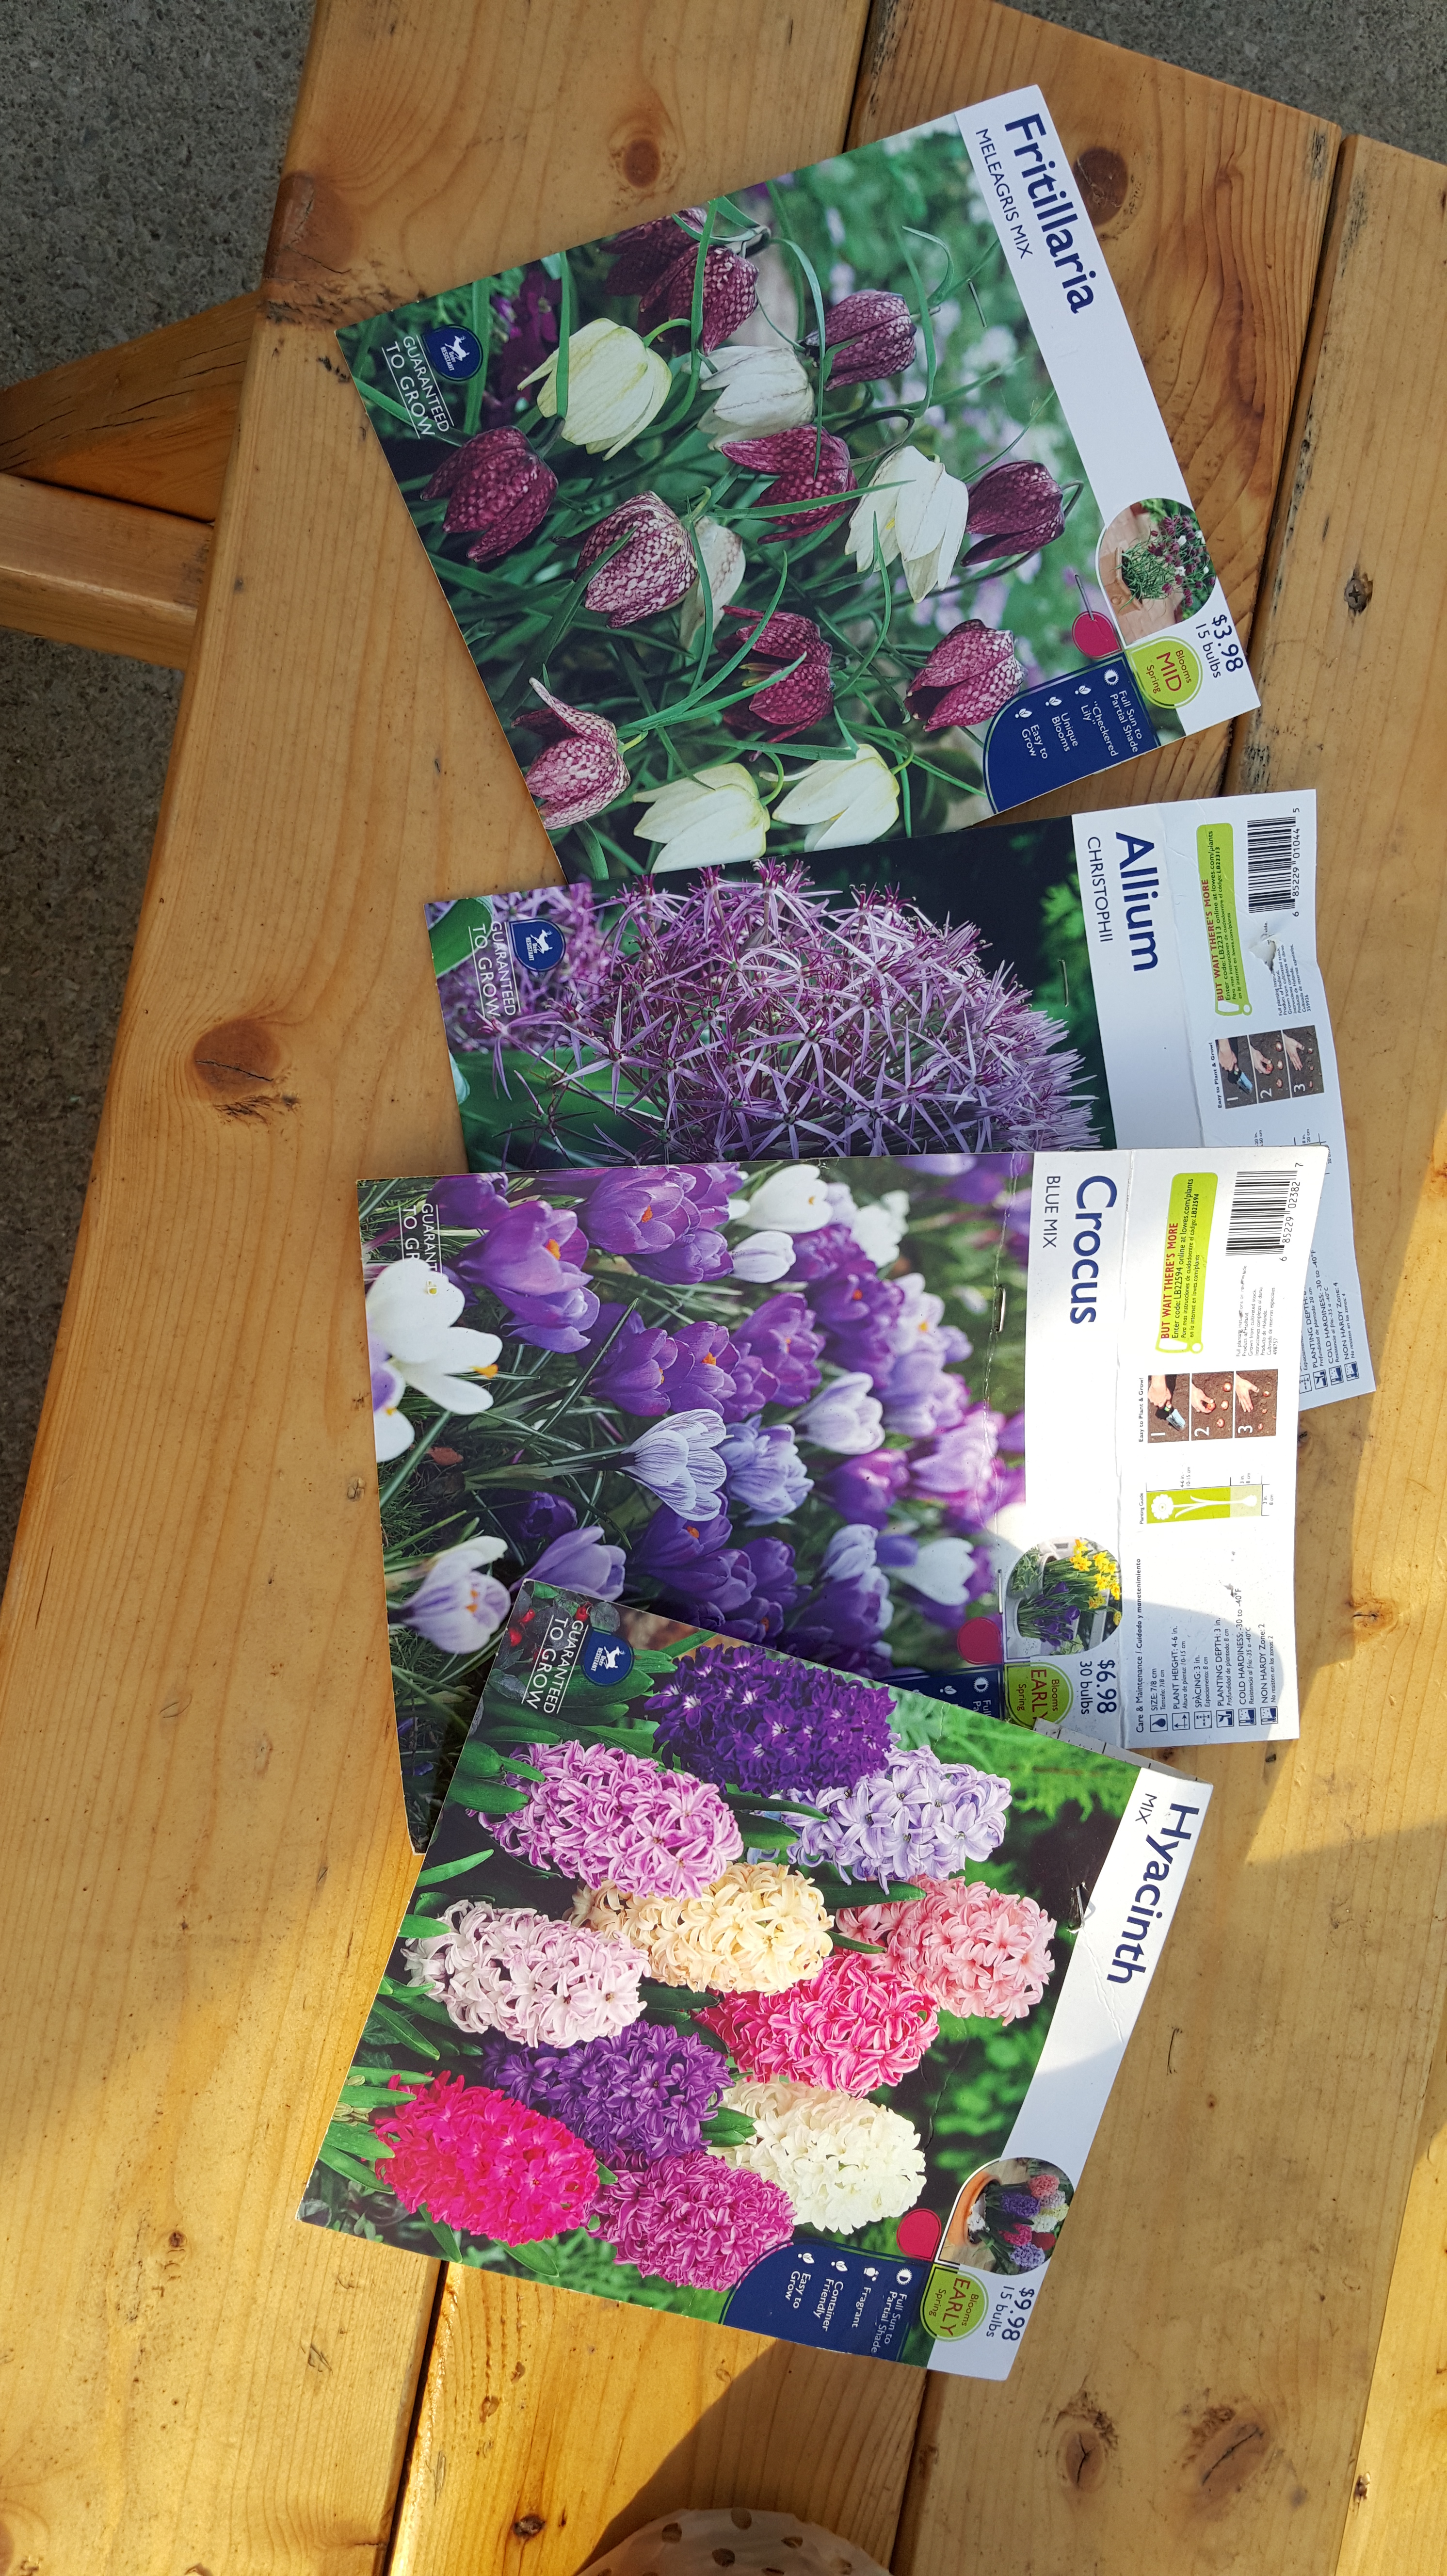
I really can’t help it. There are so many different flowers I want to try, and I end up getting the bulbs just to try them. I was lacking in the Spring-blooming plant department, so I pretty much made up for that over the weekend. It was exhausting, but I managed to get it done. I am still waiting for some other Allium bulbs to come in the mail, so when they do, I will be over the 200 mark with Spring bulbs. I think my four-season garden is coming along just fine now!
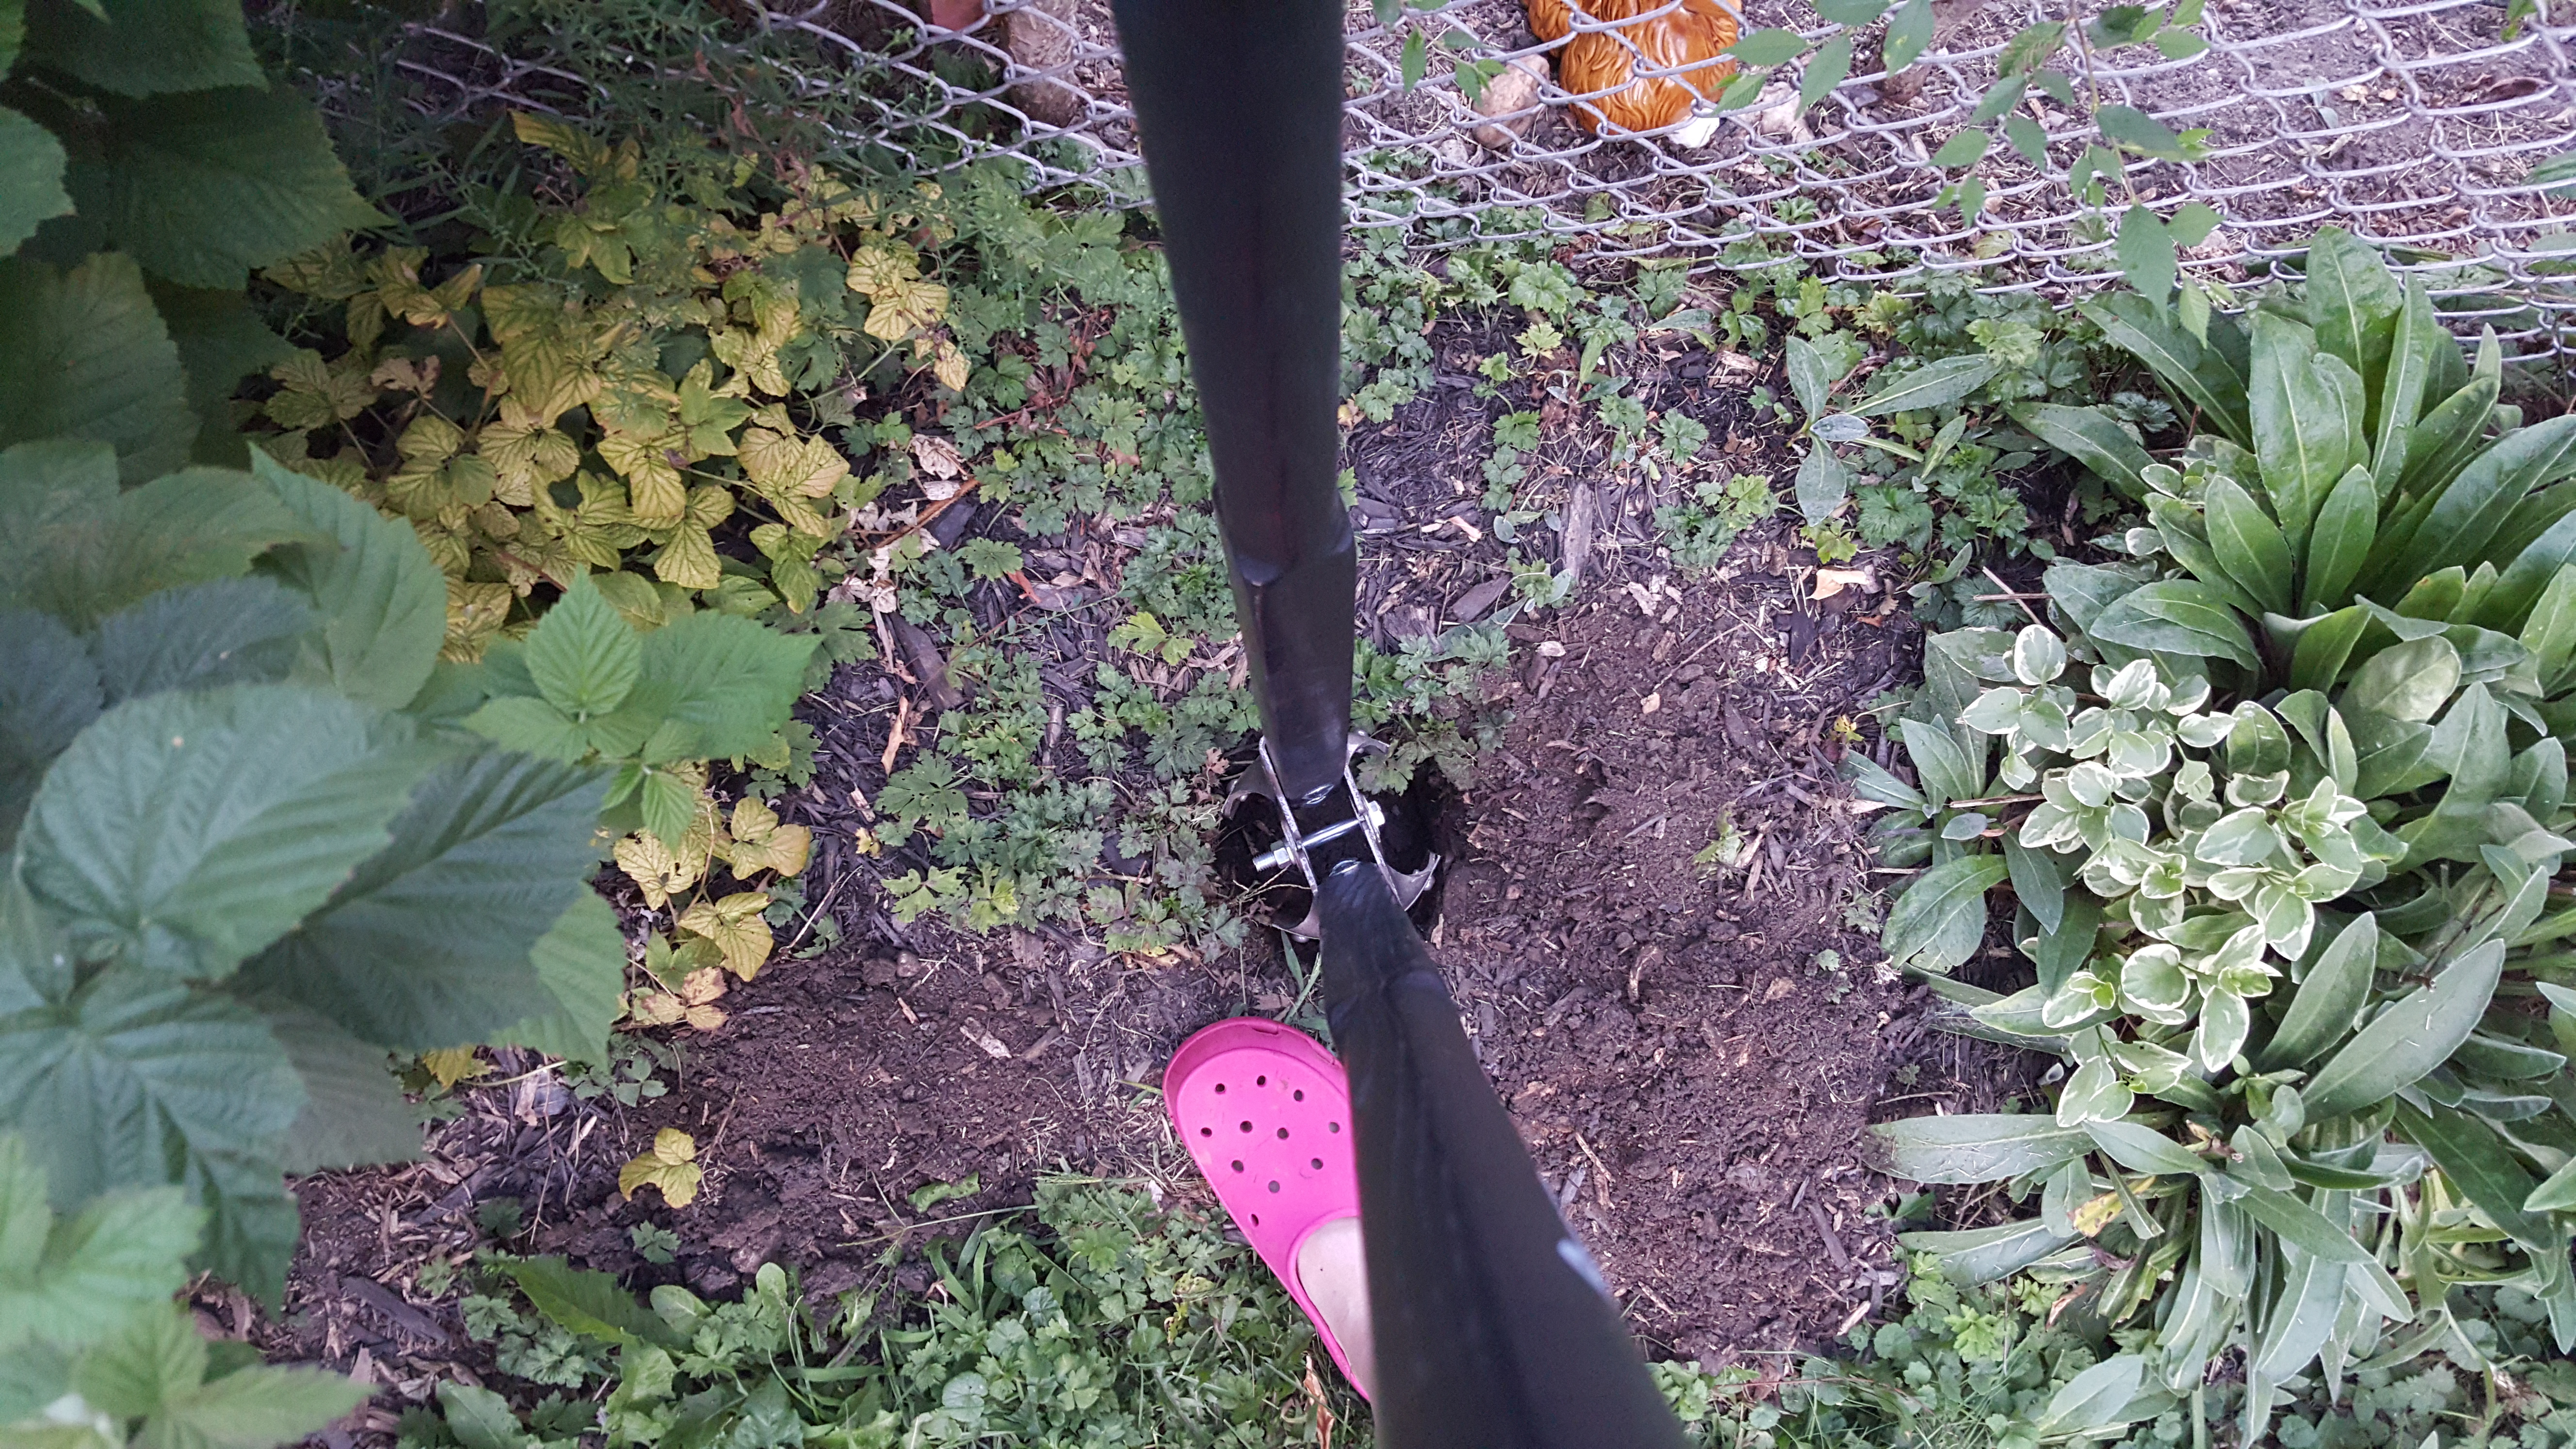
It dawned on me as I was just finding places to plant some of these bulbs that I needed to mark them in some way, shape or form. The past few years, I have forgotten where I have planted things, and end up digging them up and losing the bulbs.
Here is my tip for you when it comes to marking your bulbs you planted:
*I simply took pictures of the bulb packages in the exact space I planted them.
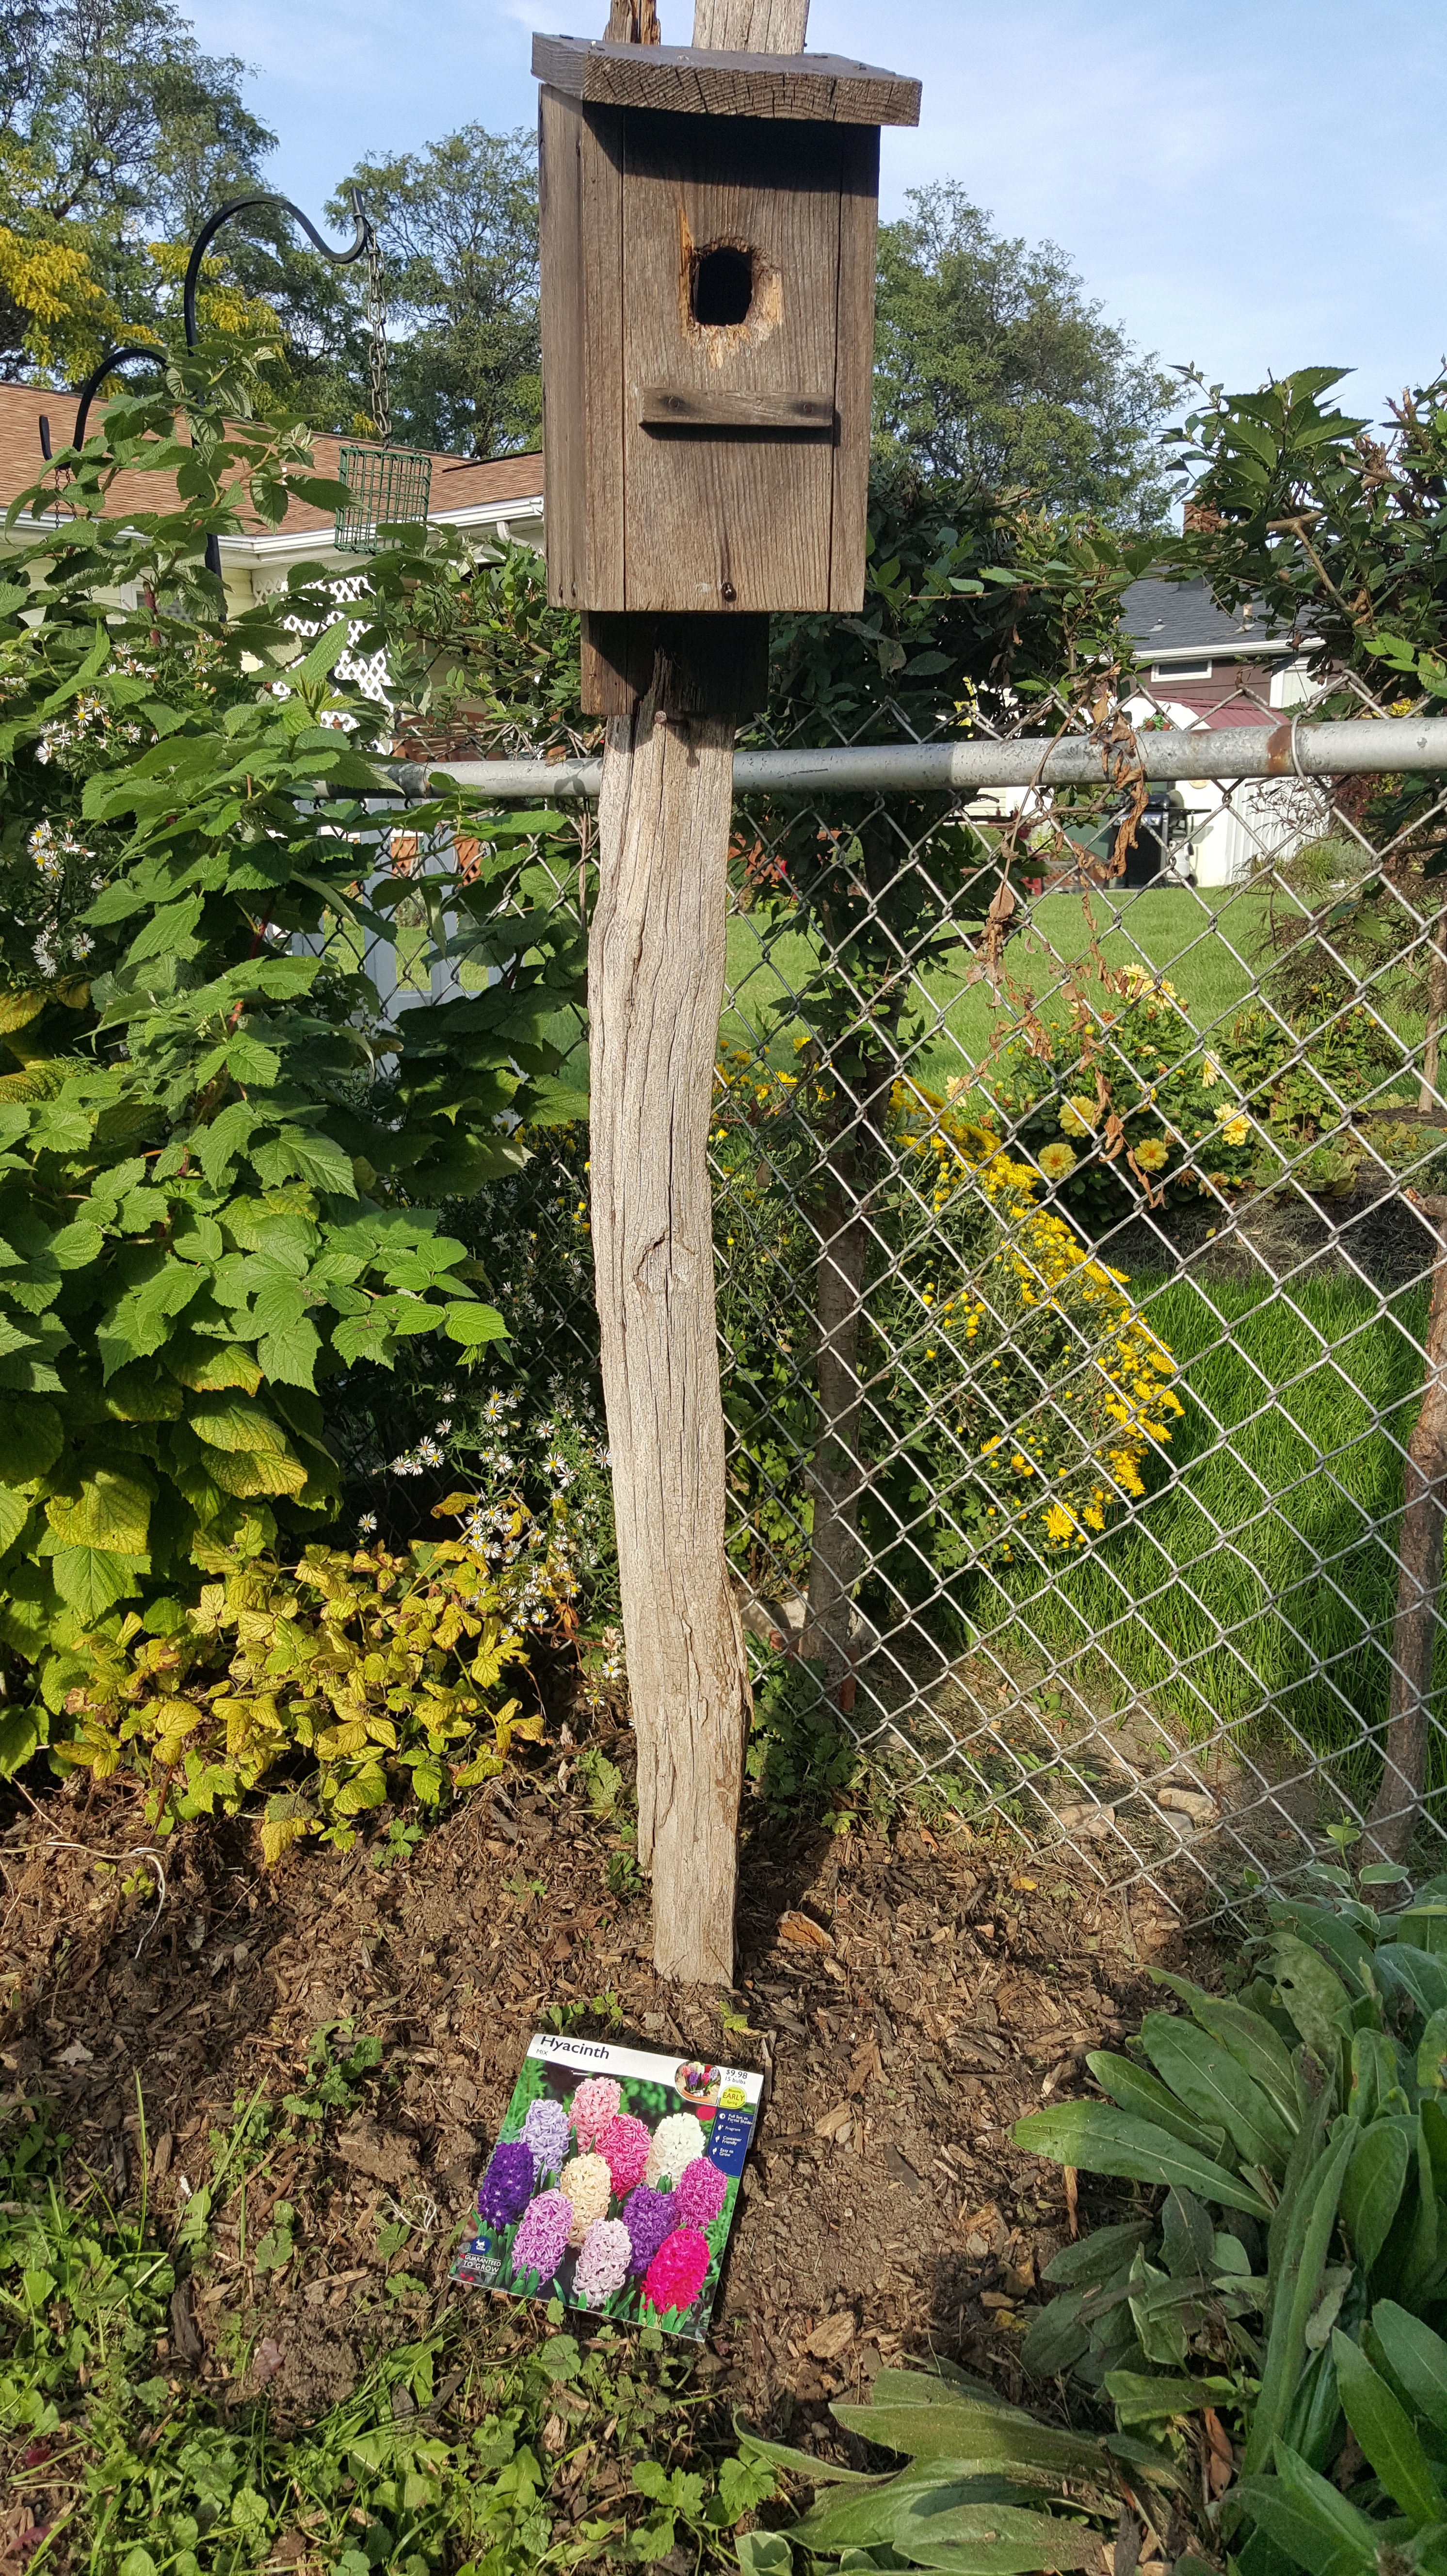
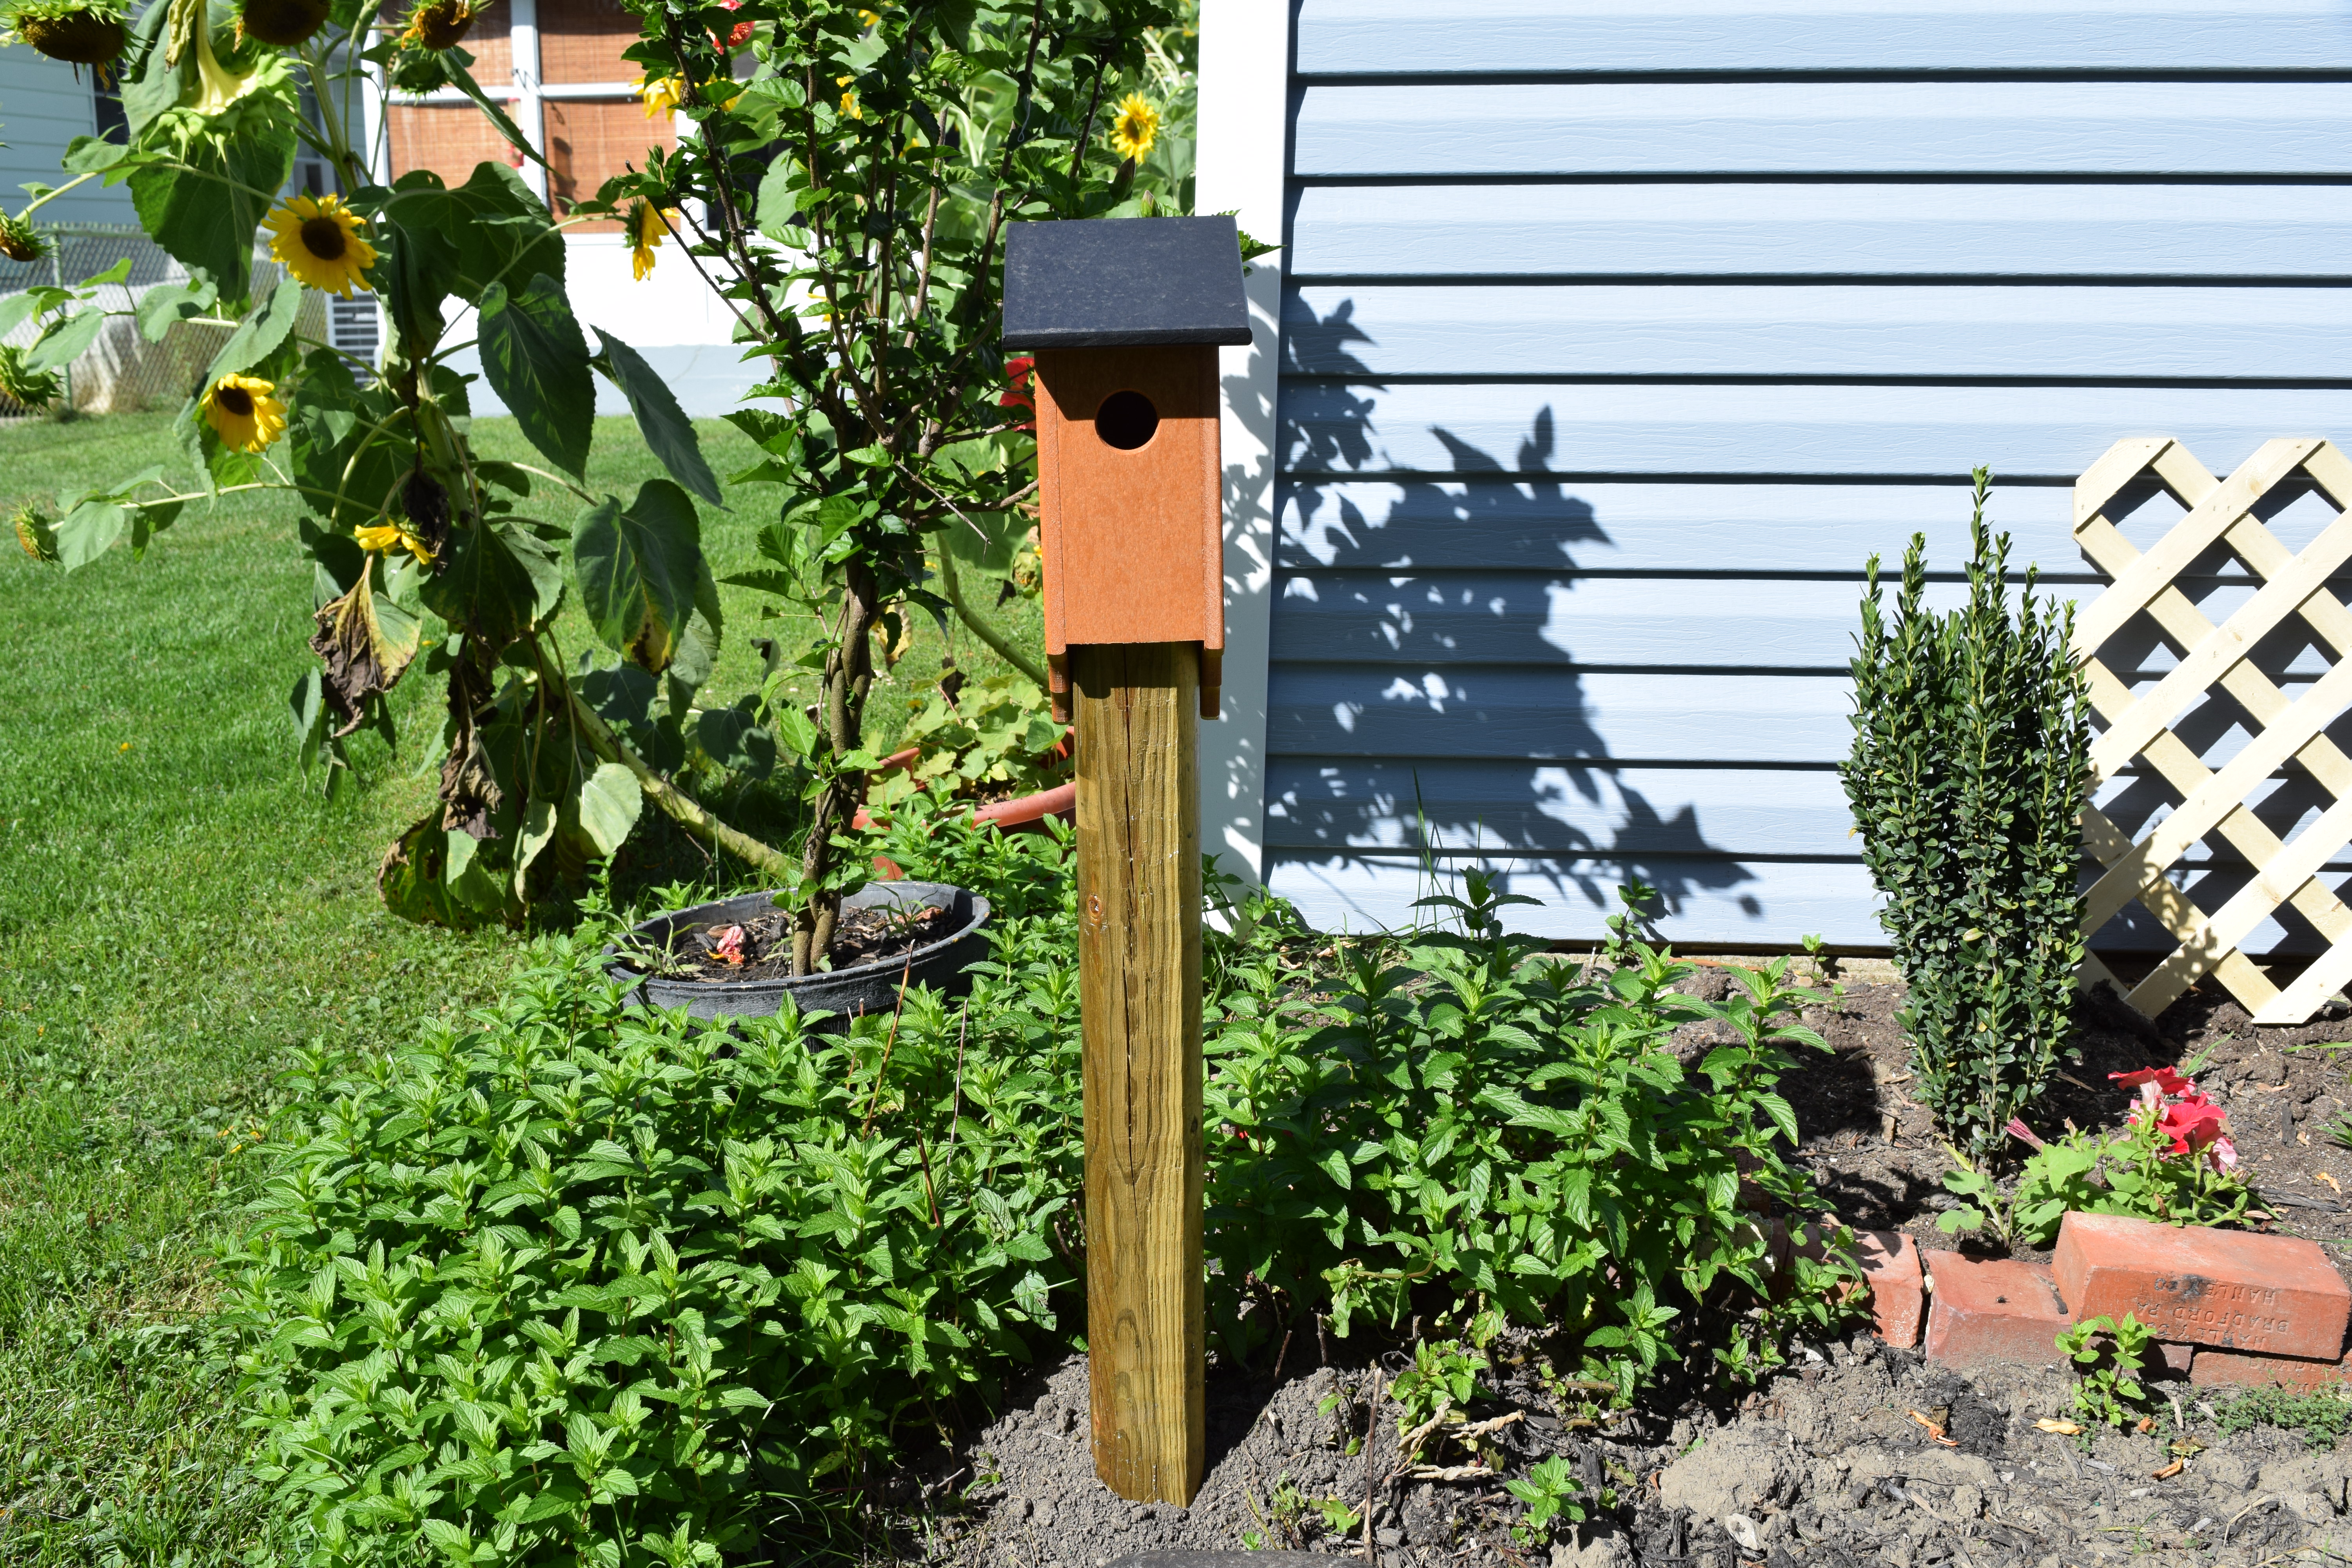
I planted hyacinths under my old bluebird house.
You may have other ways you mark your bulbs that are more efficient, but for me, to have photo proof keeps me from losing serious bulbs.
The overall effort of this mass bulb planting included purchasing four extra bags of dirt and the aid of a special little helper.

She did a good job, and to show my appreciation, we went to the playground and then sat on the roof of our local ice cream joint. There is no better place to watch the sunset than on top of Mississippi Mudds!


So, this coming weekend has us getting pumpkins–part of my front entryway fall decor. Can’t wait to share!
I love fall and everything that comes with it! I made a trip to Yankee Candle last Friday night to get some wax melts and fell in love with “Autumn Leaves” scent. I just got a coupon in the mail and can’t wait to get some time to run over again and get the big jar candle!
Oh, and my last musing for this post– my sunflowers. I did a whole tutorial last year on sunflowers and how to harvest the seeds. Well, with all the rain we received in the past two days, they collapsed and fell just like last year. I was disappointed this year because my sunflowers didn’t get nearly as big as they did last year. No matter, I cut the heads off to dry and was dragging 6ft. sunflower stalks to the curb. Here’s hoping for a better crop next year!

Whoever said gardening wasn’t exercise didn’t drag 6ft. sunflower stalks, that’s for sure!