As the weather turns even more unfavorable as the weeks progress, I am reminded I still have stuff that needs to be done in the yard before the ground freezes and the snow starts sticking to the ground. It’s really hard to do so when it starts getting dark at 5:00 at night. I used to be able to get quite a few things accomplished after work, but it just doesn’t happen anymore! I did, however, manage to help some of my plants take cover yesterday, and also started cutting some of my hostas down.
- One thing I have not done yet is rake the yard. I have A LOT of trees in my neighborhood, and I would like to wait another week before I get the leaf blower out. The trees still have a lot of leaves on them, and I don’t want to have to keep going out and raking when I could just wait when most of the leaves are off the trees instead of another futile attempt. Haha!
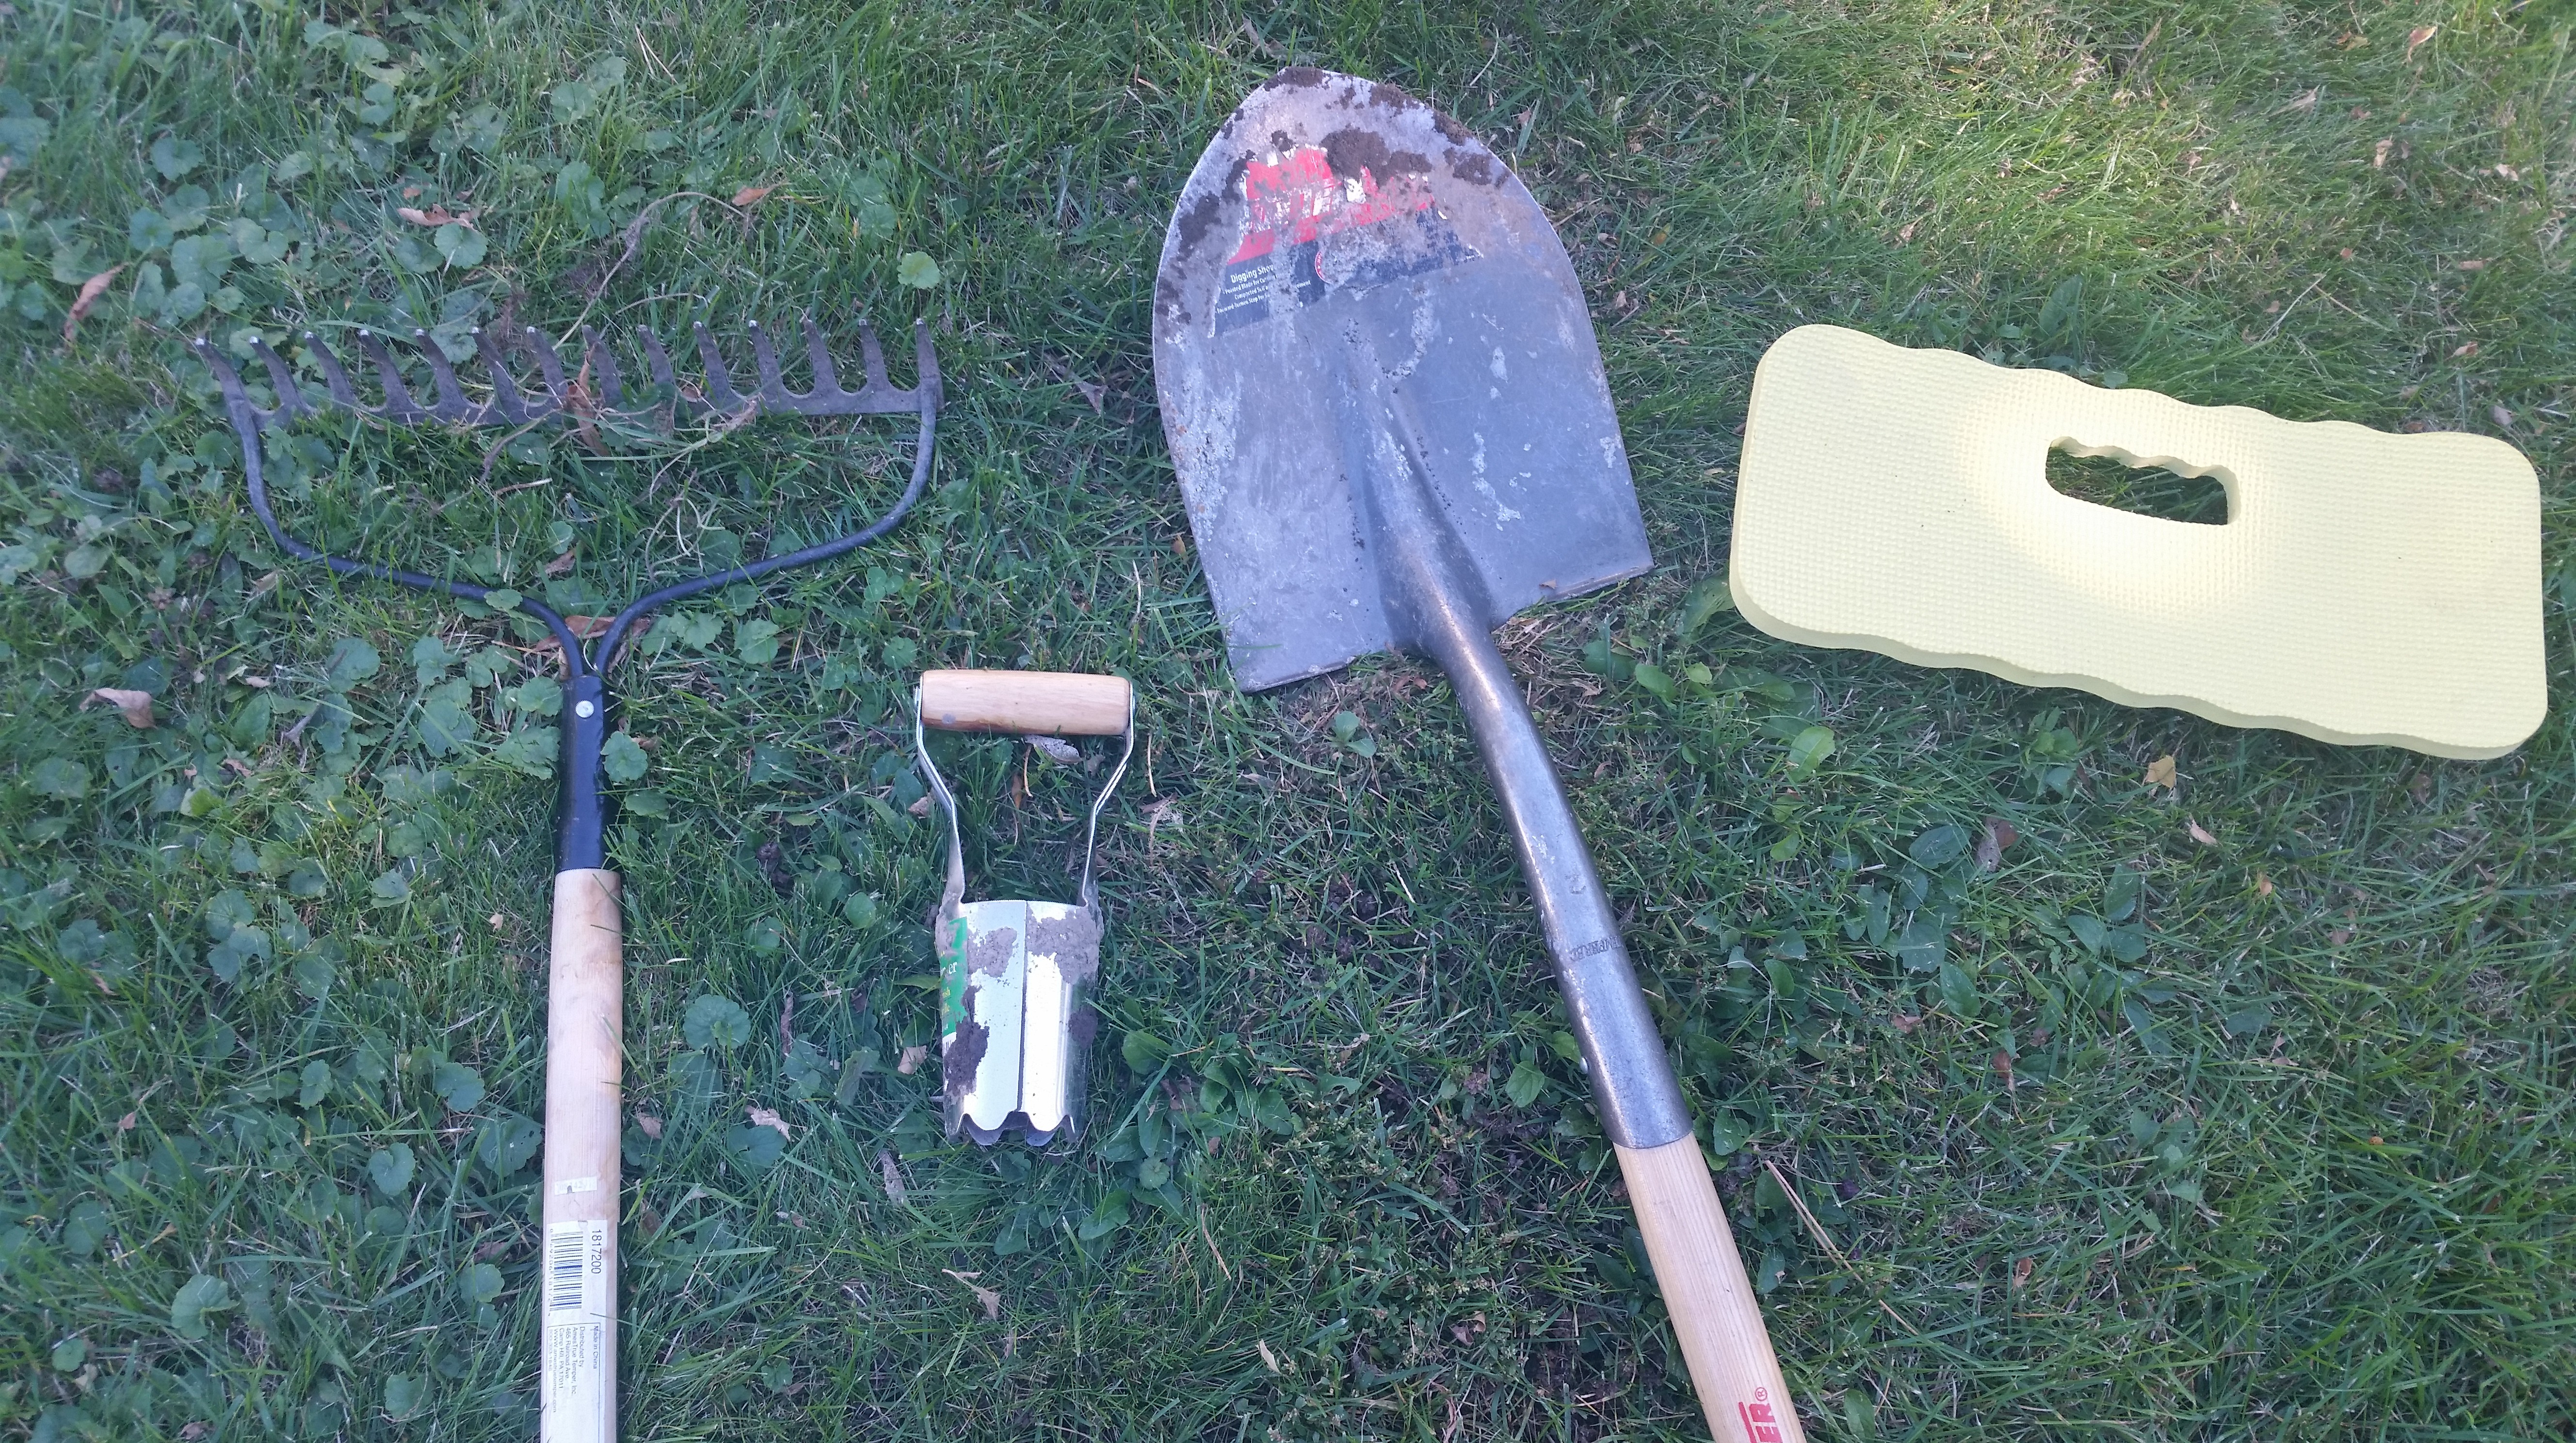
Well, this is finally the second phase of my Fall preparation in the garden. It took a little longer to do it than I would have liked, but I finally got it done. Covering and cutting– it’s that simple. And I used only a couple of things:
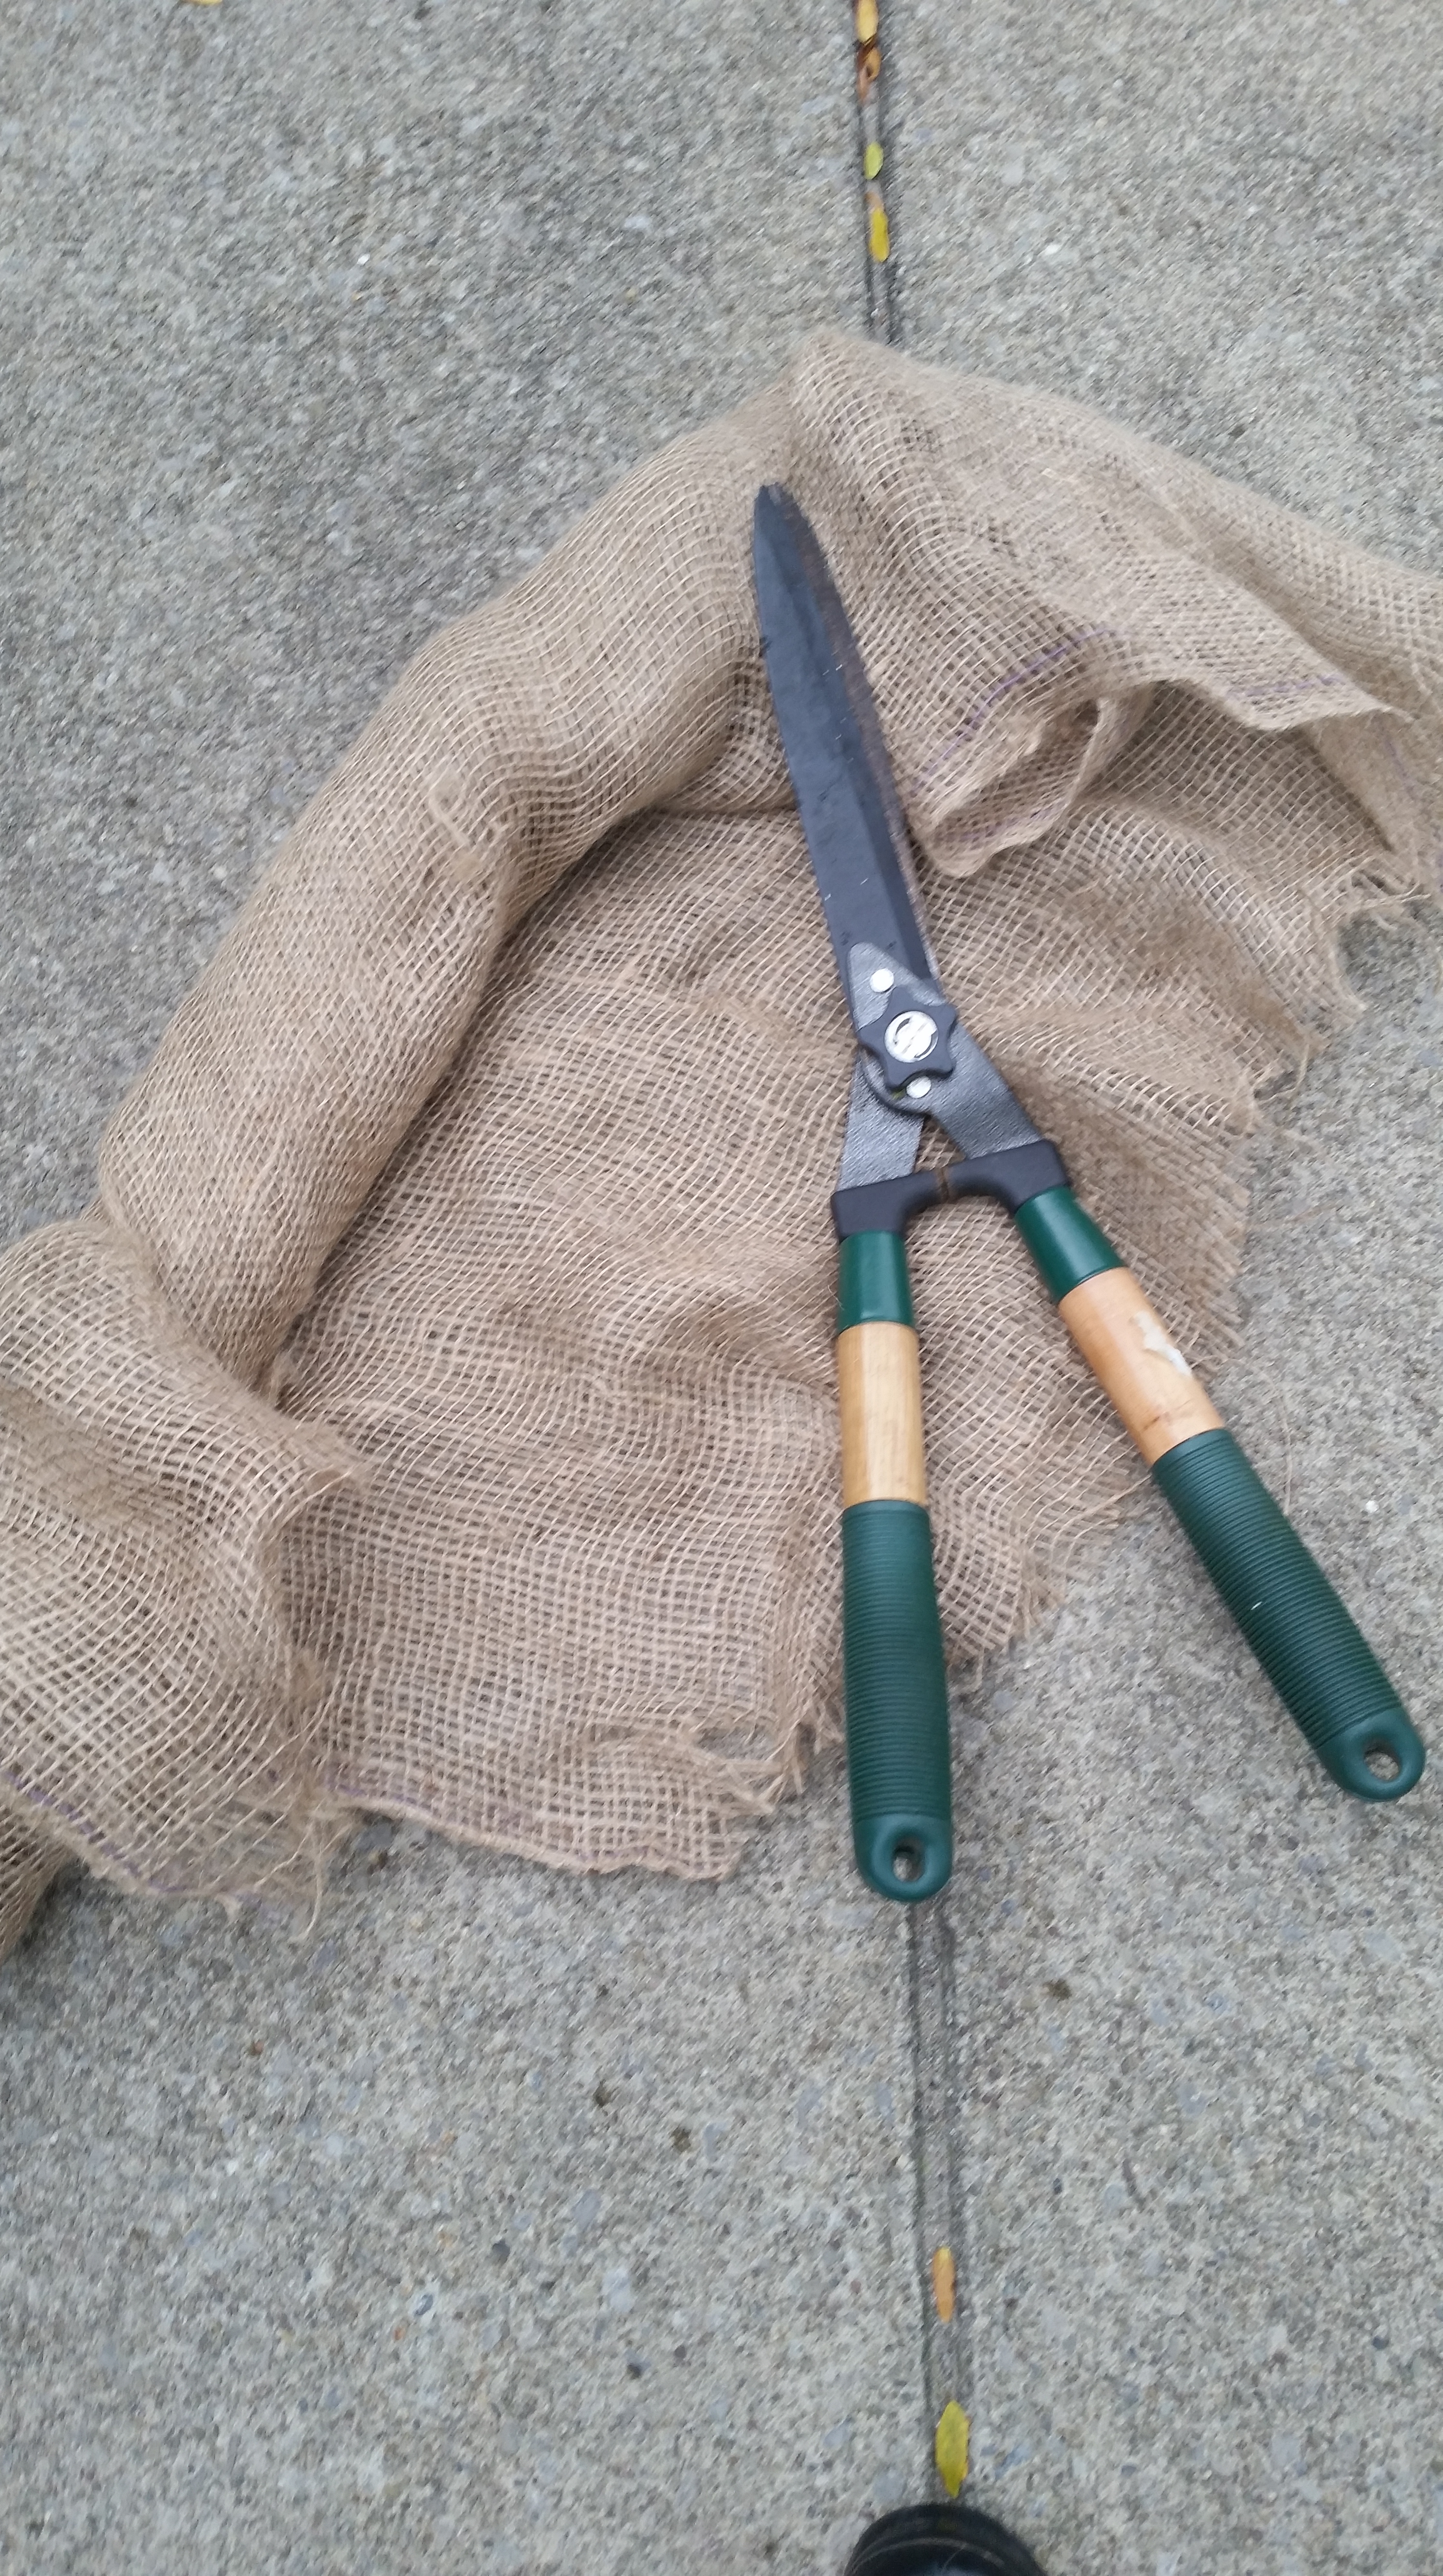
For this garden session, I used some burlap and large garden shears.
Burlap is a nice, heavy-duty covering for any shrubs, trees or plants that you would like to protect from the weather or animals. It’s fairly inexpensive, and you can get it at hardware and home improvement stores. You can also purchase covers that go right over shrubs and trees to make things easier. I just happen to have burlap leftover and figure I will use this up before I buy anything more.
Large gardening shears or clippers, happened to be my favorite gardening tool. They are so versatile, and can be used for most of your landscaping needs. They pulled double duty for me when it came to cutting my burlap and cutting down my plants.
I have a couple of small emerald-green arborvitae out in front of my house. I started wrapping them first with burlap.
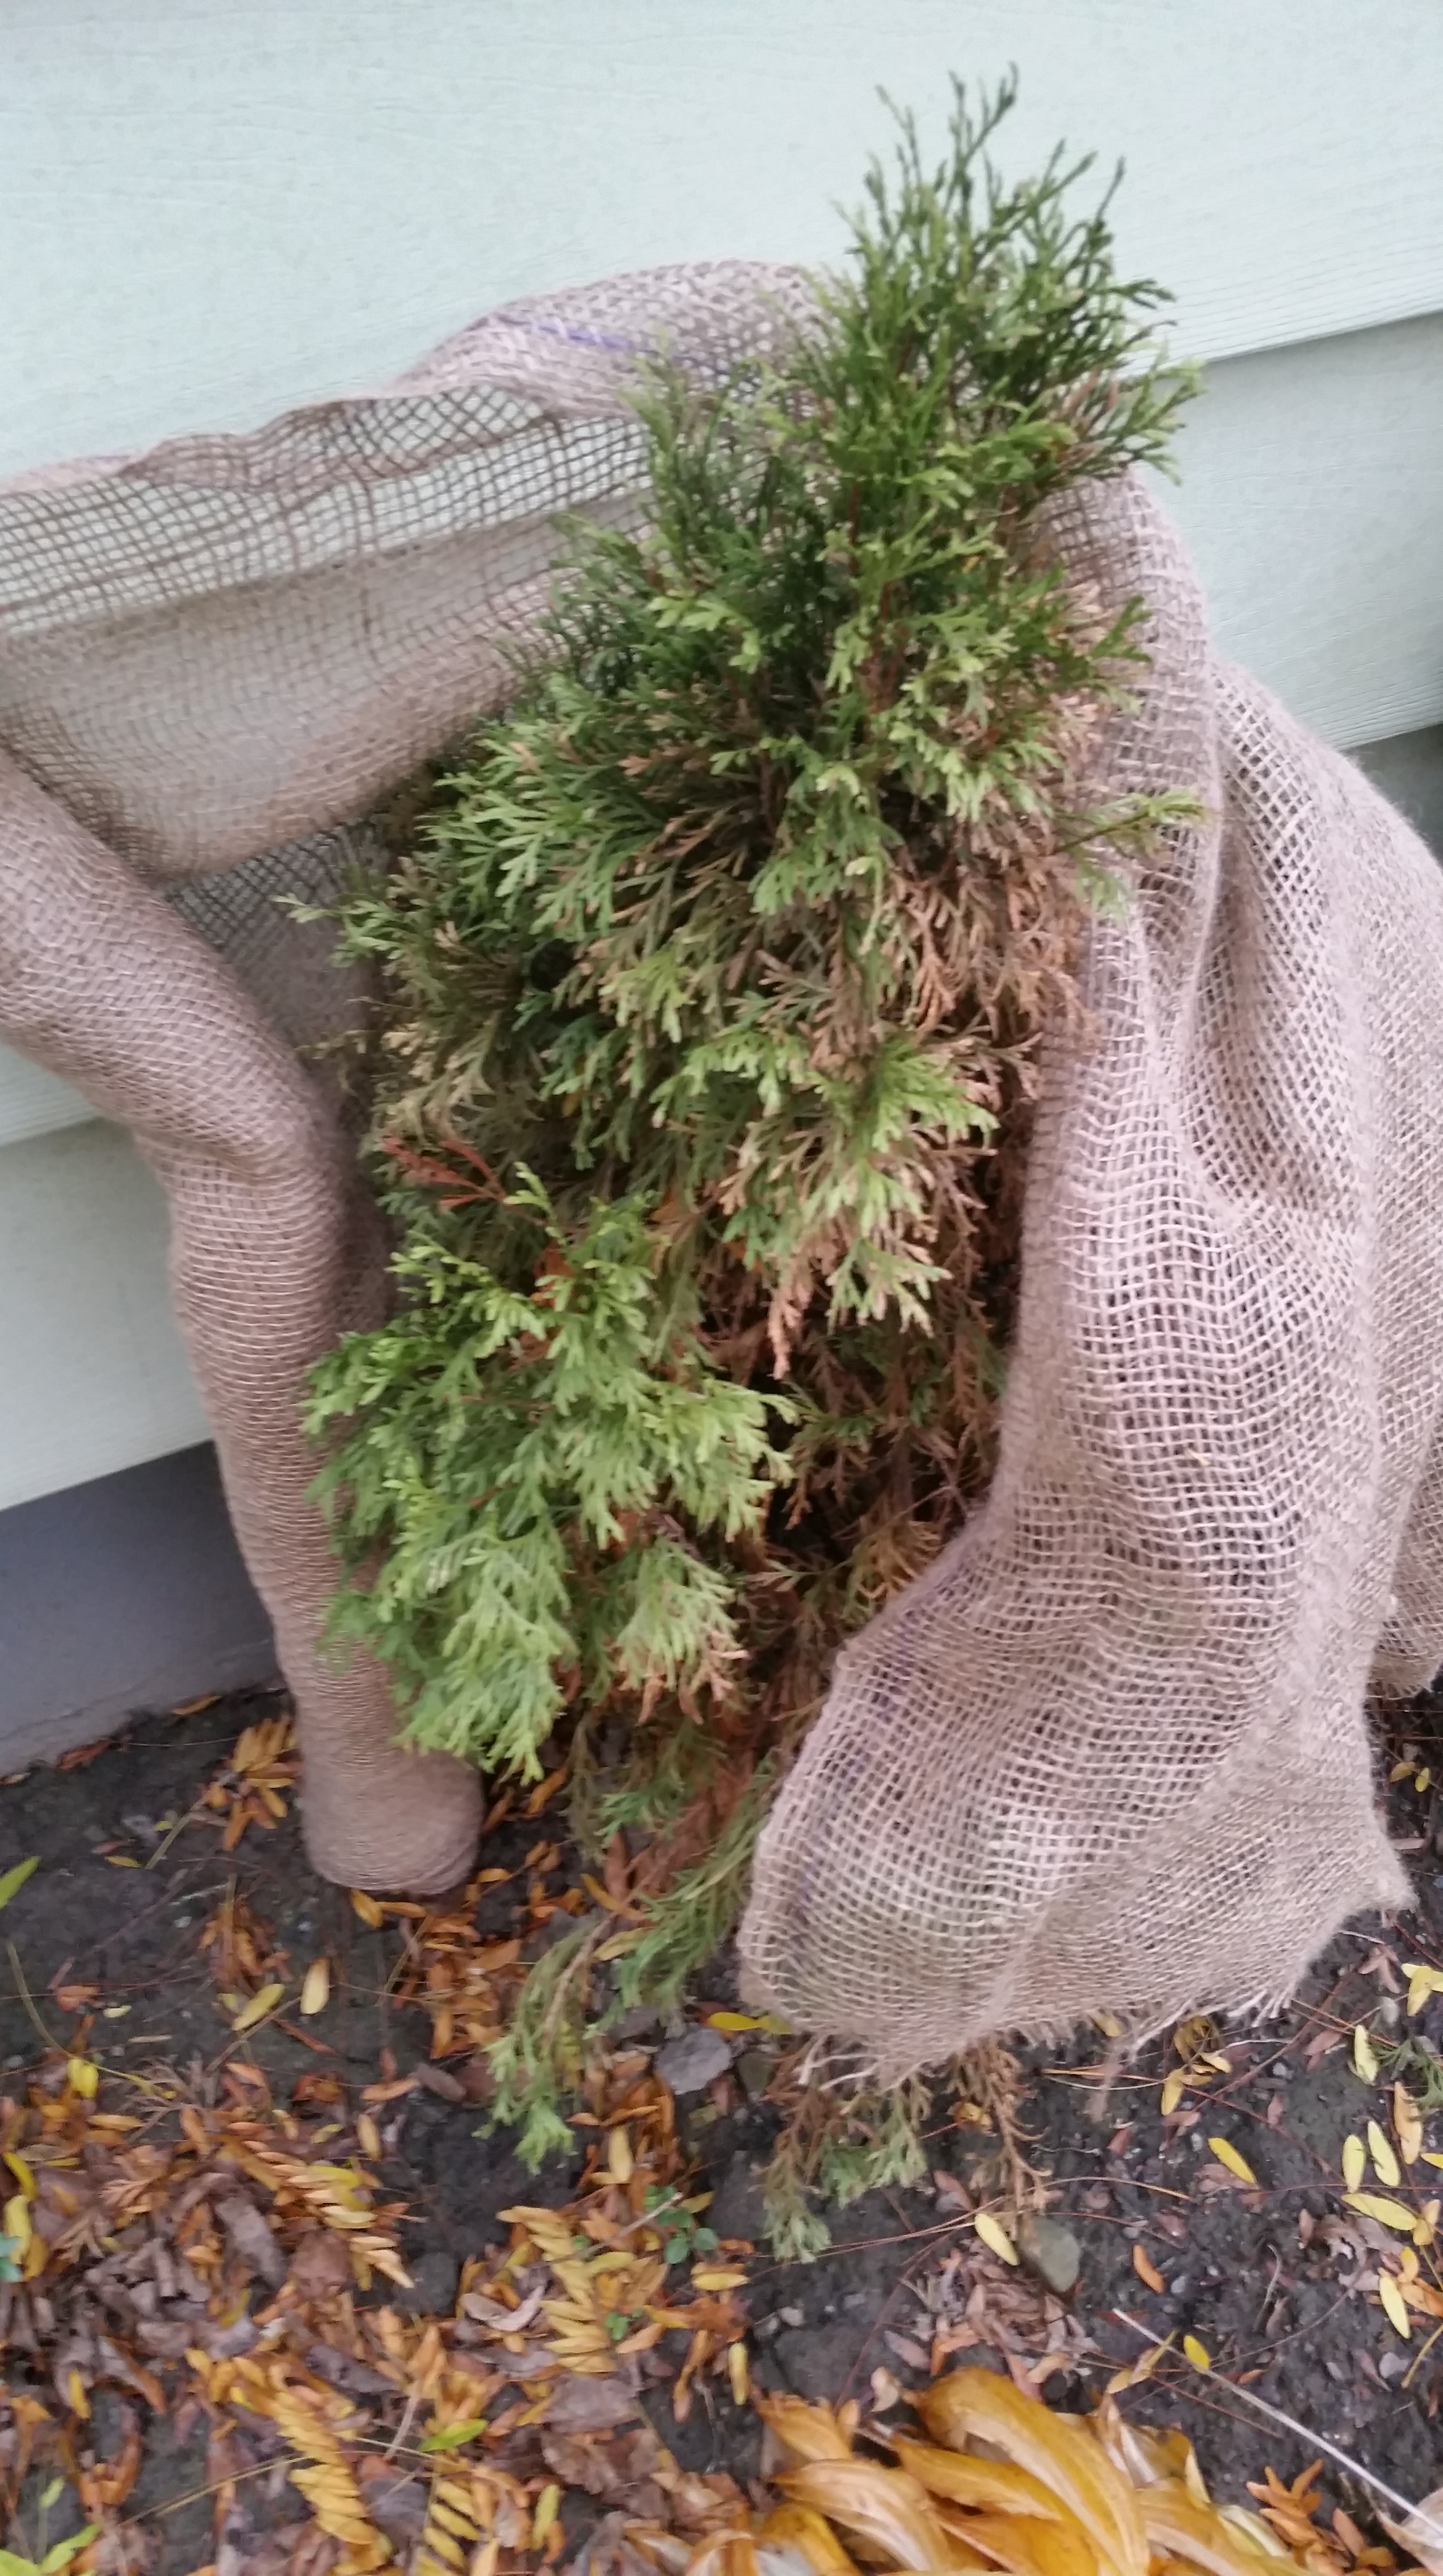
I wrapped the burlap around the arborvitae until it was completely covered. You can use anything to tie or clip the burlap on. There are ties that you can use, and I have known people to staple it and I myself have used metal ornament hooks to keep the burlap closed!

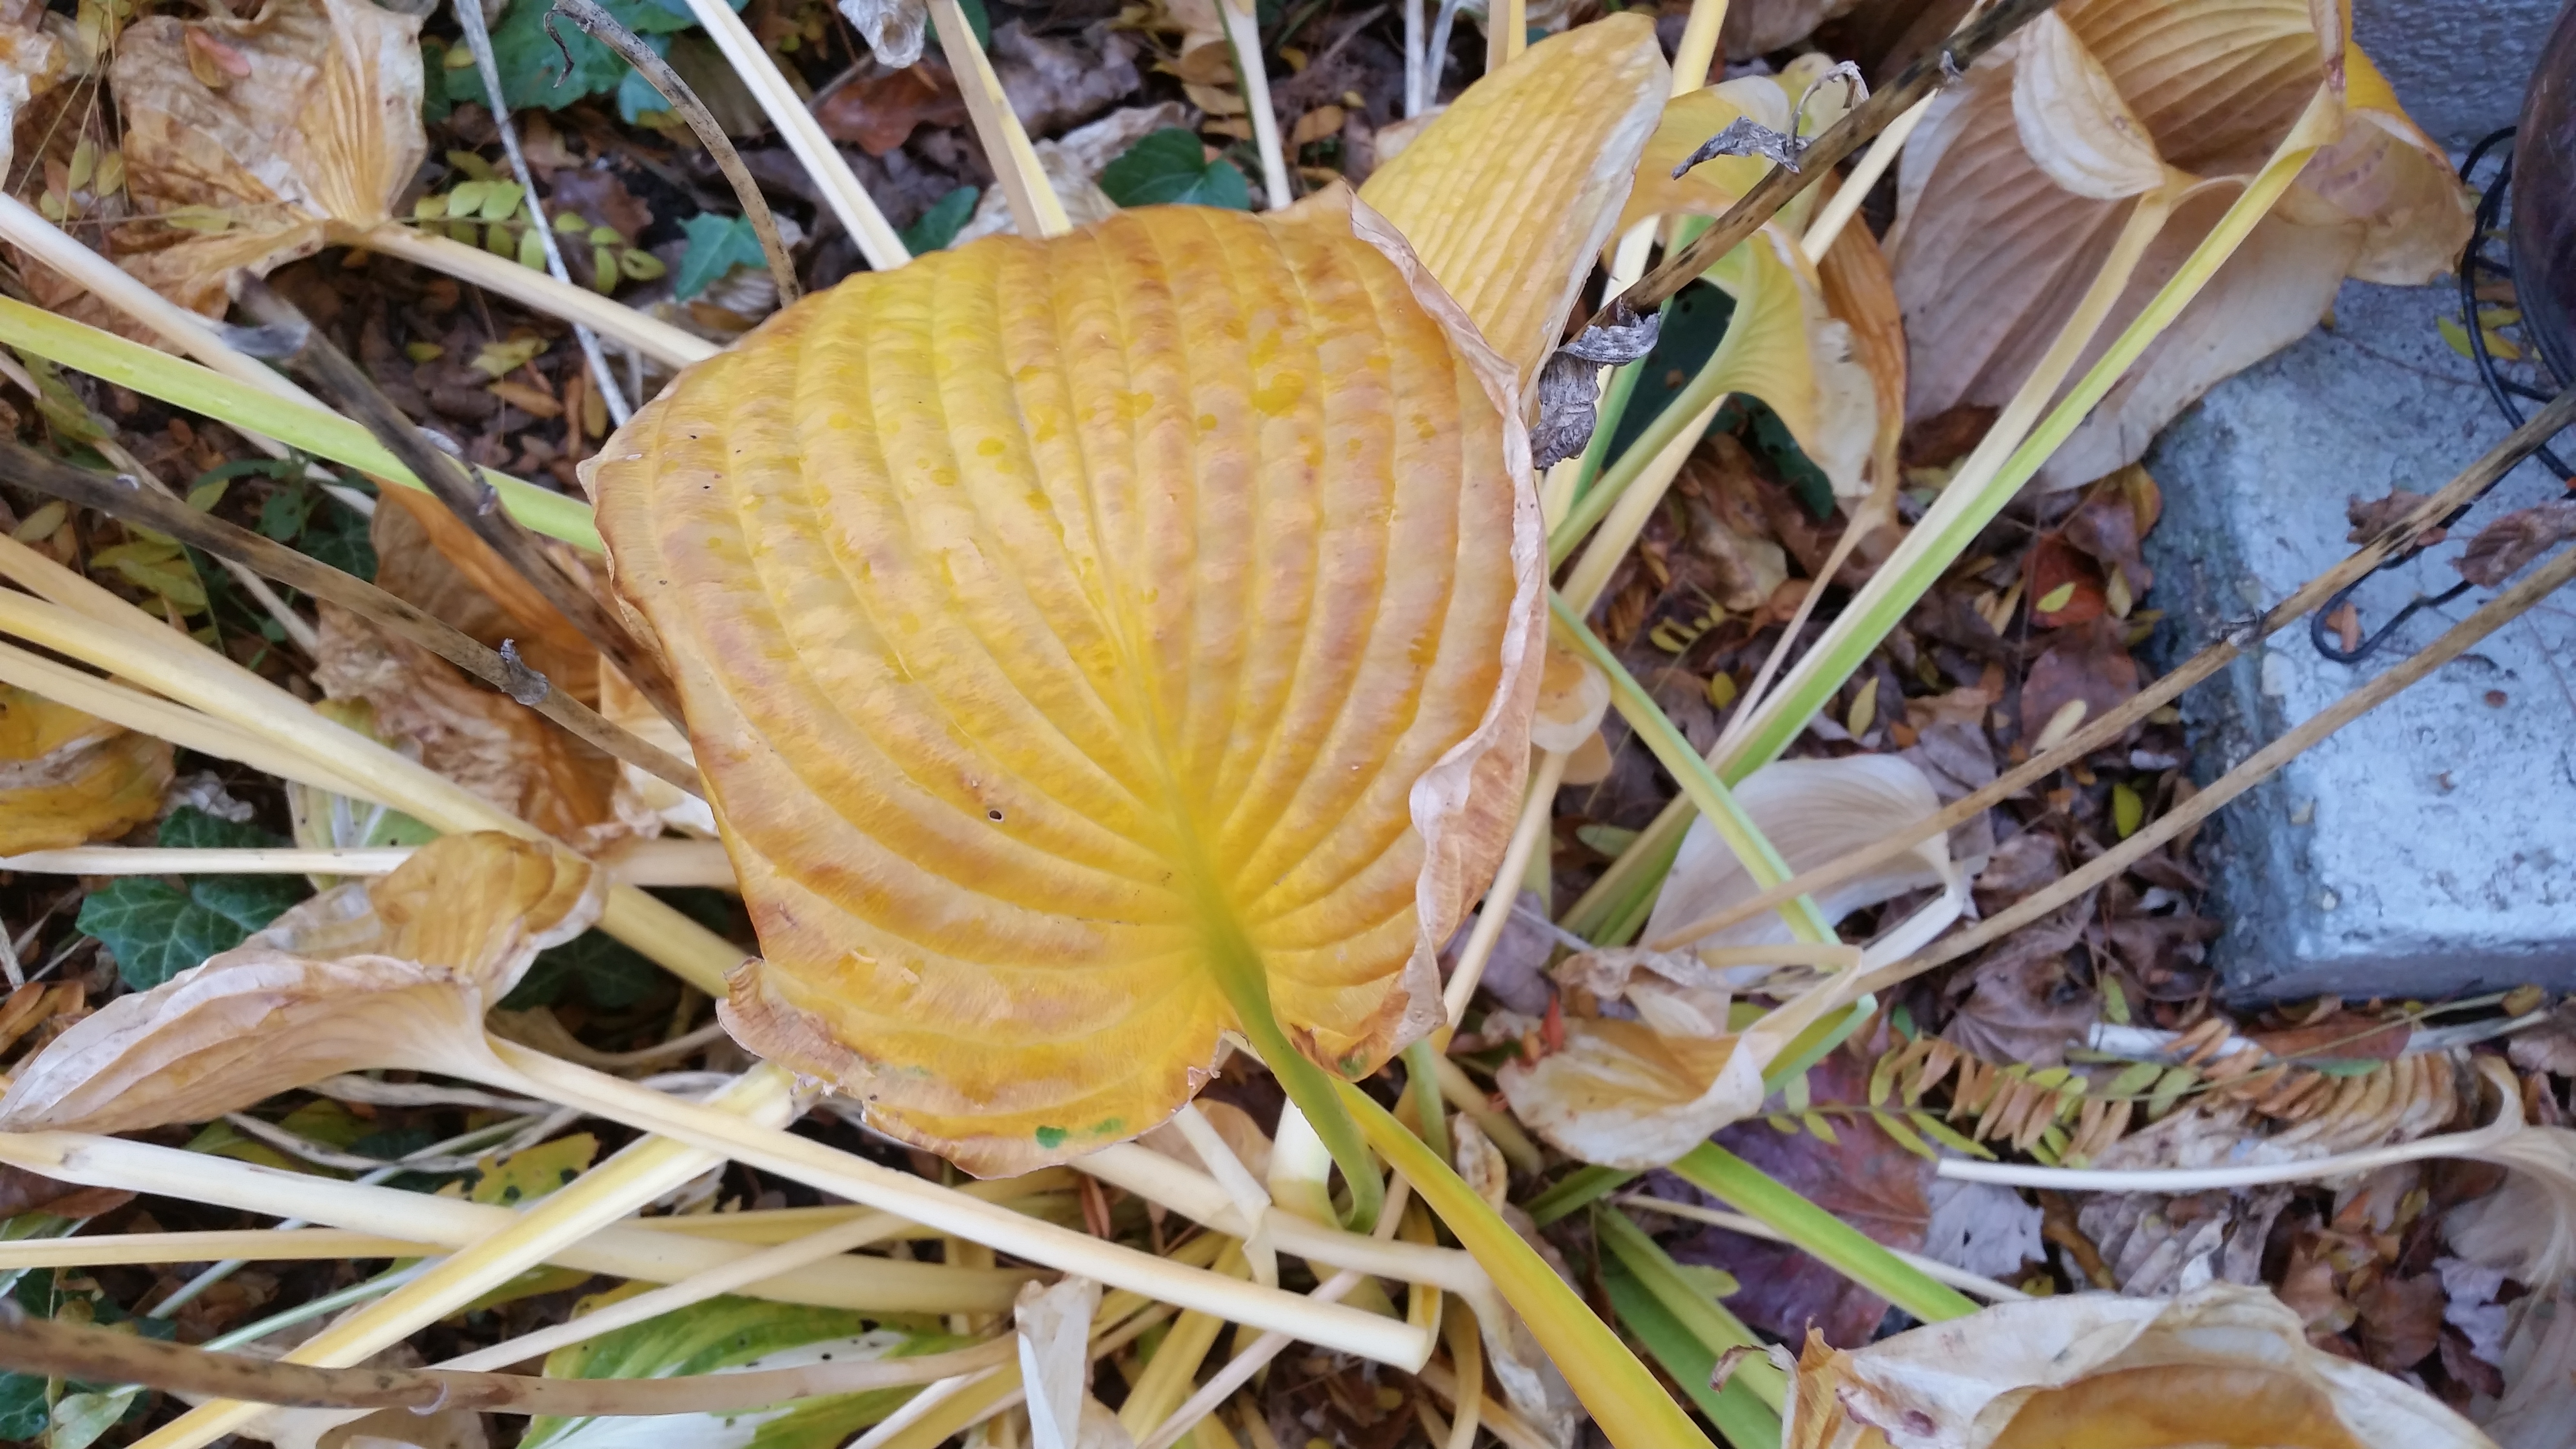
The next item on my “To-do” list for cleaning up was cutting down my hostas. I cut the old stuff down so the new can grow up next season.
For anyone who doesn’t know, hostas are a gardener’s dream plant. They are a hardy, shade loving perennial that will pretty much grow anywhere you put them. So, if you have a spot in your yard that you can’t seem to grow anything, chances are a hosta will do the job for you! And because they are so prolific and they grow so big, they can be separated, and people will give them to you just because they have so many.

There are several types of hostas, and I have quite a few. They grow HUGE and can be separated.
Now my hostas have turned a beautiful yellow, and I need to shear them.
I really want to thank the Deer, for they have helped me out tremendously with my fall cleanup. (Future post will be coming!)

Deer LOVE hostas.
I just cut them as close to the ground as possible.

Voila! All done.

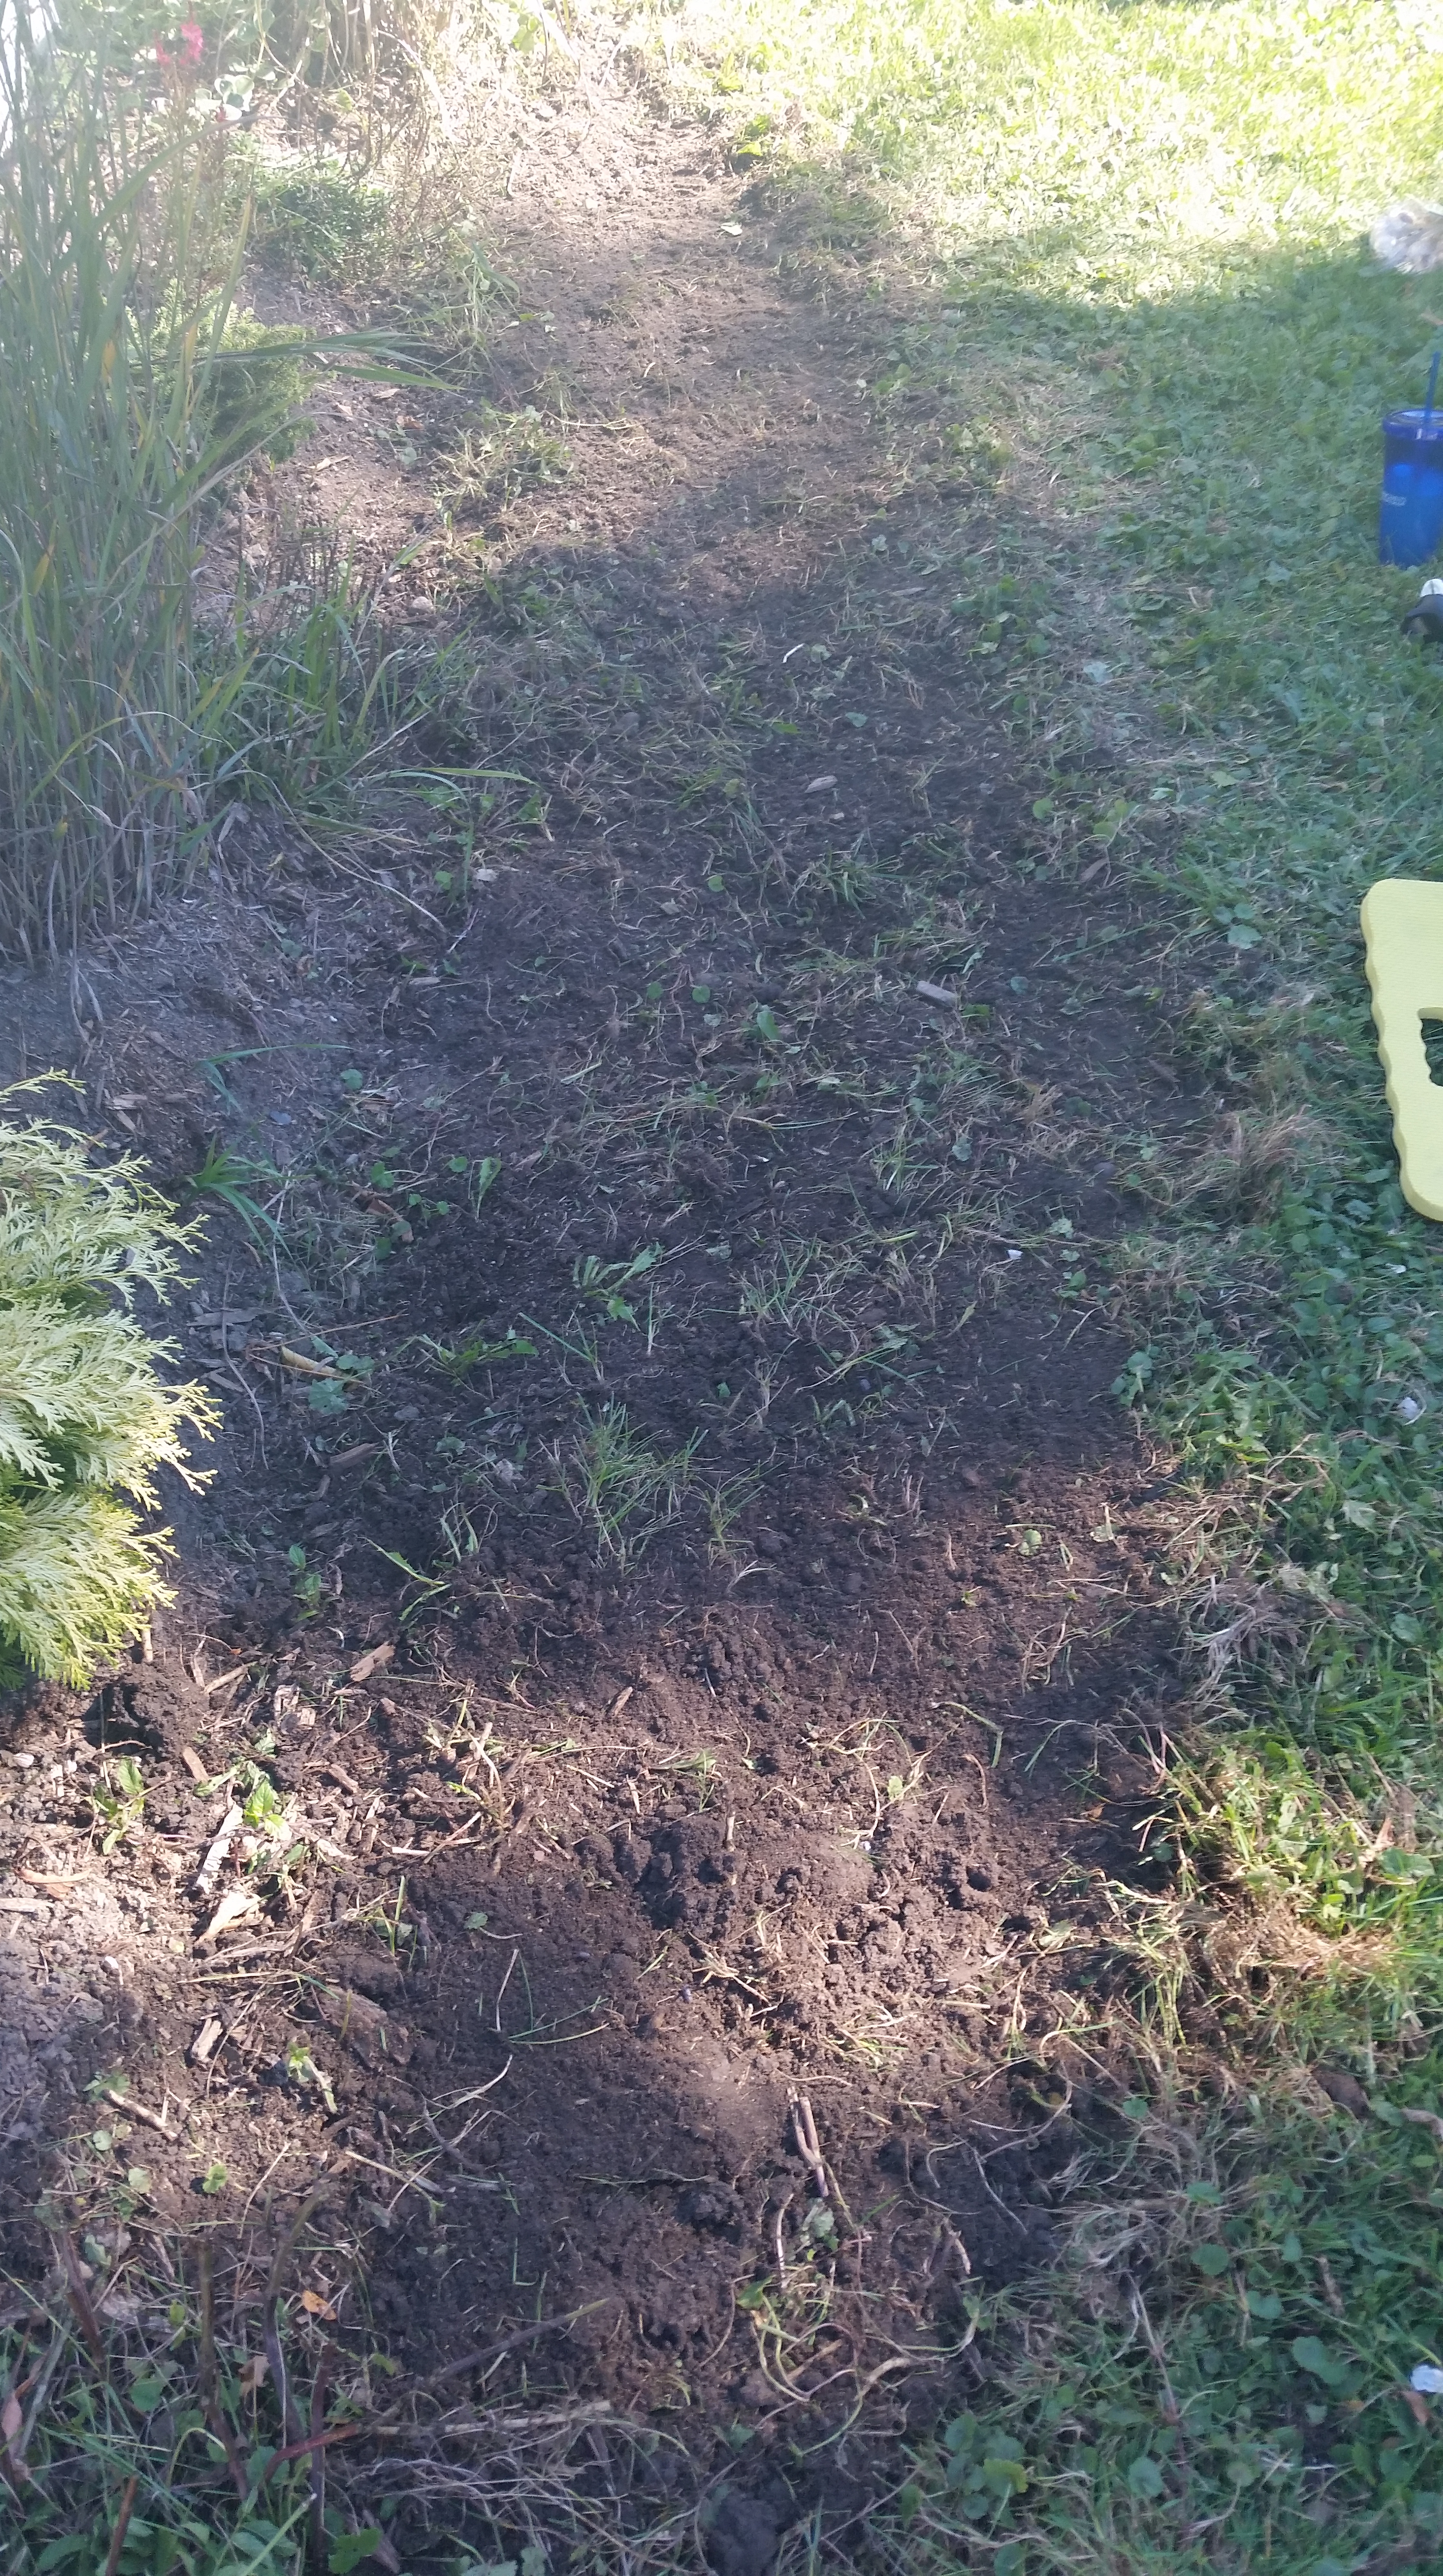
And I take the “garden rubbish” and dispose of it properly.

There you have it! Fall cleanup is a cinch! Lots of work no doubt, but very important if you want to start your next growing season out the right way!