Today was such a beautiful day, and it almost didn’t happen. Meaning, I had two big hurdles that I had to jump over to get any work in my garden done– 1. The Buffalo Bills-New England Patriots game was on. 2. My daughter came down with a cold yesterday. So, I did everything in pieces today.
For me, Fall garden preparation comes in two phases– the first one is planting spring bulbs. Here are some of the more common spring bulbs you will find in your local garden stores that are very affordable and readily available:
- Crocus
- Daffodil
- Tulip
- Hyacinth
- Muscari, or Grape Hyacinth
- Allium
As I mentioned in an earlier post, I went to my local garden store last month, and purchased some fantastic Allium bulbs. I figured I had to take advantage of the nice weather we are having and get these bulbs into the ground now, despite the fact I had a few setbacks.
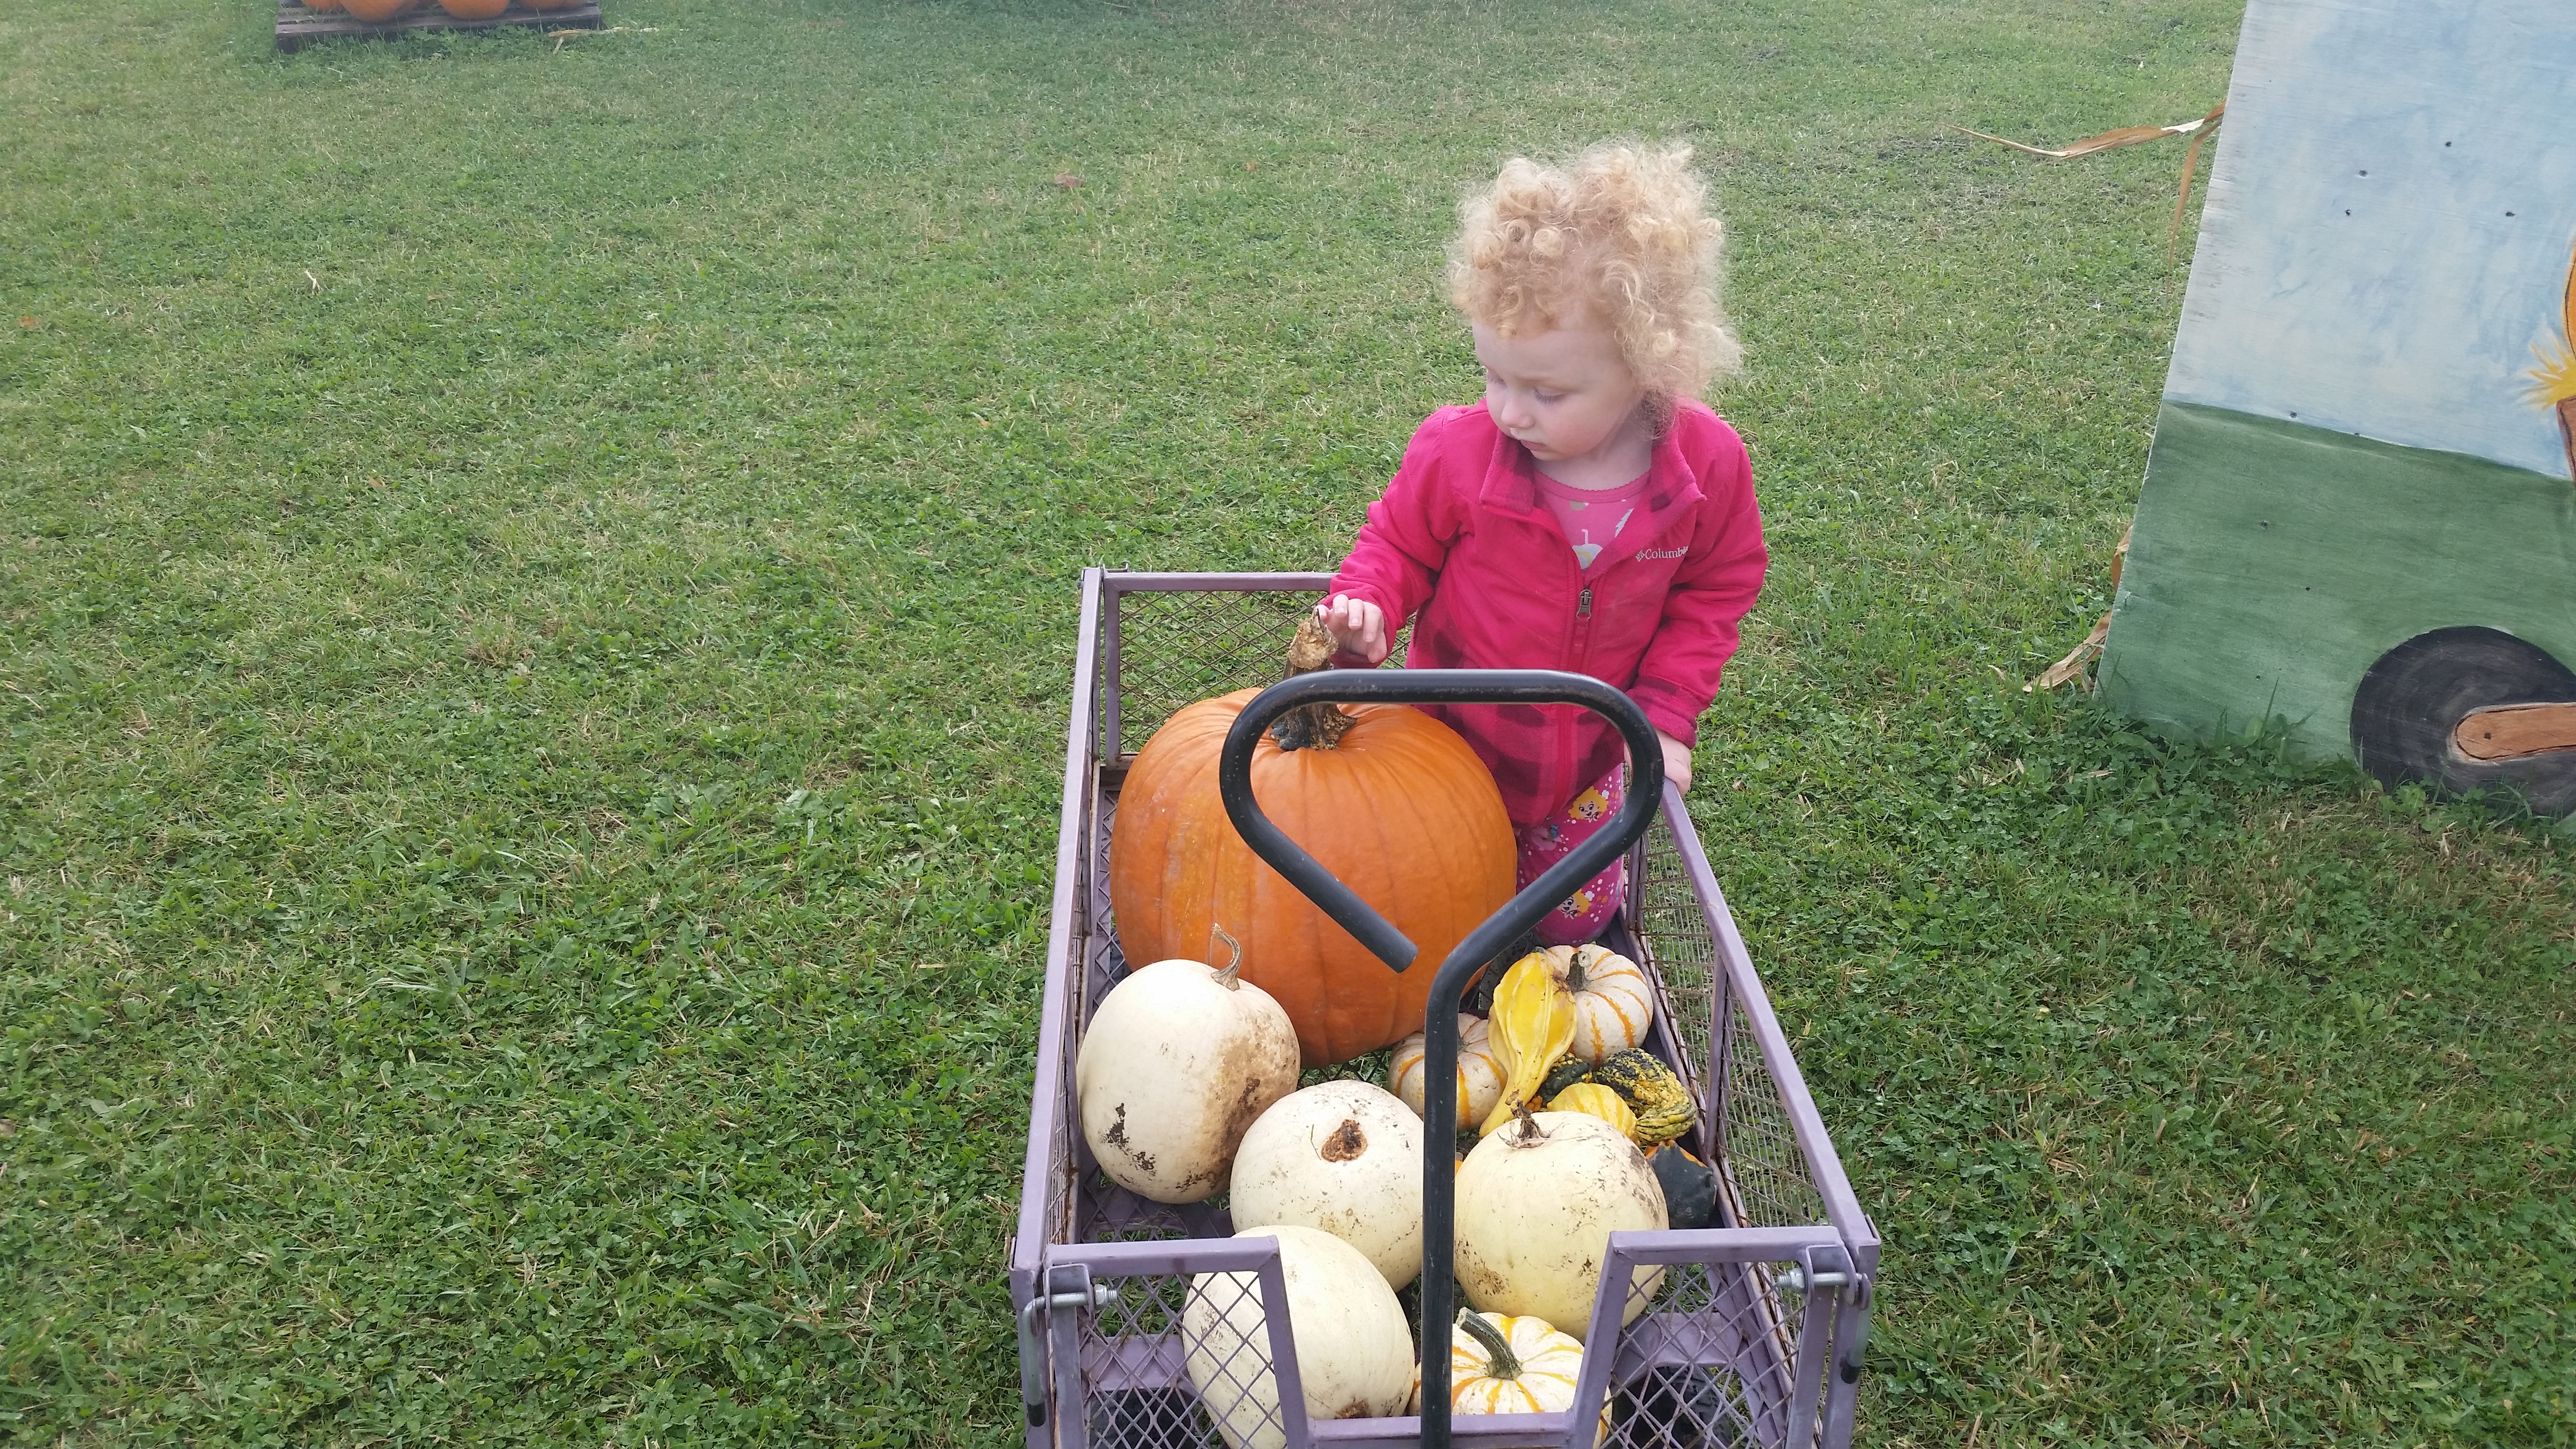
Before I could plant my 35 new Allium bulbs, I needed my husband to roto-till some more of my yard for me! Unfortunately, I didn’t get a chance to take pictures as I was tending to my toddler who was a little under the weather. But, I did get to take a picture of the extension later on when I finally got a chance to dig in and get planting!
To get started, I needed to gather the tools I was going to be using.
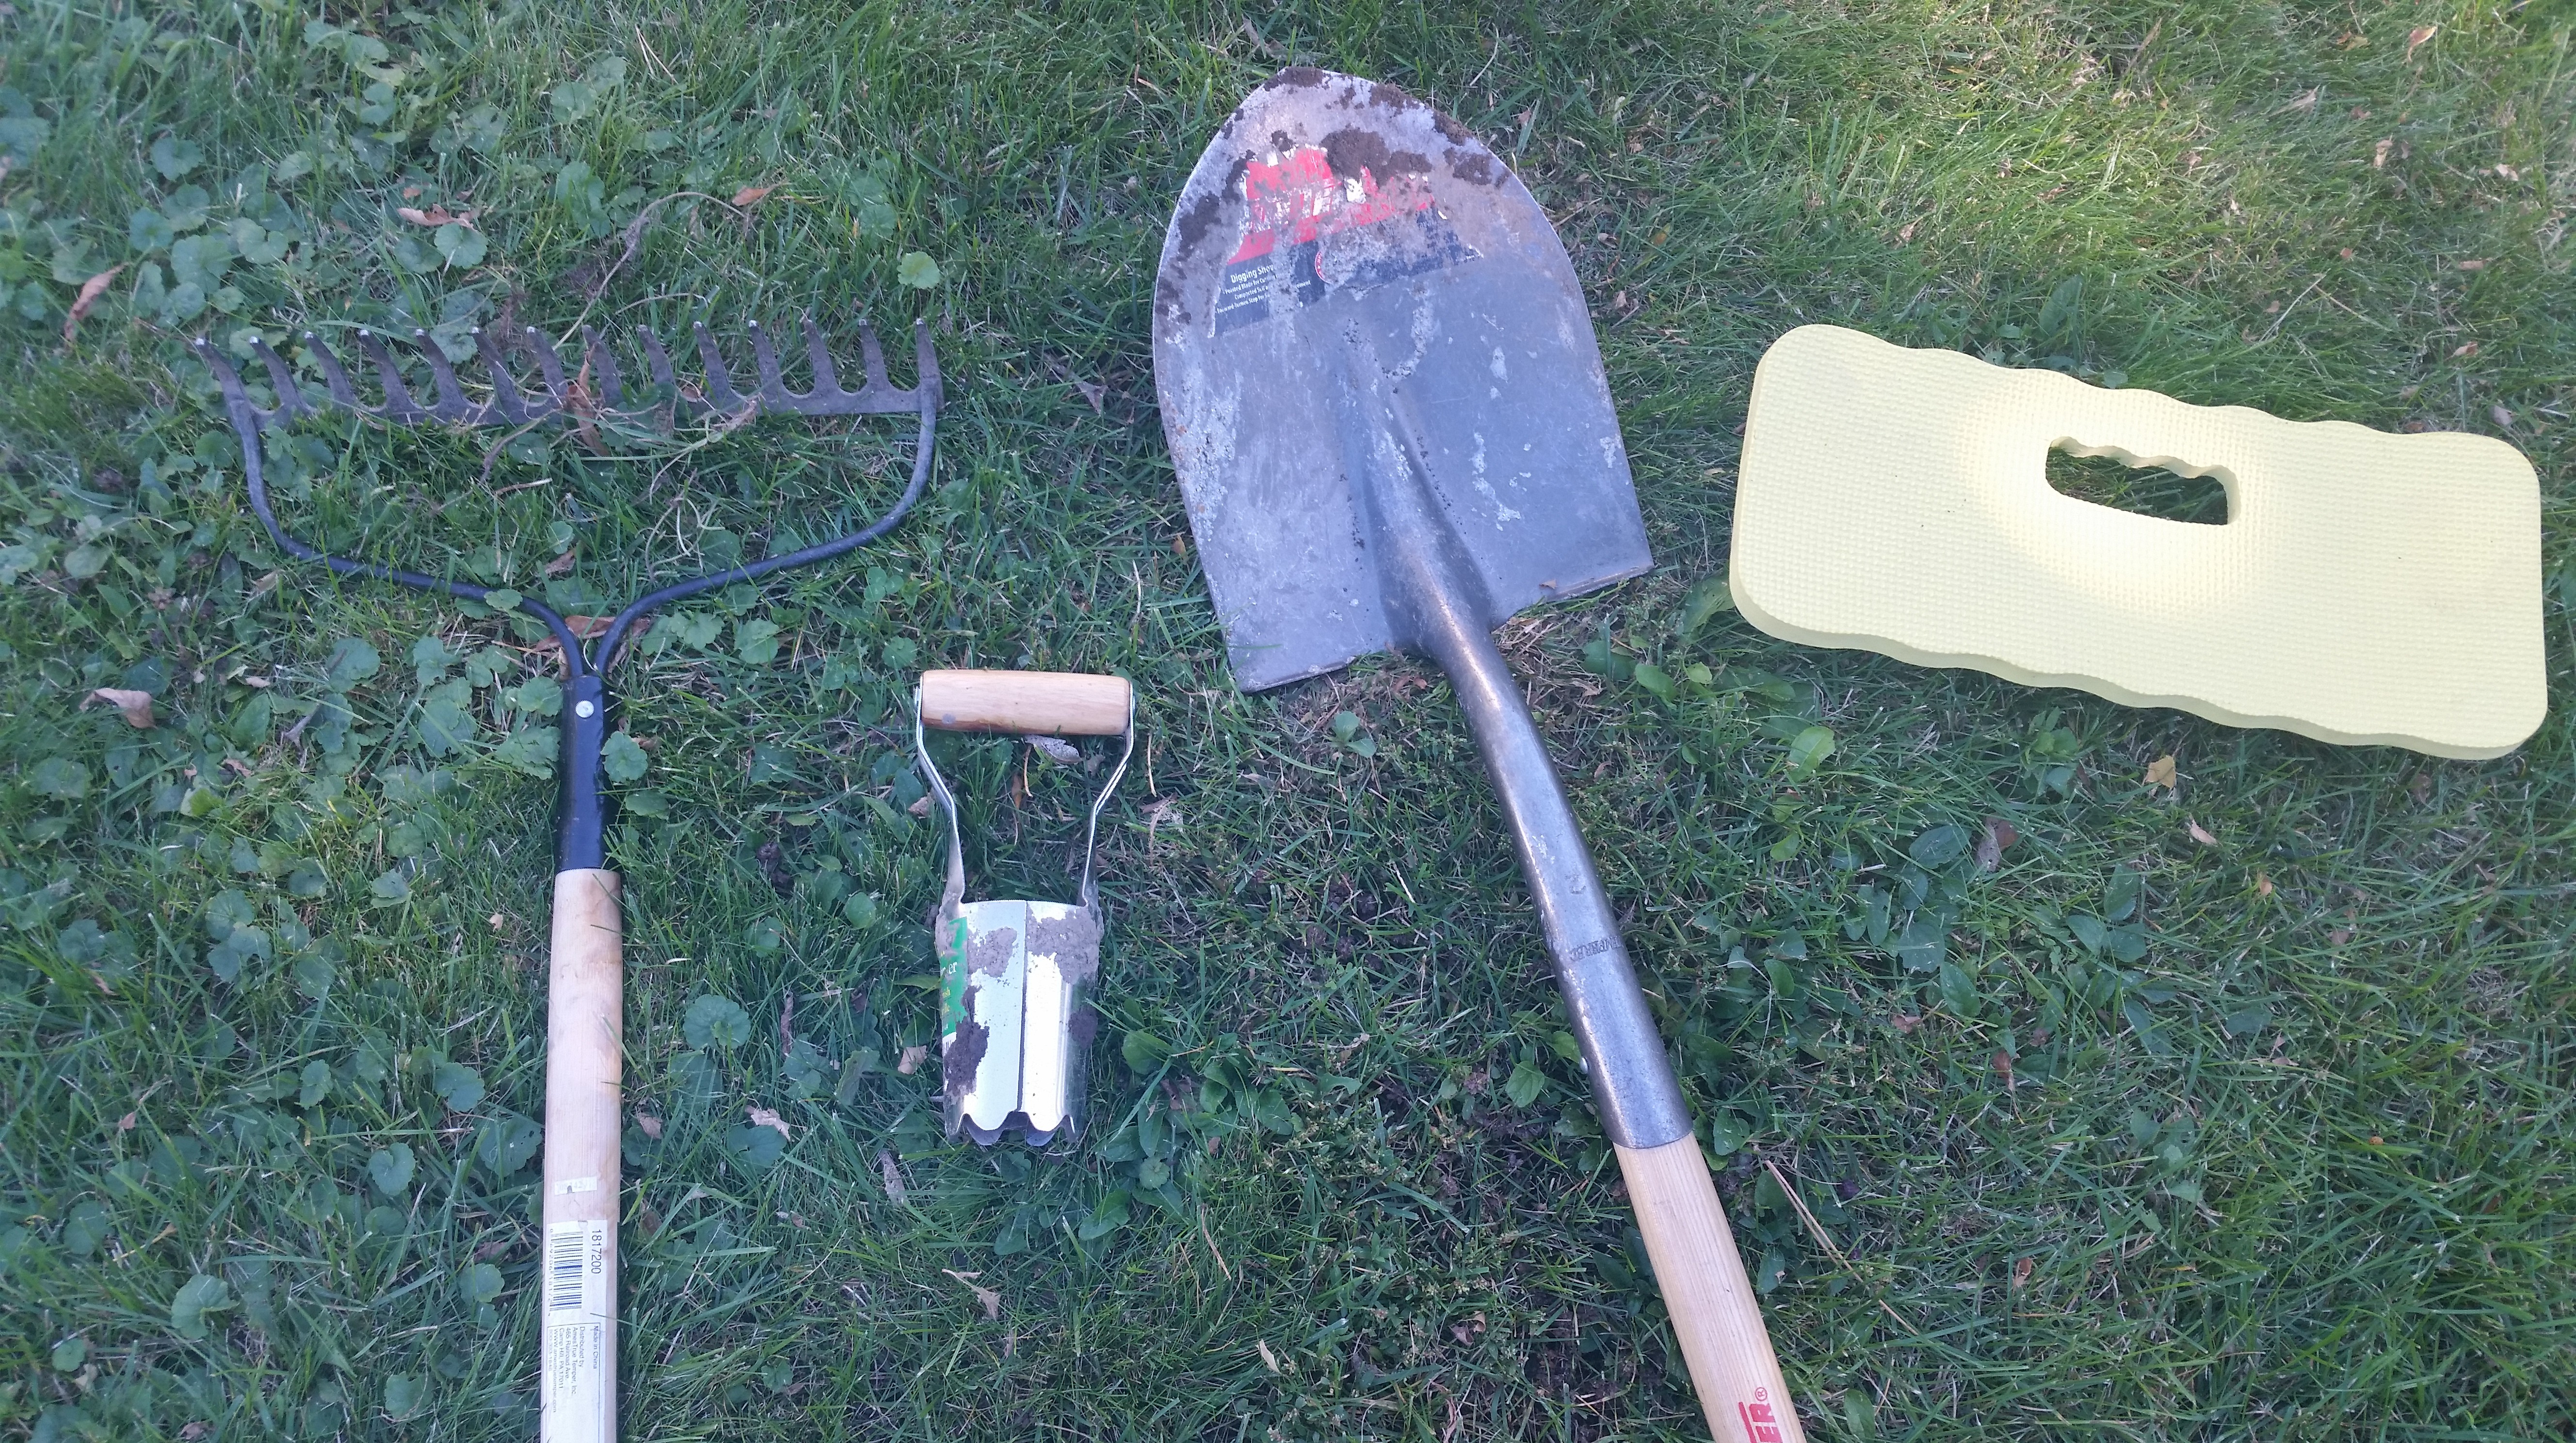
For this garden session, I will be using a bow rake, bulb planter, shovel and knee pad.
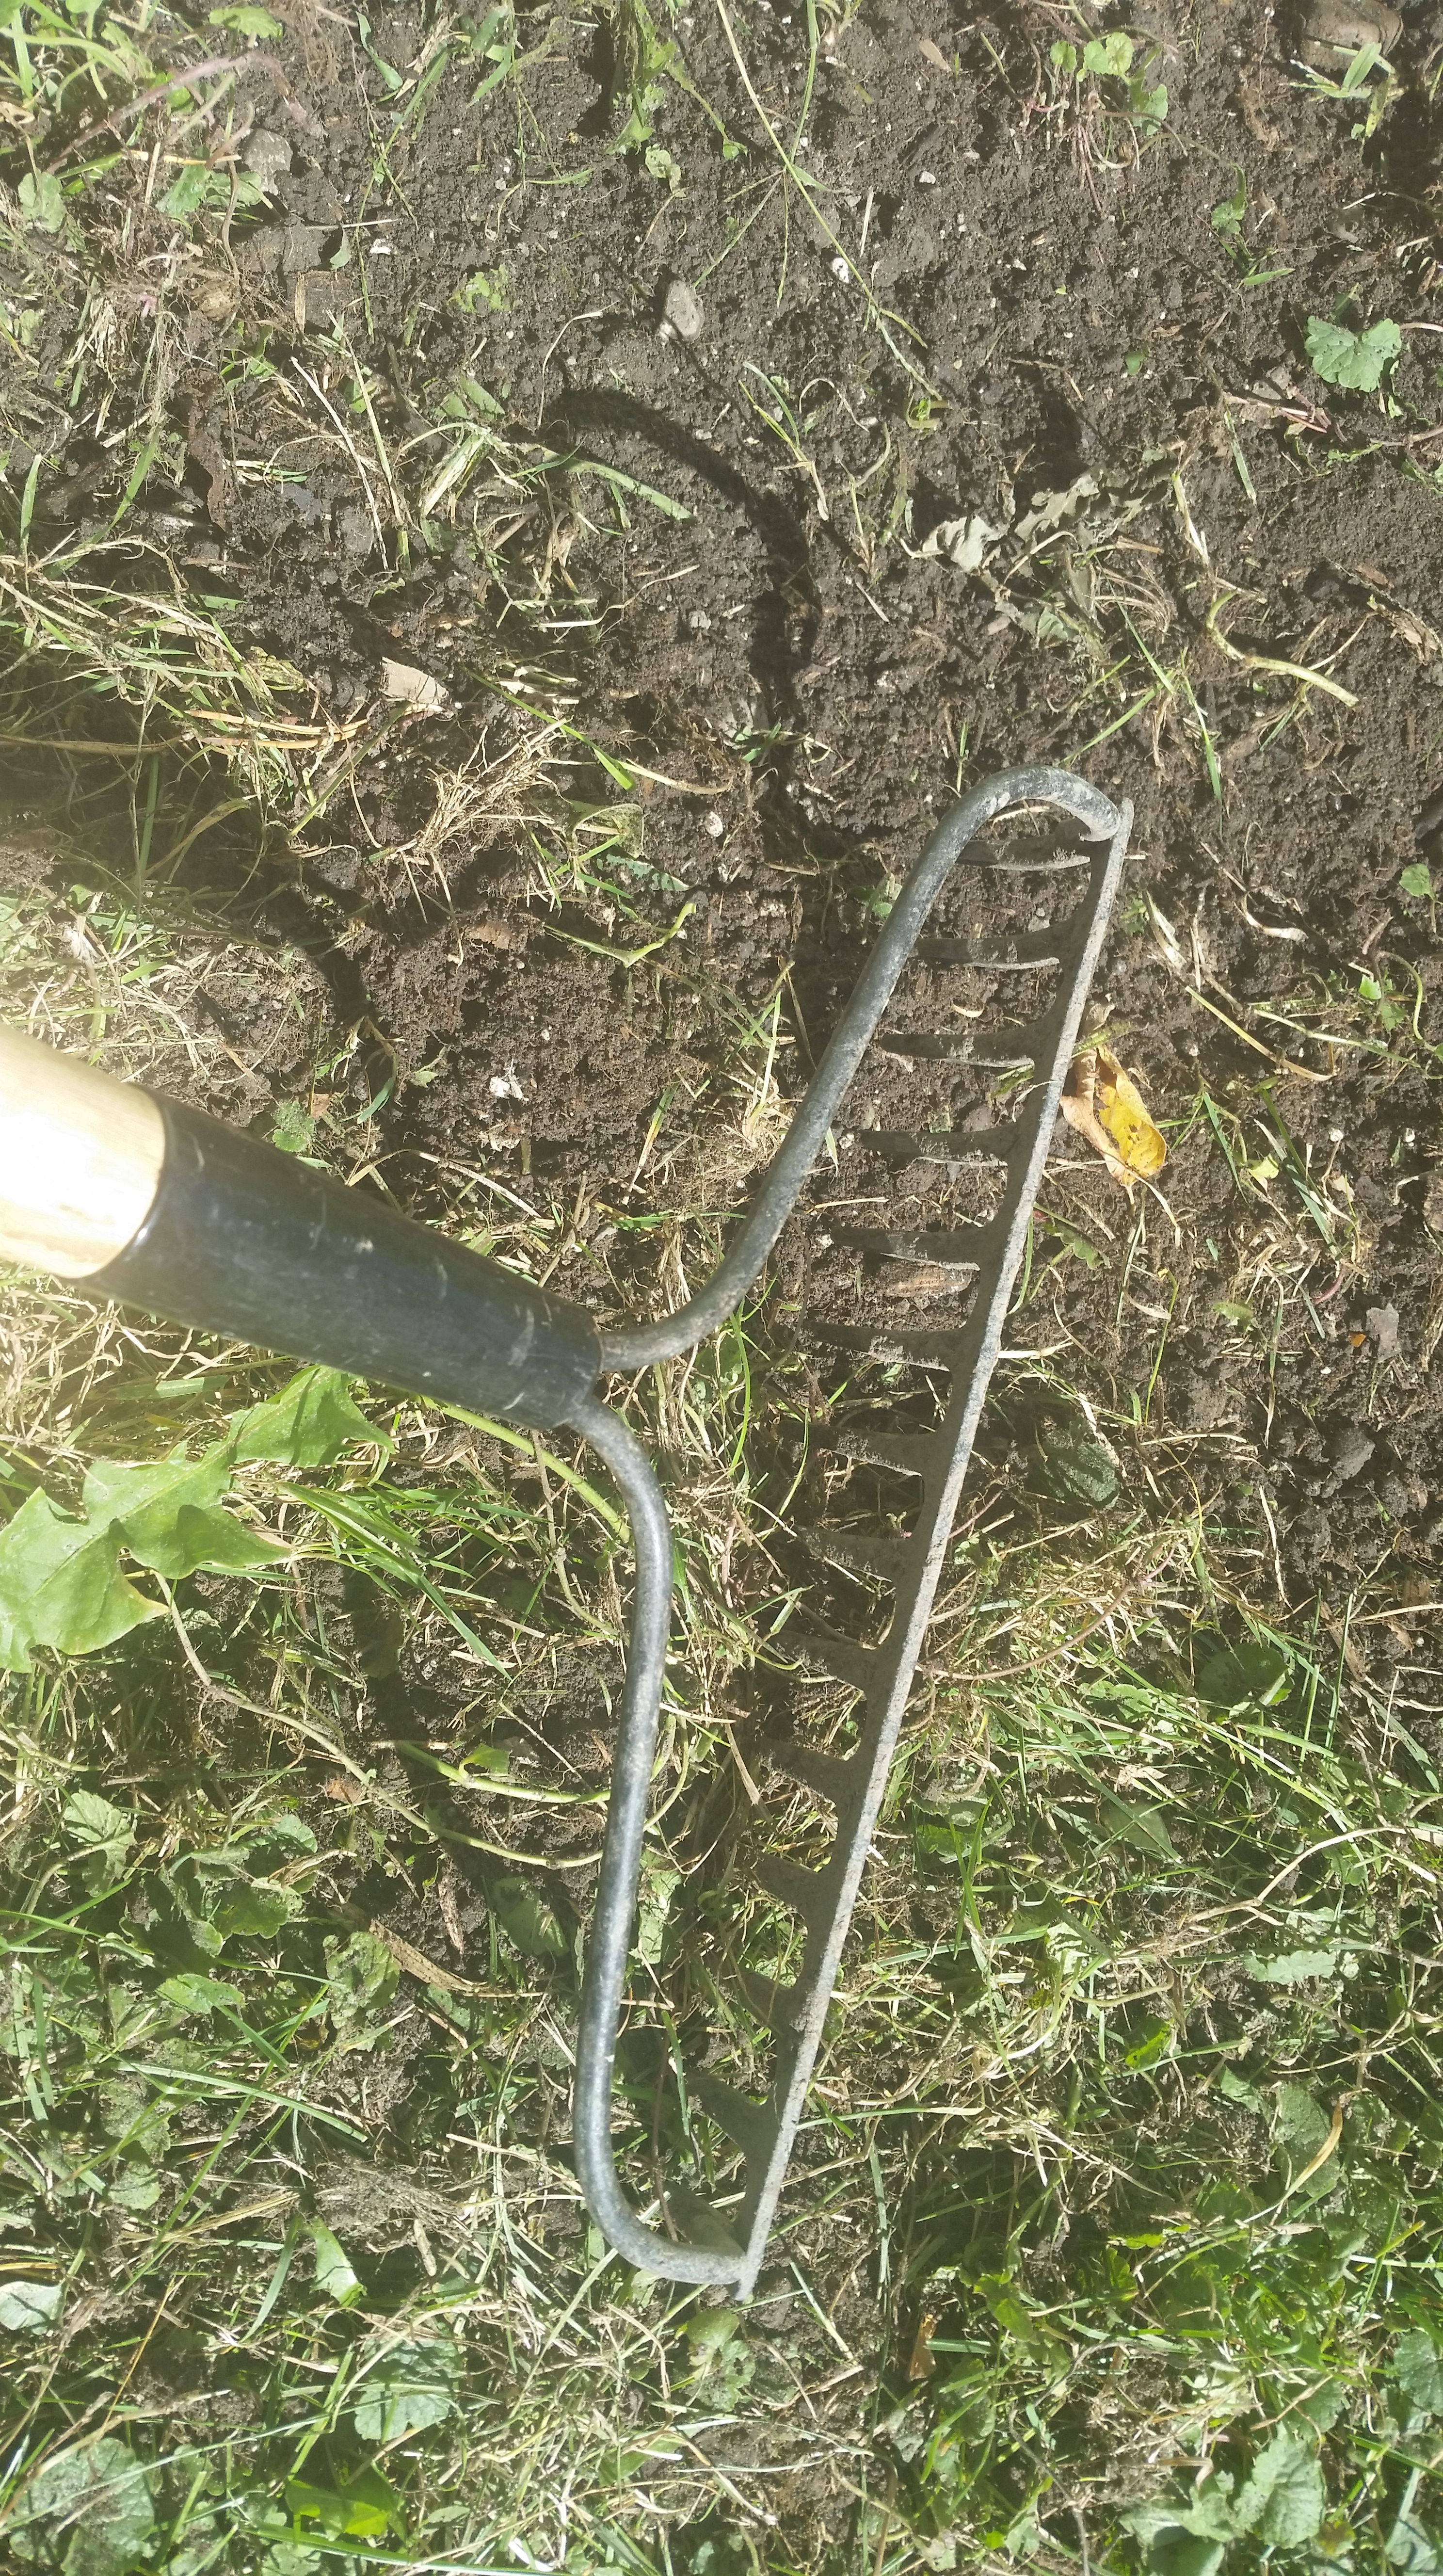
The first one being a bow rake. A bow rake is helps level off or loosen soil. This has 16 “tines”. This is excellent for evening out large mounds of dirt or other uneven surfaces. It’s also good for leveling gravel or mulch, or any other loose items for the garden.
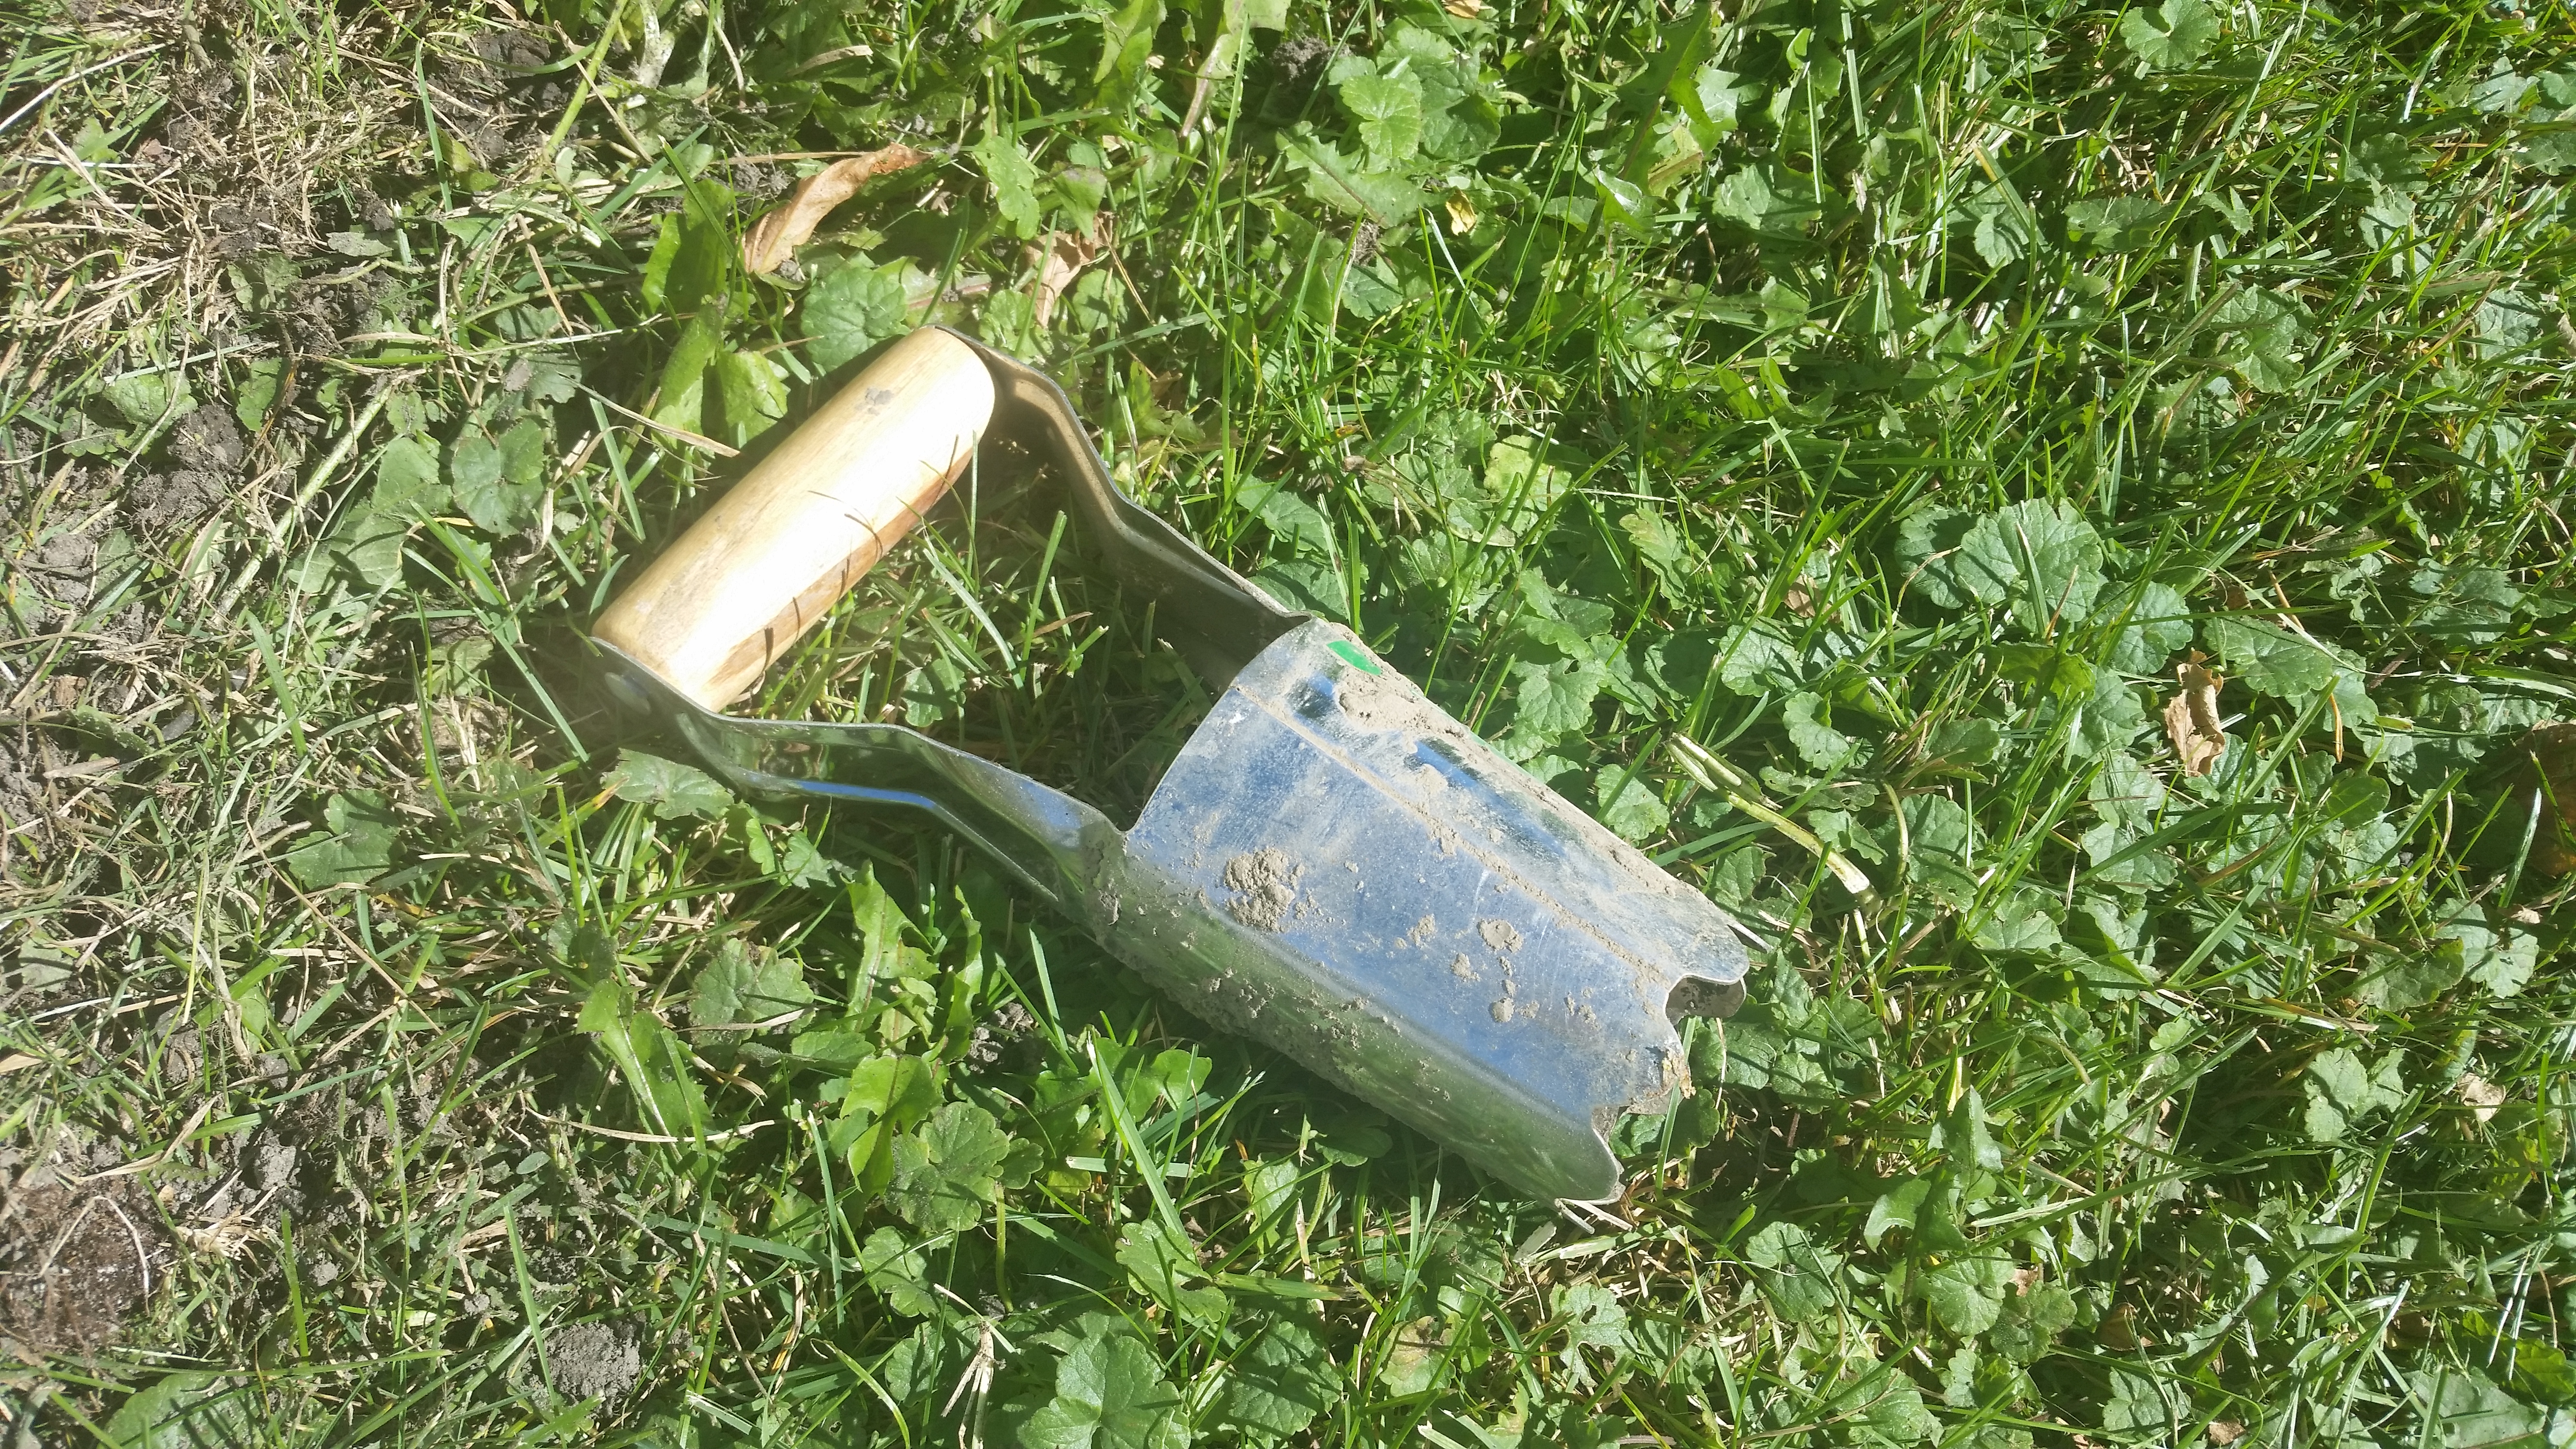
The second one is a bulb planter. This tool comes in handy for the first-time gardener who has never planted bulbs before. You simply push it into the ground until the whole shaft of the planter is completely in the ground, and you will create a hole deep enough to plant a bulb. Now, once you become a pro at bulb planting, you will know that you can dig a whole between 5-6 inches deep if you don’t have a bulb planter handy, because that is the average depth that bulbs are planted.
Of course, your trusty shovel will come in handy if a part of your yard is too difficult to you use your bulb planter.
And…. a knee pad! The knee pad saves you from much pain, and they are cheap! I purchased mine at a dollar store!
How to Plant Your Bulbs
Here is my beautifully newly tilled spot for my Alliums, thanks to my husband:
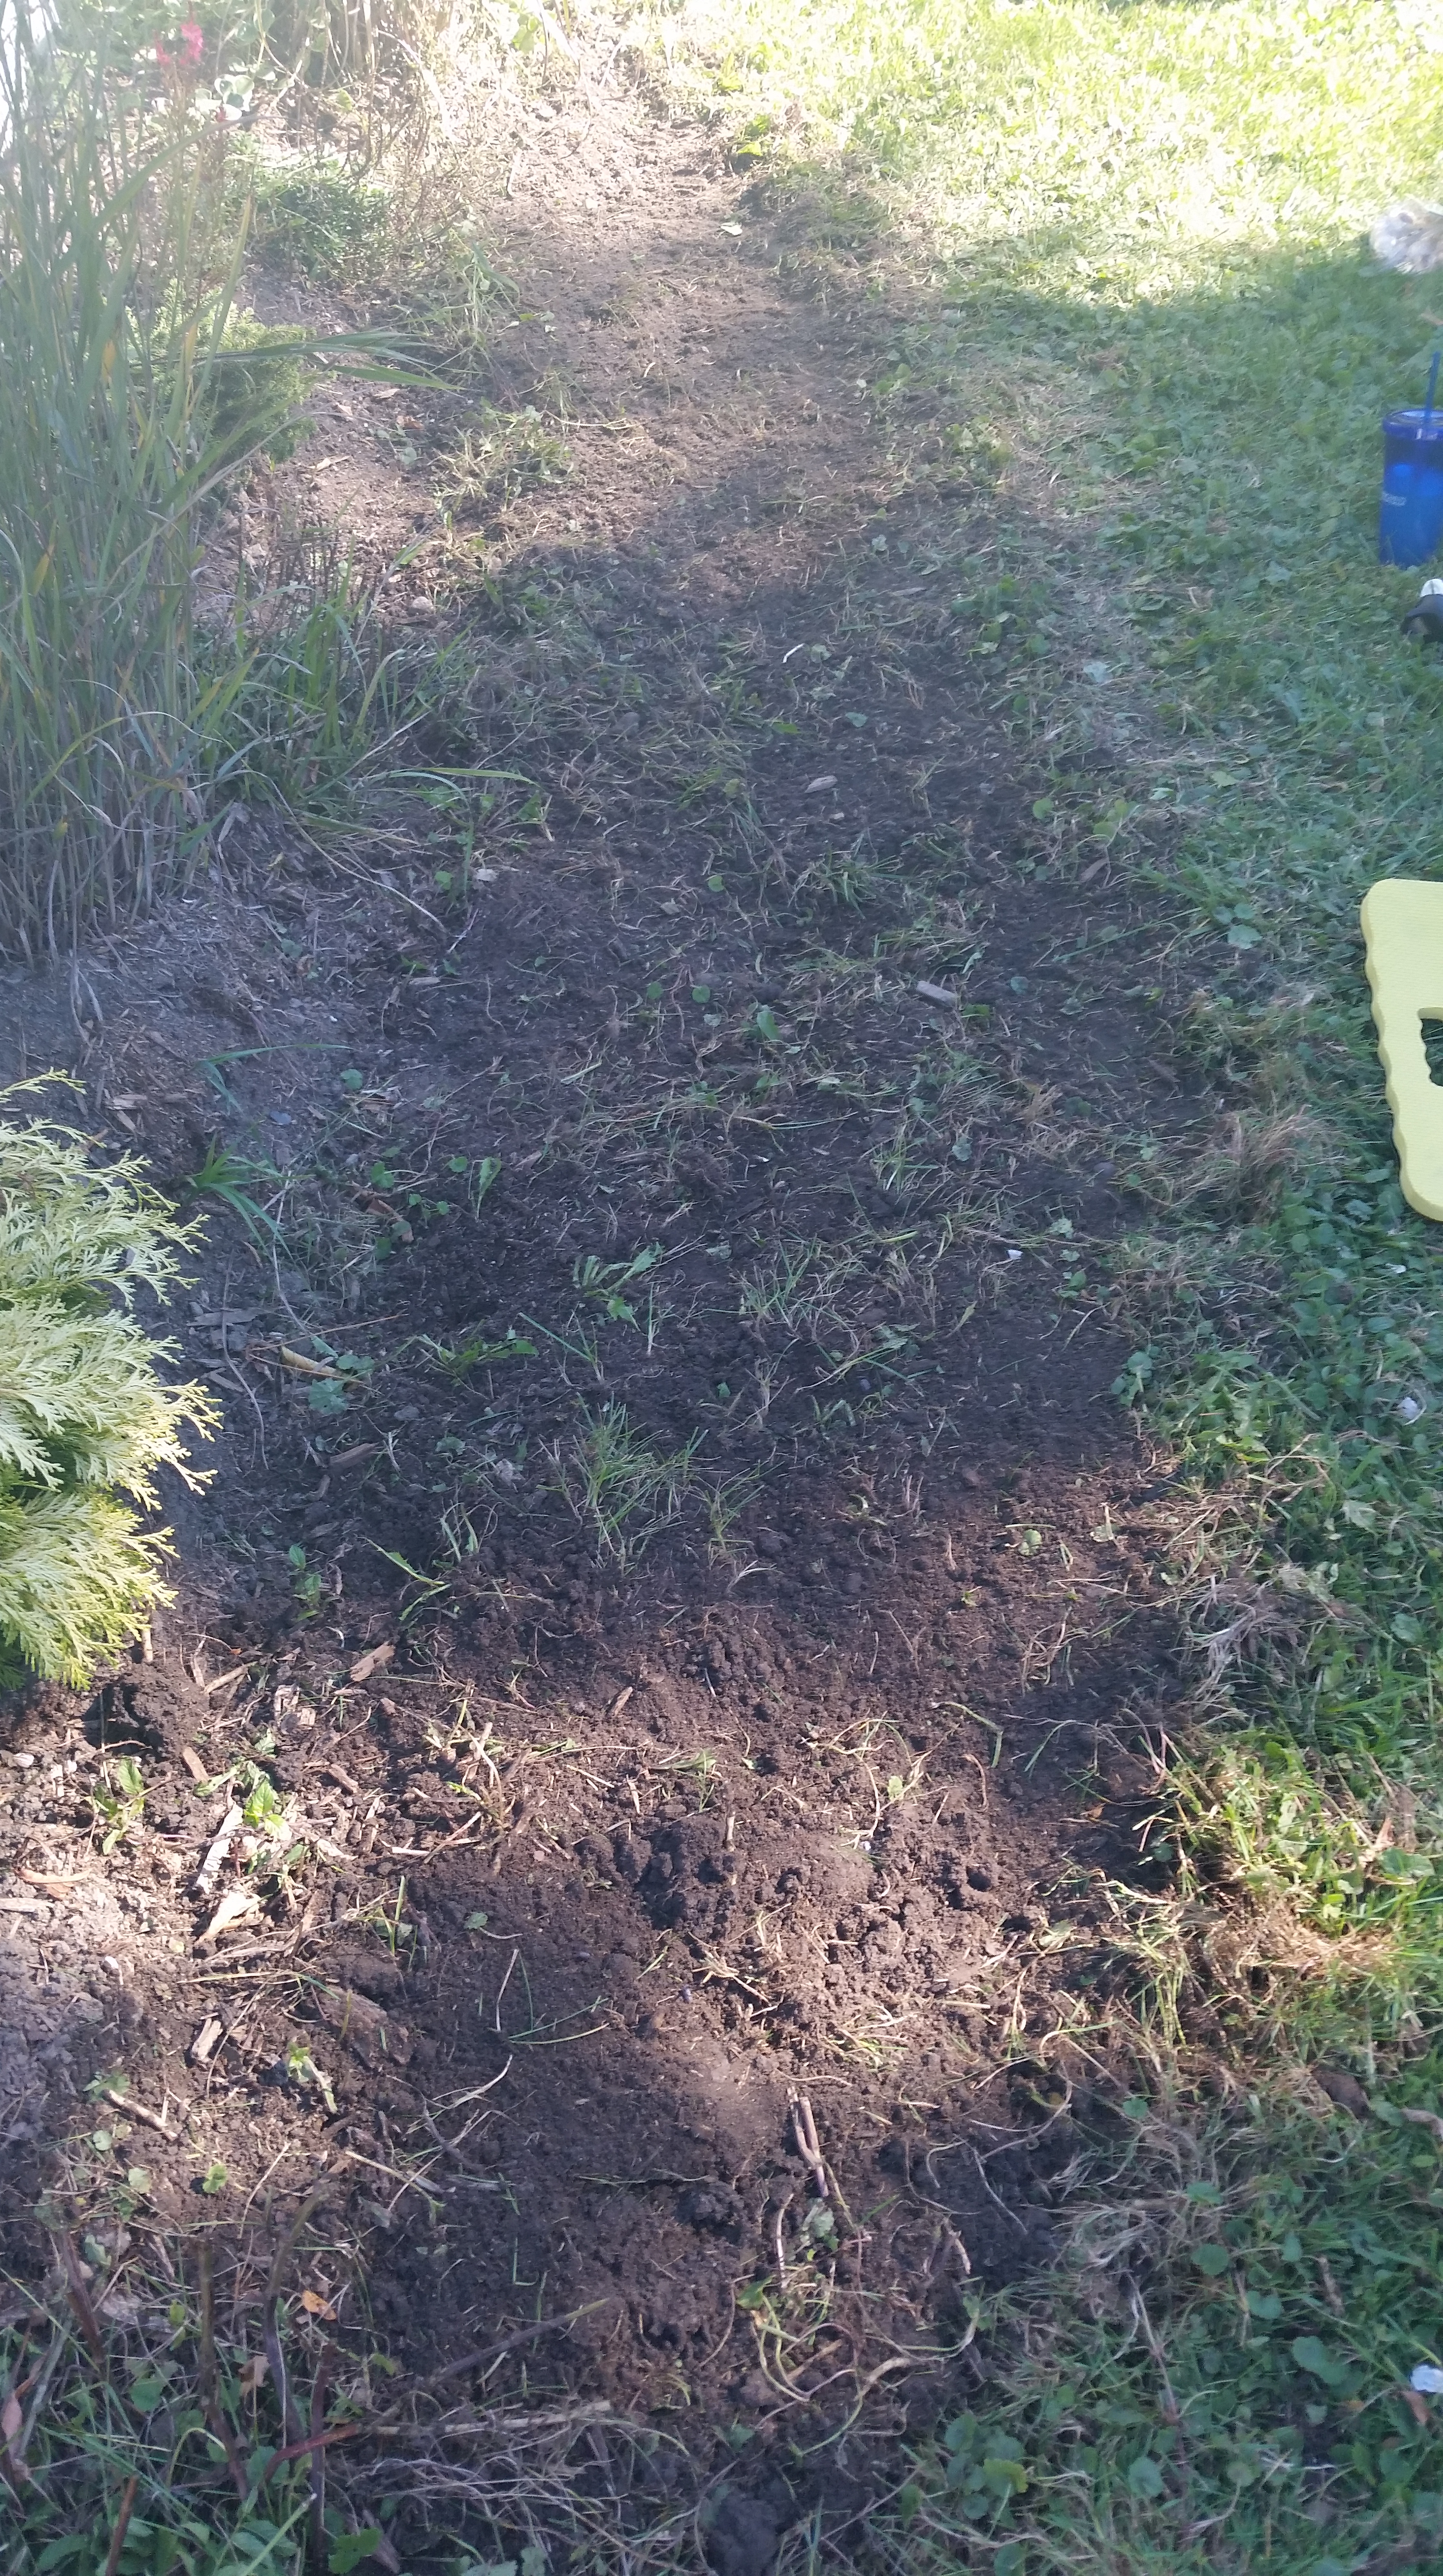
I used the bow rake and shovel to remove all the “rubbish” which is the grass that was tilled up along with the soil. I got a whole wheel barrow full!


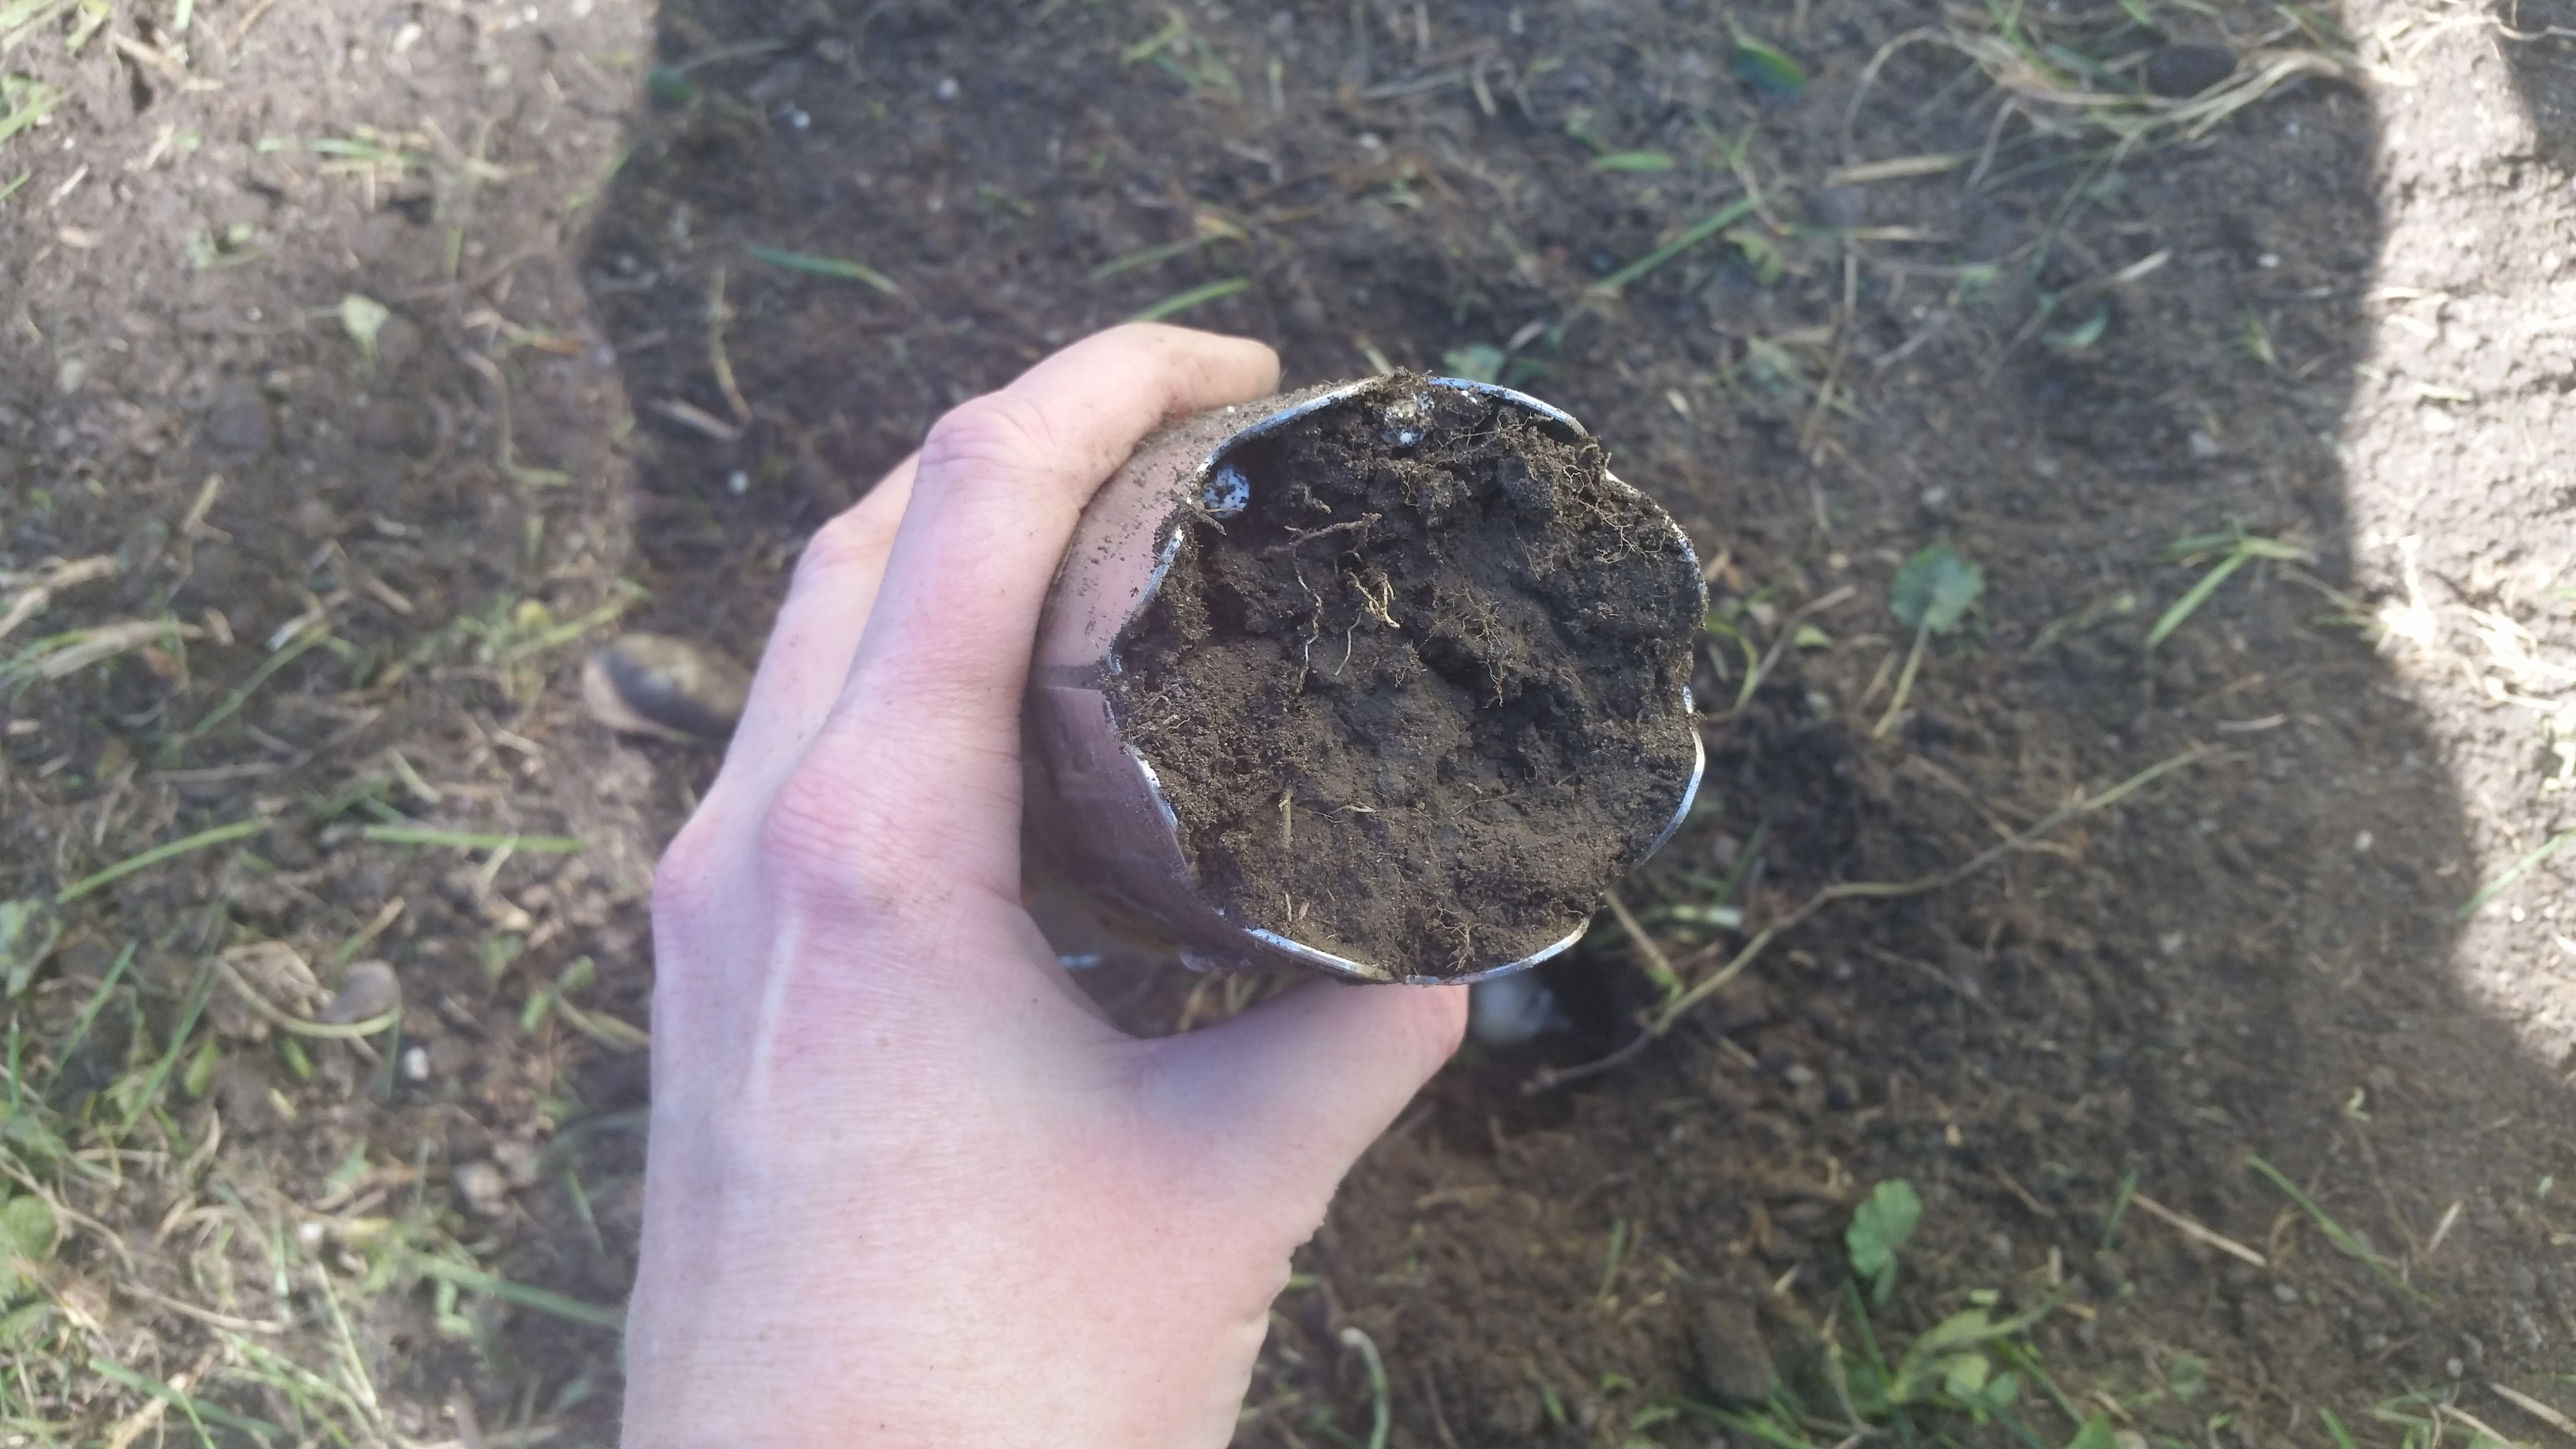
And then I reached for my bulb planter and got to work!

I simply pushed it into the ground, though you might have to put a little elbow grease into it. My yard has an exceptional amount of tree roots, and I had to use both hands to push this into the ground.
As I pulled the planter out, the center of it is filled with soil. This is what you will use to cover up your bulb with.
And then you place a bulb in the hole that you dug and cover up the bulb. It’s that easy!

Keep doing this until you have put all your bulbs in the ground. One good thing to know is that you can keep planting bulbs right up before the ground freezes. I planted bulbs in November last year.
It’s hard work, but you will be glad you did it when Spring comes and you can finally see the fruits of your labor!