Fall is just a few days away, and I am not complaining about the great weather we are having. It’s finally cool enough to do things without sweating like crazy, and honestly, even though summer was hot and steamy, I still prefer milder temperatures. The one good thing about sweaty, oppressive summers is lots of beach going, and that, my friends, I do miss!
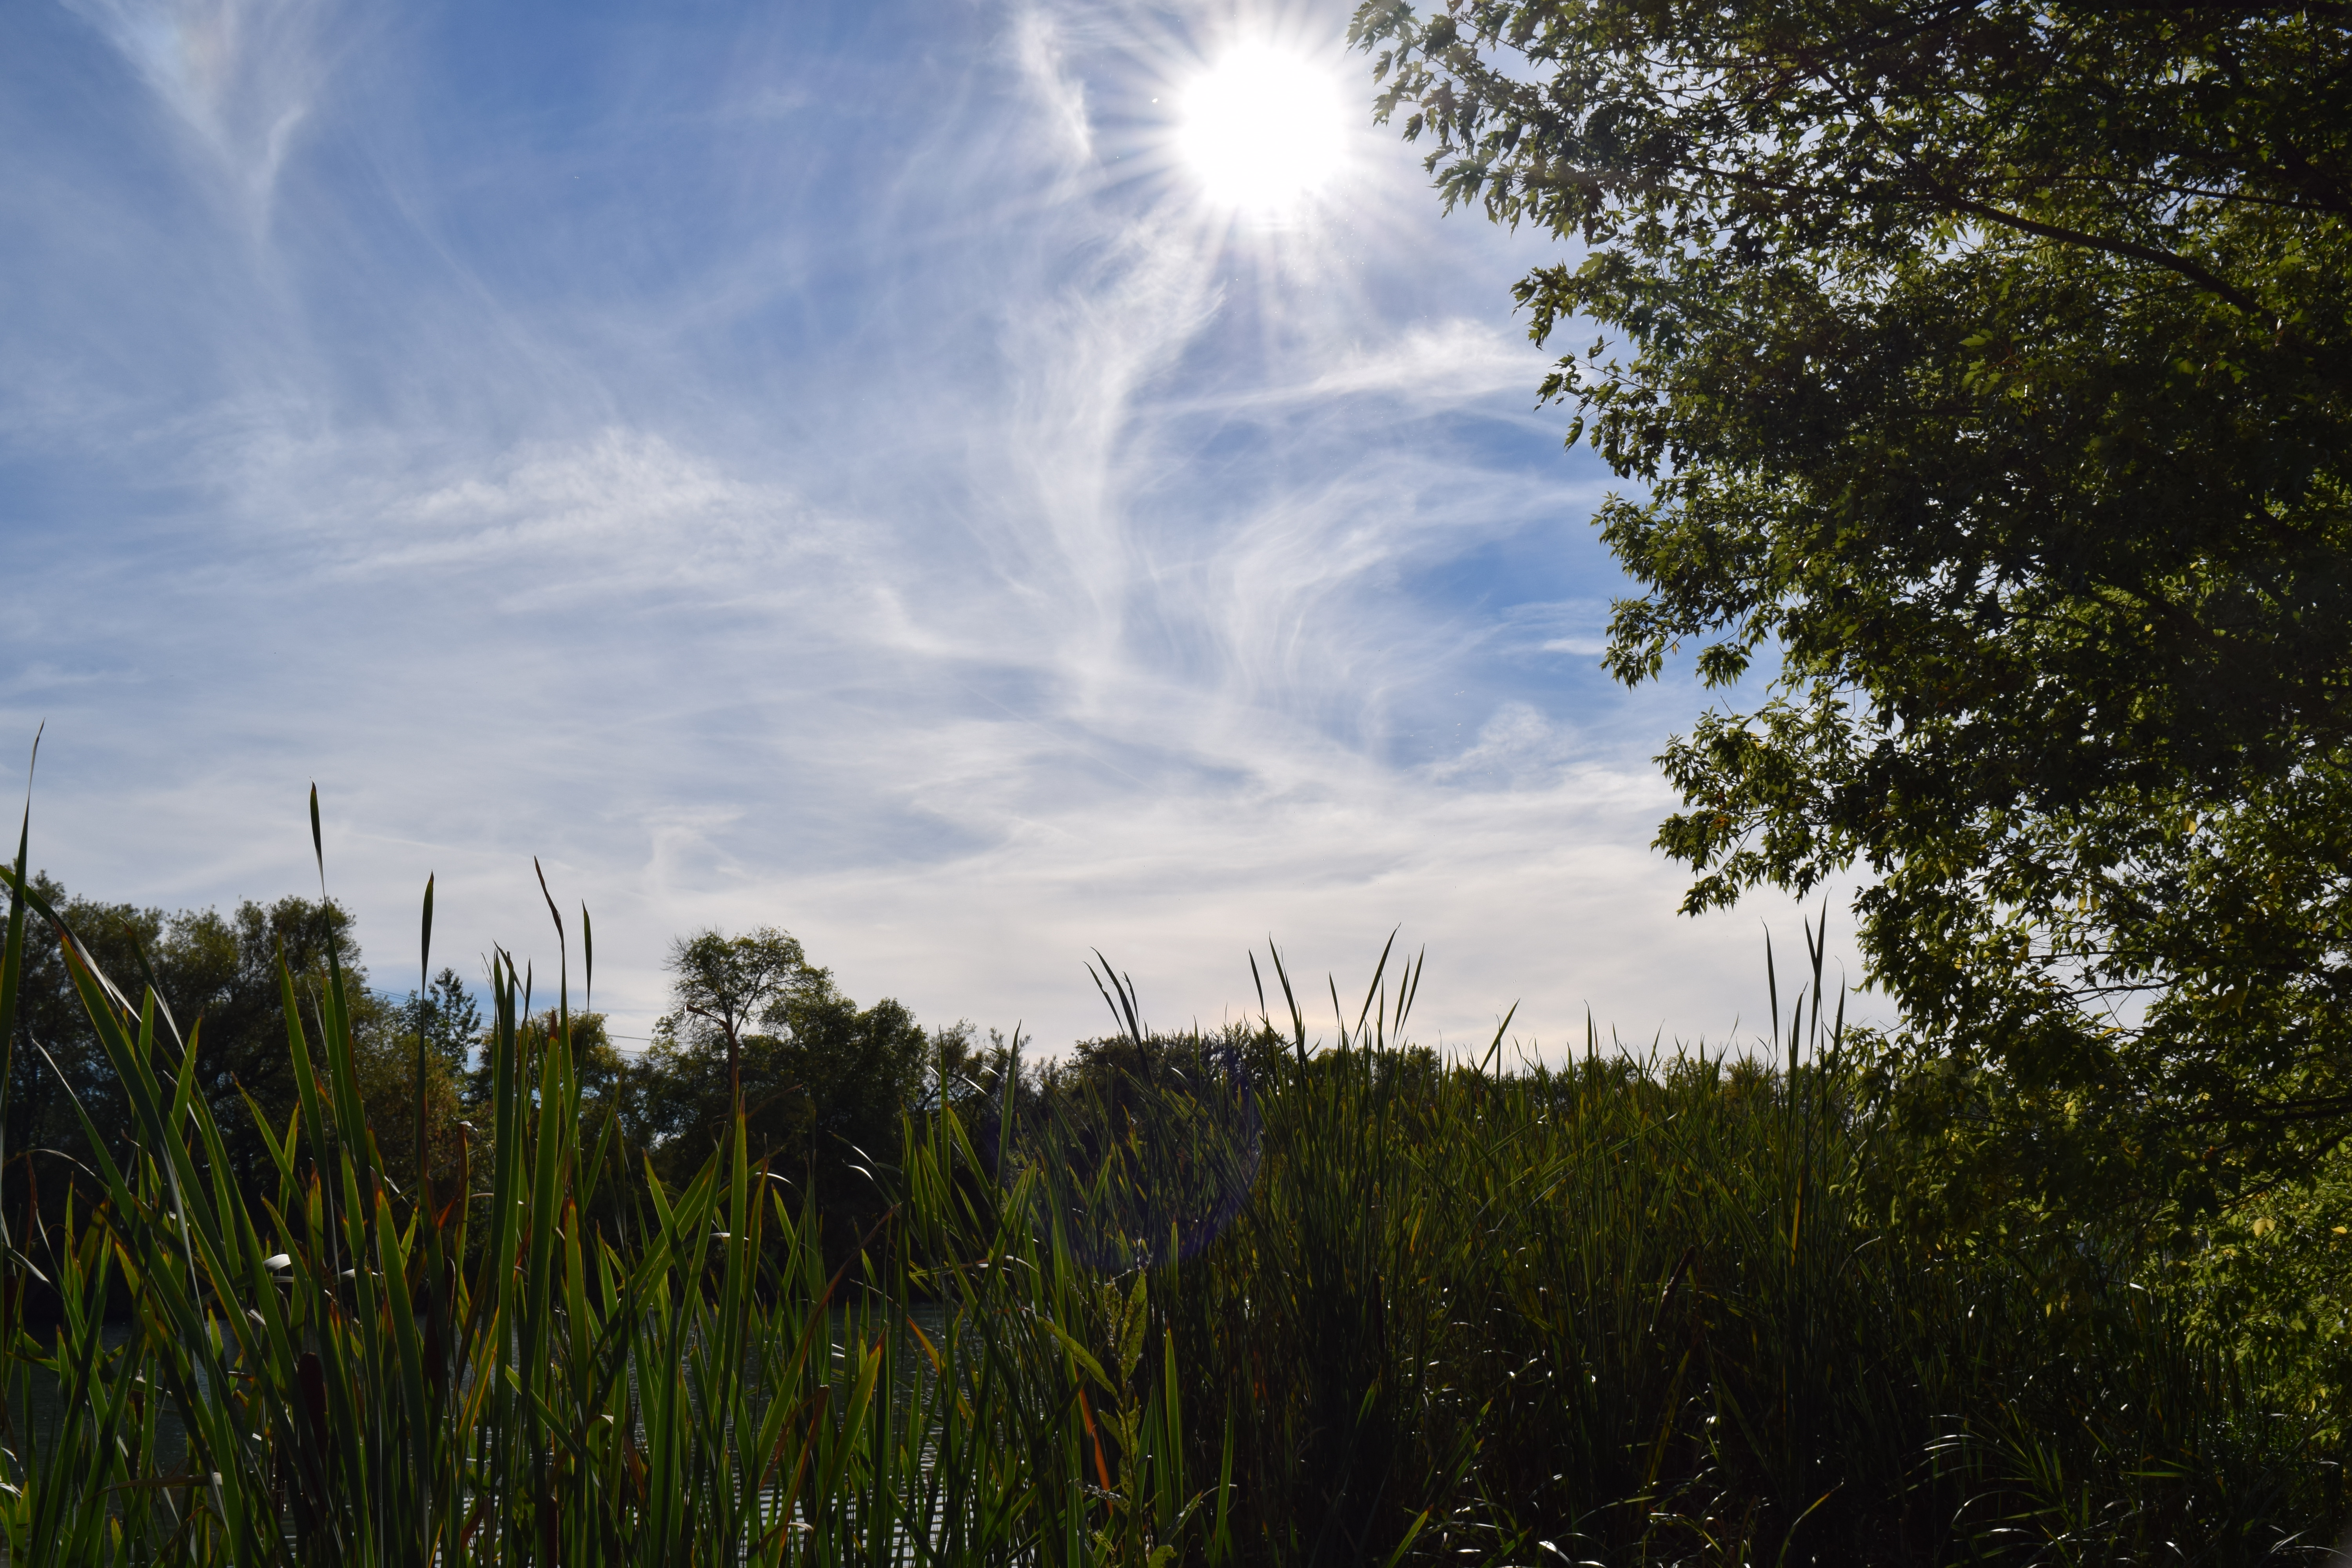
Perfect fall weather during a walk along the canal.
I will tell you it’s a lot more pleasant to get yard work done. Now that the summer has slowed down, I have been able to finally finish some projects I started in May!! Yes, remember when I wrote my DIY series — Bottle Trees? Well, this past weekend, I finally finished it! I got a lot of interest from my readers in regards to that post, so I would like to go through it step by step with you so you know exactly what I did. I can definitely tell you my bottle tree would not have been possible without the help of my friend the post hole digger!
And that got me thinking about all the tools and gadgets we may have in our garage or shed that we have no idea how to use, but can be so important when maintaining our gardens. So, I am going to start off a new series of posts all dedicated to our garden sheds, and all the great, practical tools they have in them!
The Post Hole Digger = Garden Decor Central!
This is a post hole digger. I purchased this Kobalt Post Hole Digger at Lowes. They range in price from $25 and up.

I know it looks scary, and to be honest with you, I had no idea how the heck to use this thing, and really still can’t tell you exactly how to use it. But, somehow I made it work and it works SO much better than trying to dig a whole for a post with a shovel. Nightmare- and the post doesn’t even stay up!
So, I first used it by opening it fully and twisting it. By twisting it, I push the handles outward and pinch the dirt. (As demonstrated in above photo). I keep doing this over and over until I have reach the desired depth of the hole I want.
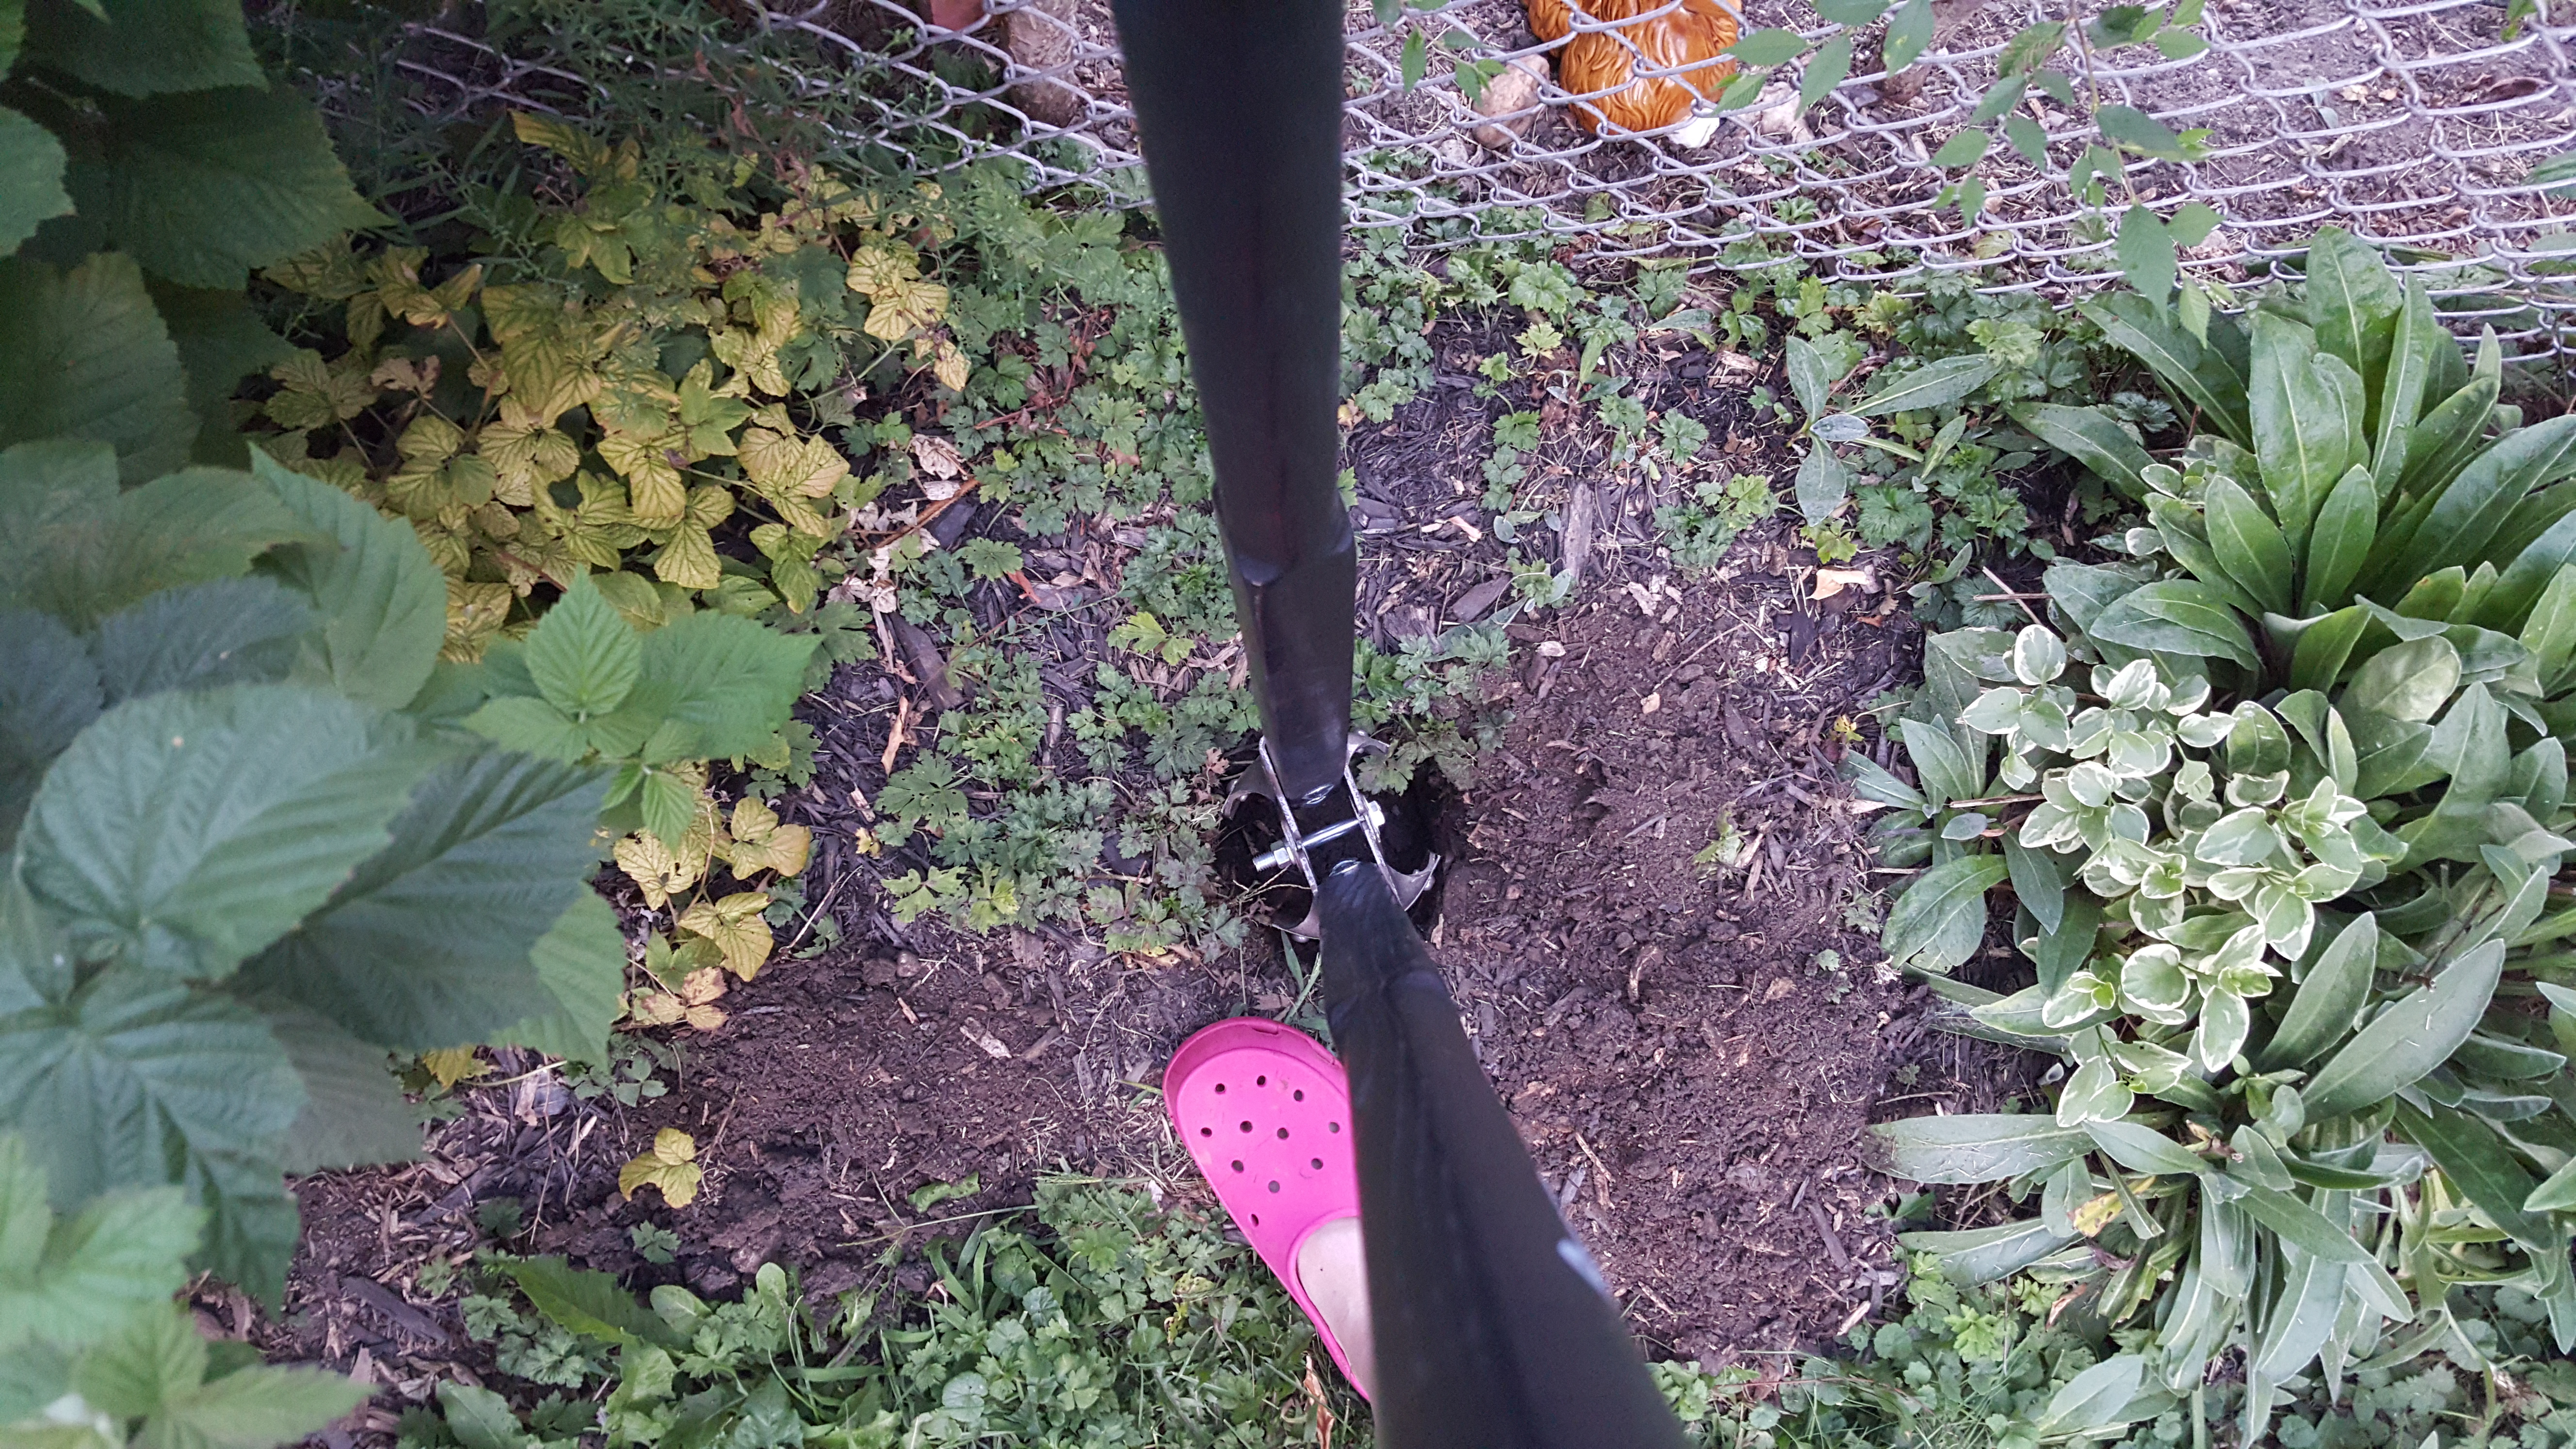
Here I am, making this happen!
After I make a hole, I take the 8ft pine post I purchased and put a coat of polyurethane on it, hoping that this will allow it to prevent any rotting of the wood in the future.


My 8 ft. post is about to get cut down to 5ft. for my bottle tree.
I want to thank my husband for his assistance with my bottle tree. He was very patient and supportive!
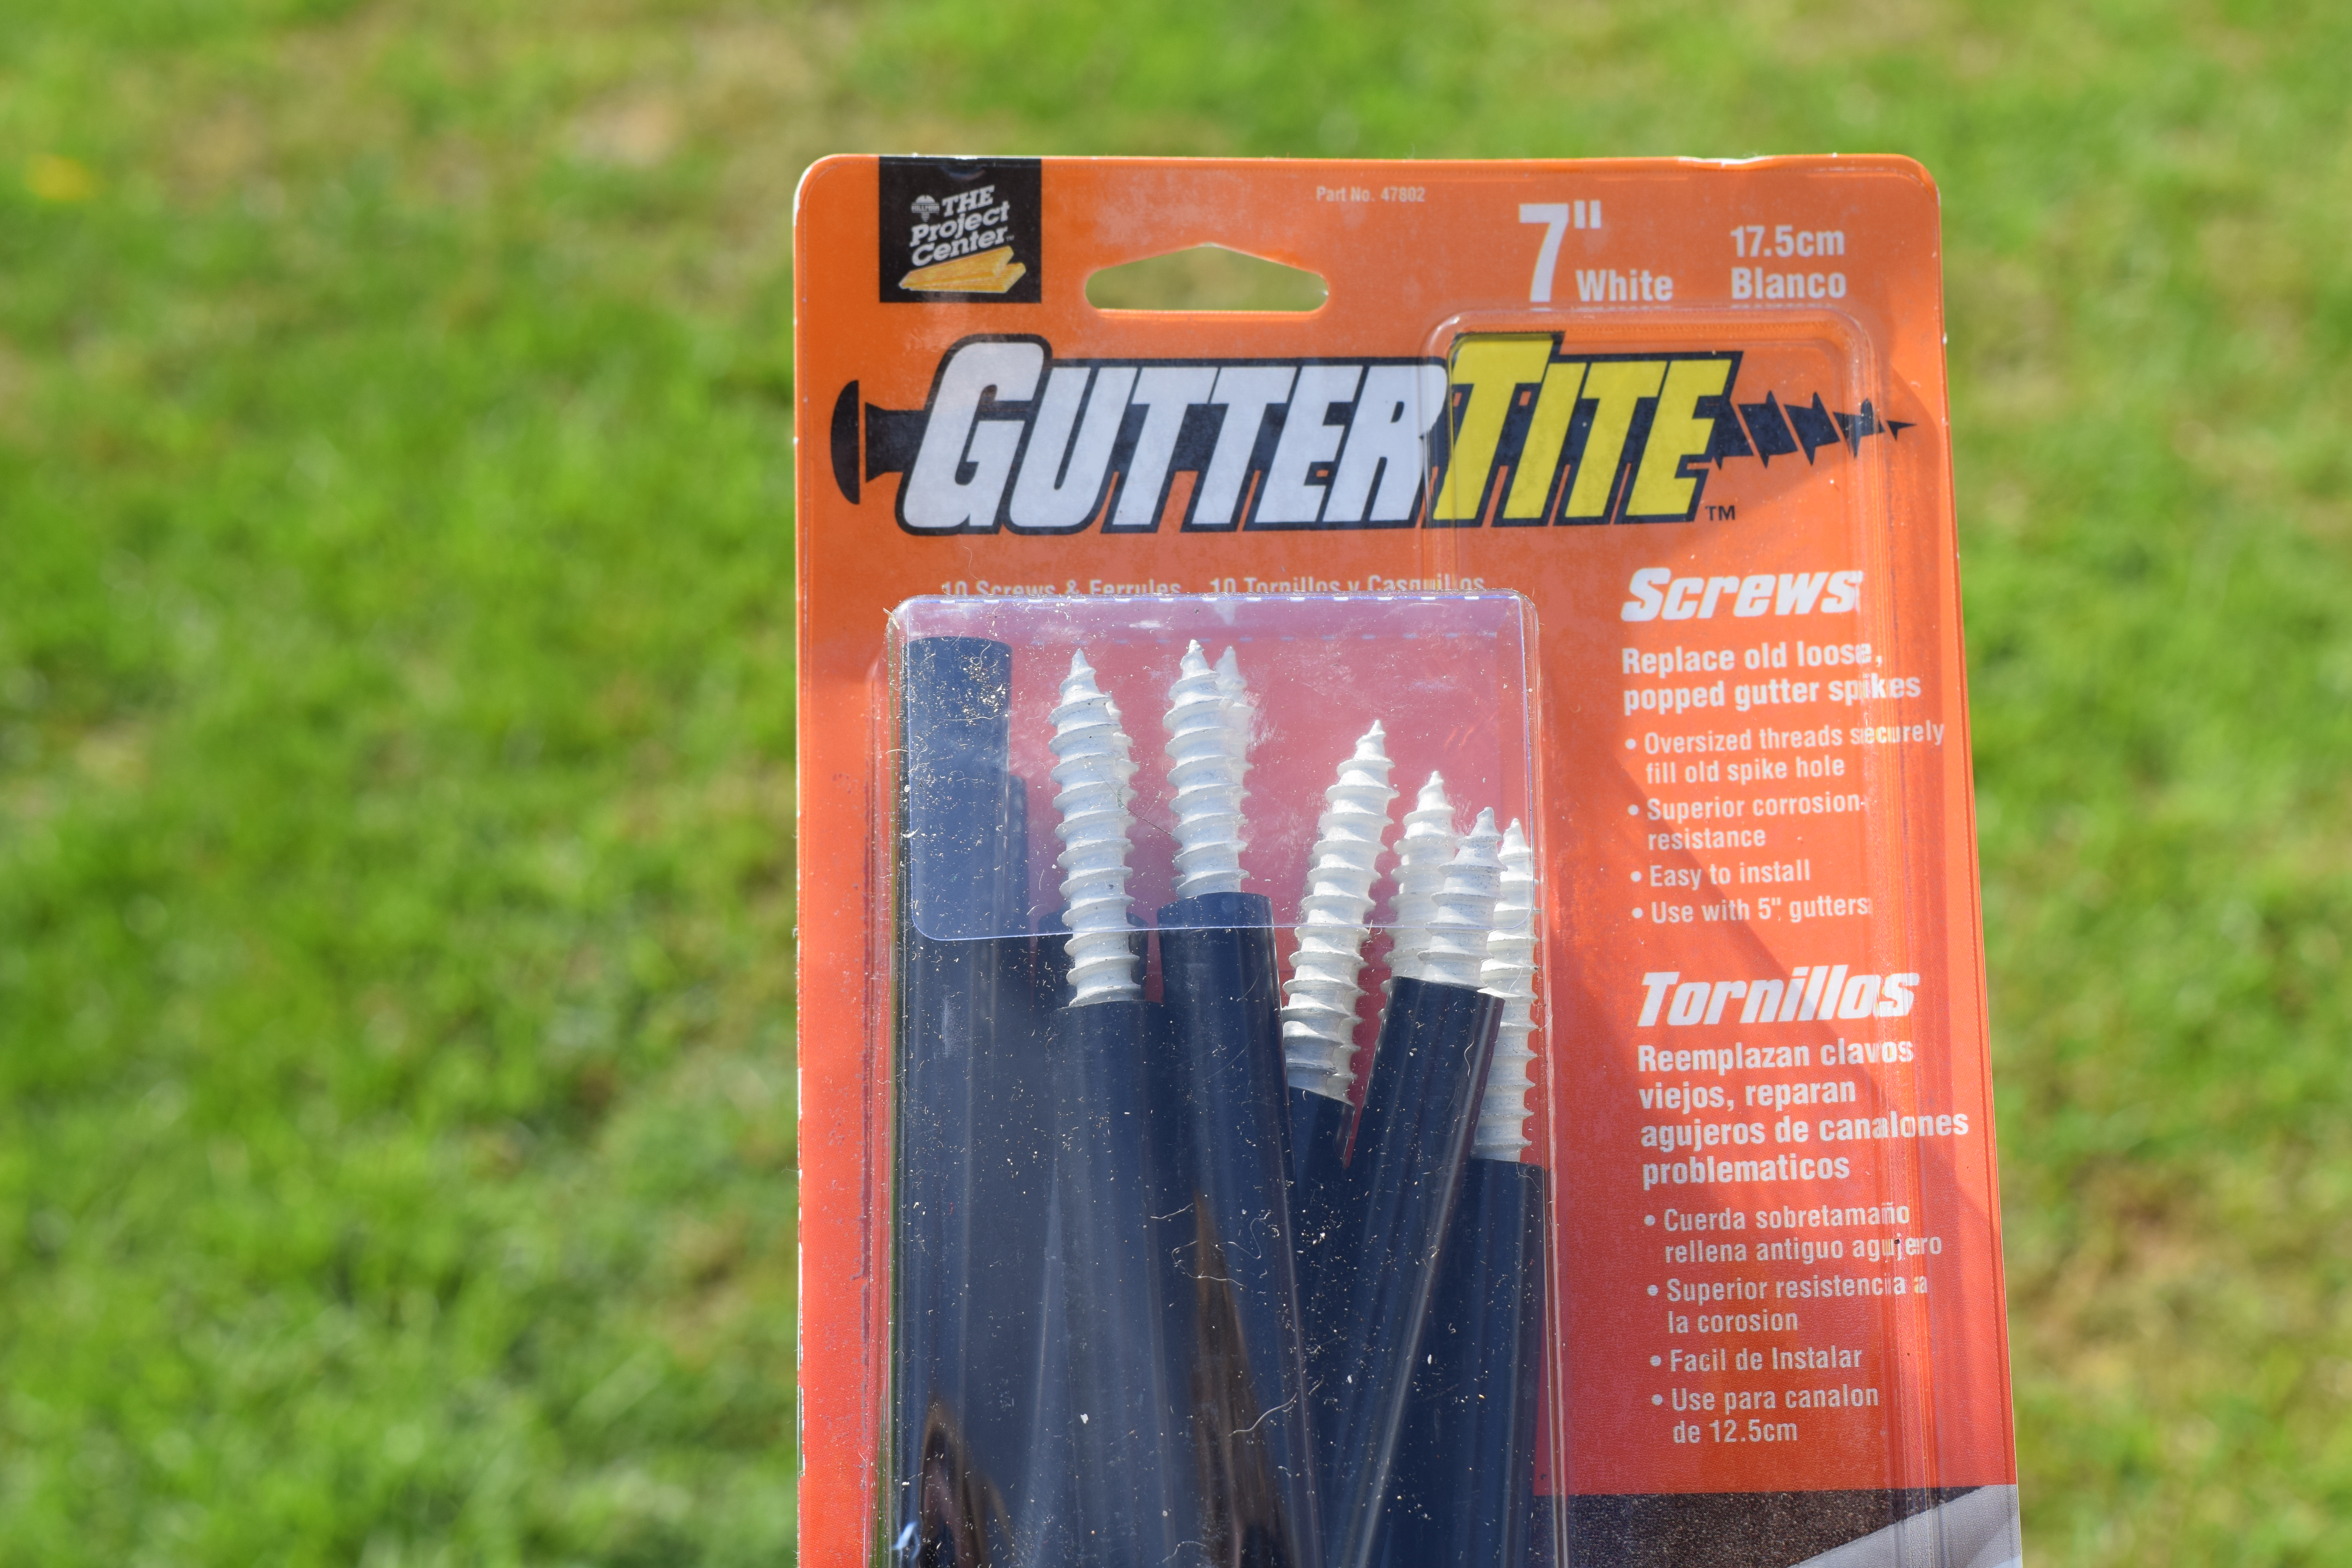
Now it’s time to take the gutter spikes I purchased a LONG time ago and start drilling them into the post.


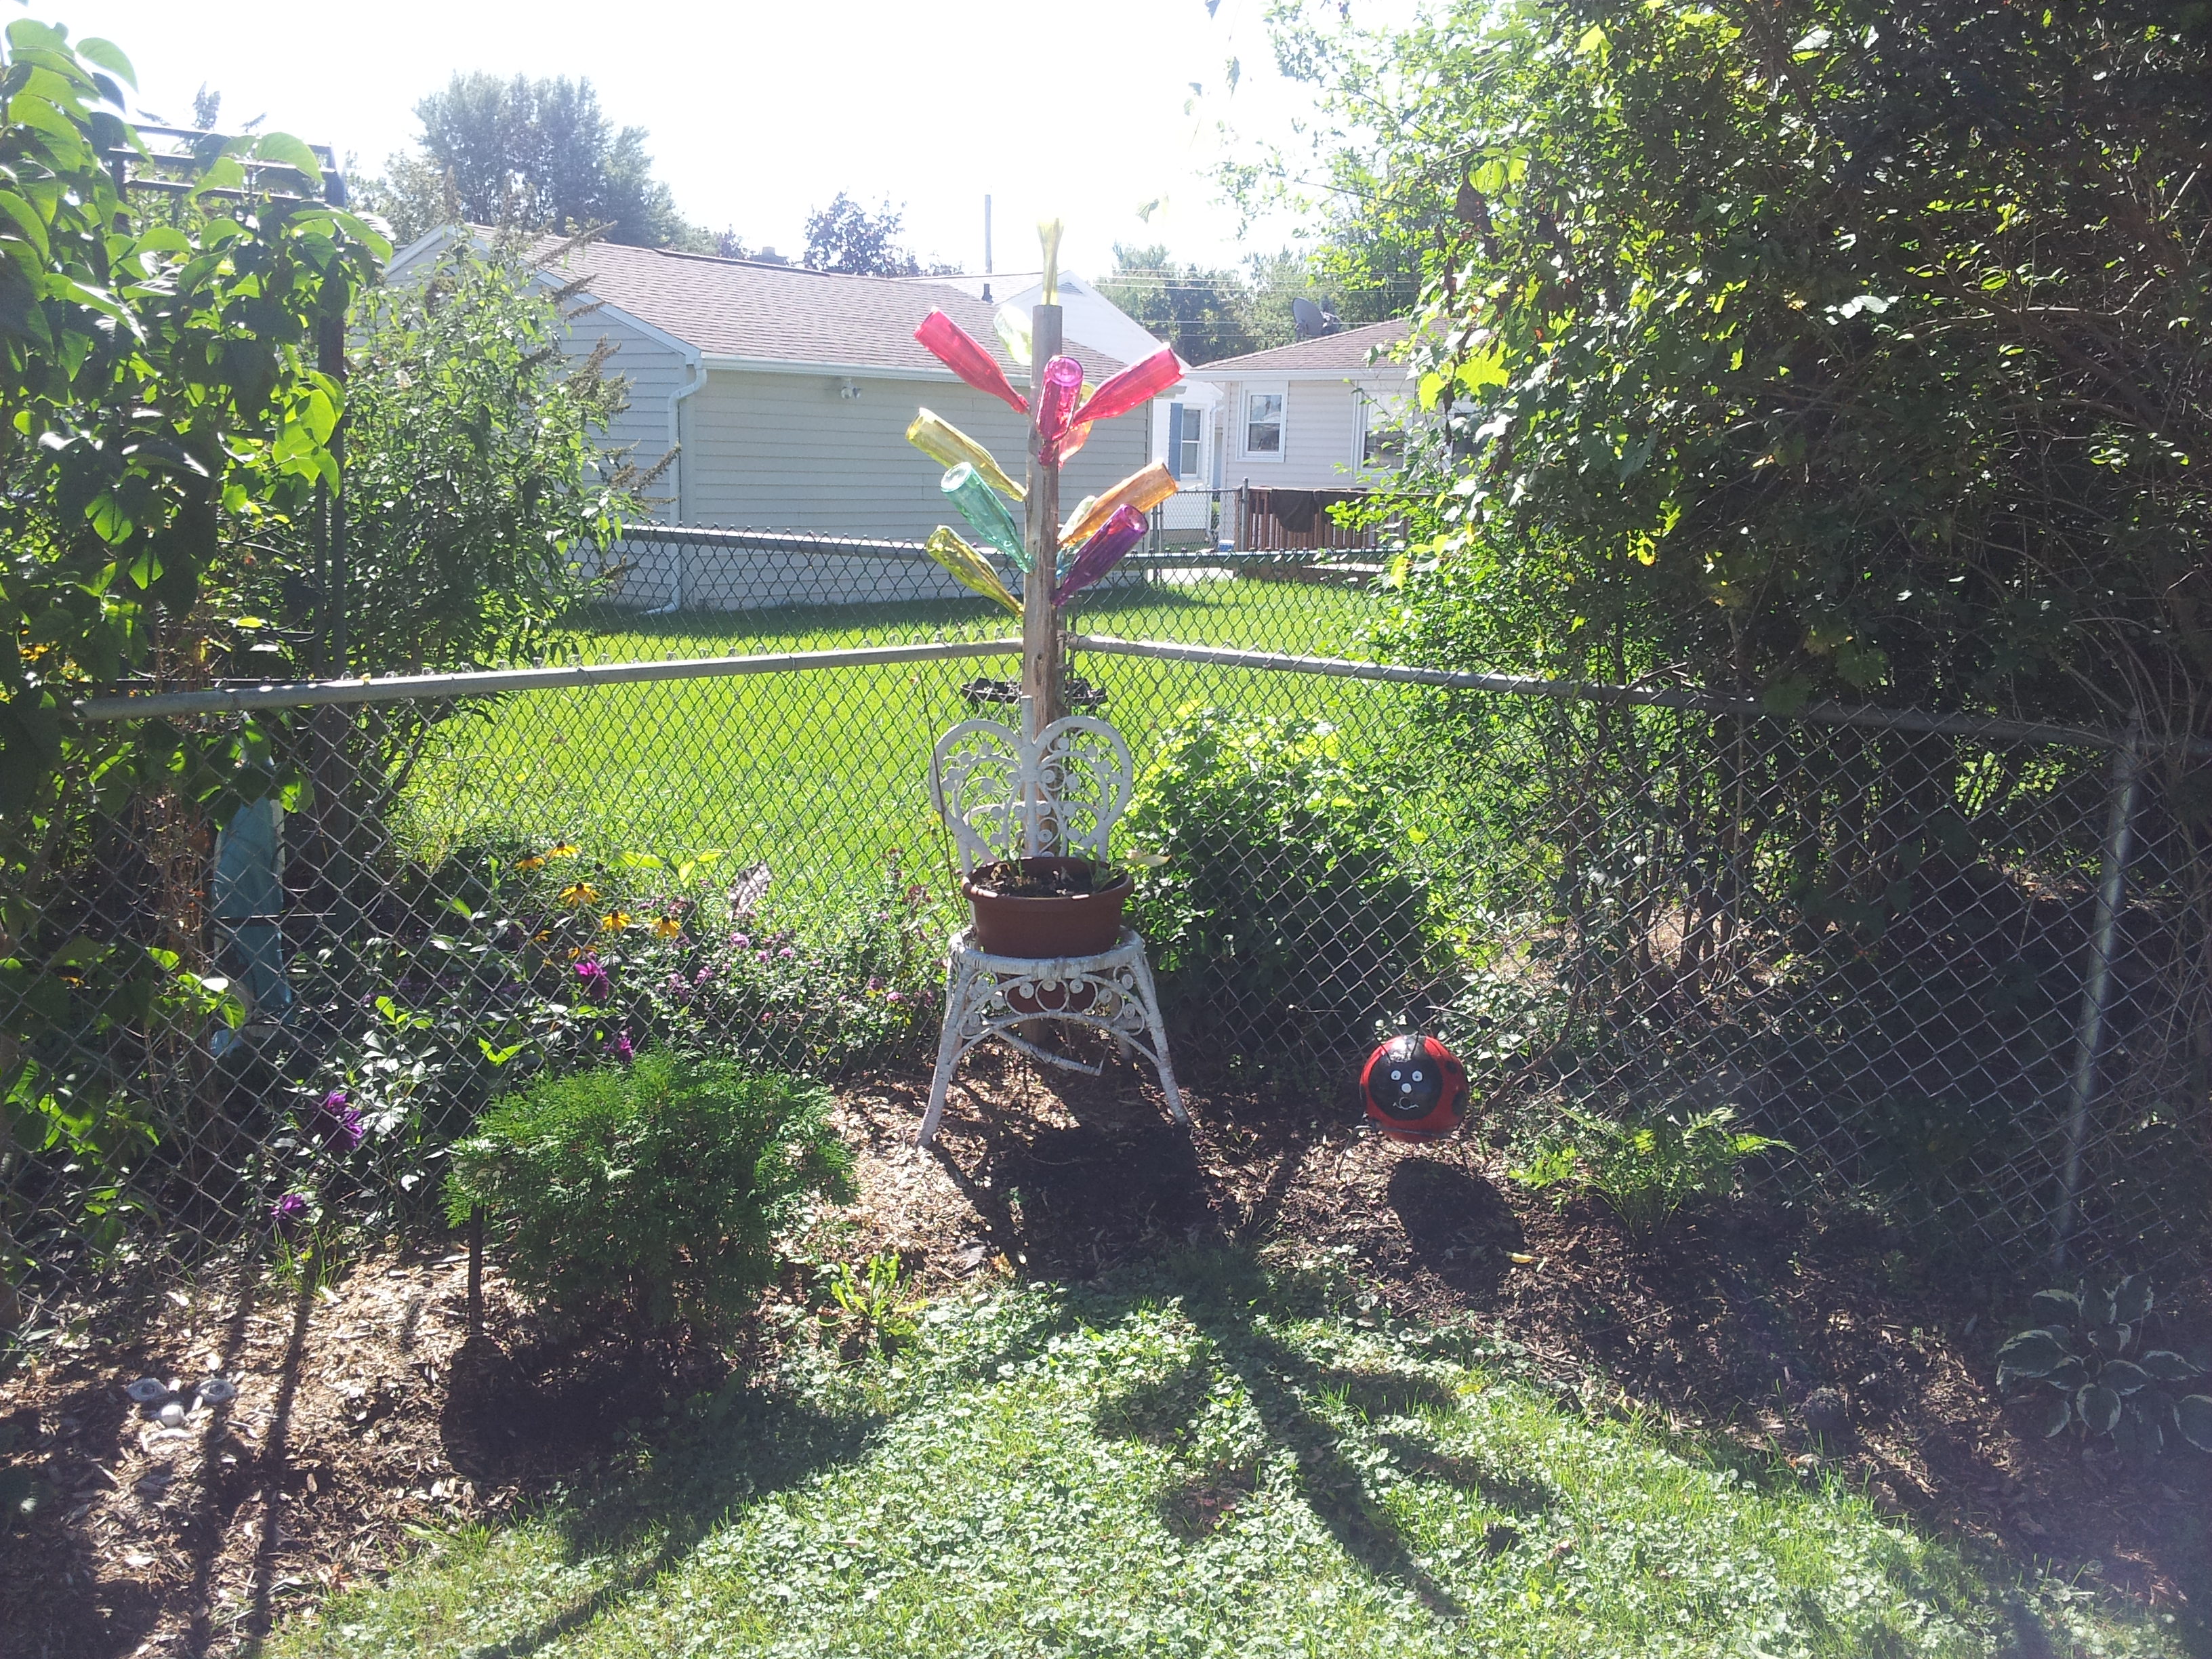
The finished product.
Now, for the bottles. I purchased mine at a dollar store. I also had some left over wine bottles.

And now, the finished product!
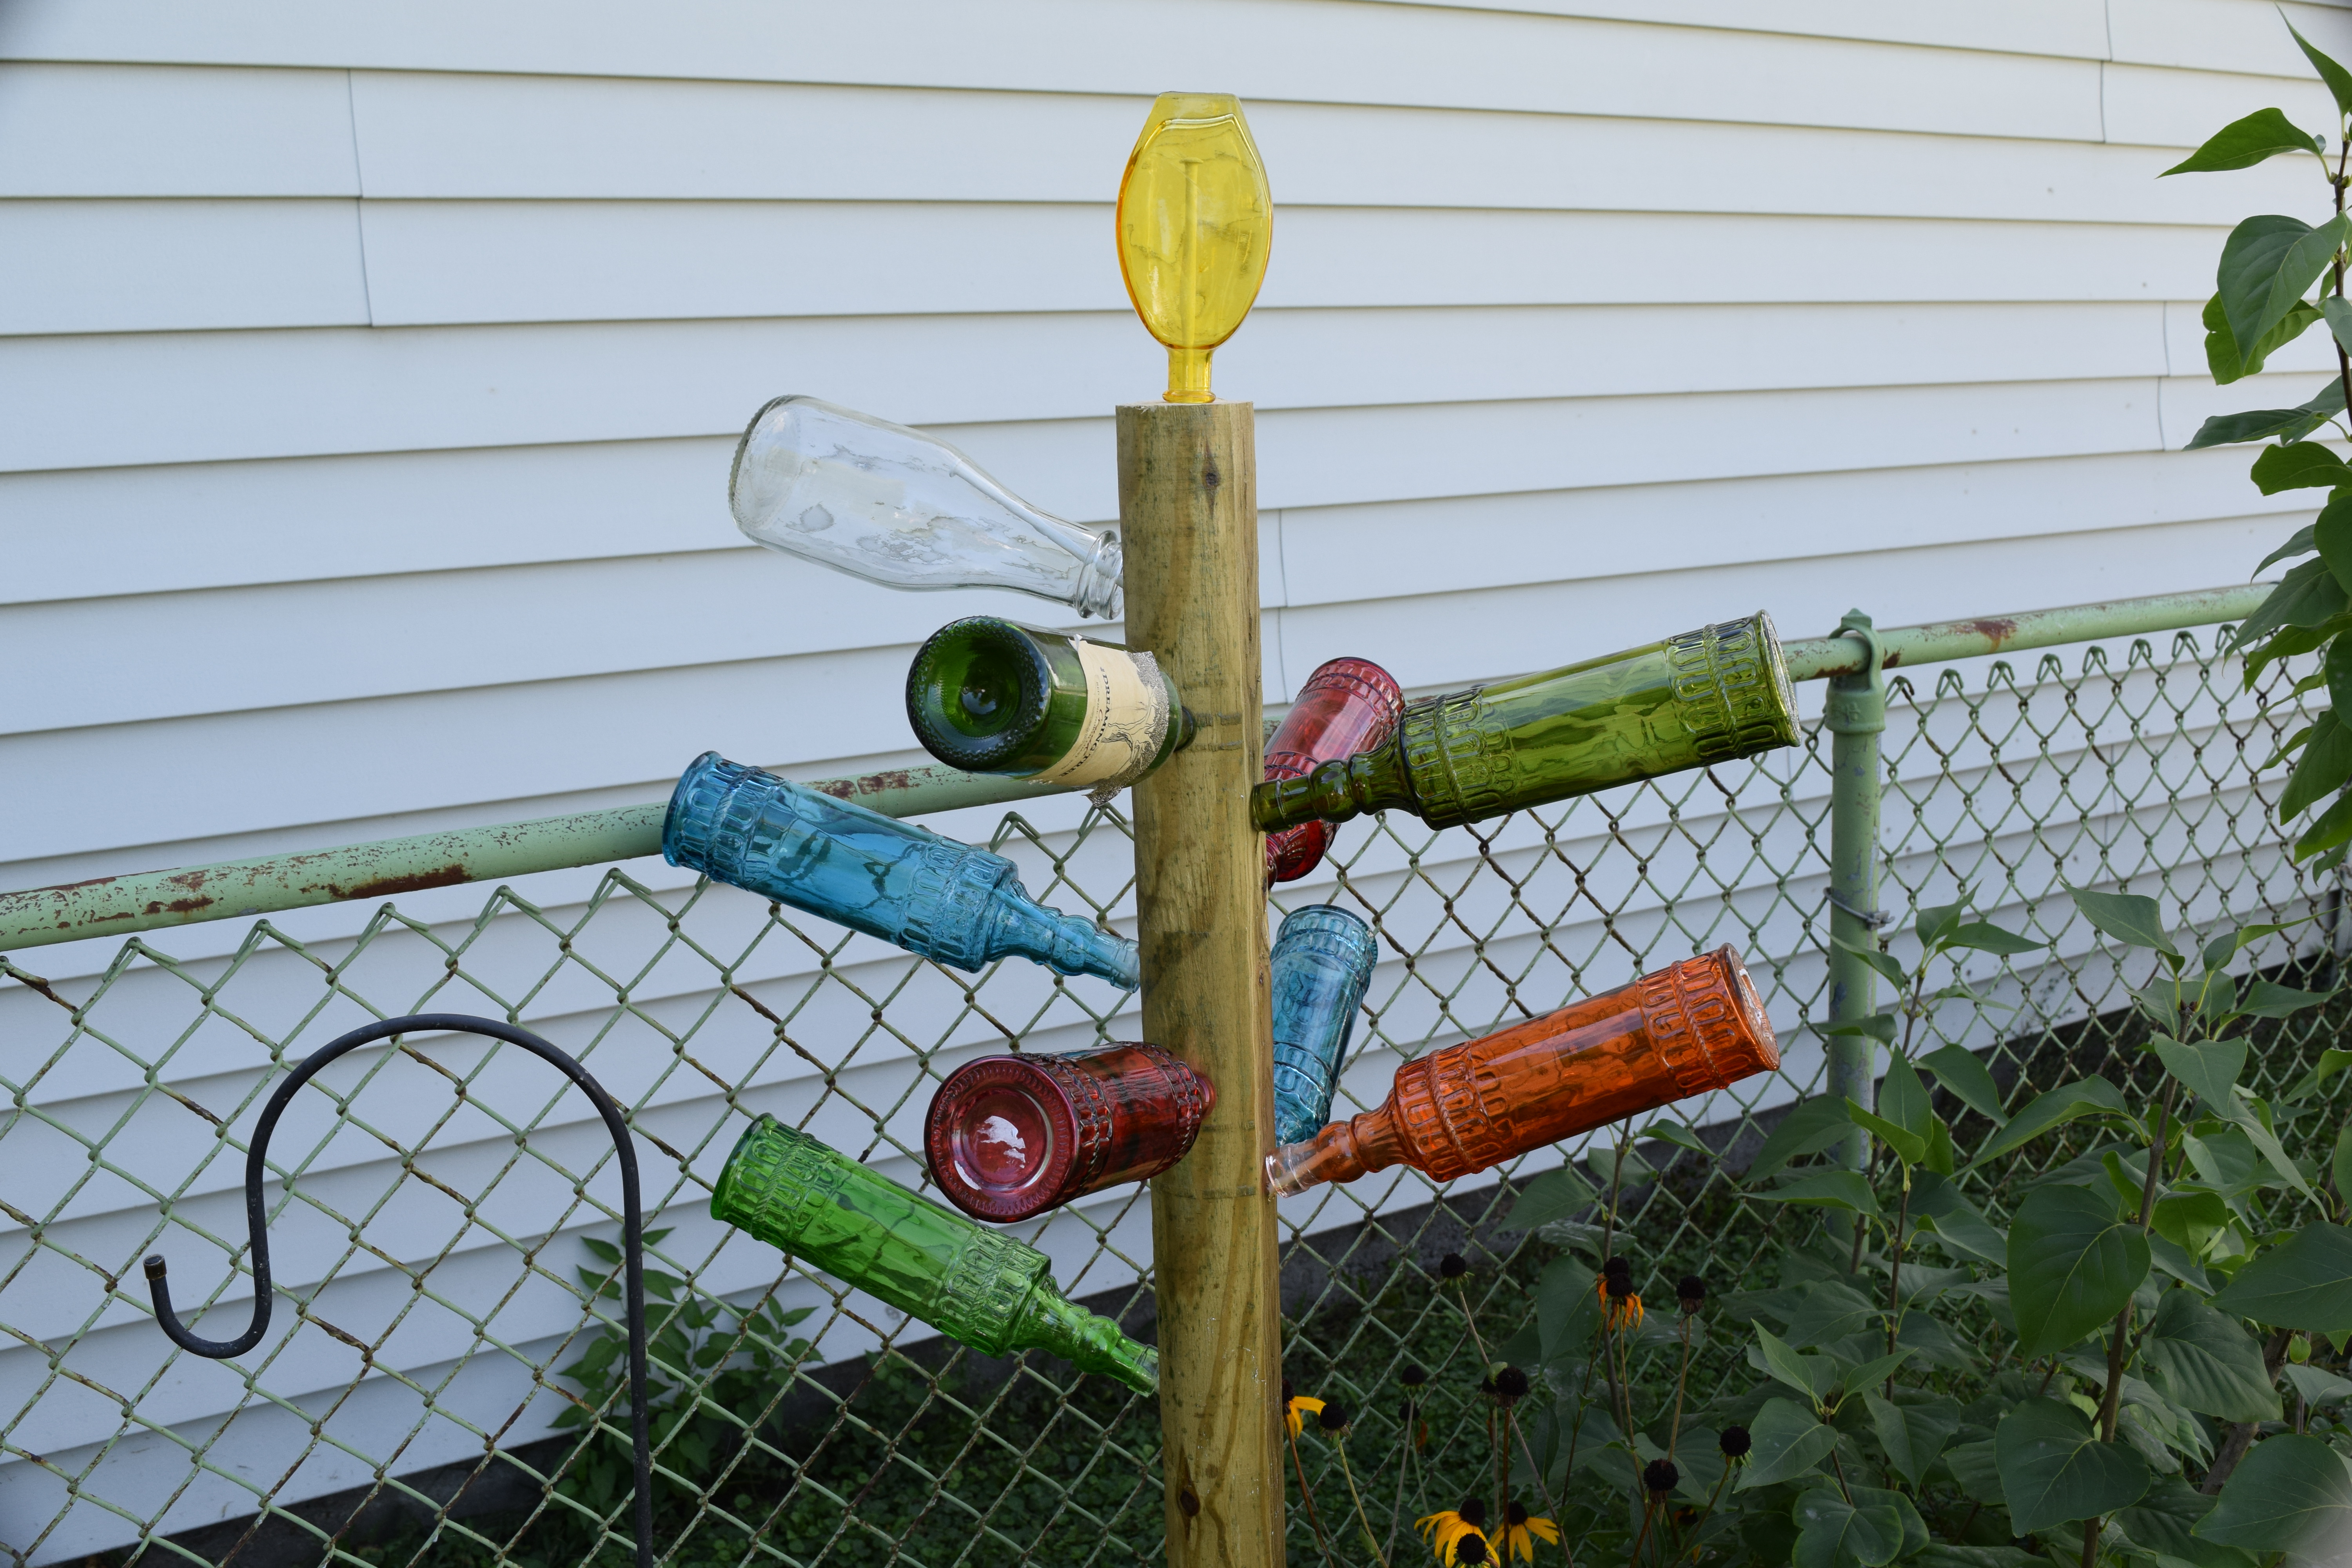
There you have it! I am especially proud of this one because I knew a little bit more of what I was doing this time around, and hopefully this one will last longer than the previous one I had.
Now, I know you are thinking I am a little dumb for making one now that the weather is turning cold and will eventually be snowy, but I can tell you that I made this specifically for Winter Interest— something nice and colorful to look at when its cold and snowy!
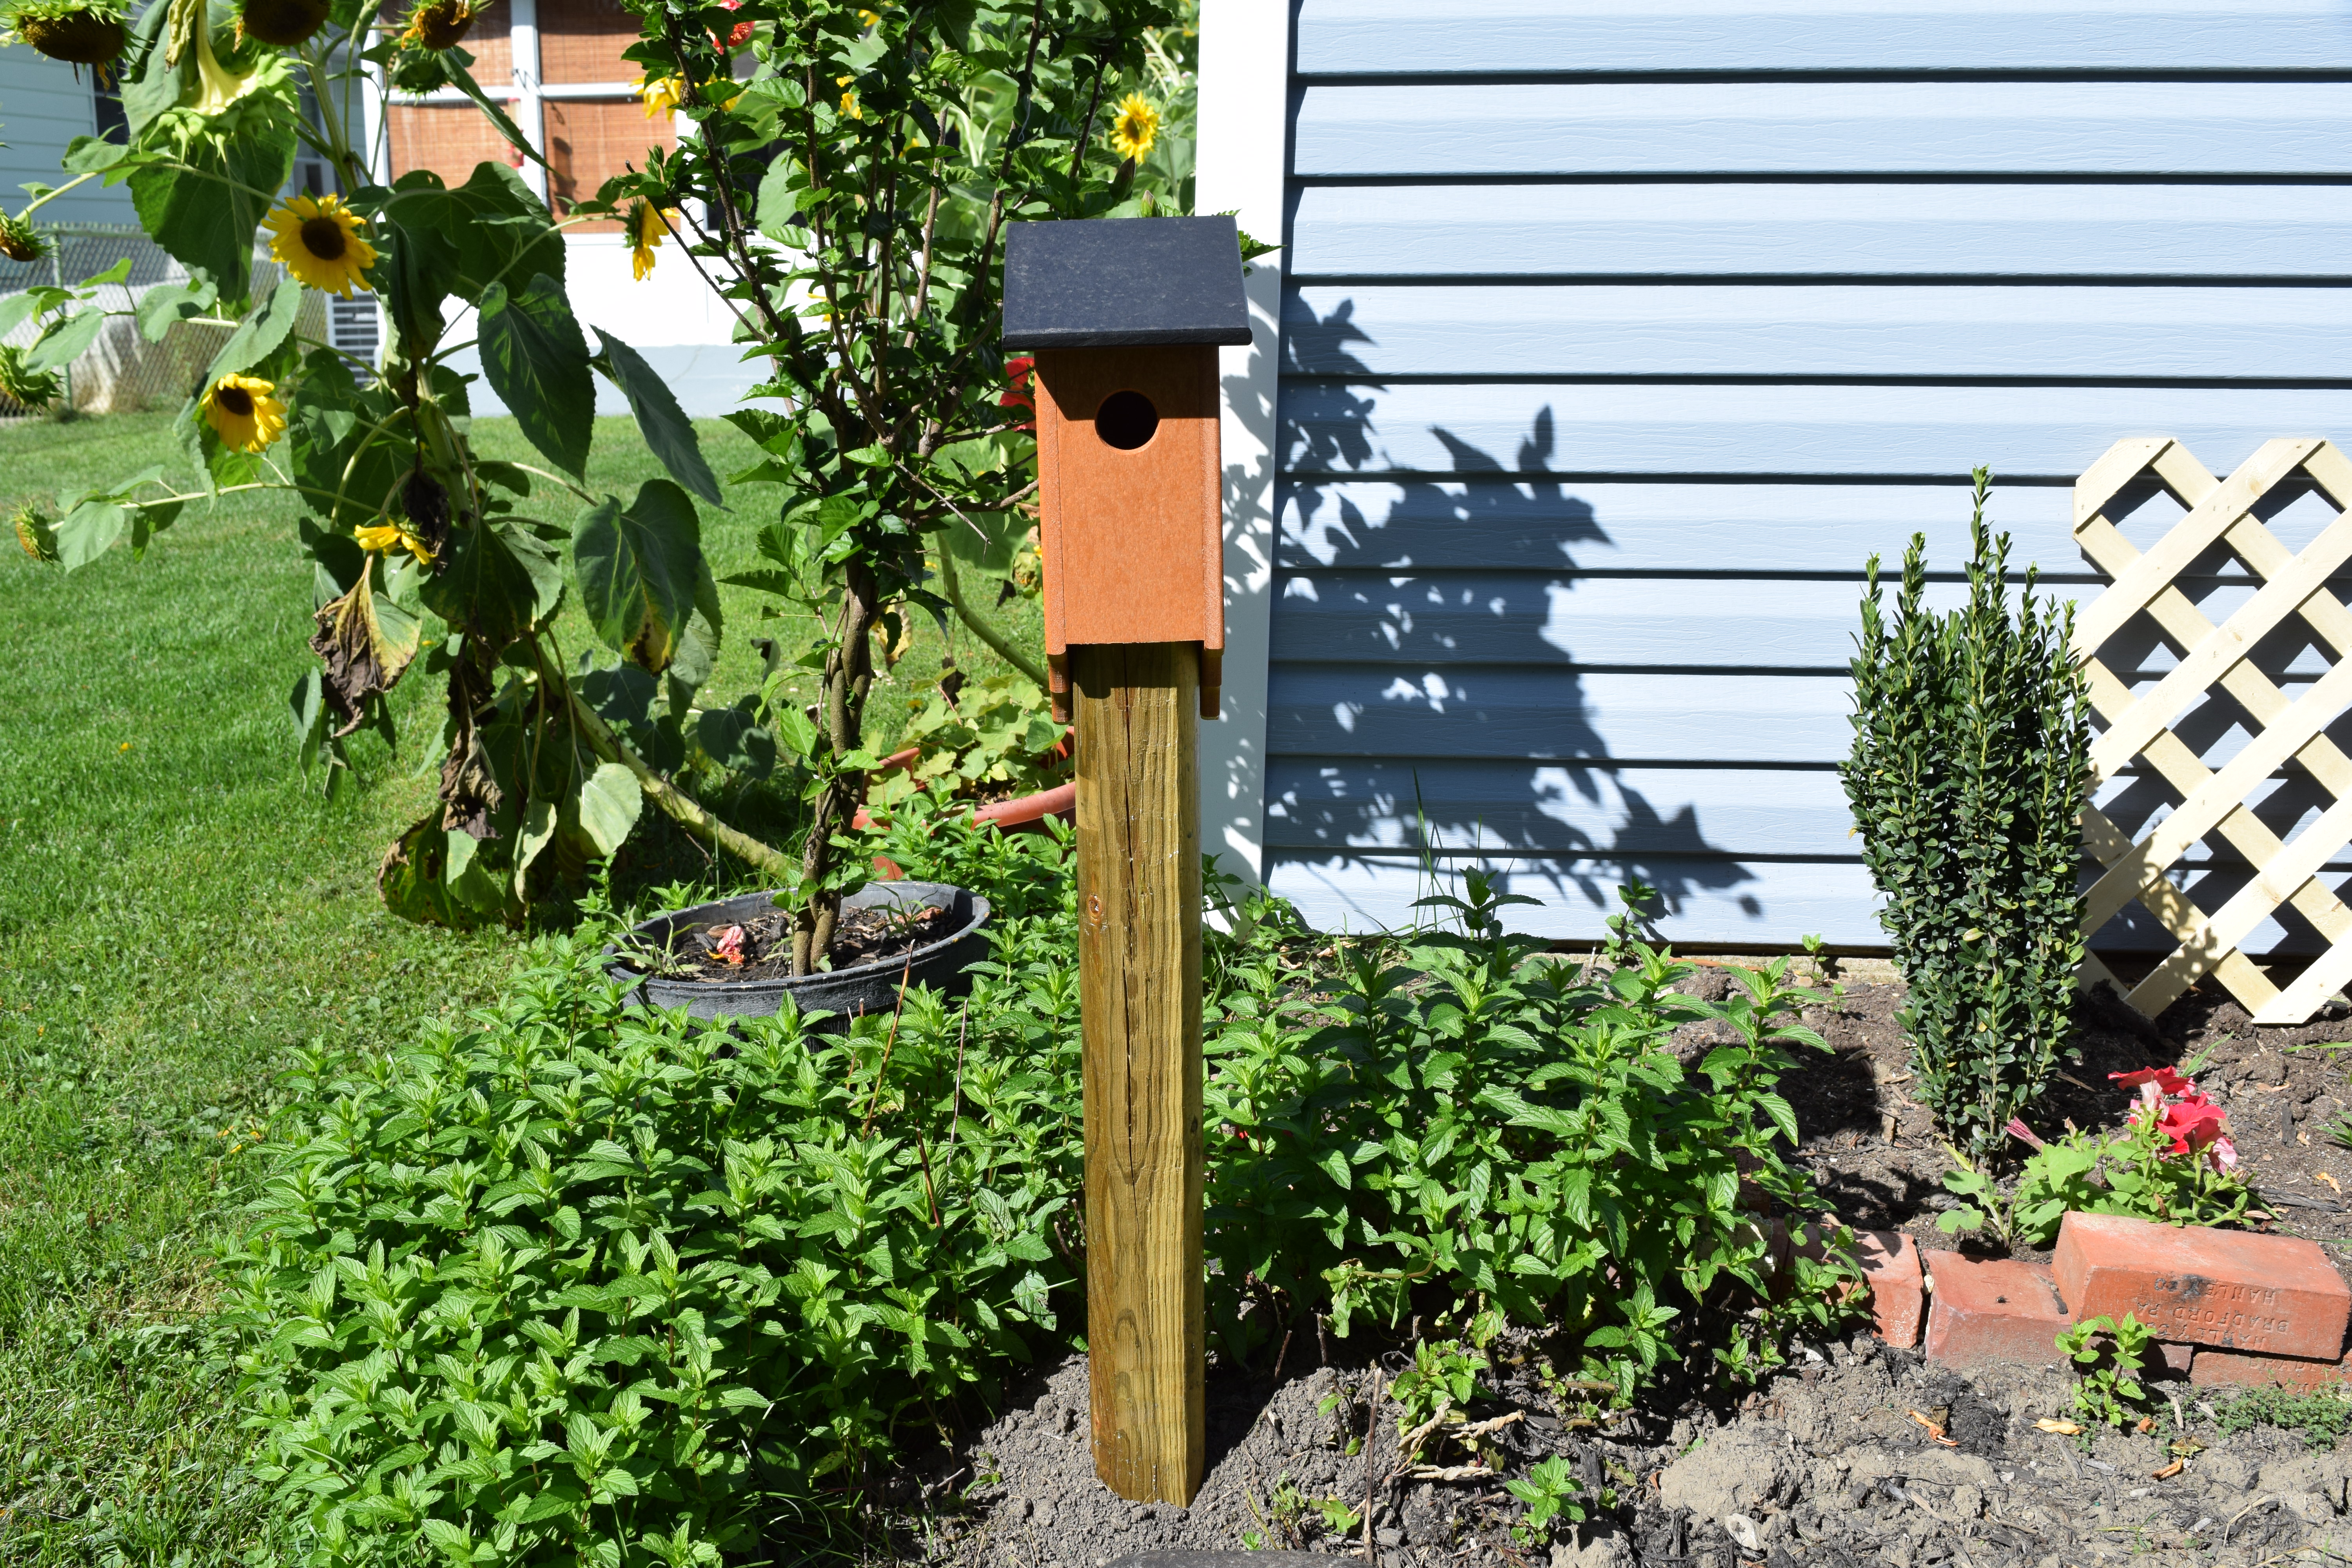
Oh, and if you are wondering what I did with that last 3ft of my pine post, wonder no more! I had my husband attach a bird house that my mother-in-law purchased for me on it and it’s now out back of my garage.
So, there you have it! Creating diy garden decor with the help of a few friends! Never underestimate the power of those dirty power horses in your garden shed!