Welcome, Summer! The weather in Buffalo has been absolutely beautiful! Everybody, including myself, is soaking up the sun as much as possible! I am getting a little behind on blog posts because now that summer is in full swing, our calendars are absolutely packed. That’s what happens in Western New York when summer comes– you use up every single minute of it!

Meanwhile, I have added a couple of new plants to my garden, but next week I plan on doing a little update on new plants I have purchased, and also the other stuff that’s been growing in my gardens. I have also learned a few things.
Speaking of learning a few things– after going to my parents house a few weeks ago, I saw this really neat bowl that my mother had made. I asked what it was and she said, “Hypertufa”. I said, “What?!”
Here we go. Hypertufa is a sandy/concrete like-mixture that you make with Portland cement*. It is much lighter and porous than your typical terracotta pot or just plain old concrete, so that’s what makes it so good for growing plants in. This history behind it is really interesting. Hypertufa was invented for use in alpine gardens. It can withstand temperatures that dip to -22 degrees farenheit (-30 degrees celsius).
*This is very important. This is what makes Hypertufa different from regular garden ornaments you make out of just a mixture of sand, cement mix and water. Yes, it really is confusing.
How to make Hypertufa
If you go online you will find many different recipes, but this seems to be the most used amounts that I found:
-Three parts Portland Cement -Four parts Sphagnum moss -Five parts Perlite -Water
You can add sand, pebbles, or other anything you think might give your hypertufa more structural integrity, or strength.
**Make sure to use gloves and mask when using the above ingredients. The cement dust can be dangerous if inhaled in large amounts. The mixture should have a cottage cheese consistency before you put it in the mold.
- Get two plastic bowls/molds- one big and one small so that it fits in the bigger bowl.
- Spray the big bowl with nonstick cooking spray.
- Once you have created the mixture, place it in the bigger bowl and mold.
- Place the smaller bowl inside the bigger bowl. Spray nonstick cooking spray on the outside of the smaller bowl before you do so. Fill in the molds appropriately, and use a mallet to try to remove any air bubbles.
- Put your hypertufa in a plastic bag for 24-36 hours to cure.
- Remove the plastic molds and set your hypertufa in a dry place to finish completely drying out for 2-3 weeks.
Once you get more experience with creating hypertufa, get creative. Start thinking outside the box with it.
This will be what your finished project will look like:
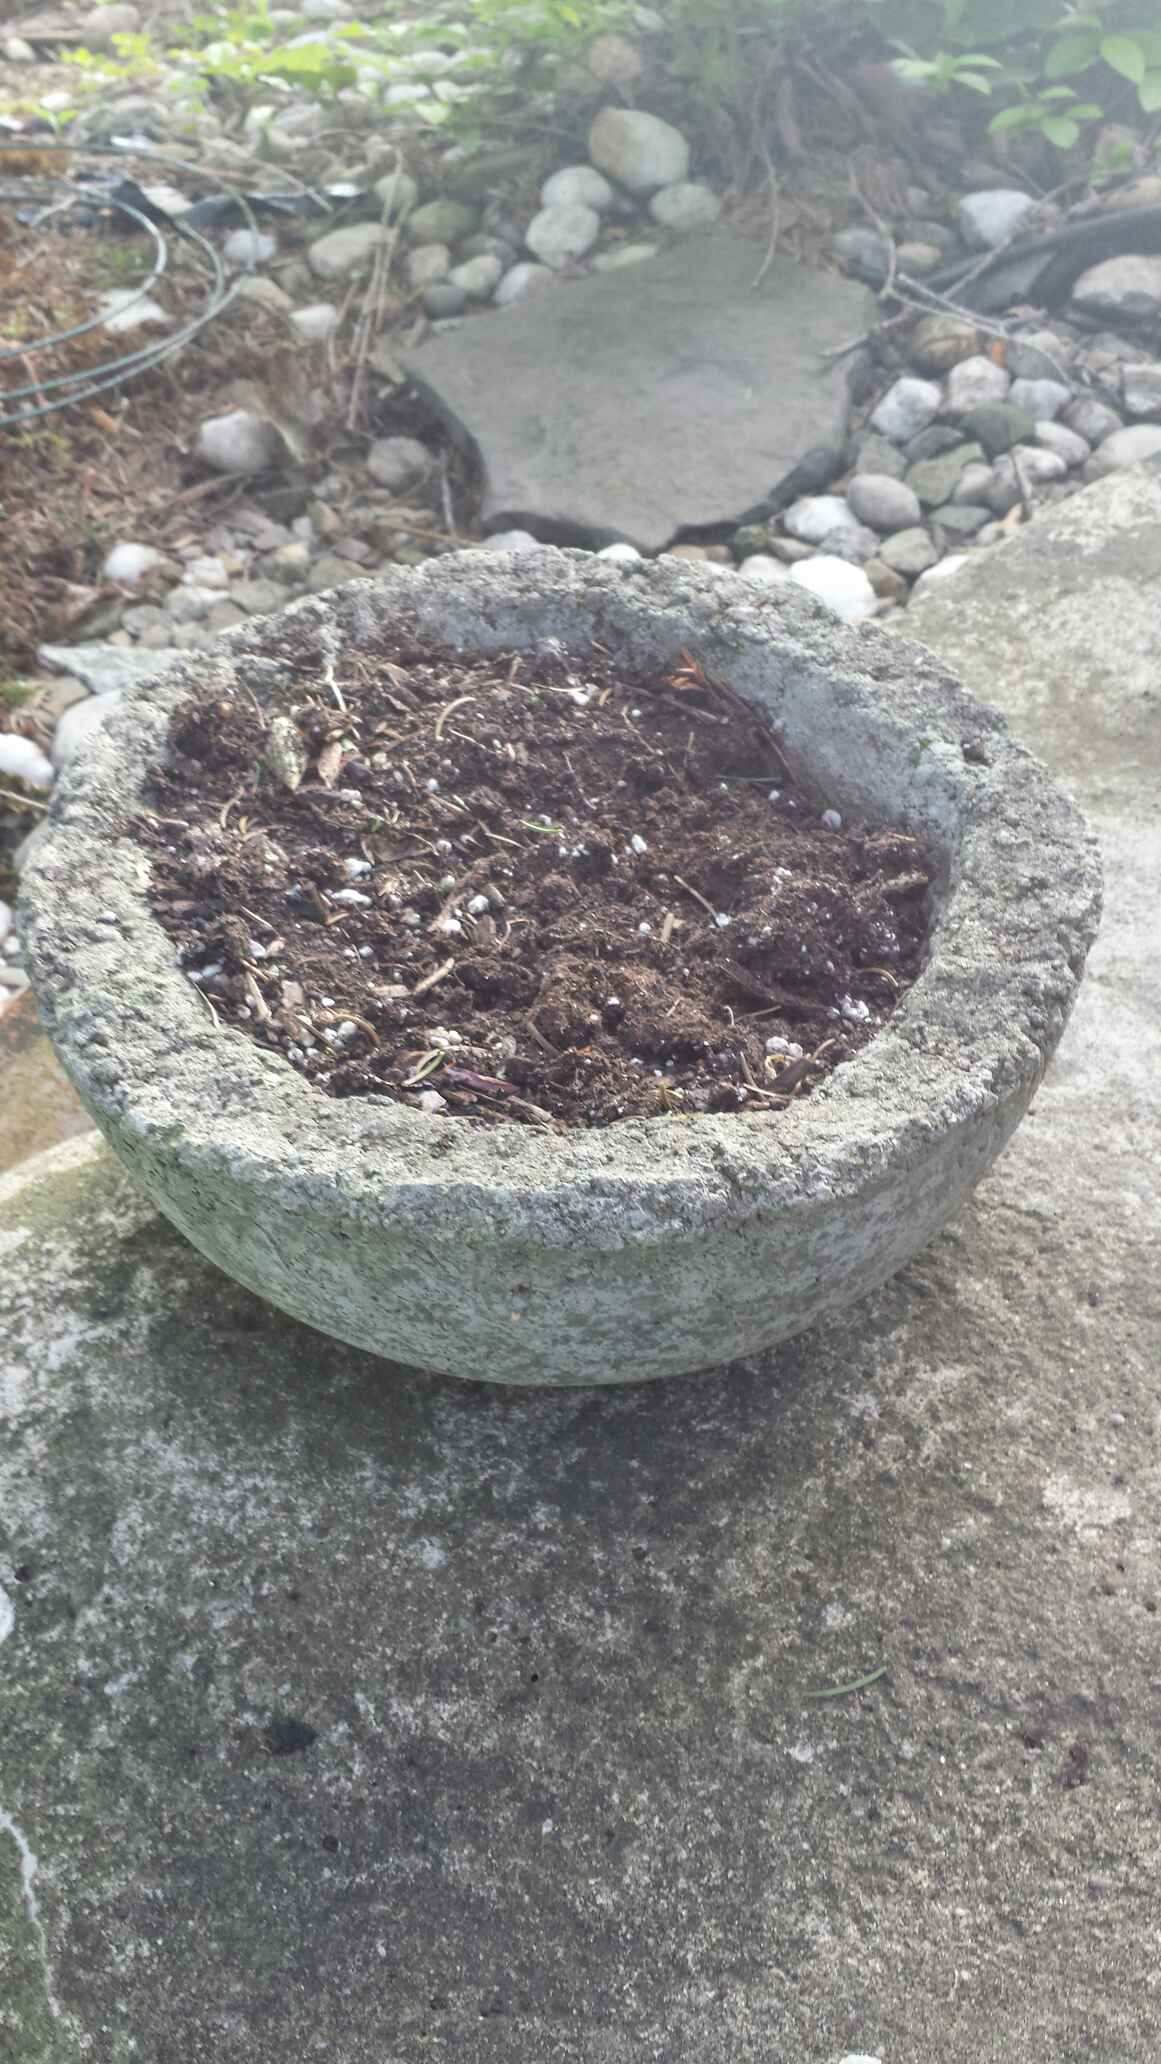
Photo: Colleen Dietrich
Hypertufa has endless possibilities. This is also a great Christmas gift idea. I plan on making a few of these! You can use anything! And your garden will thank you!
–


