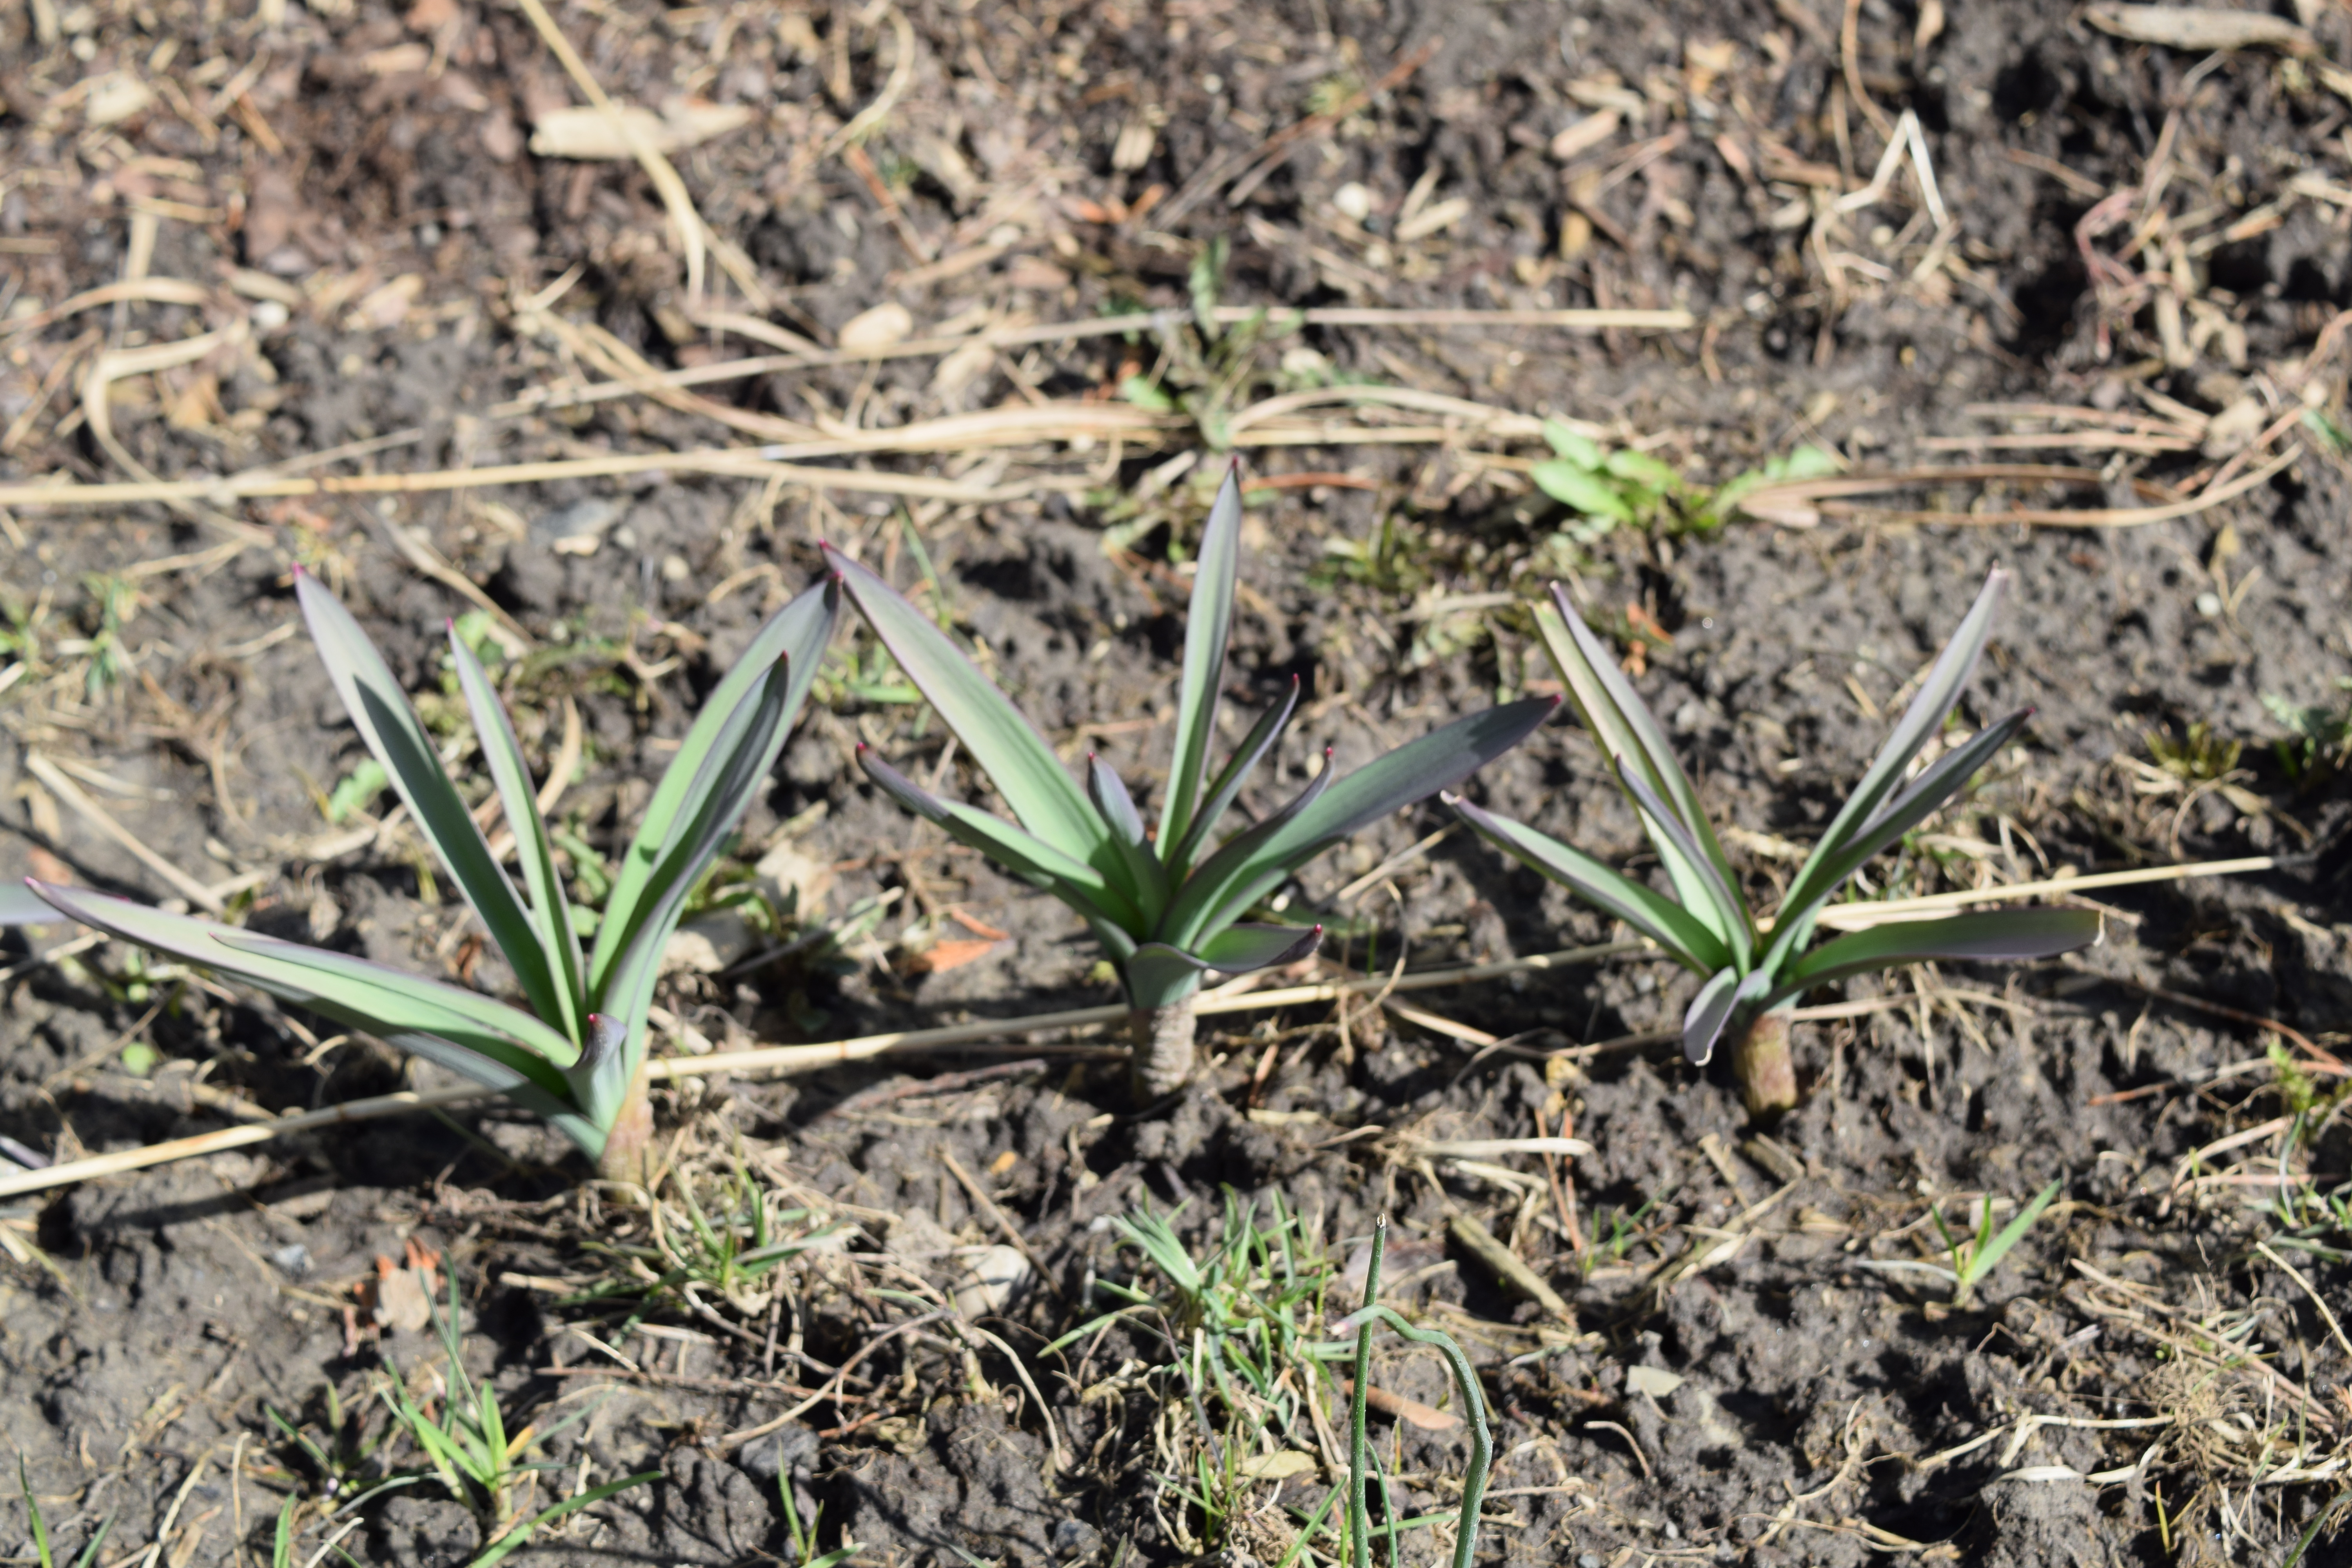
Wild daisies are a sure sign of summer!
With summer just over a week away, everybody is a busy body, scampering to greenhouses and home stores trying to get what they need done. So this post is going to be just as swift as you! Here are a few tips for the full-fledged gardening season that you need to keep in mind for the rest of the summer:
Good things come to those who wait: By the end of July/ early August, spring nursery stock gets slashed to 50% off. Pick up some things there to add to your landscape. It may seem like forever, but it’s not.
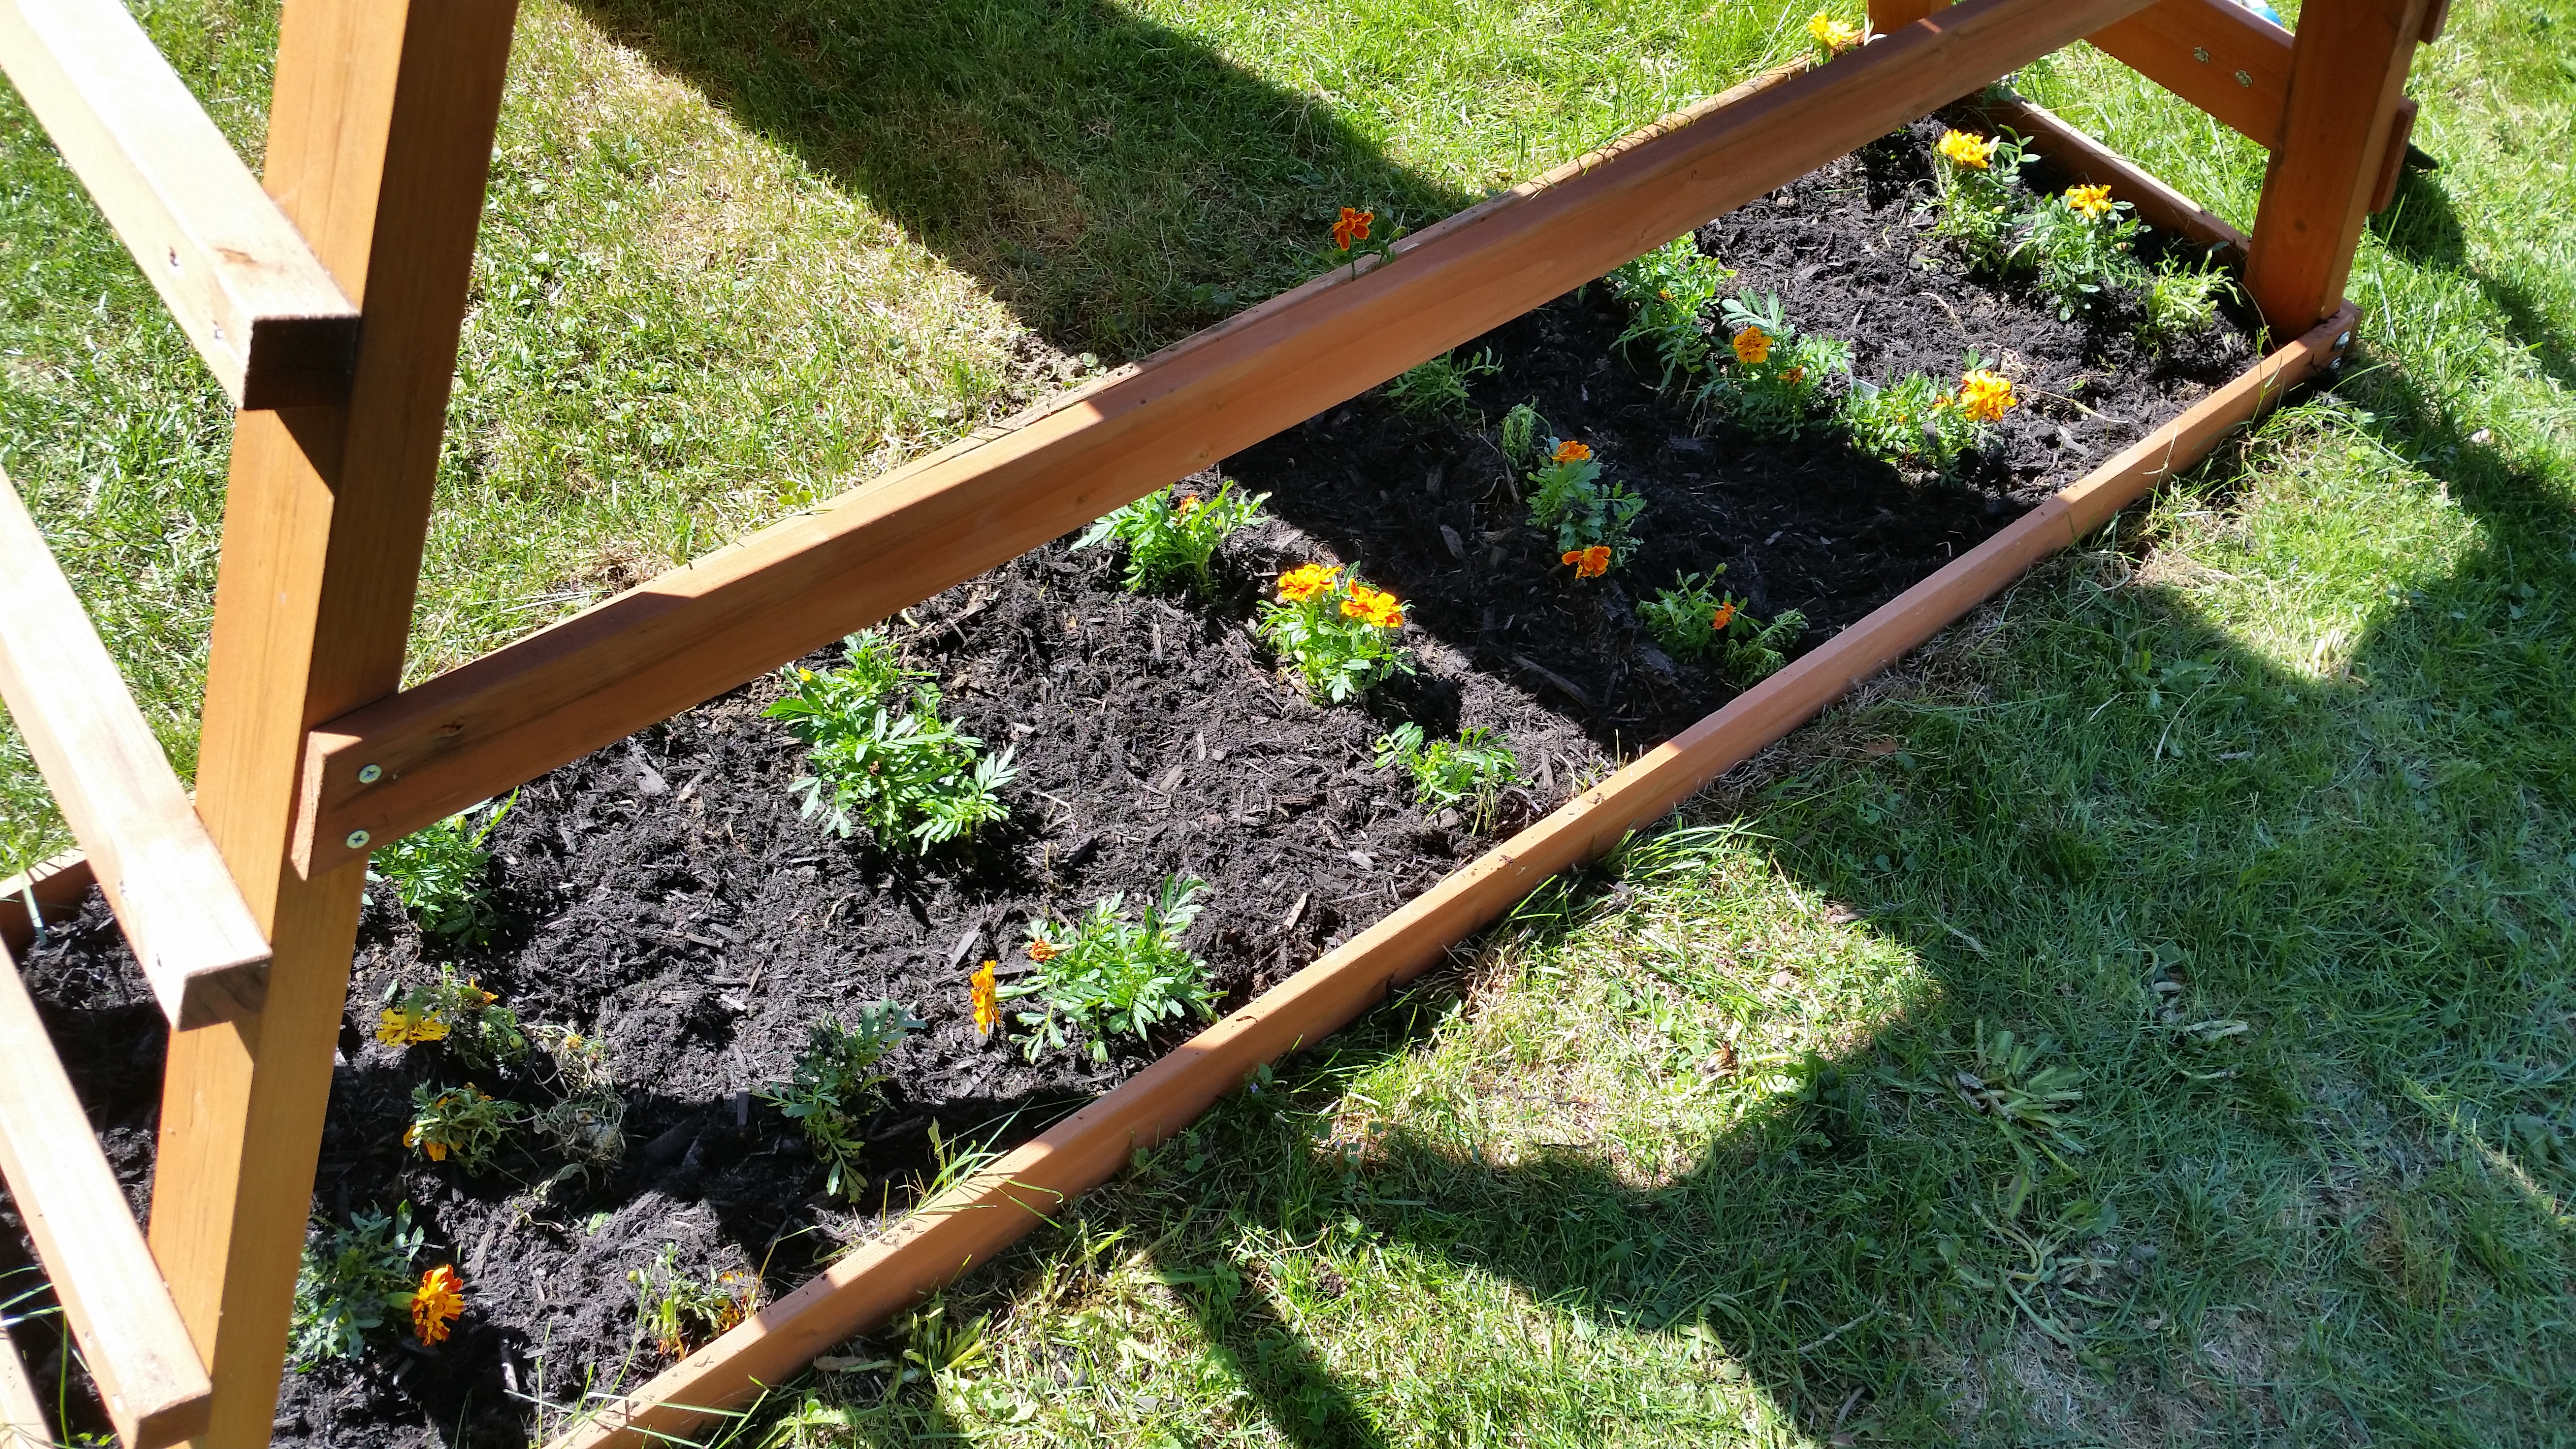
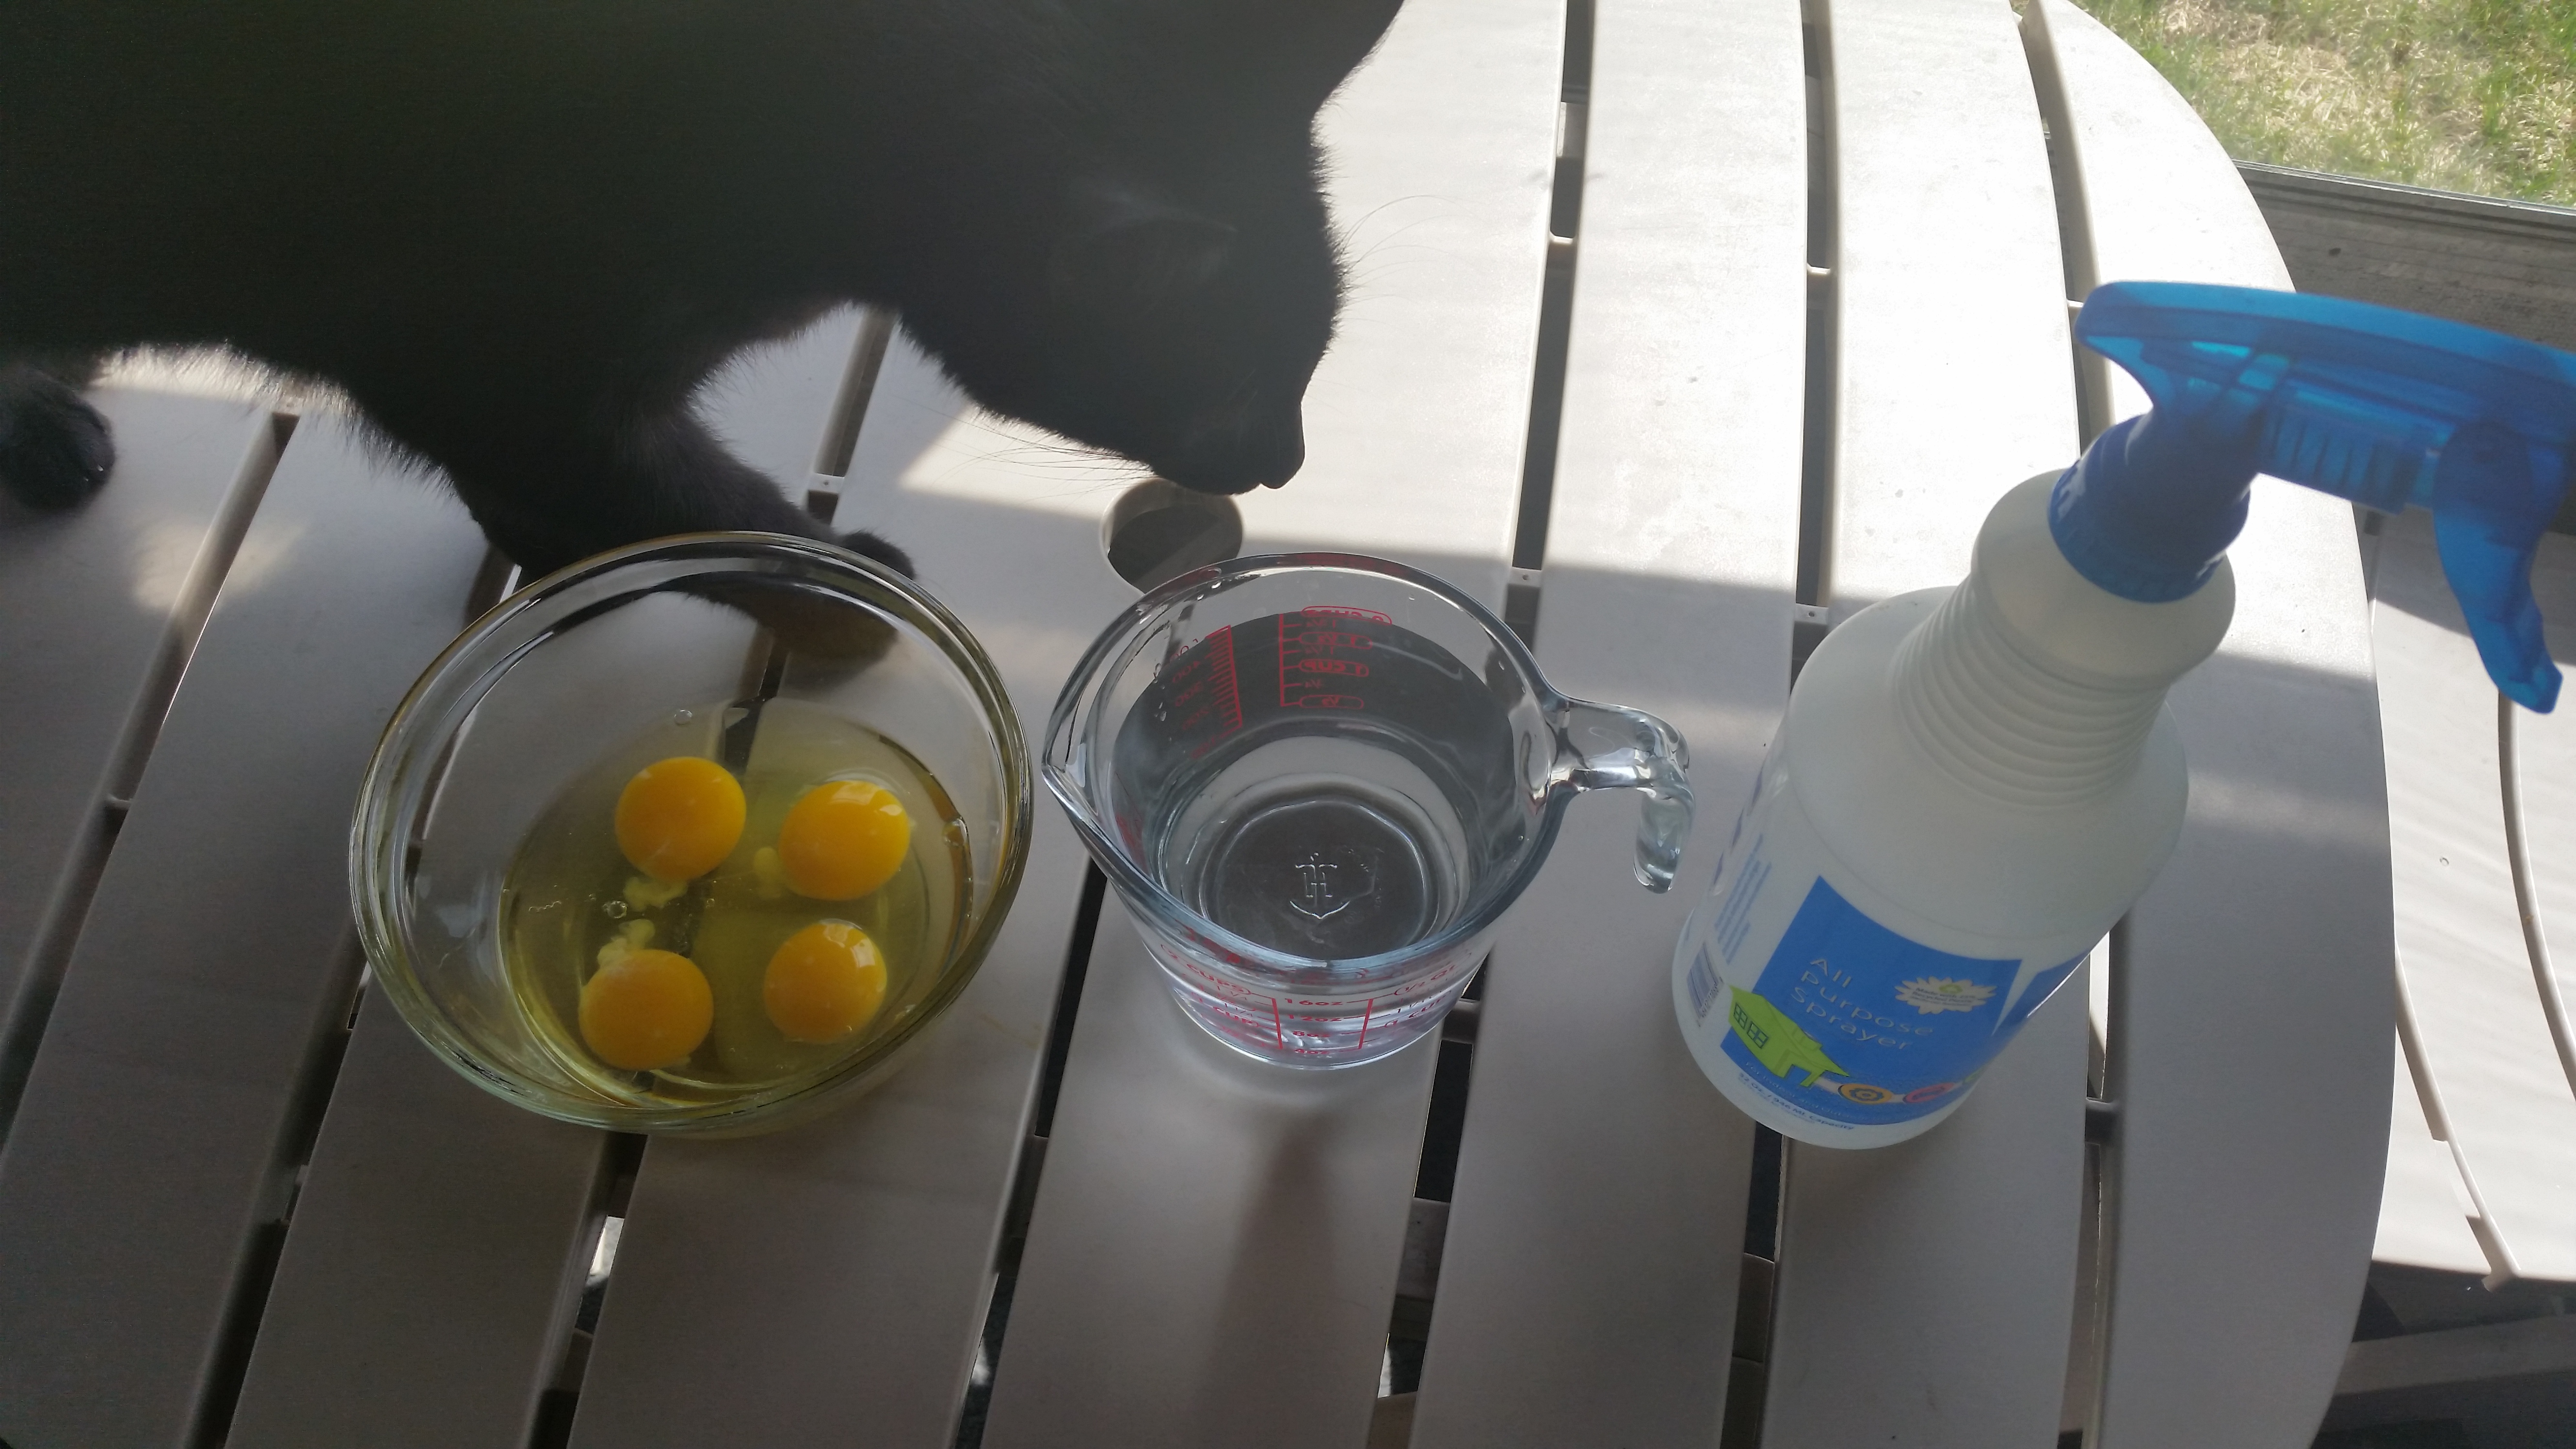
Mulch: Mulch fascinates me, actually. I don’t know why, but it does. I actually have a blog post in the works that is totally devoted to it. It’s both a time and money saver on your part. It retains water to keep your plants hydrated. And it really doesn’t cost that much for a bag. You can get it for $3. And it makes your flower beds look so darn neat and nice!
Keep the weeds out: I always have weeds. It really doesn’t matter what I do. But when I am preparing my beds in early spring, I used to lay down landscaping paper to keep the weeds out. But then I was given even better advice from my mother: lay down newspapers instead! So, to keep the weeds at bay, I lay down newspapers and then put the mulch on top. That saves you money from buying the sometimes costly landscaping paper– just use your Sunday paper! It’s better for the environment because it slowly decomposes over the growing season.
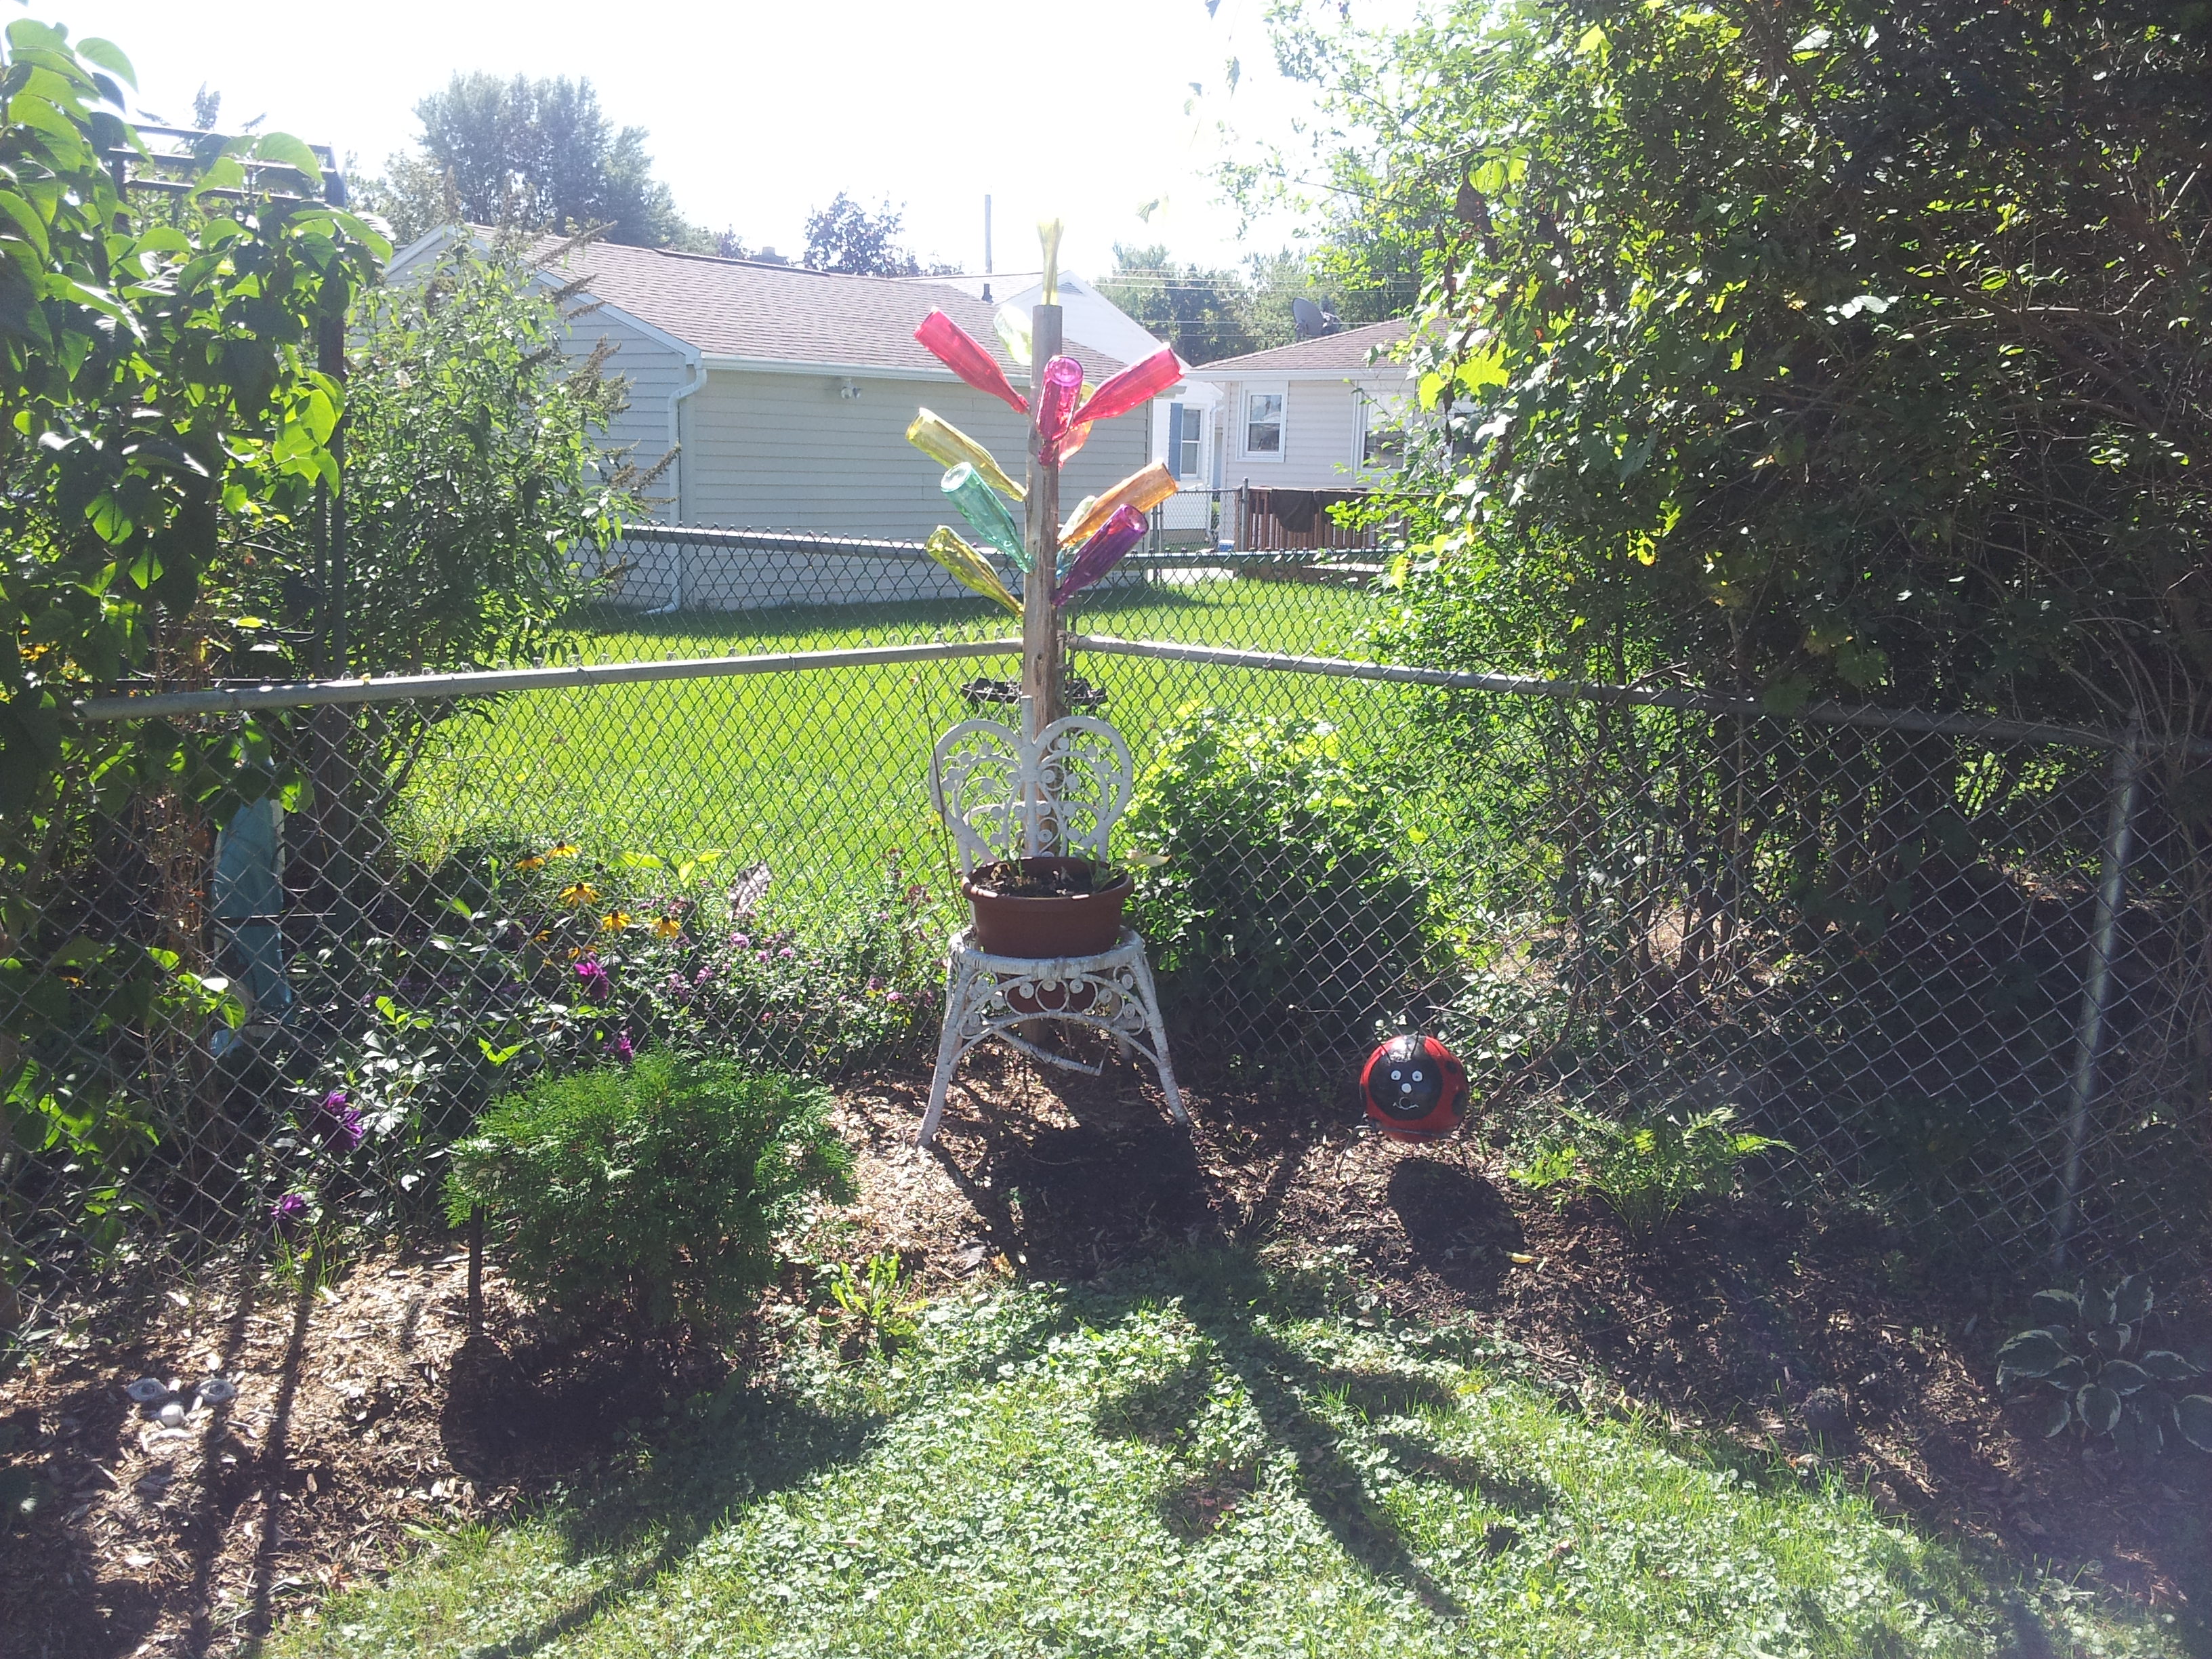
Don’t forget to enjoy it. We get so wrapped up in the work we put into our landscape that we have a hard time enjoying it. I’ve talked to some people who feel that gardening and landscaping is something they have to do, and absolutely hate it. My advice? Don’t do it! Just do what you have to do– mow your lawn and maintain what you need to. Nobody needs to do any of it, but for those of us who do the grunt work every year because we love it, stop and enjoy it. Get a nice patio umbrella and lounger and plant it right out in your yard. Sit down and relax and take in all the work you have been doing. Because, truth be told, we all get far more accomplished in the garden than we do anywhere else. Trust me on this.

Clematis beauty!
For me, I am satisfied with the results of my gardening thus far. I feel that I have finally found the “zen”, or balance that I have been striving for over several years now. Just another example of how gardening is a process, and it takes years to perfect!