Happy November! I know that Buffalo has been loving the first week of the month so far– we hit 73 degrees (23 degrees celsius) on Wednesday this past week! Lots of lunch time walks this week just because you never know what the weather will be like in a couple of weeks (November 17 last year it started snowing and 7 feet of snow and 3 days later, it looked like a scene out of the apocalypse).
That being said, I needed to “wrap-up” (pun intended) my gardening to-do list this weekend. Even though the 7 day outlook looks decent, you just can’t trust it this far into fall. So, away I went to get some work done. I detailed my winter preparation in a post last year, but I thought I would go through it a little more this year.

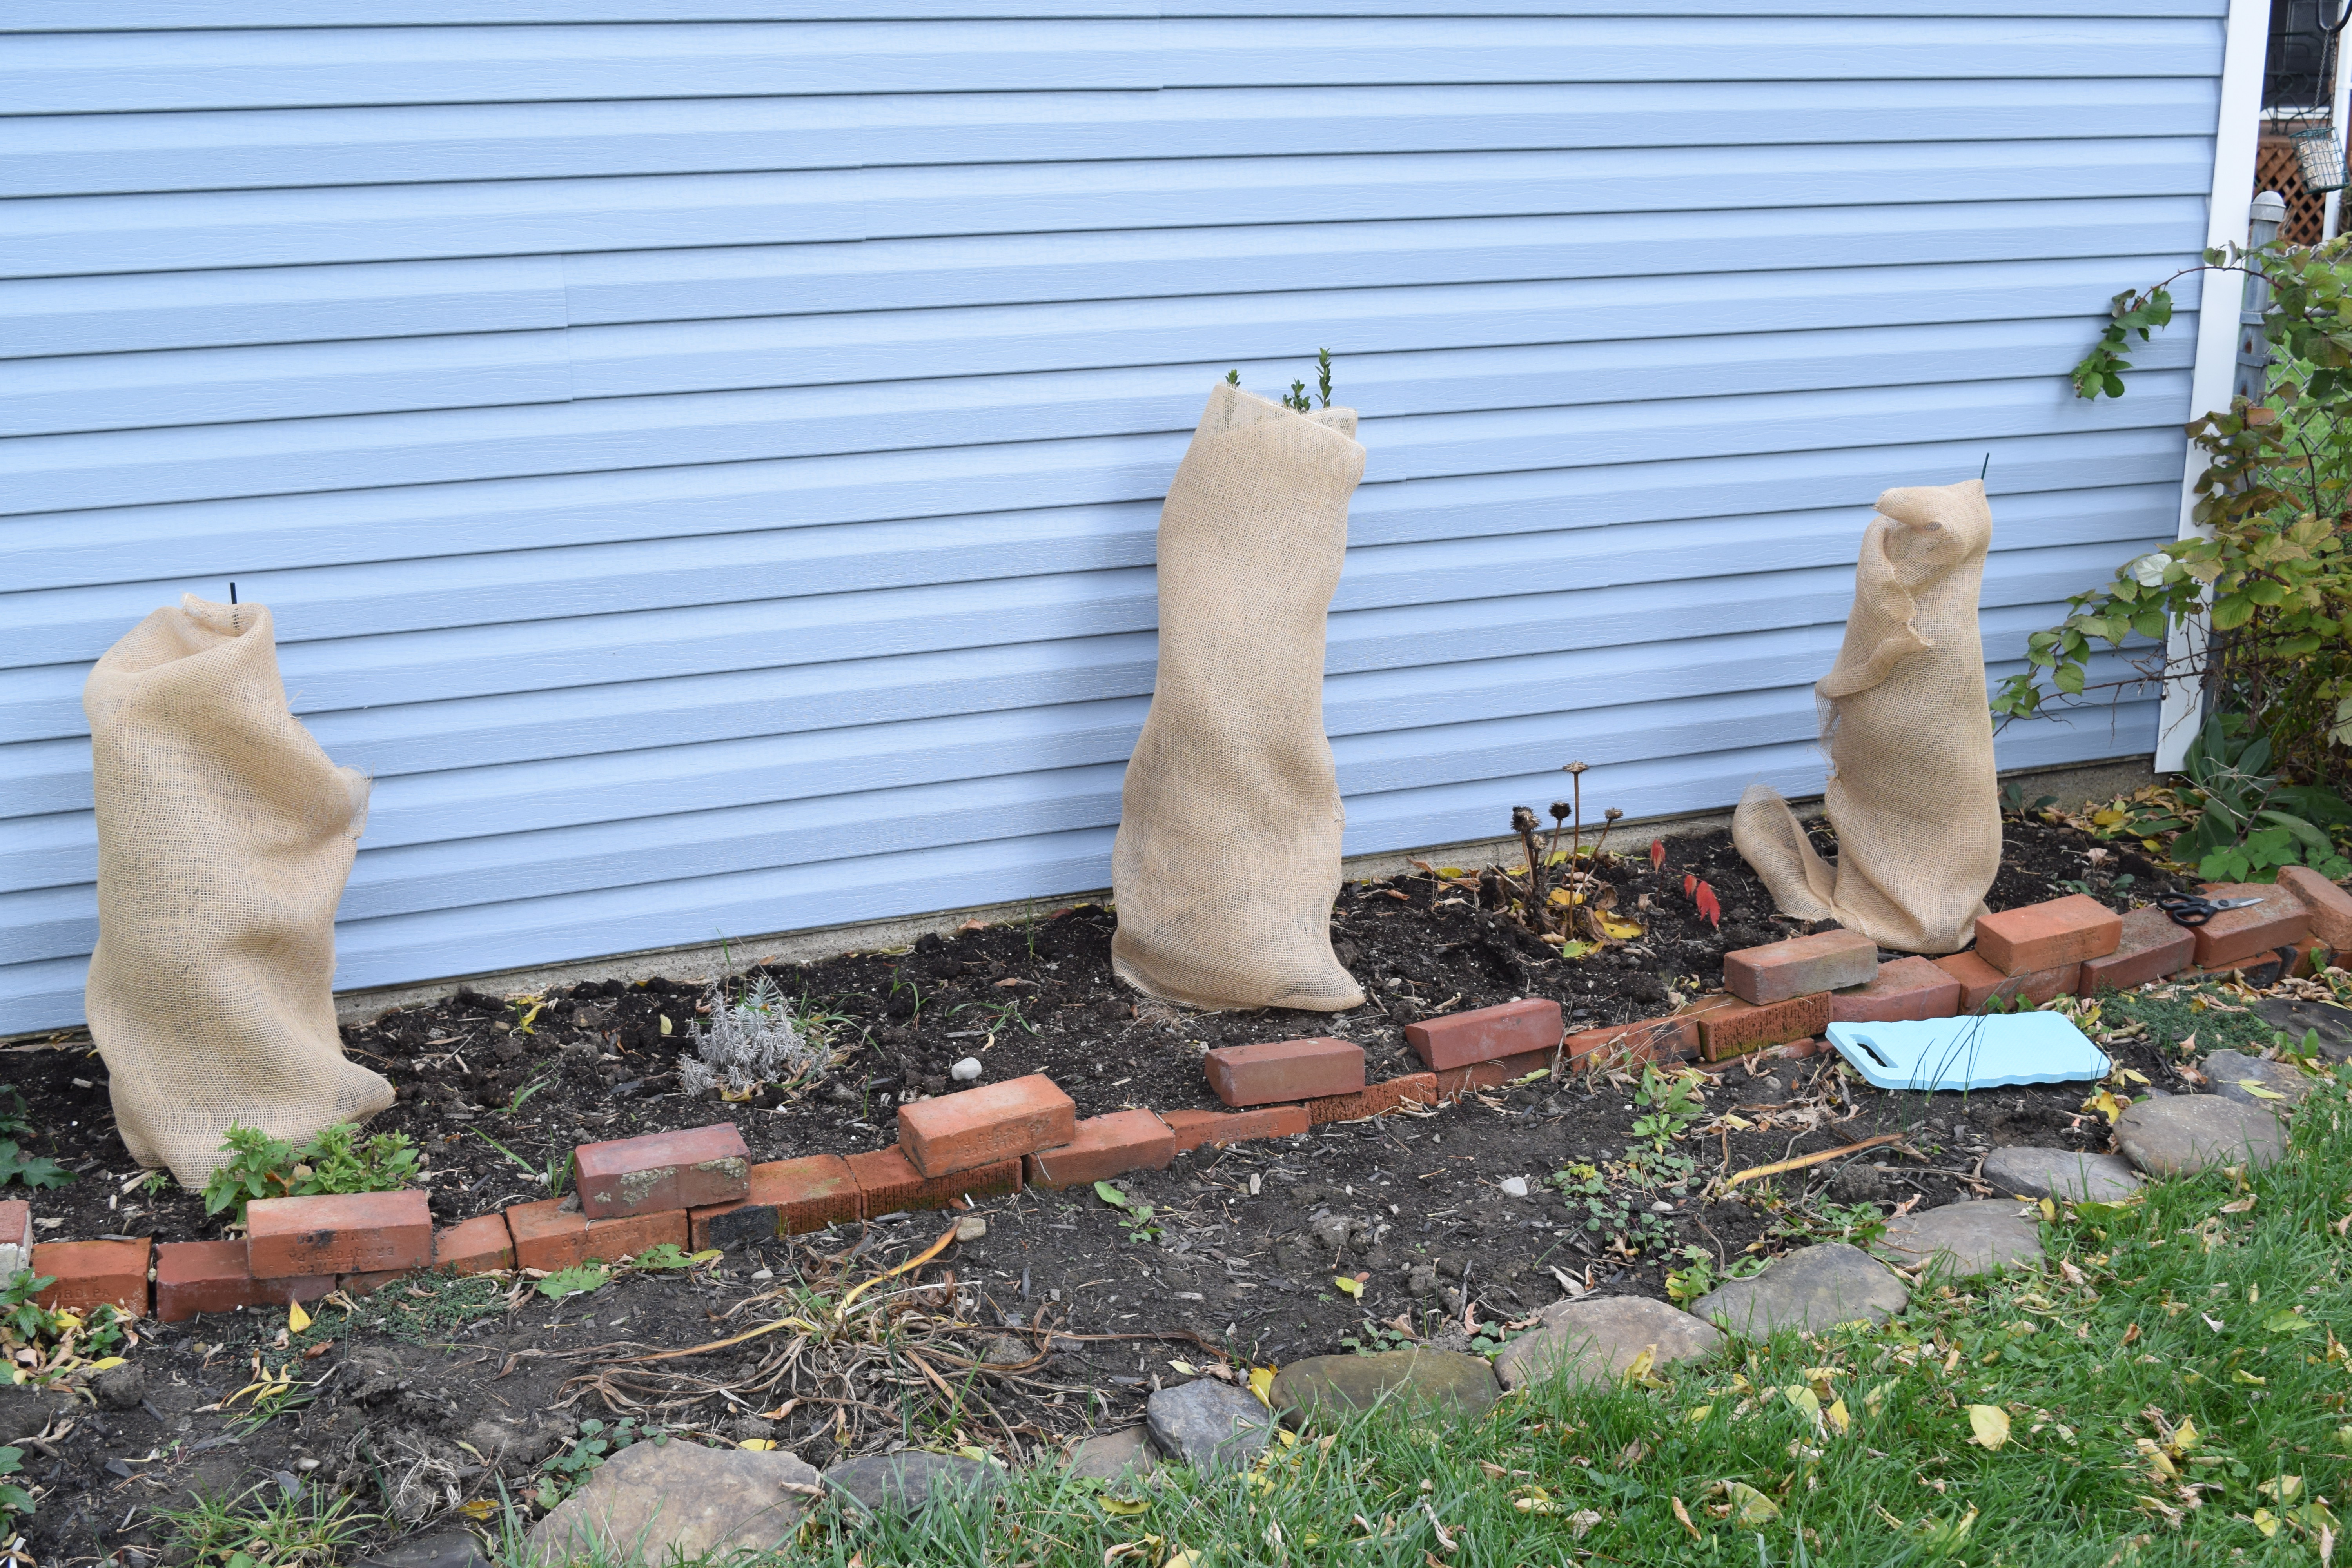
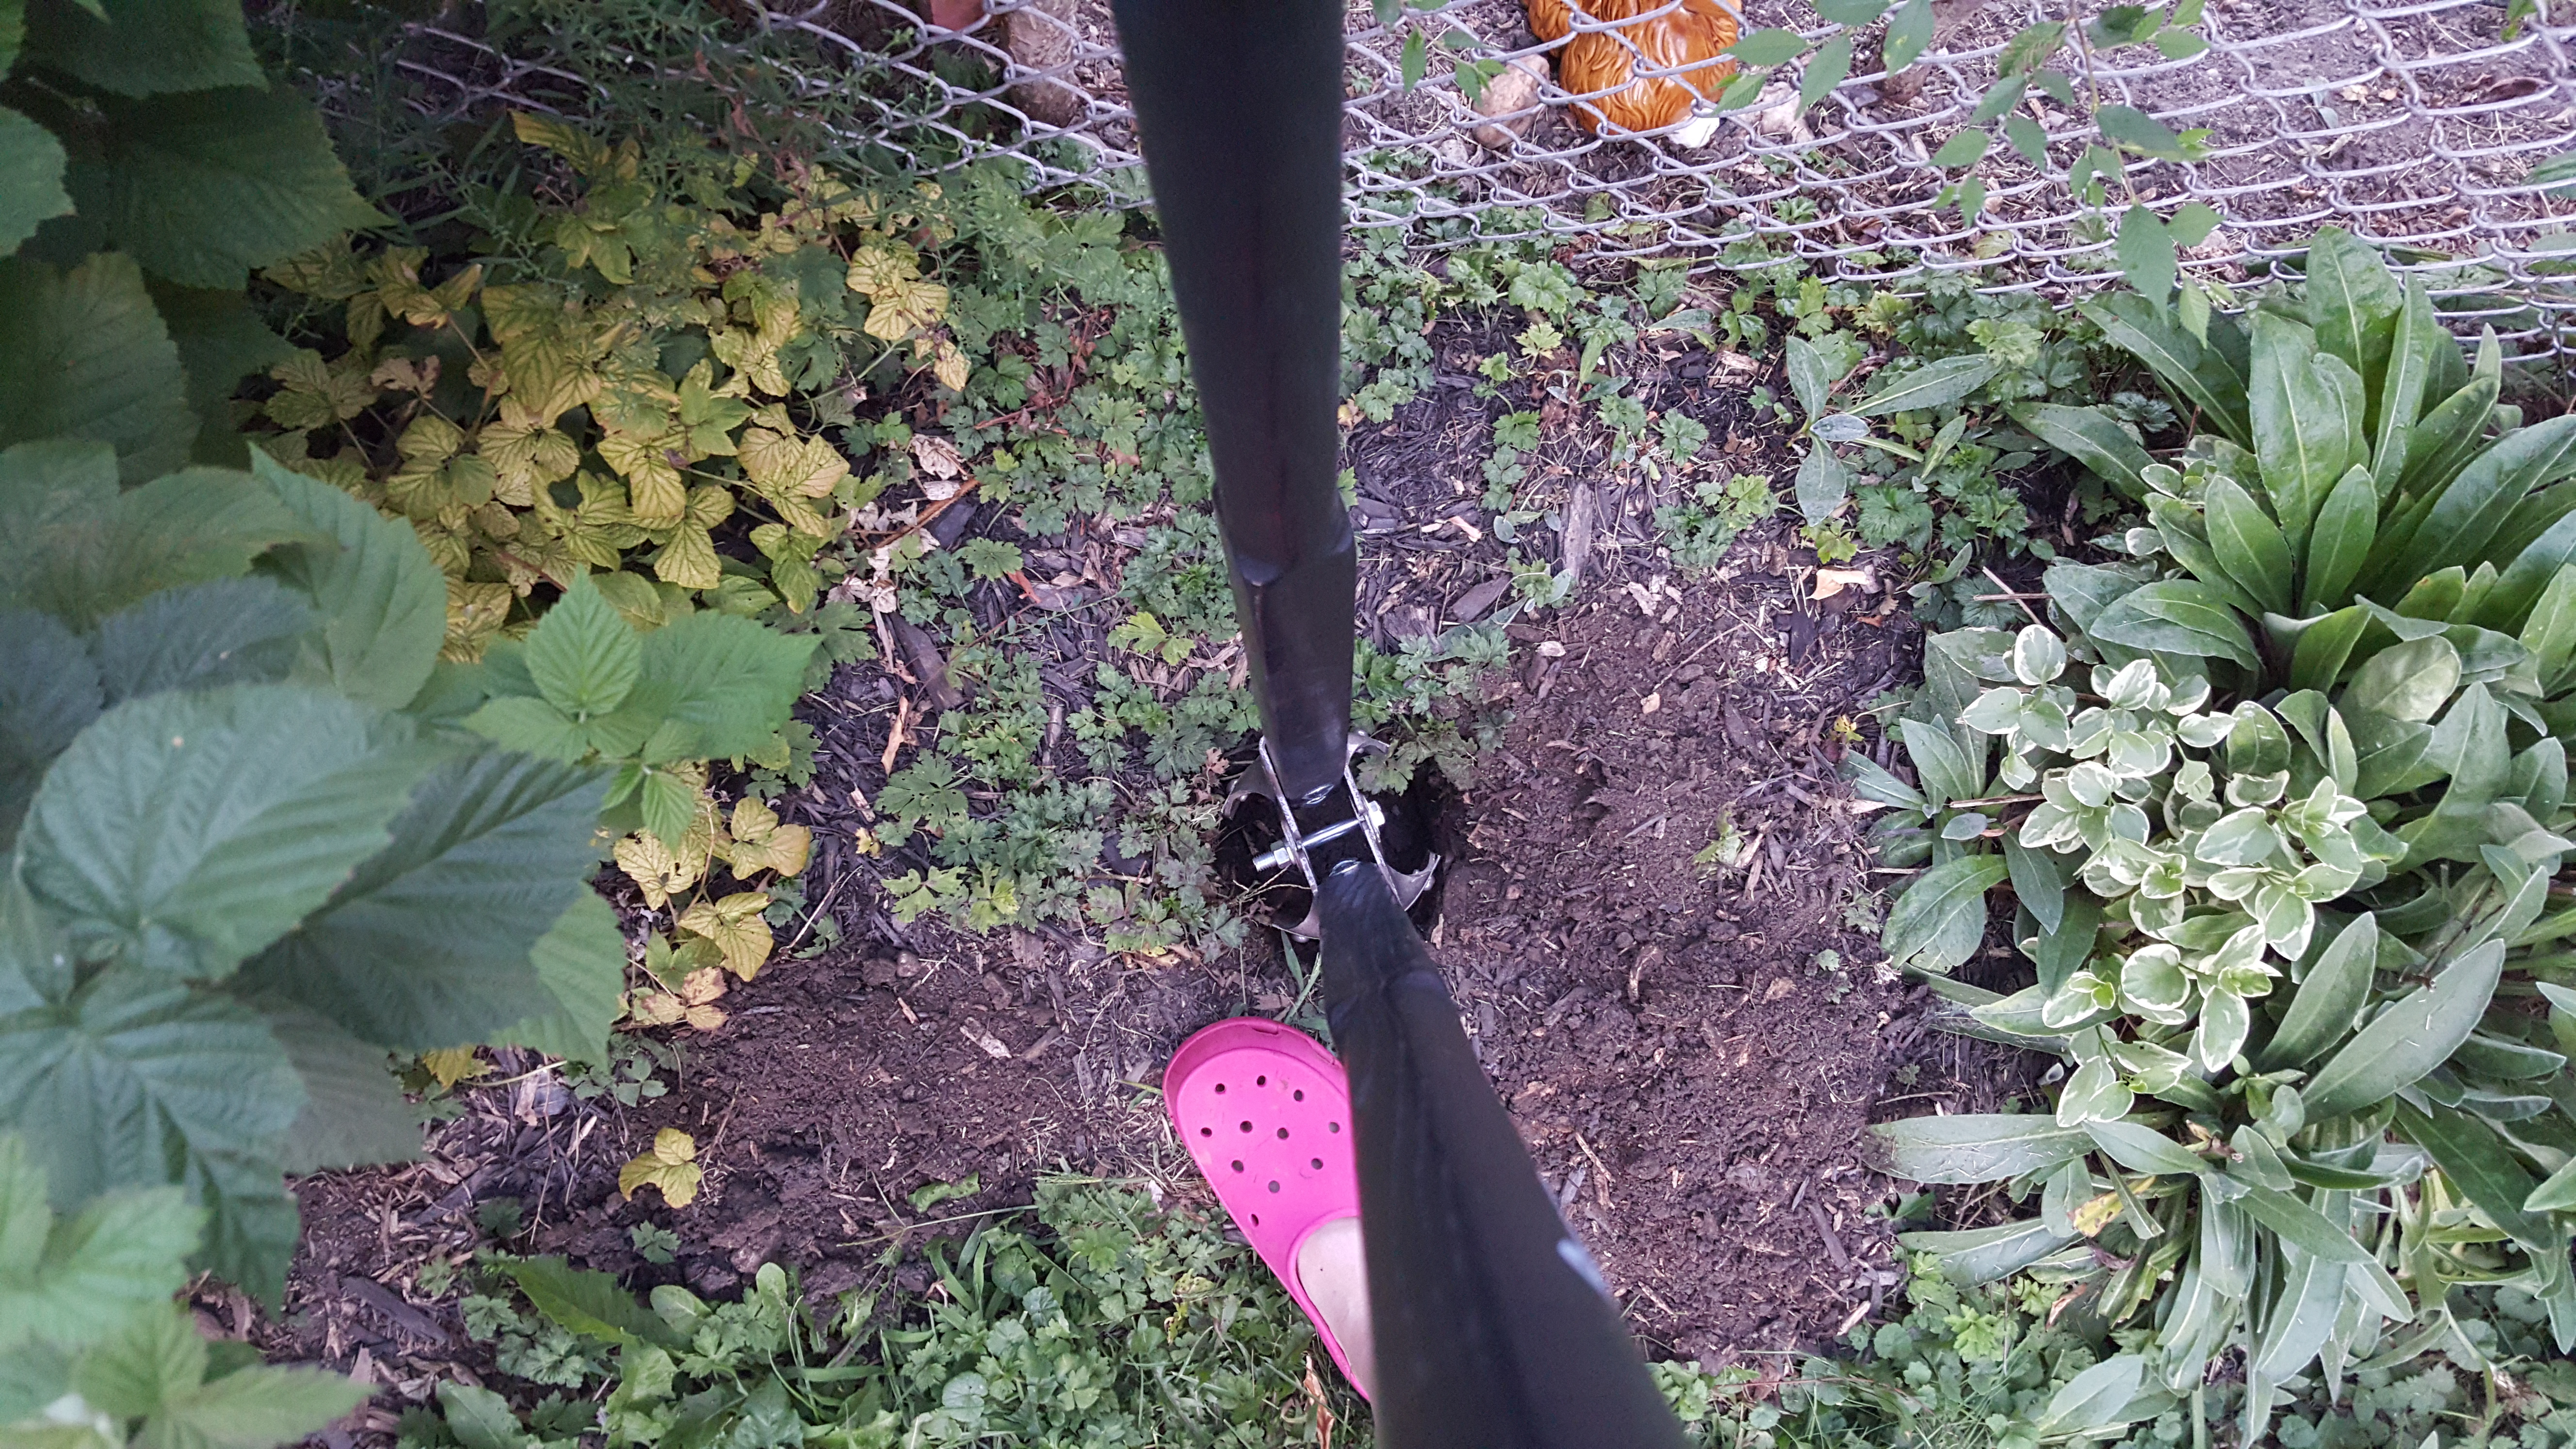
The cover-up begins!
This year, I was a little more savvy than last, so I purchased more appropriate tools to get the job done right (hopefully).
The three things you will need are:
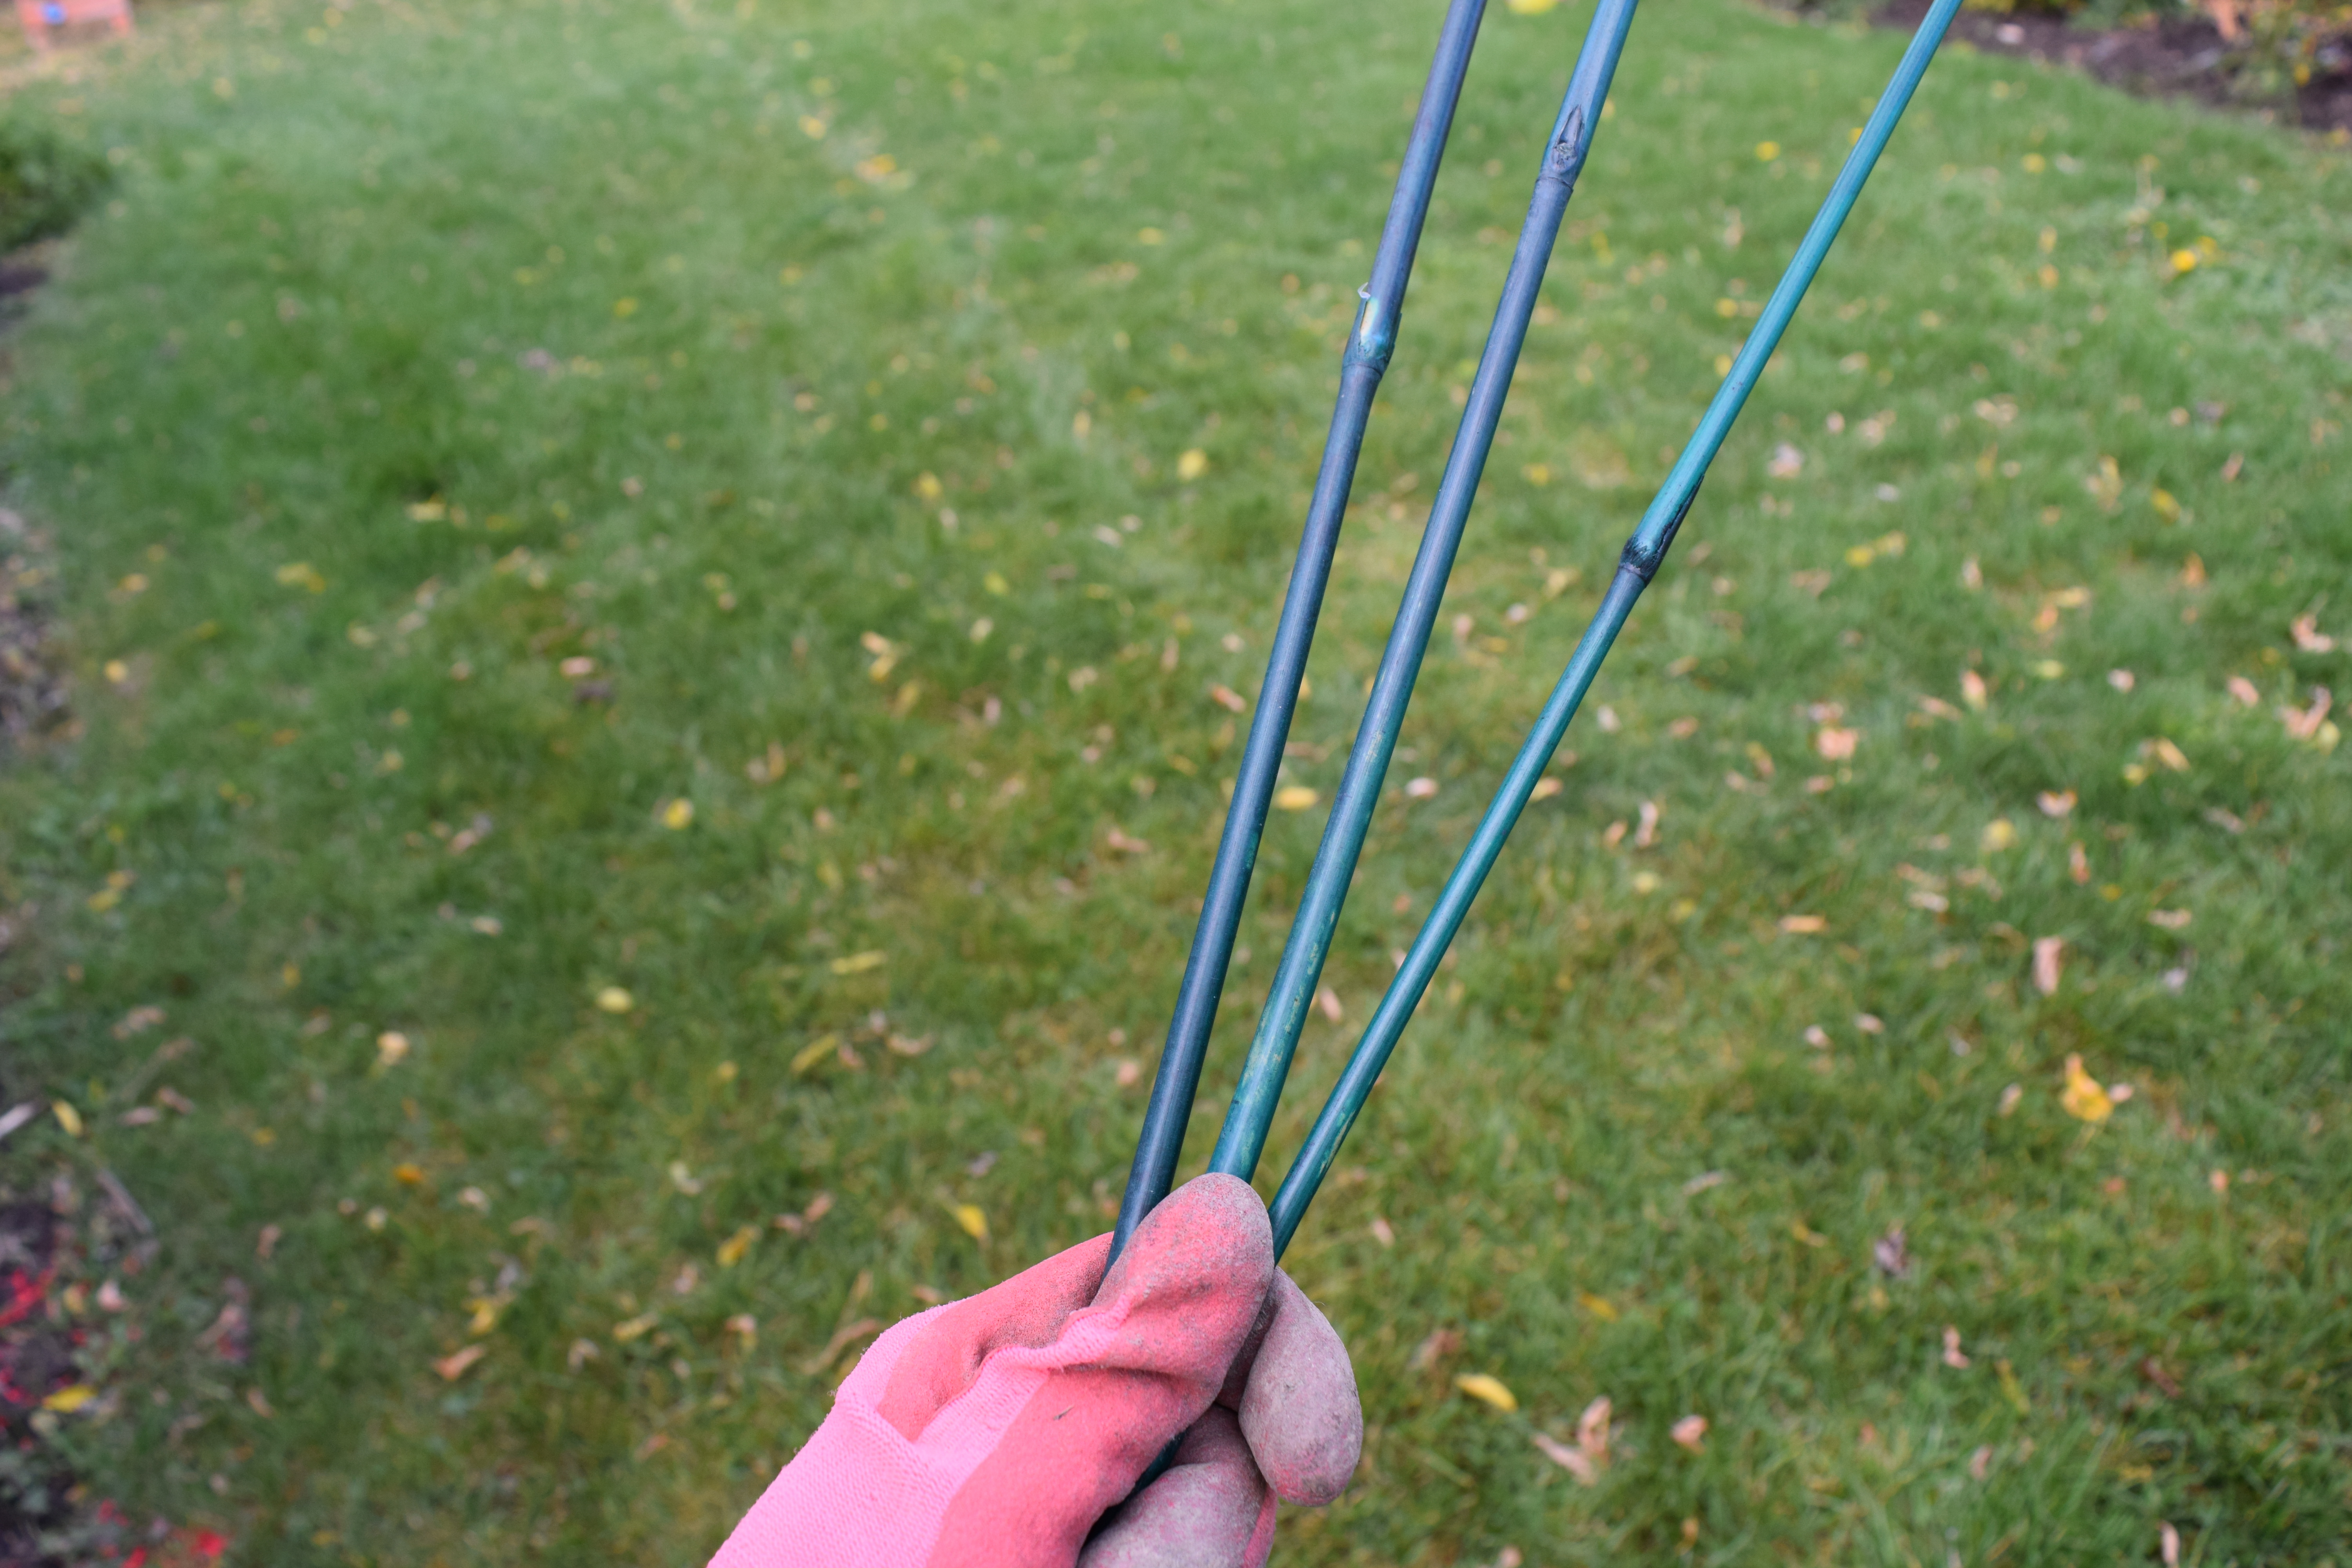
- Bamboo Sticks – this is something I didn’t get last year, and this will help out with my japanese maples and my pencil hollies for the added support with the burlap. I do not recommend these for bigger trees and shrubs– you can purchase separate bigger and stronger support stakes for the bigger jobs.

Bamboo sticks are a cheap way to help with your garden winterizing.
2. Burlap – another cheap garden cover that works really well. I remember watching TV last year when a garden expert was pretty much dissing burlap and saying how ugly it was, and to use a more expensive and appealing covering. Who really cares? If it does the job and protects your plants, then go for it. It’s very affordable and I really like using burlap for decorating too.

The smell of burlap takes me back to my childhood– it smells exactly like baling twine!
3. Chicken wire — this will always come in handy, and you can use it when burlap really isn’t an option, especially around trees.

And again, another affordable, more durable covering for your bigger trees and plants.
I then went to work. I covered my pencil holly with burlap. I used one of my bamboo sticks as support.

I then took some burlap and wrapped it around the pencil holly, but first I punched a hole in the burlap to give it a more snug hold around the holly.

I poked a hole in the burlap the first time as I wrapped the holly and then I did it again at the end.
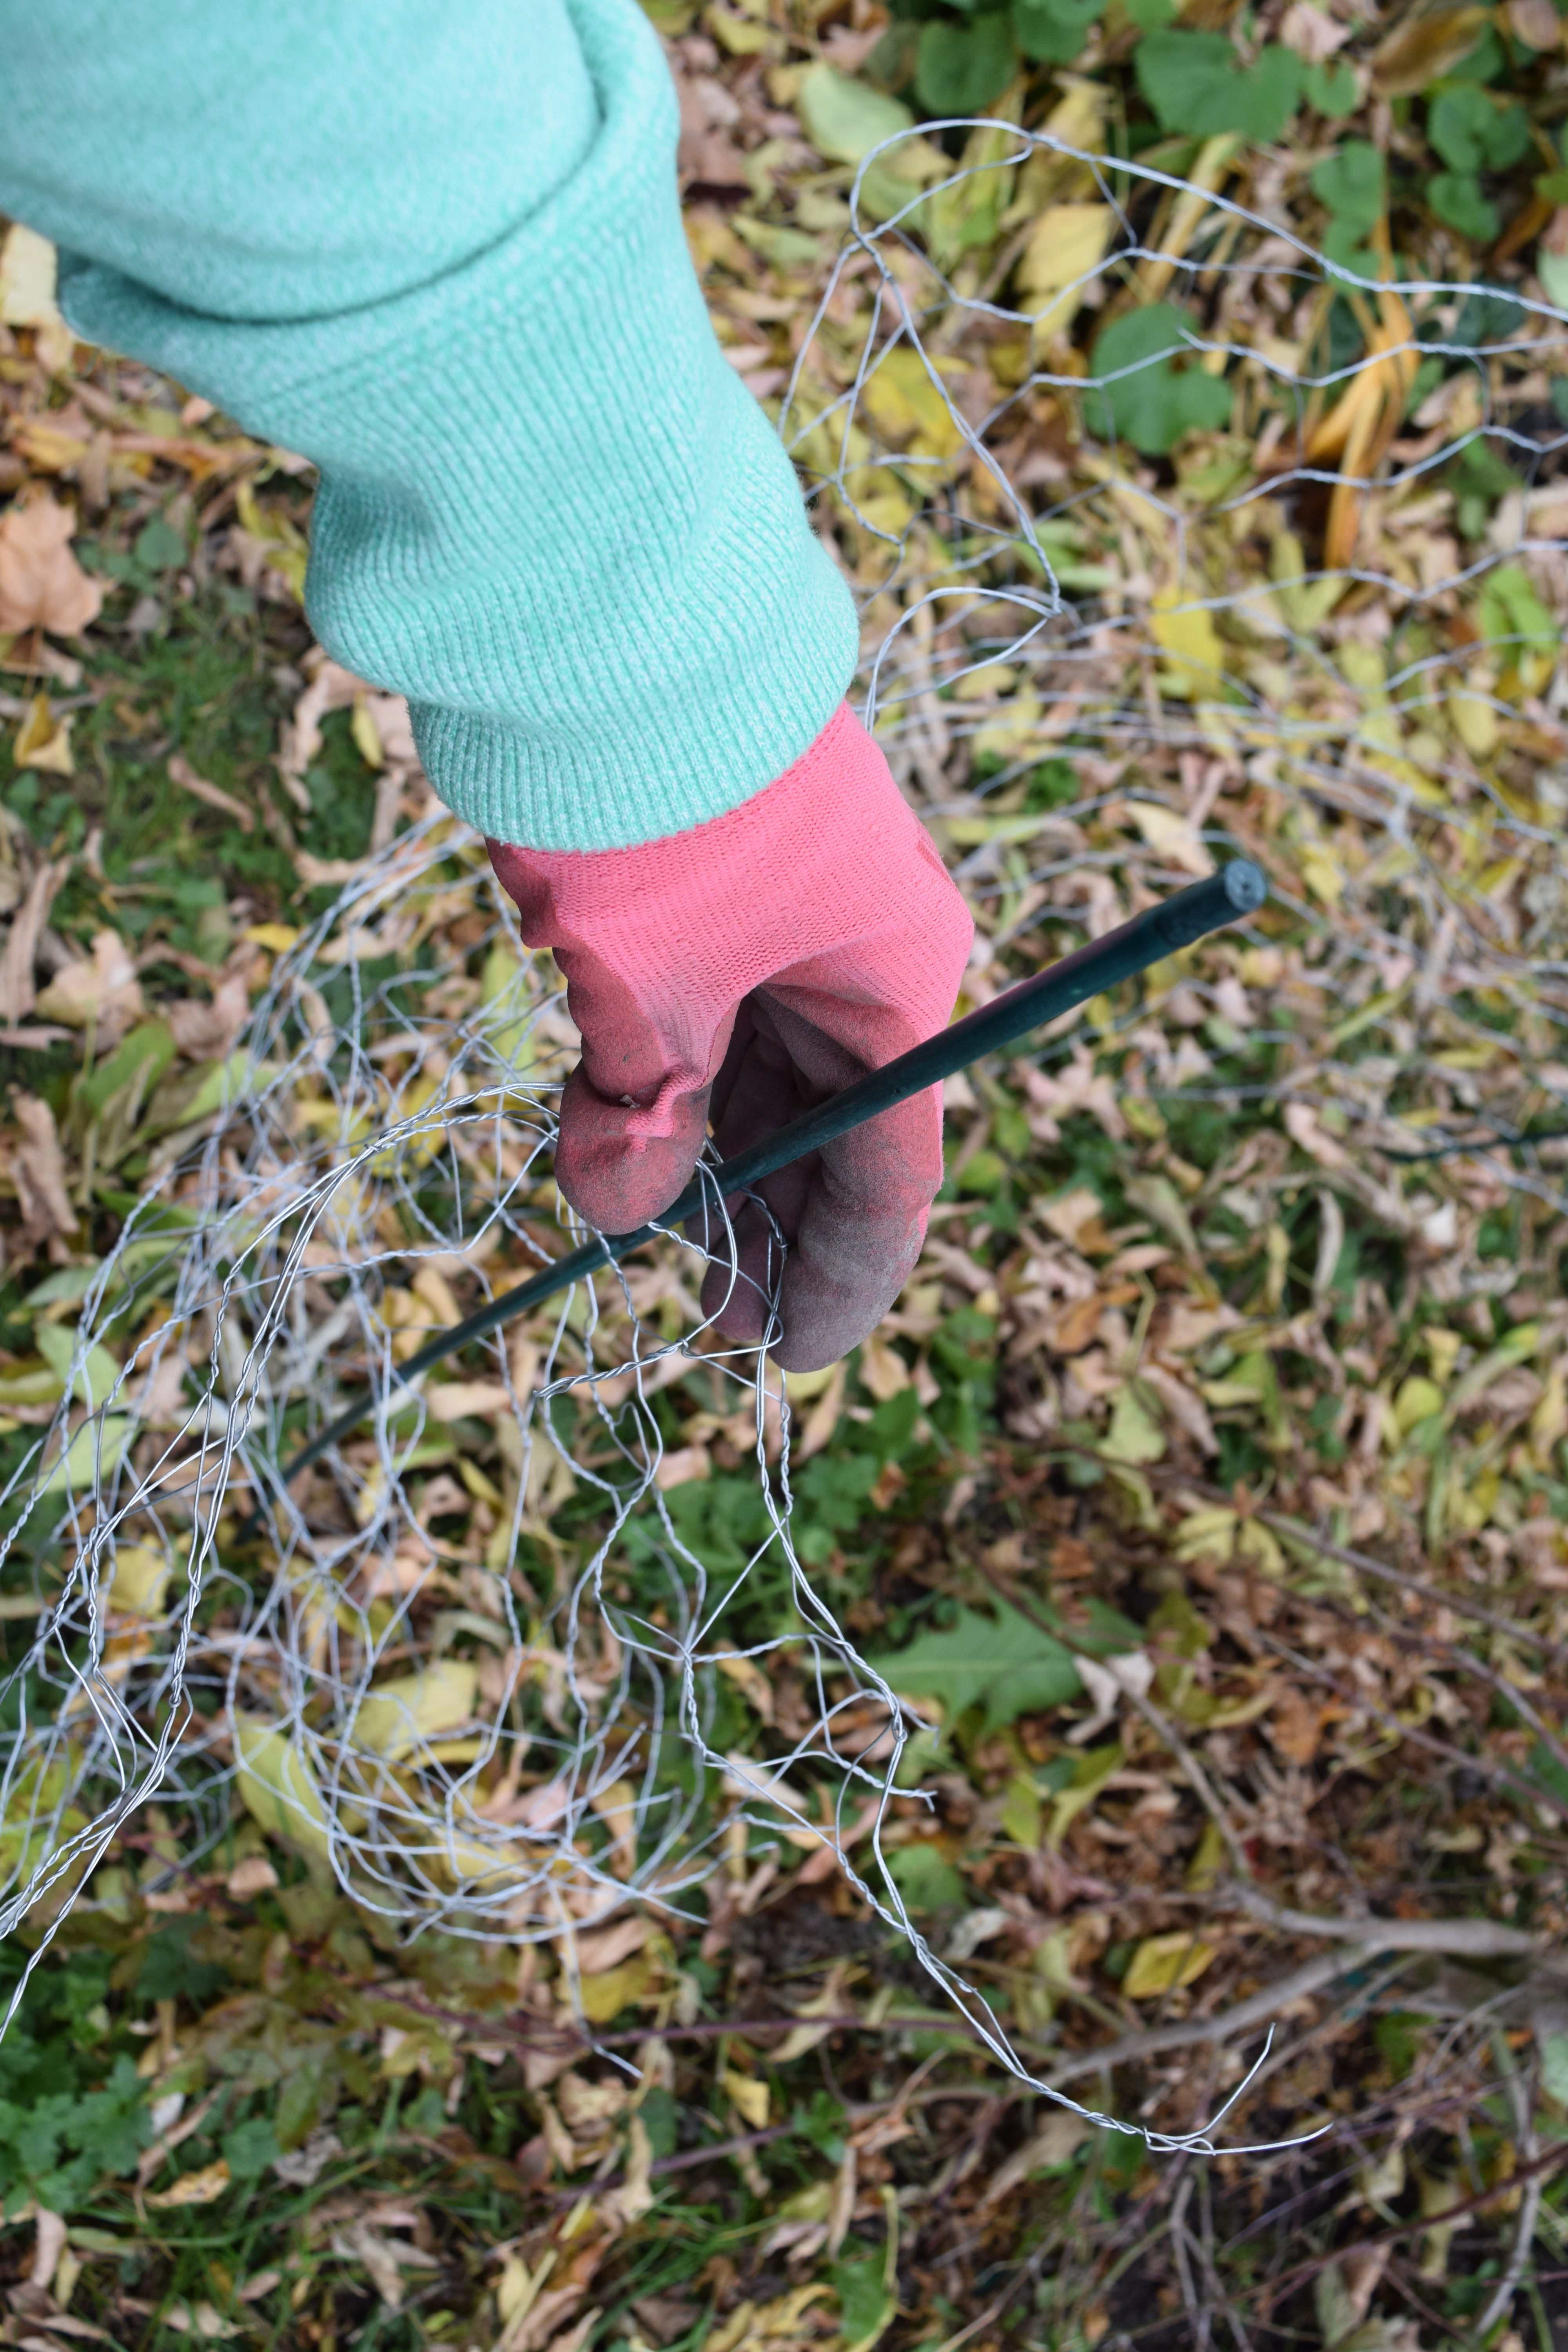
For added security and to keep the burlap wrapped tight? I pulled a MacGuyver and I snipped off small pieces of the chicken wire and “pinned” them in several places on the burlap. Now, you can buy several different fasteners and stakes in the store, but I have found that you can use the metal hooks for Christmas ornaments (I buy several packs of these each season– they are so versatile around the house), or if you can find anything or don’t have anything, you can snip off small pieces of chicken wire that work just as good!

MacGuyver would be so proud. When in a pinch, just snip some chicken wire!
Oila! It’s complete! I have three very securely covered pencil hollies!

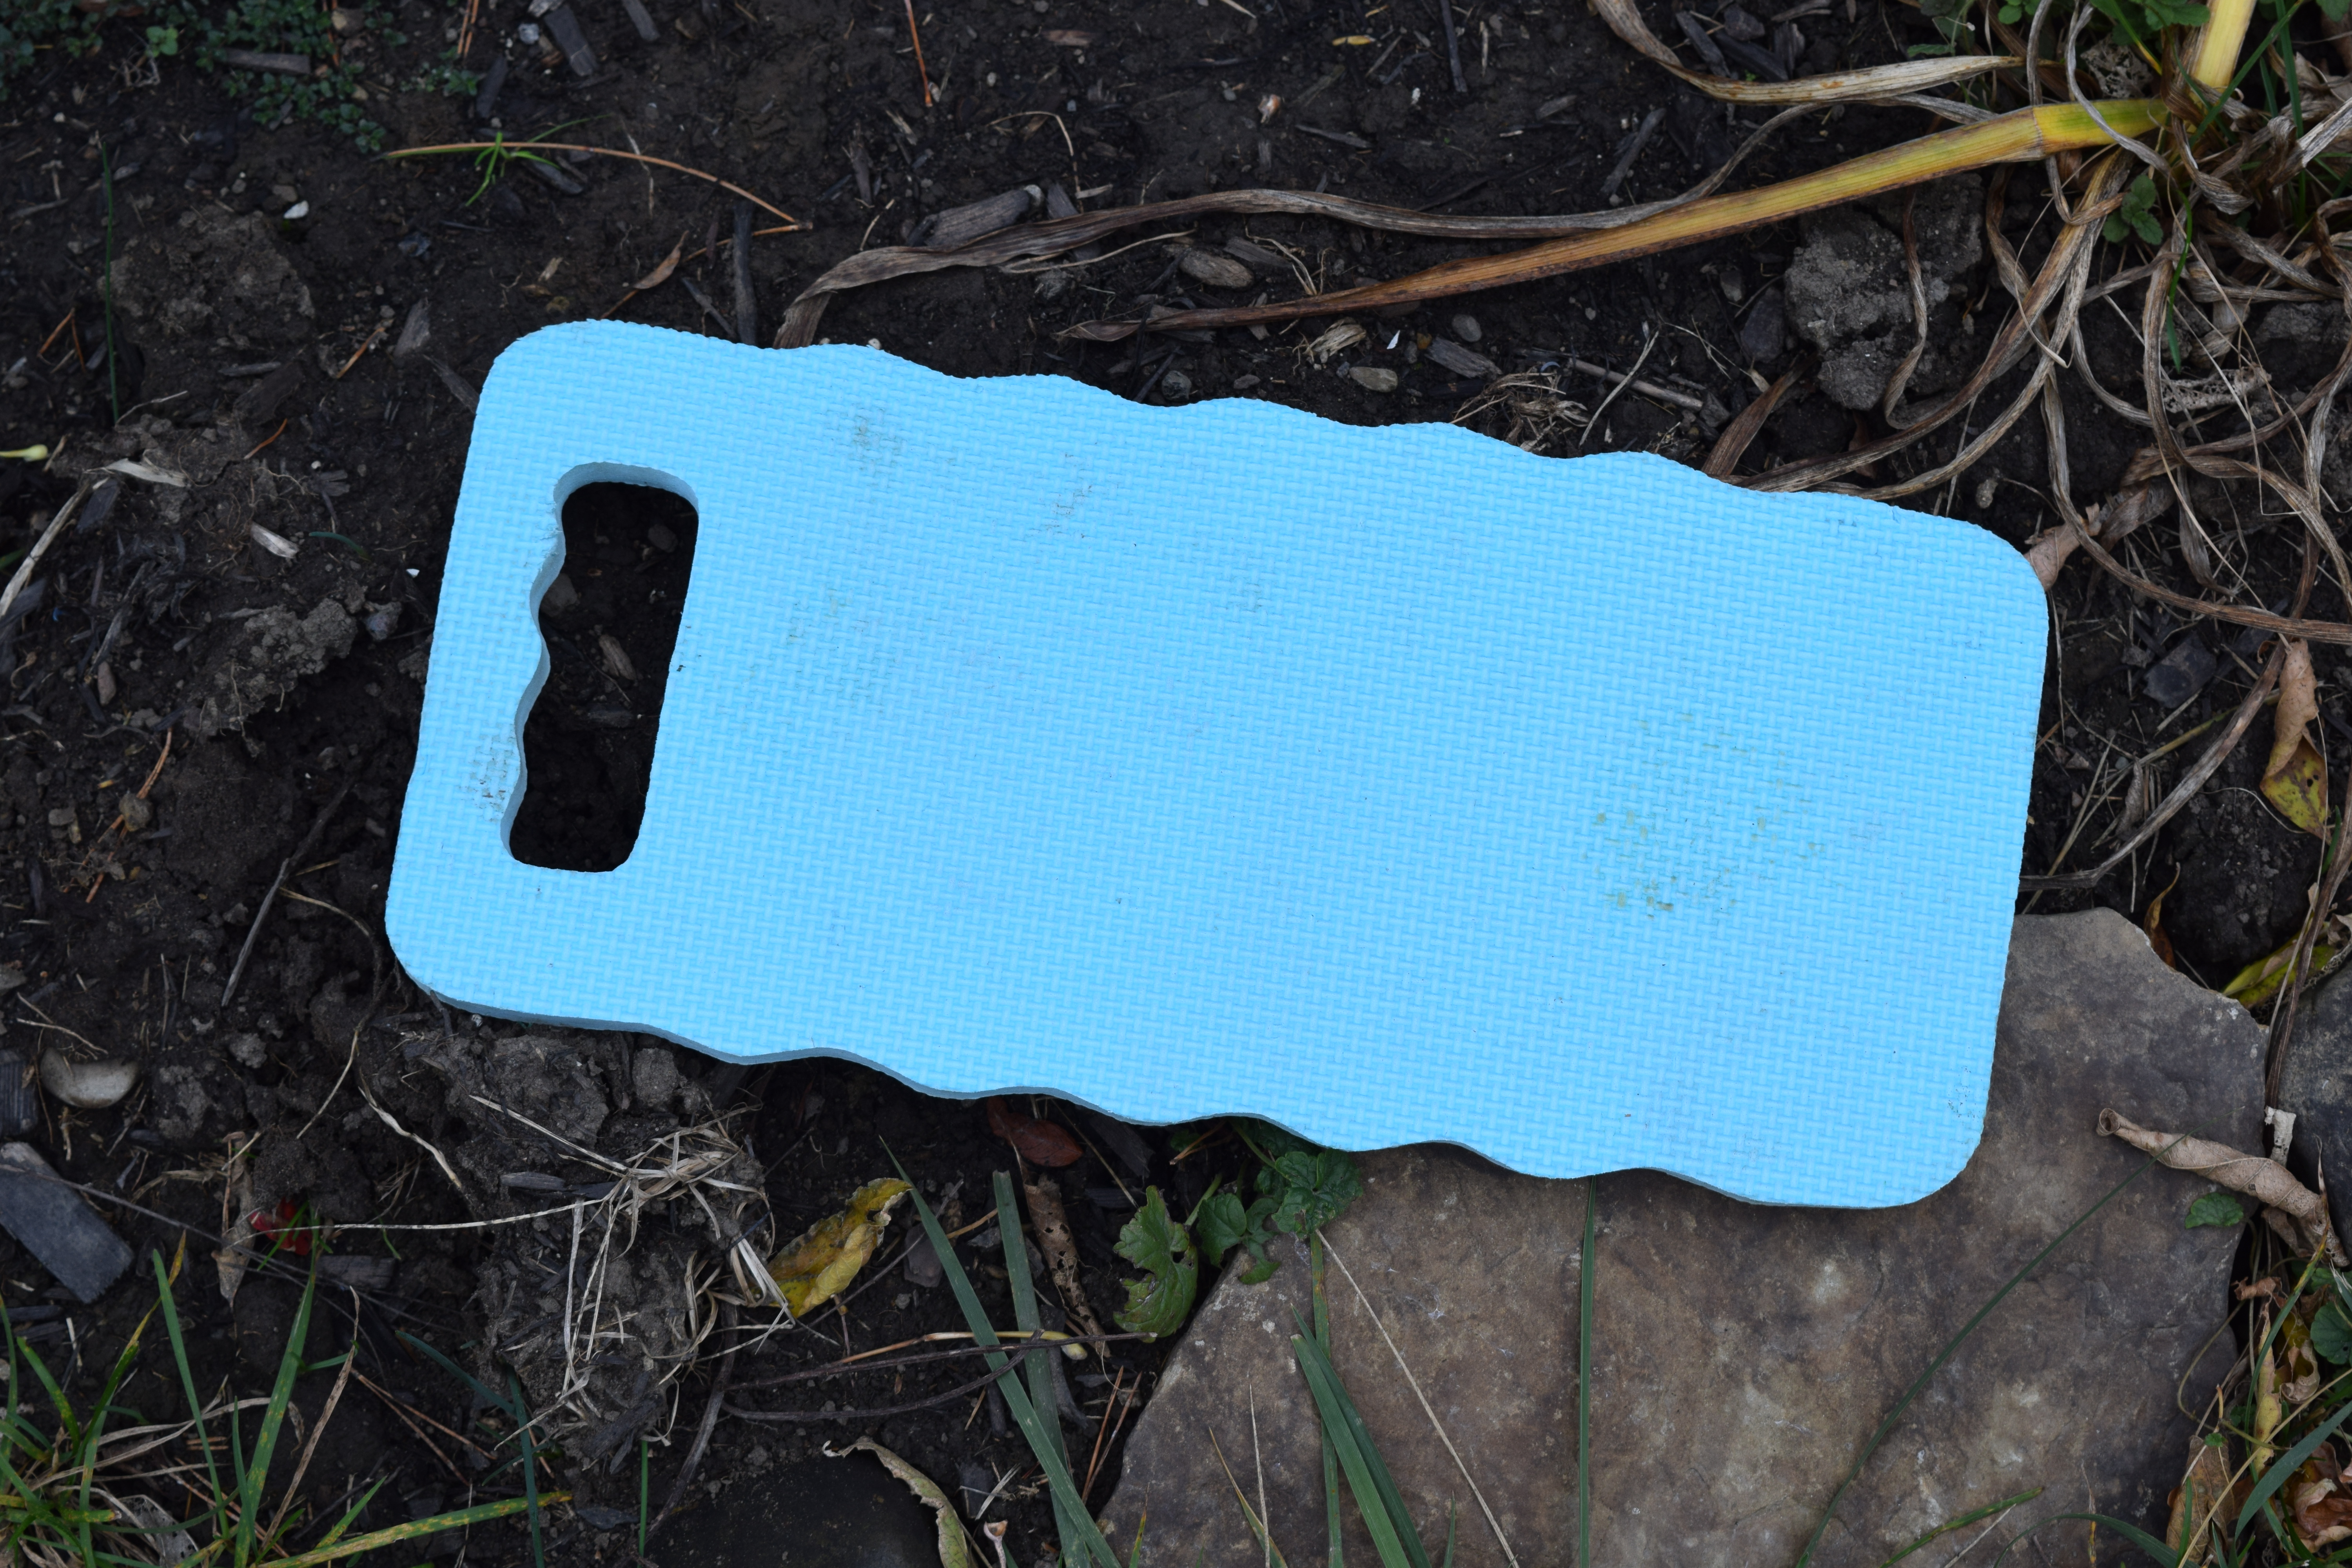
A special thanks goes out to my knee pad — it’s my savior!

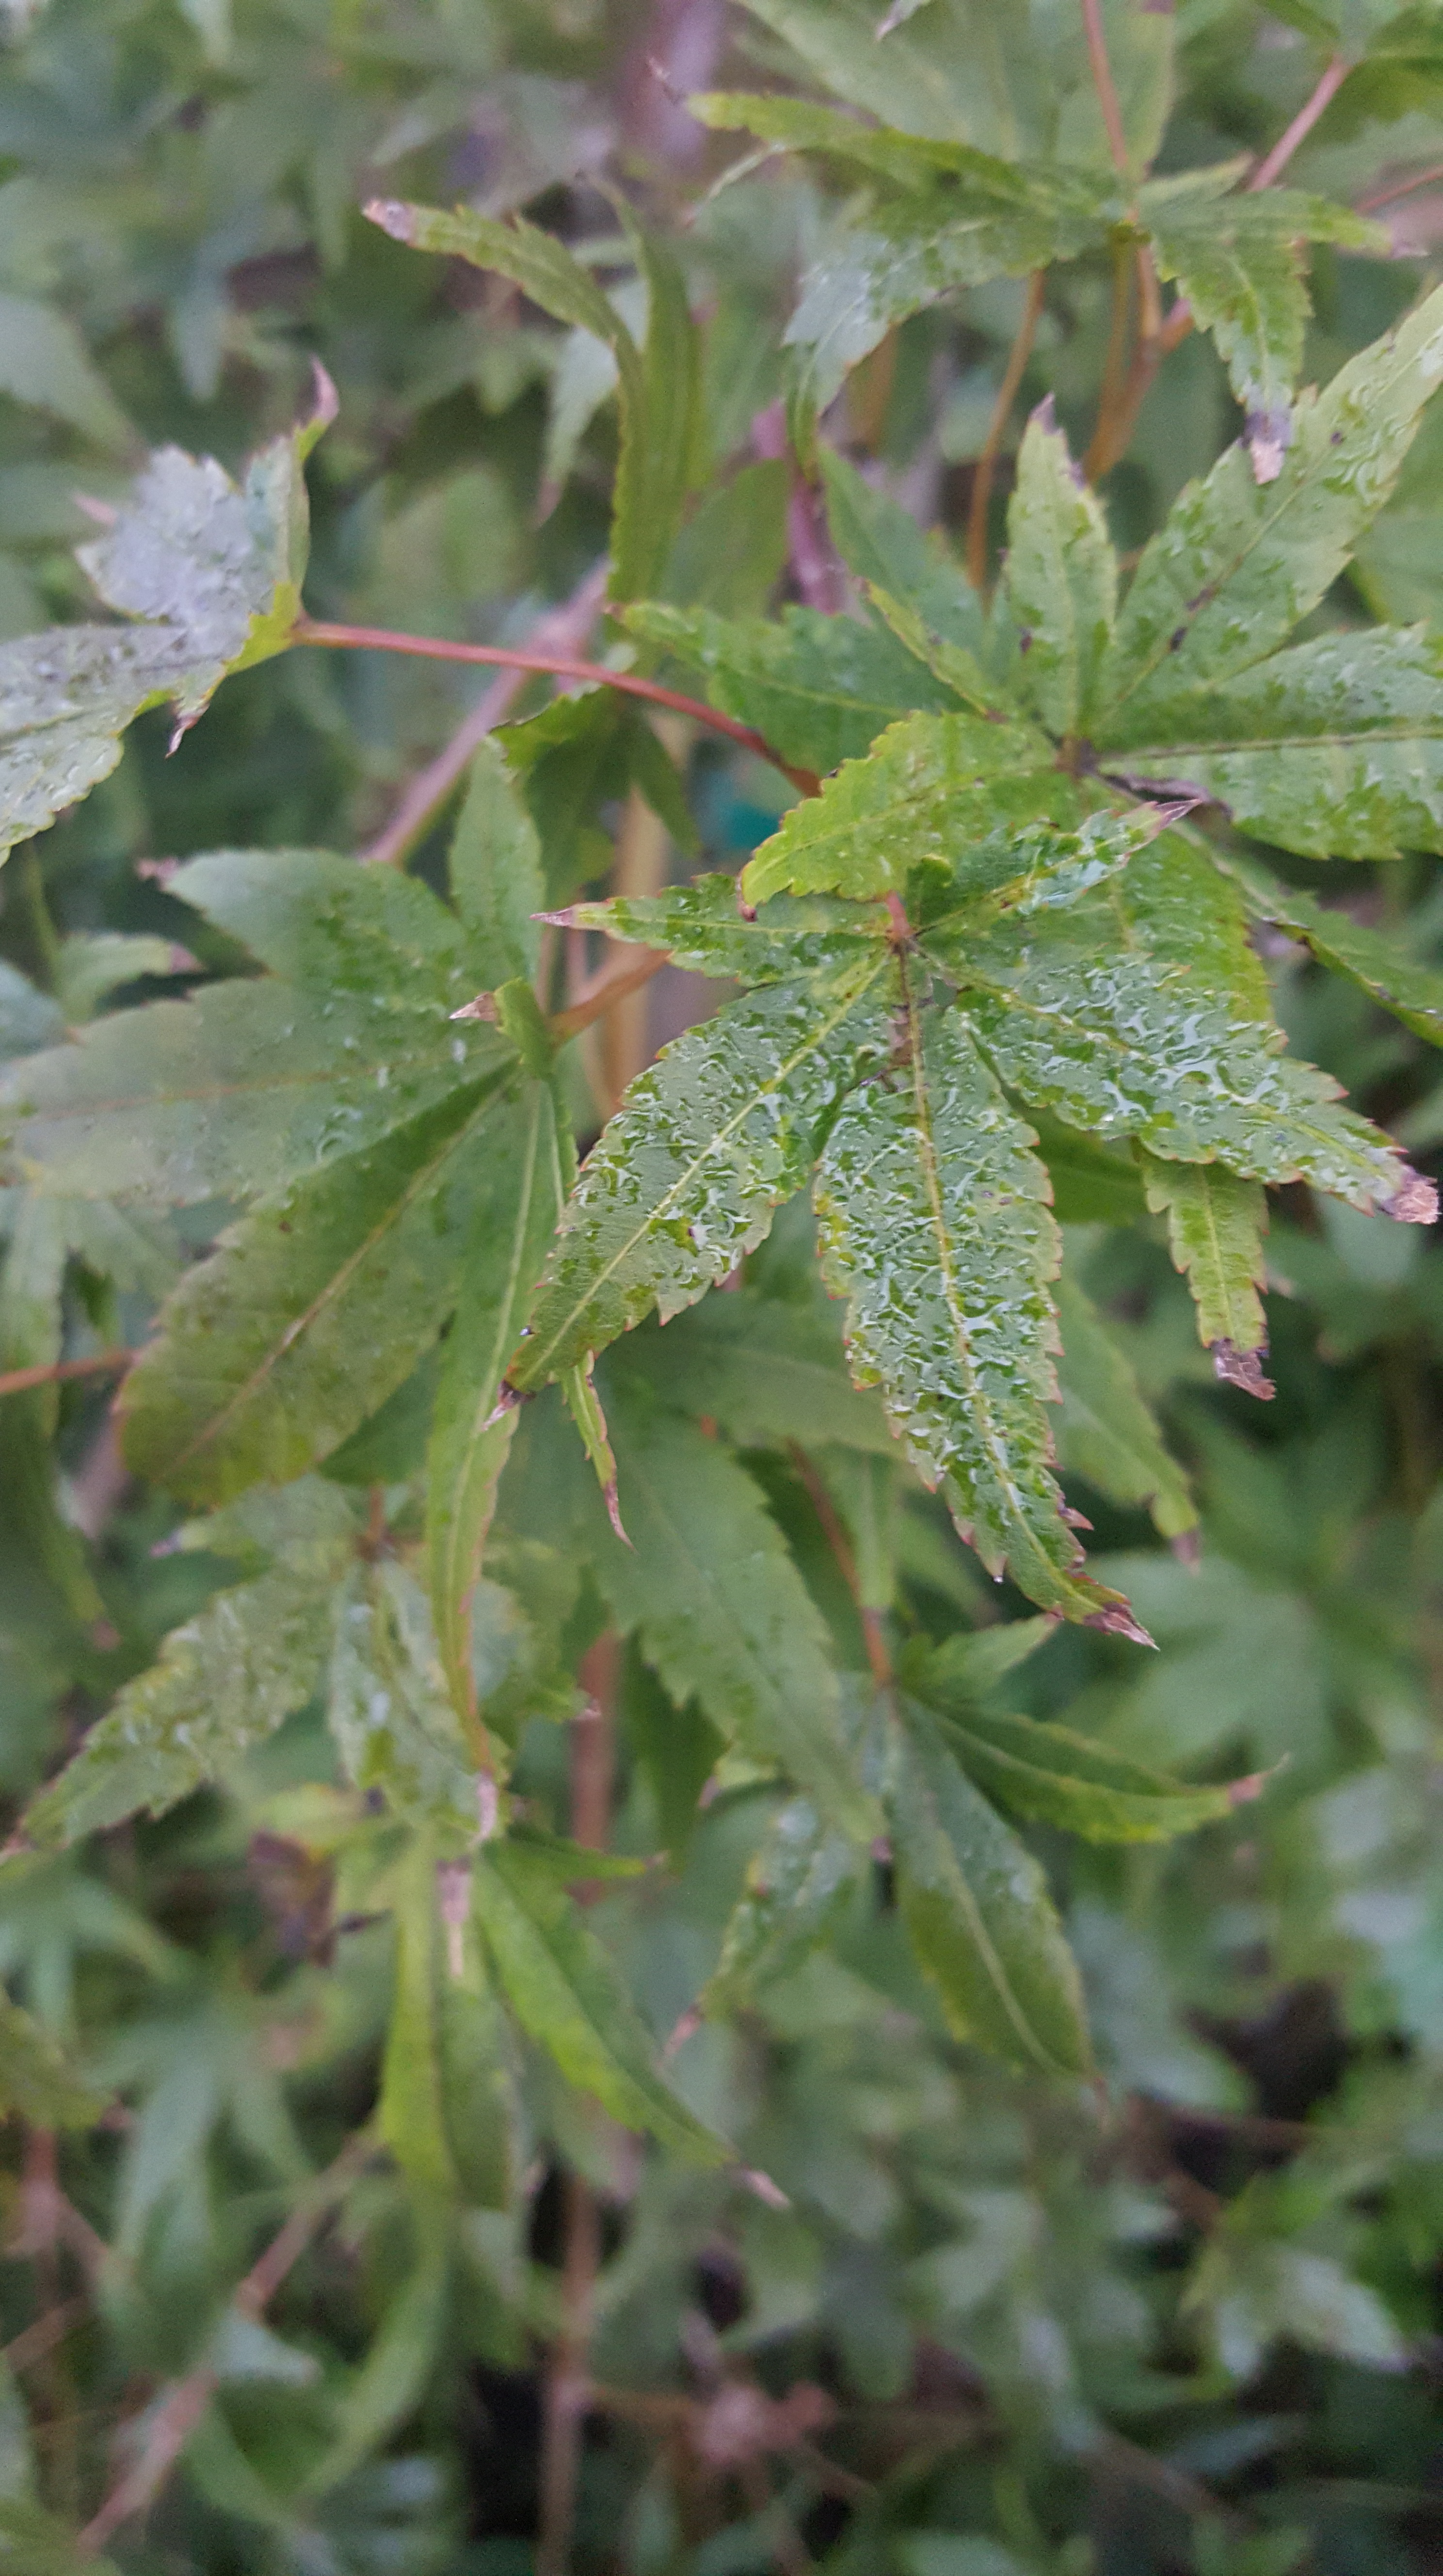
Now, it’s time to wrap my badly eaten Japanese Maple. Because it is small, I am using bamboo sticks with chicken wire. It might be also a good idea to use stronger support stakes. I might pick one or two up for added support.

Chicken wire can be difficult to work with, but it’s not impossible. It bends very easily.

And that is how it’s done! I take the bamboo sticks and “string” it through the chicken wire for support. This should be good for my little japanese maple. I am so upset the deer have shredded it.
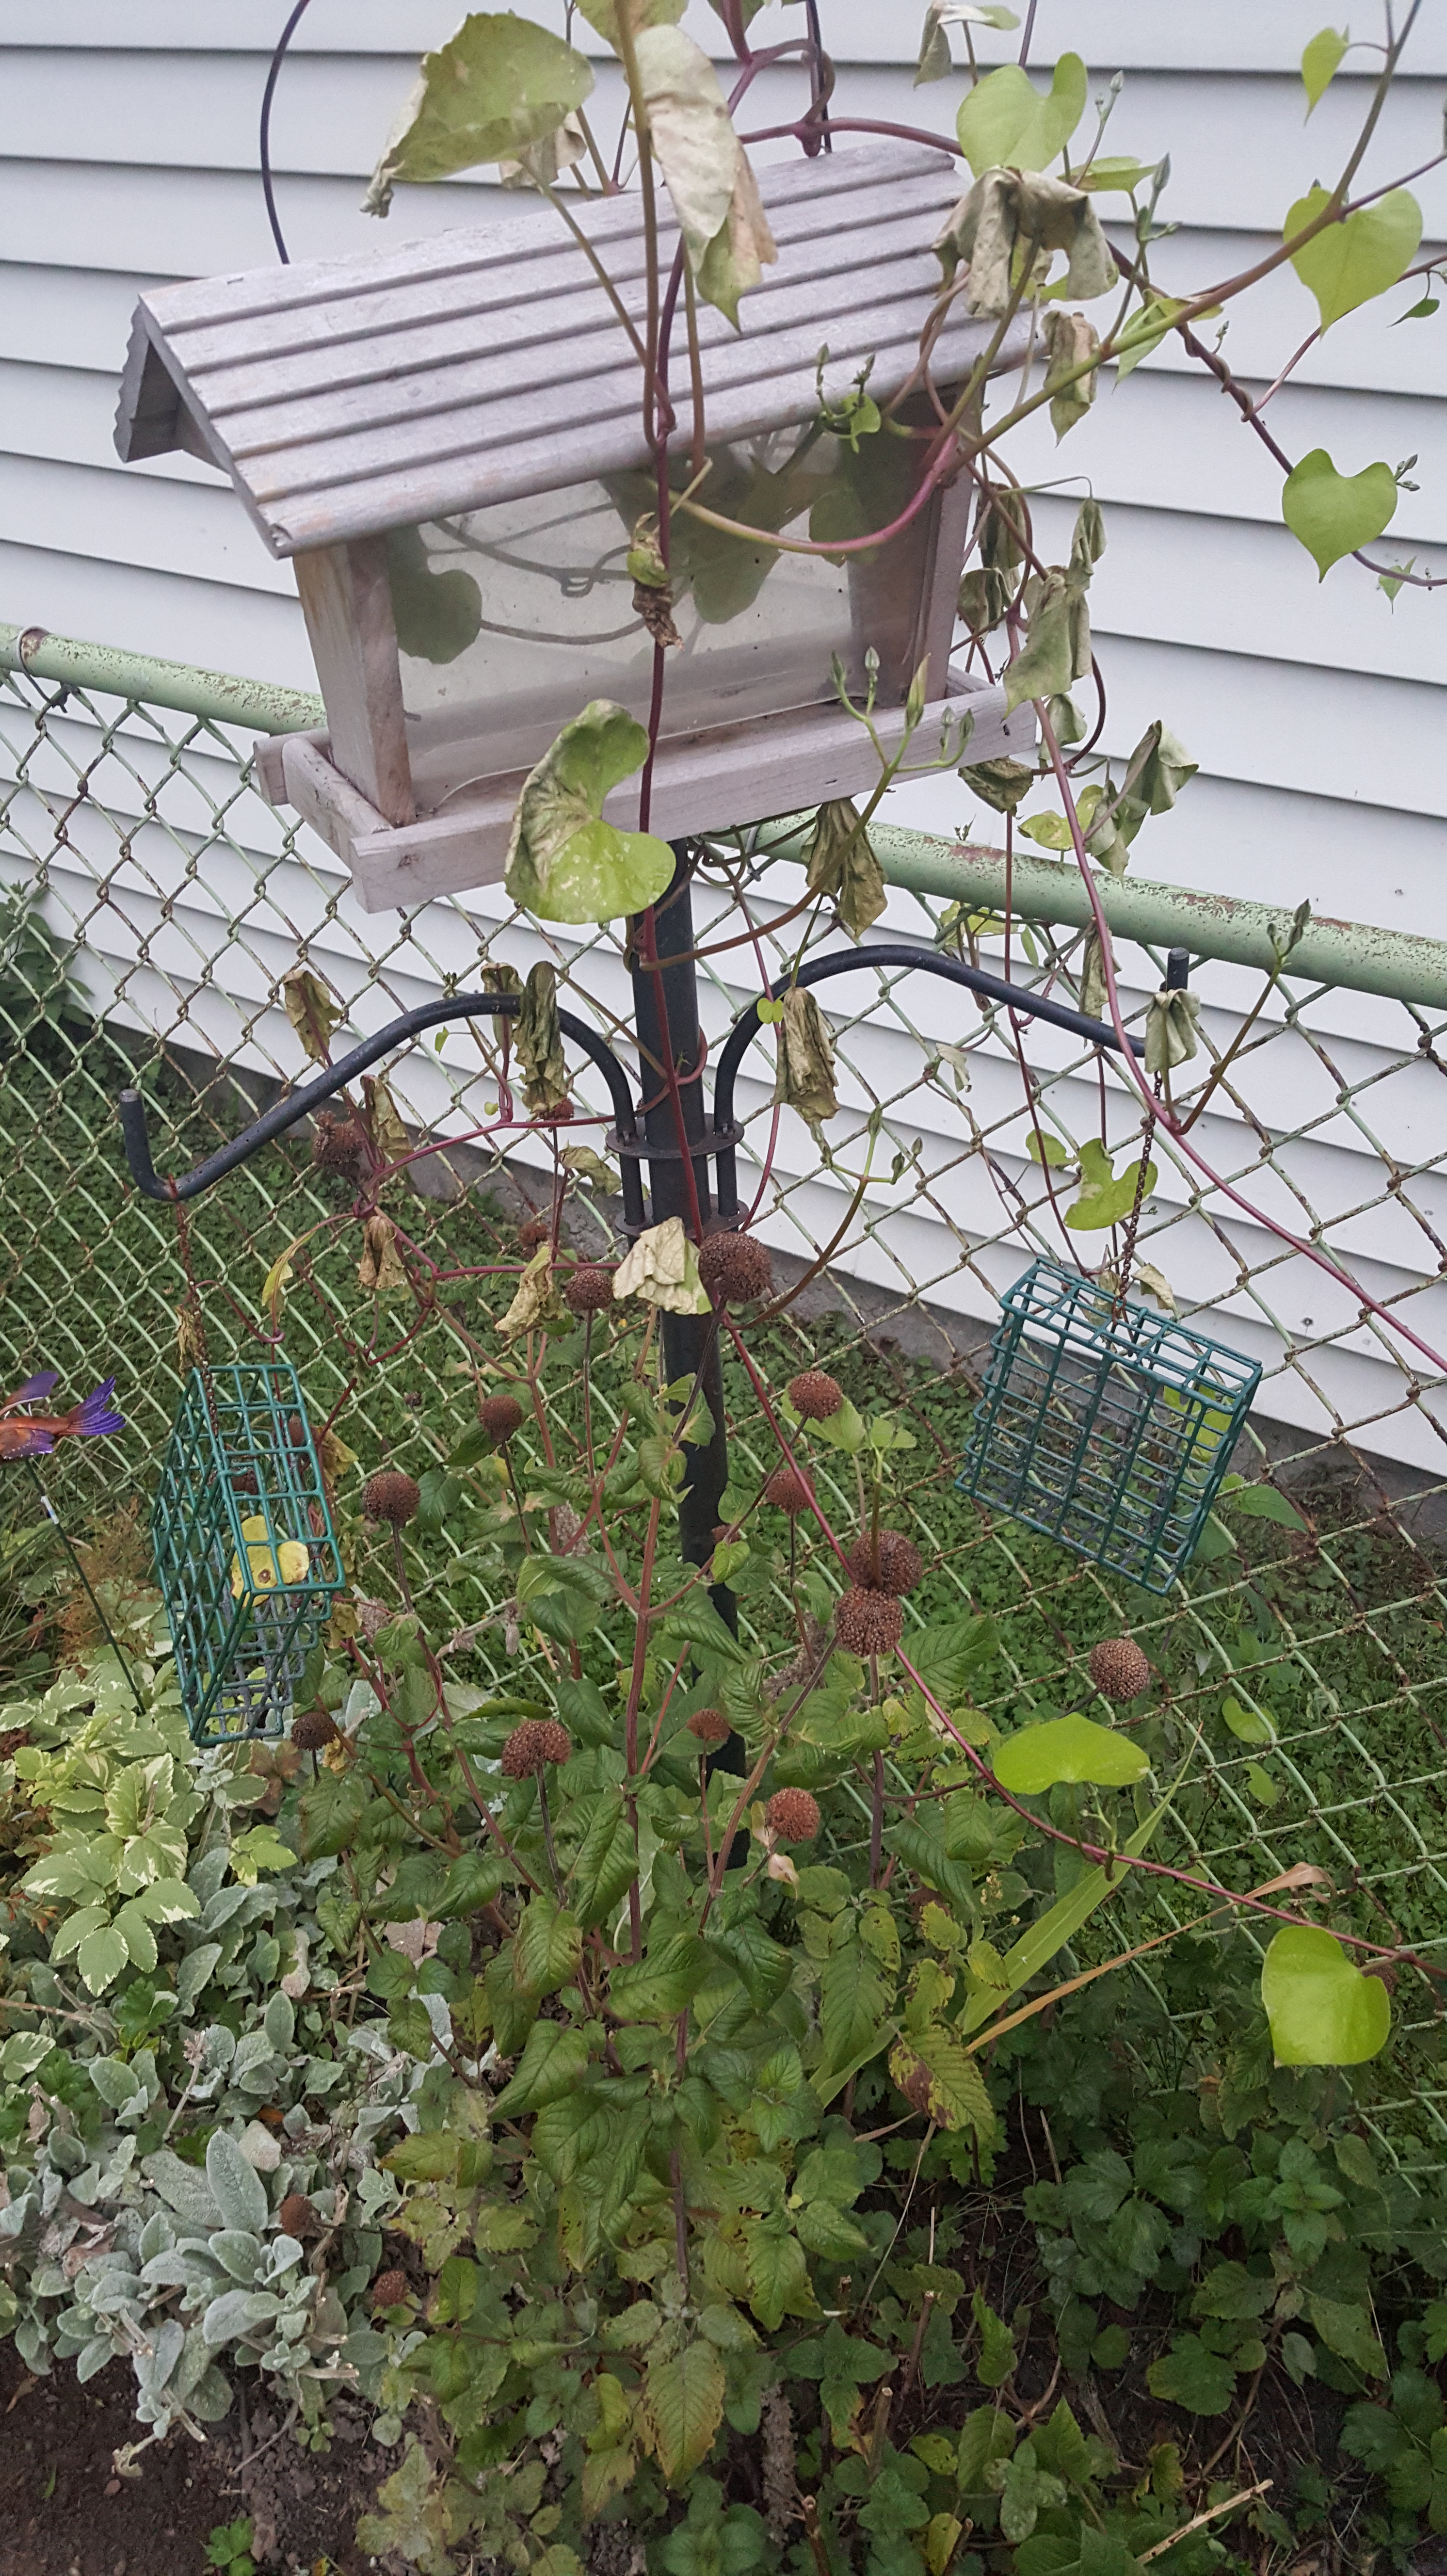
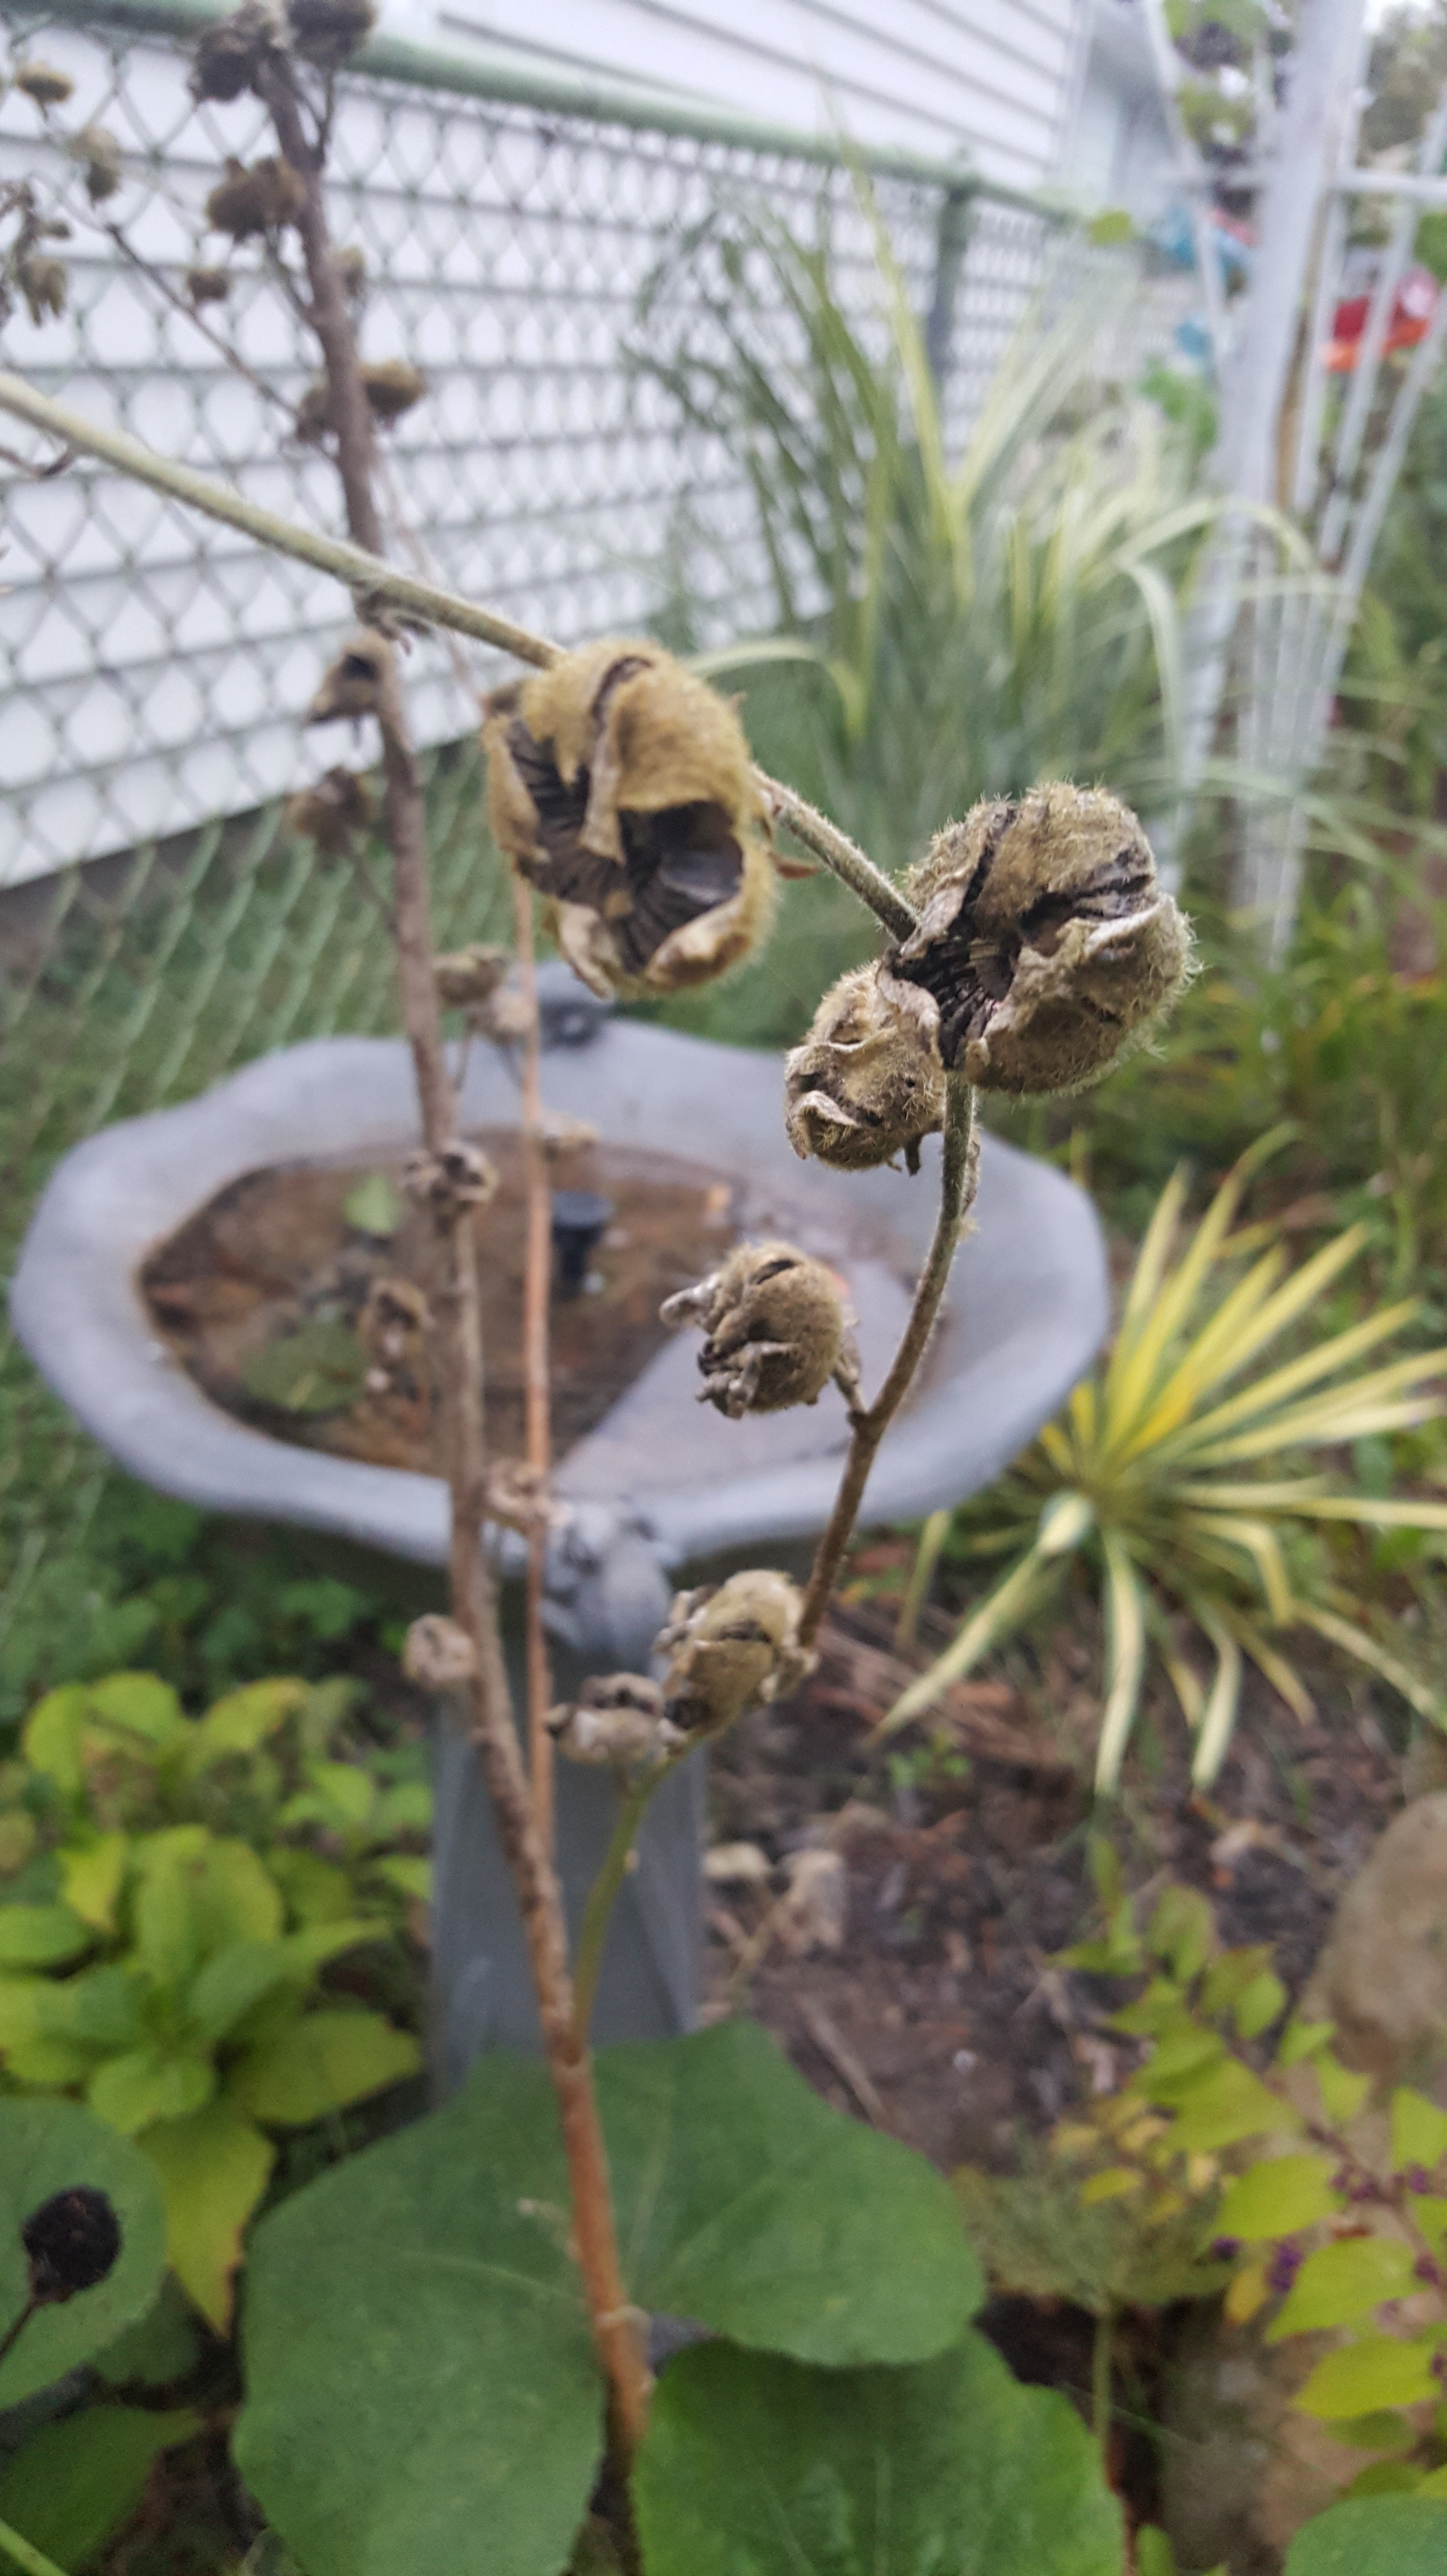
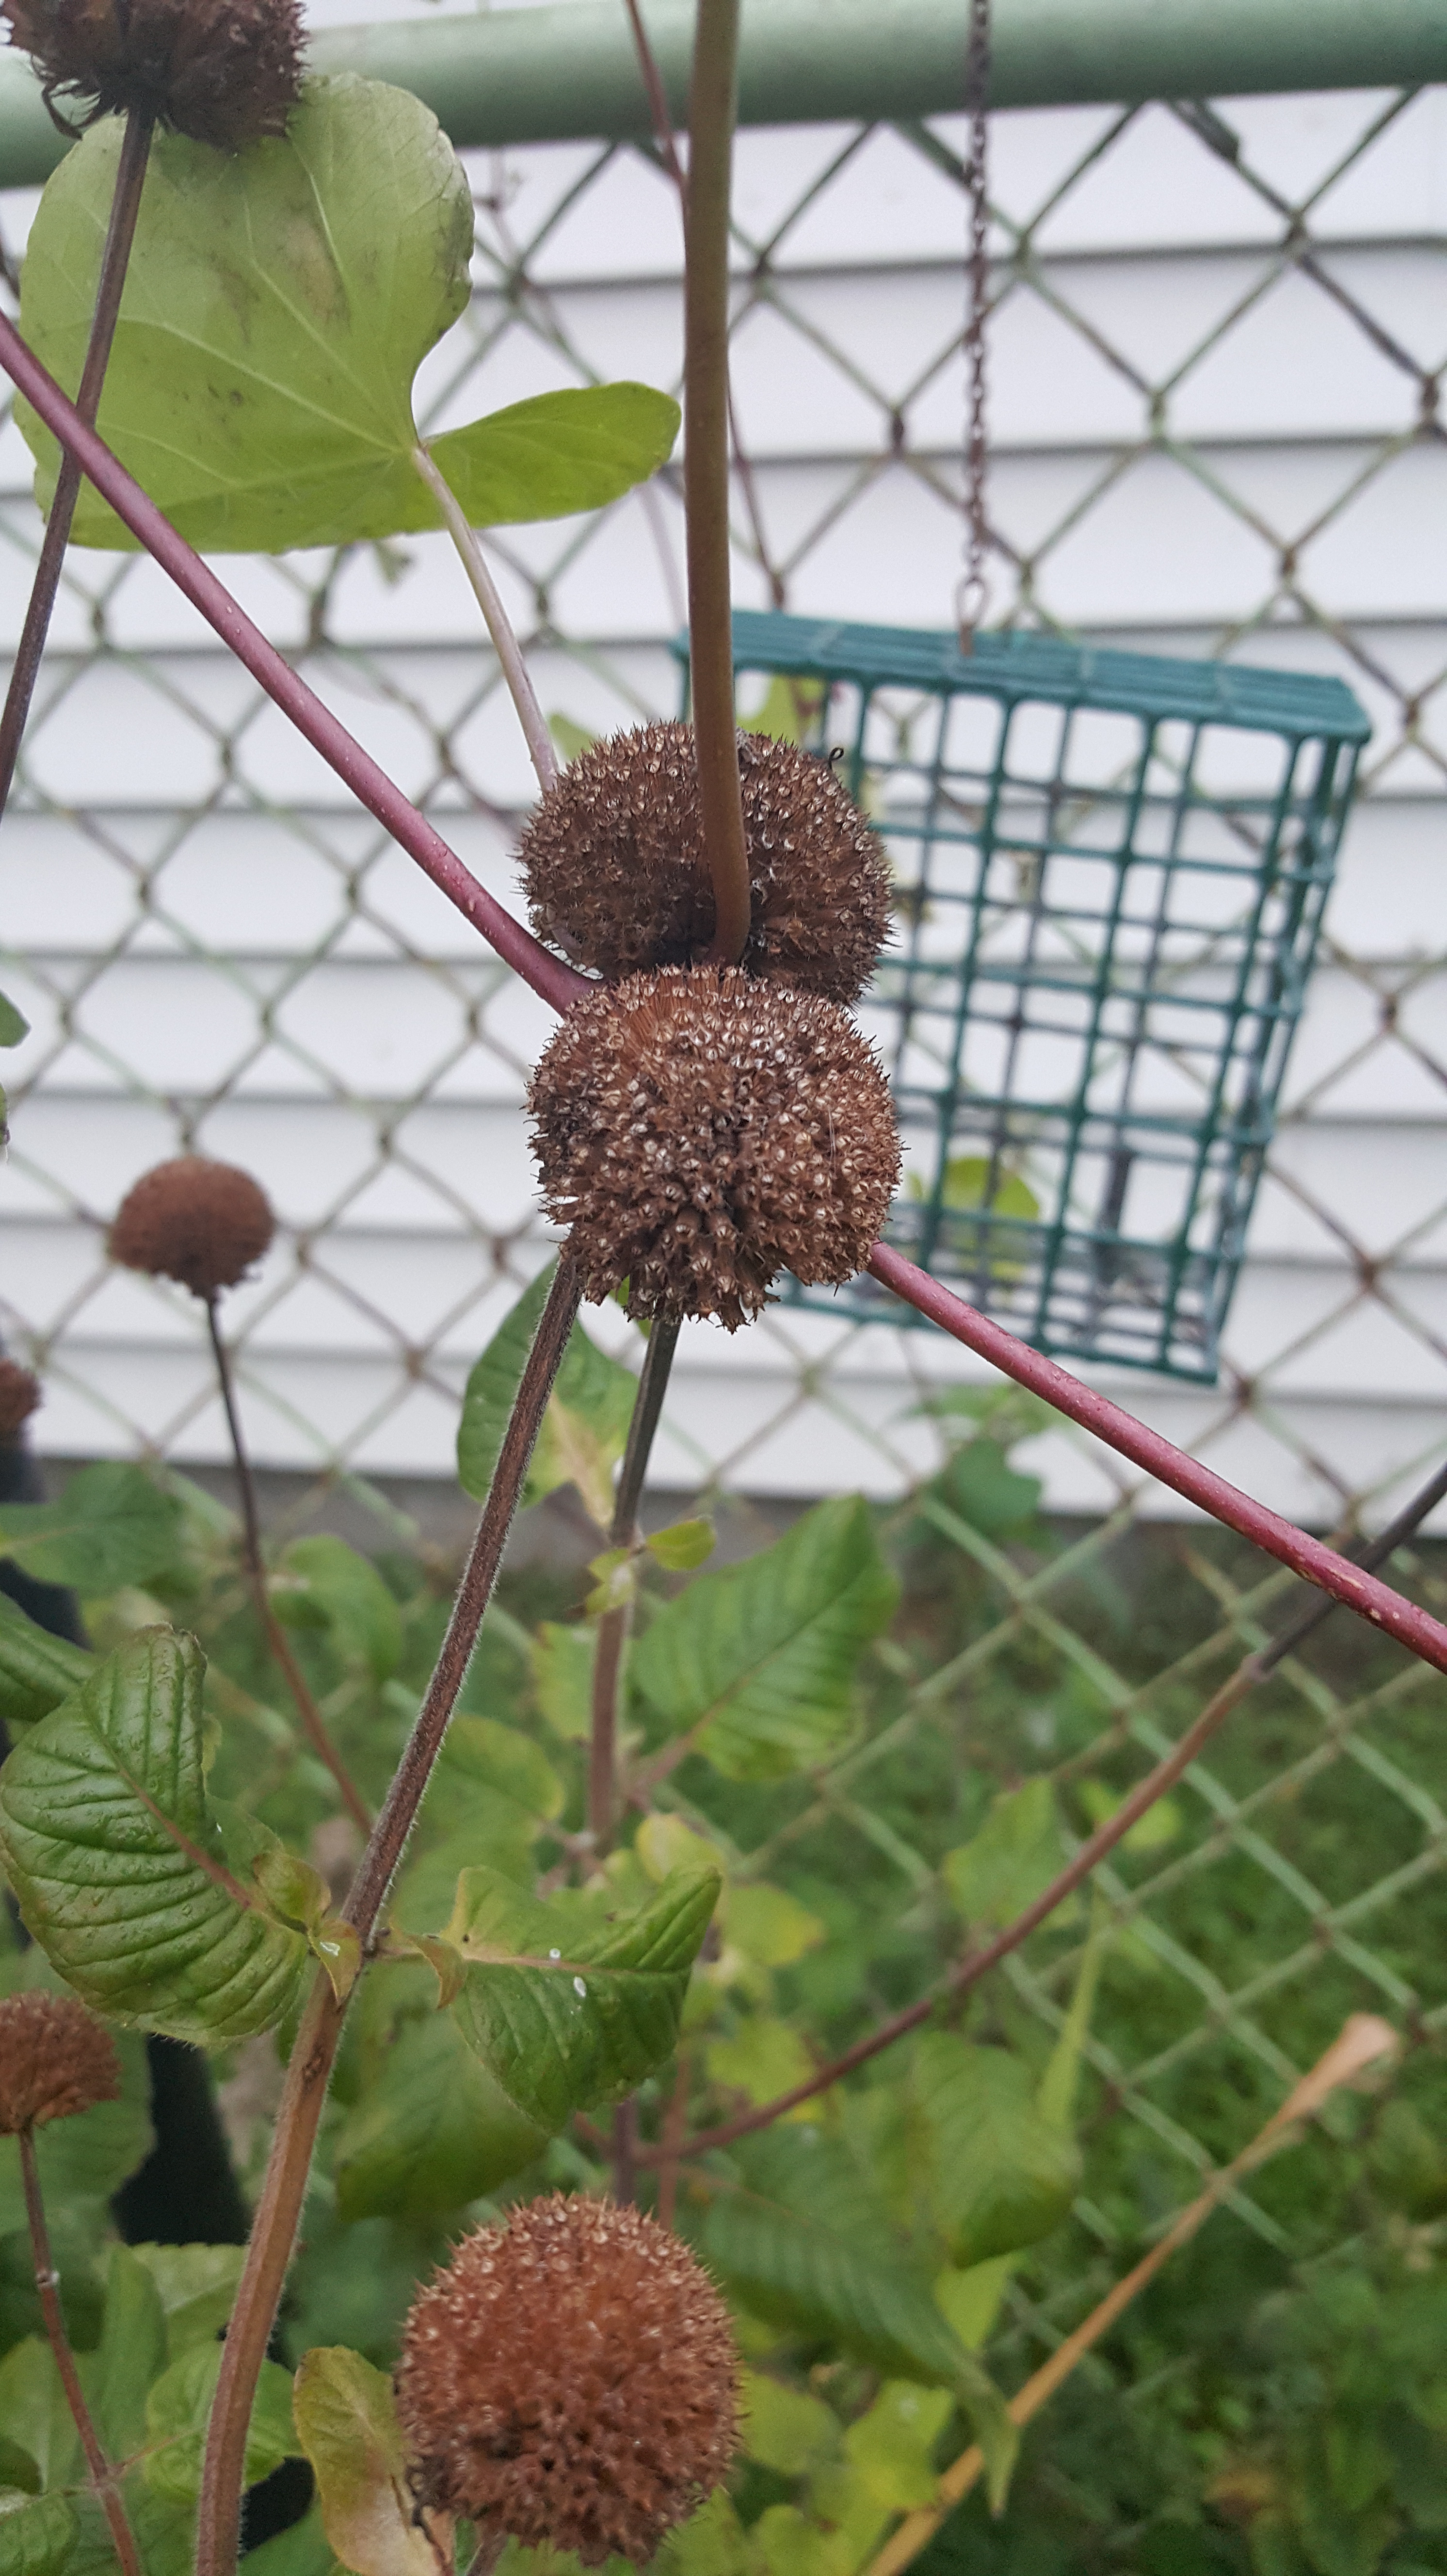
After the covering is done, it’s time to rake up some leaves, pick up old sunflower heads and cut down my hostas.

Garden rubbish at its best!
I don’t pick up all the leaves–particularly in my flower beds. They are a great winter mulch for them.
So, that was my weekend– lots of work done and now it’s time to start thinking about decorating my urns for the holidays.
**I want to apologize that I never did a post on Fall Decor in my urns. The thing is, the weather has been so warm that the Creeping Jenny and Spikes I have in them are still flourishing, and I didn’t have the heart to rip them out. But, some Christmas decor will be coming for sure!
So, please have a great week, and best of luck on your winter garden preparation!