It’s August, people!! I hope you are having a great summer! I can’t complain– we have done a lot of stuff this summer, but my family still has a few things to check off the list before I can officially call it a completely fun-filled summer.
Garden wise, I have been watering like crazy. We had 90+ degree temps (32 Celsius) last week, and everything was withering under the hot, oppressive sun. We still haven’t received any real rain, other than the big thunderstorm that came through my neck of the woods on Saturday.

I have been quite busy with all the stuff that’s happening with our house. As I have mentioned in past posts, we are getting some major remodeling done, and unfortunately, my flower beds have taken a toll. With the house being re-sided, ladders and lots of feet had pretty much trampled down my front garden beds, leaving me very sad. I know, however that this was bound to happen, and I know that next year everything will come back even bigger and stronger!
Well, my beds out back of my garage have taken the biggest hit. So, I quickly moved everything over to the other side of my yard and extended my flower beds once again. I actually like that I have moved everything, and it looks as though my dwarf burning bush is doing much better in its new location than the previous one.

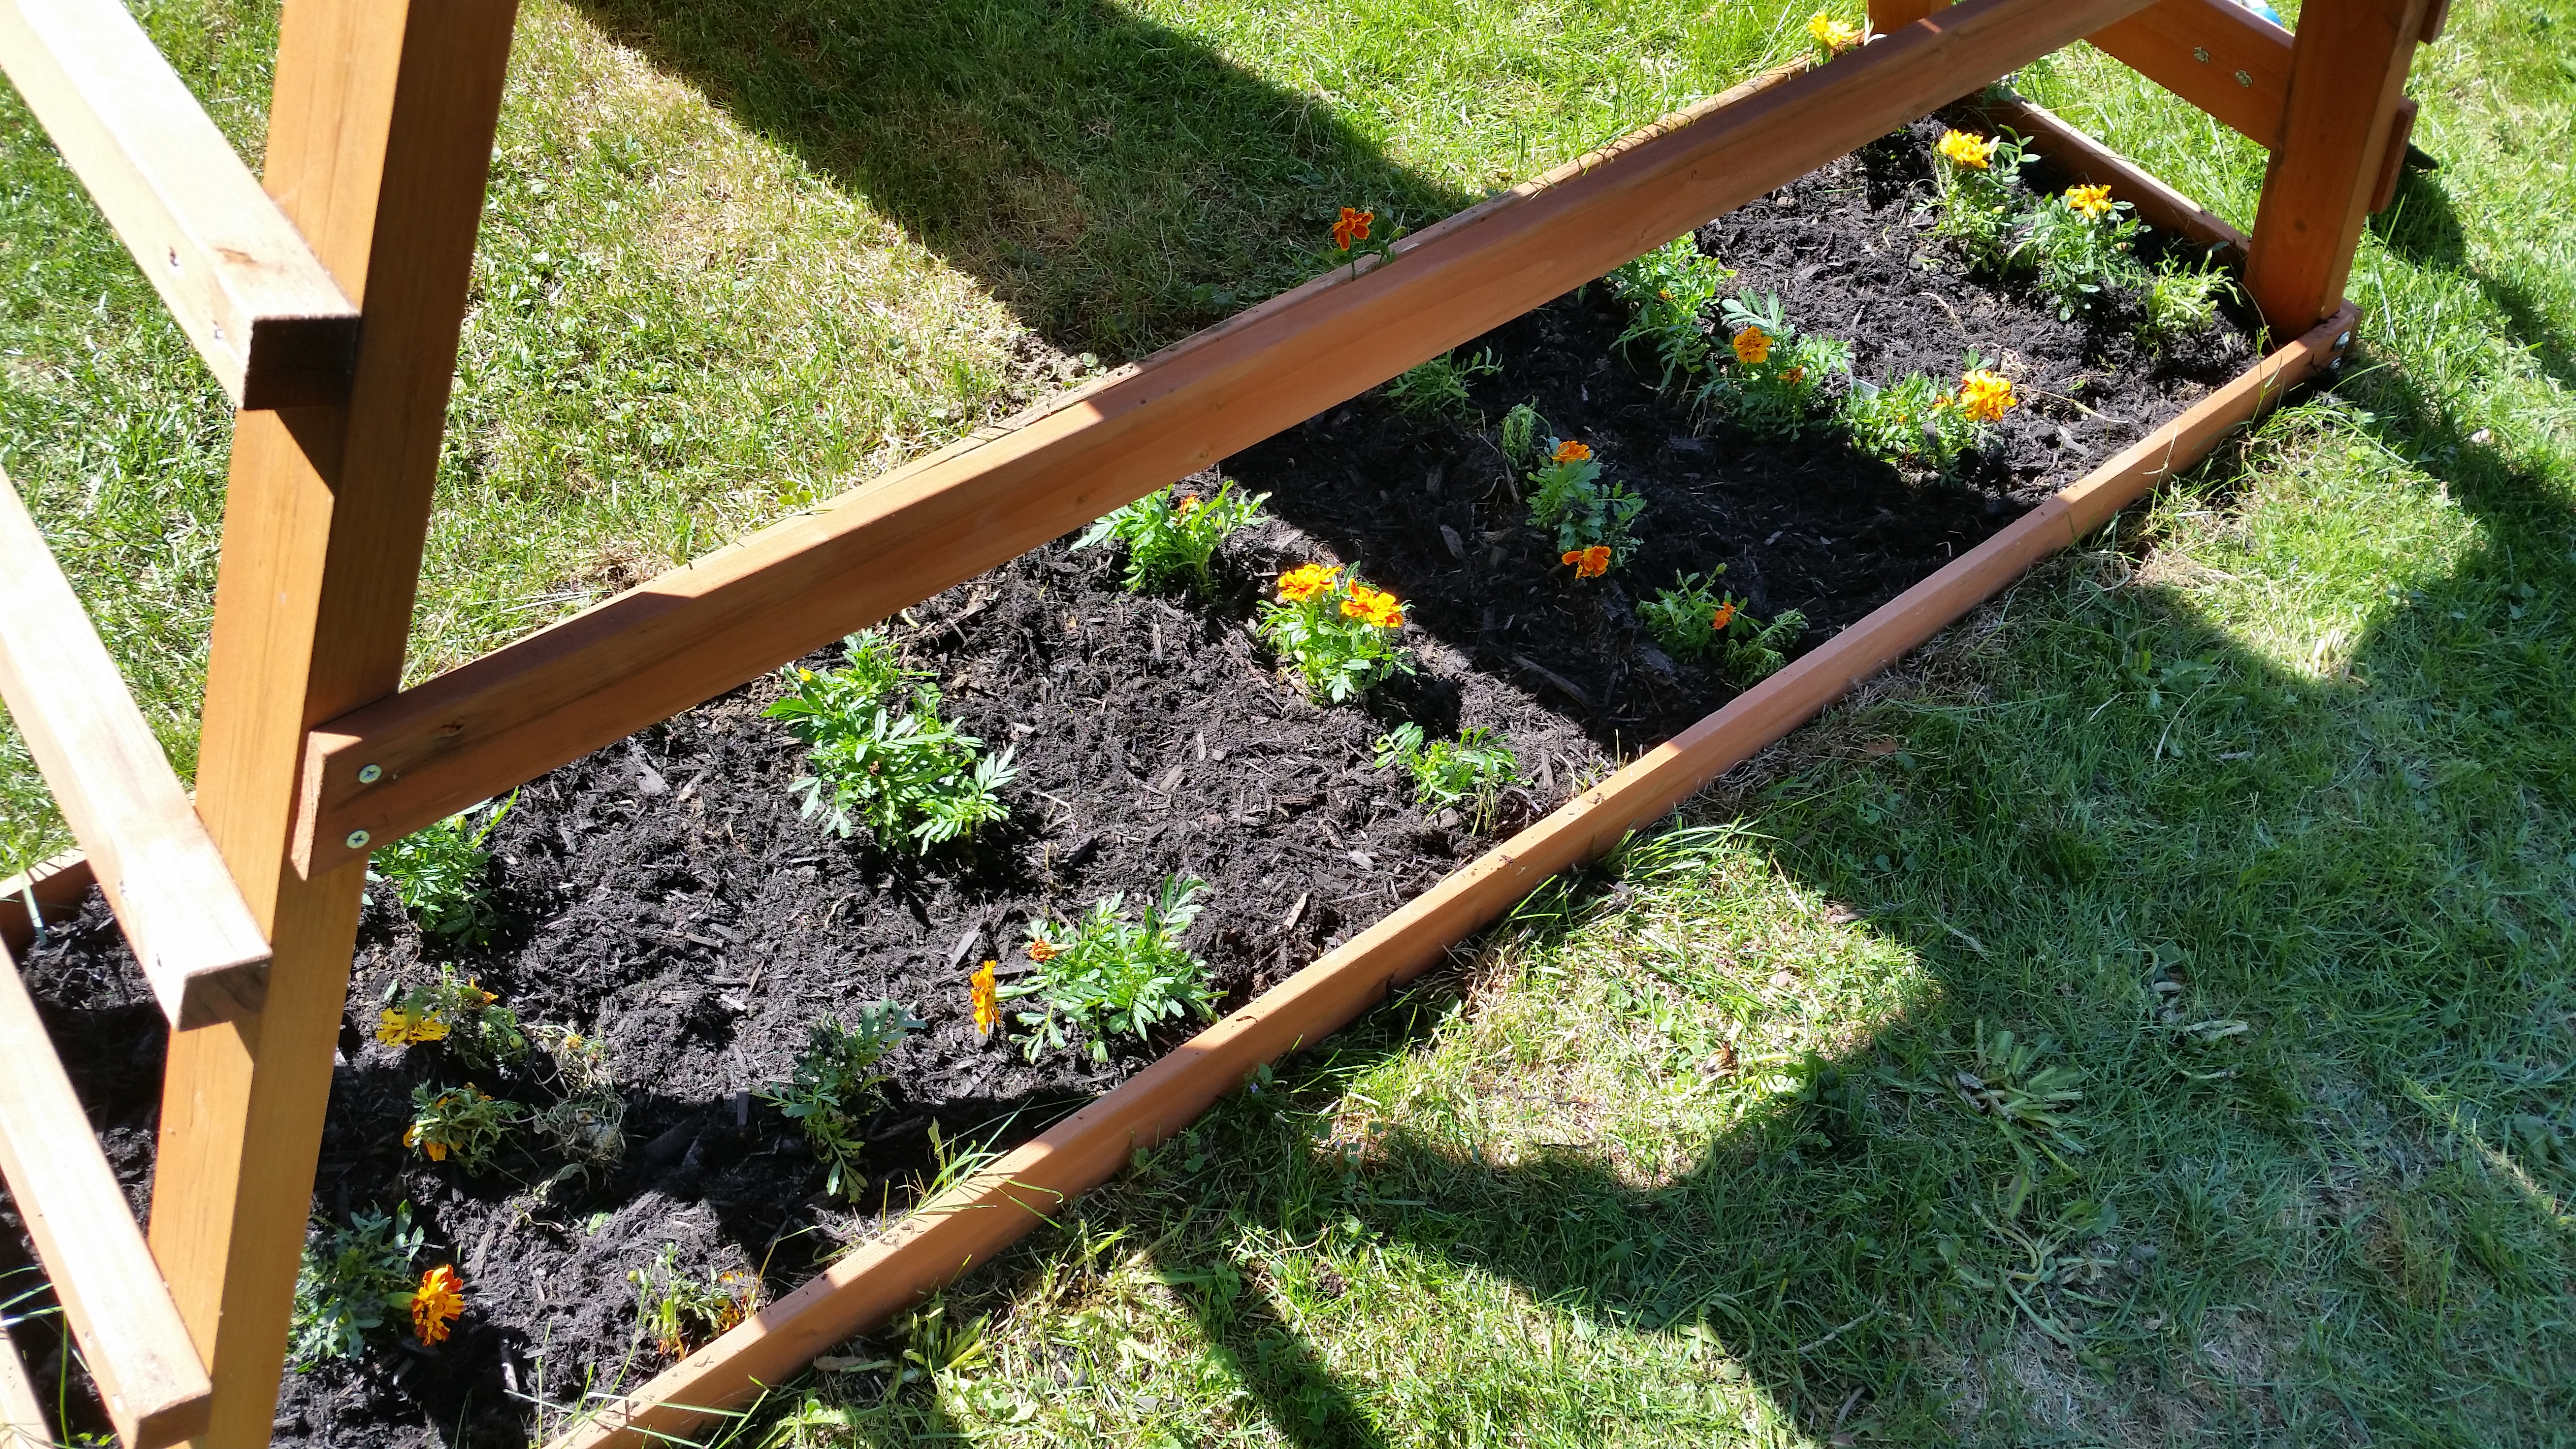
Here it is, my quick emergency bed to save everything from getting trampled!
I have since done some work on it to make it look prettier, but as usual, I have a long way to go. After surveying my back yard landscape, I knew I needed to add something to it besides just flowers, plants, and shrubs. It was an absolute “tree”t to see that there were a lot of great trees on sale at my local nurseries right now. I have since bought three!
- To keep your landscape interesting, think about adding some trees to the picture. Keep in mind the size of your yard, and there is a tree out there for every landscape, from postage stamp size to major acreage!
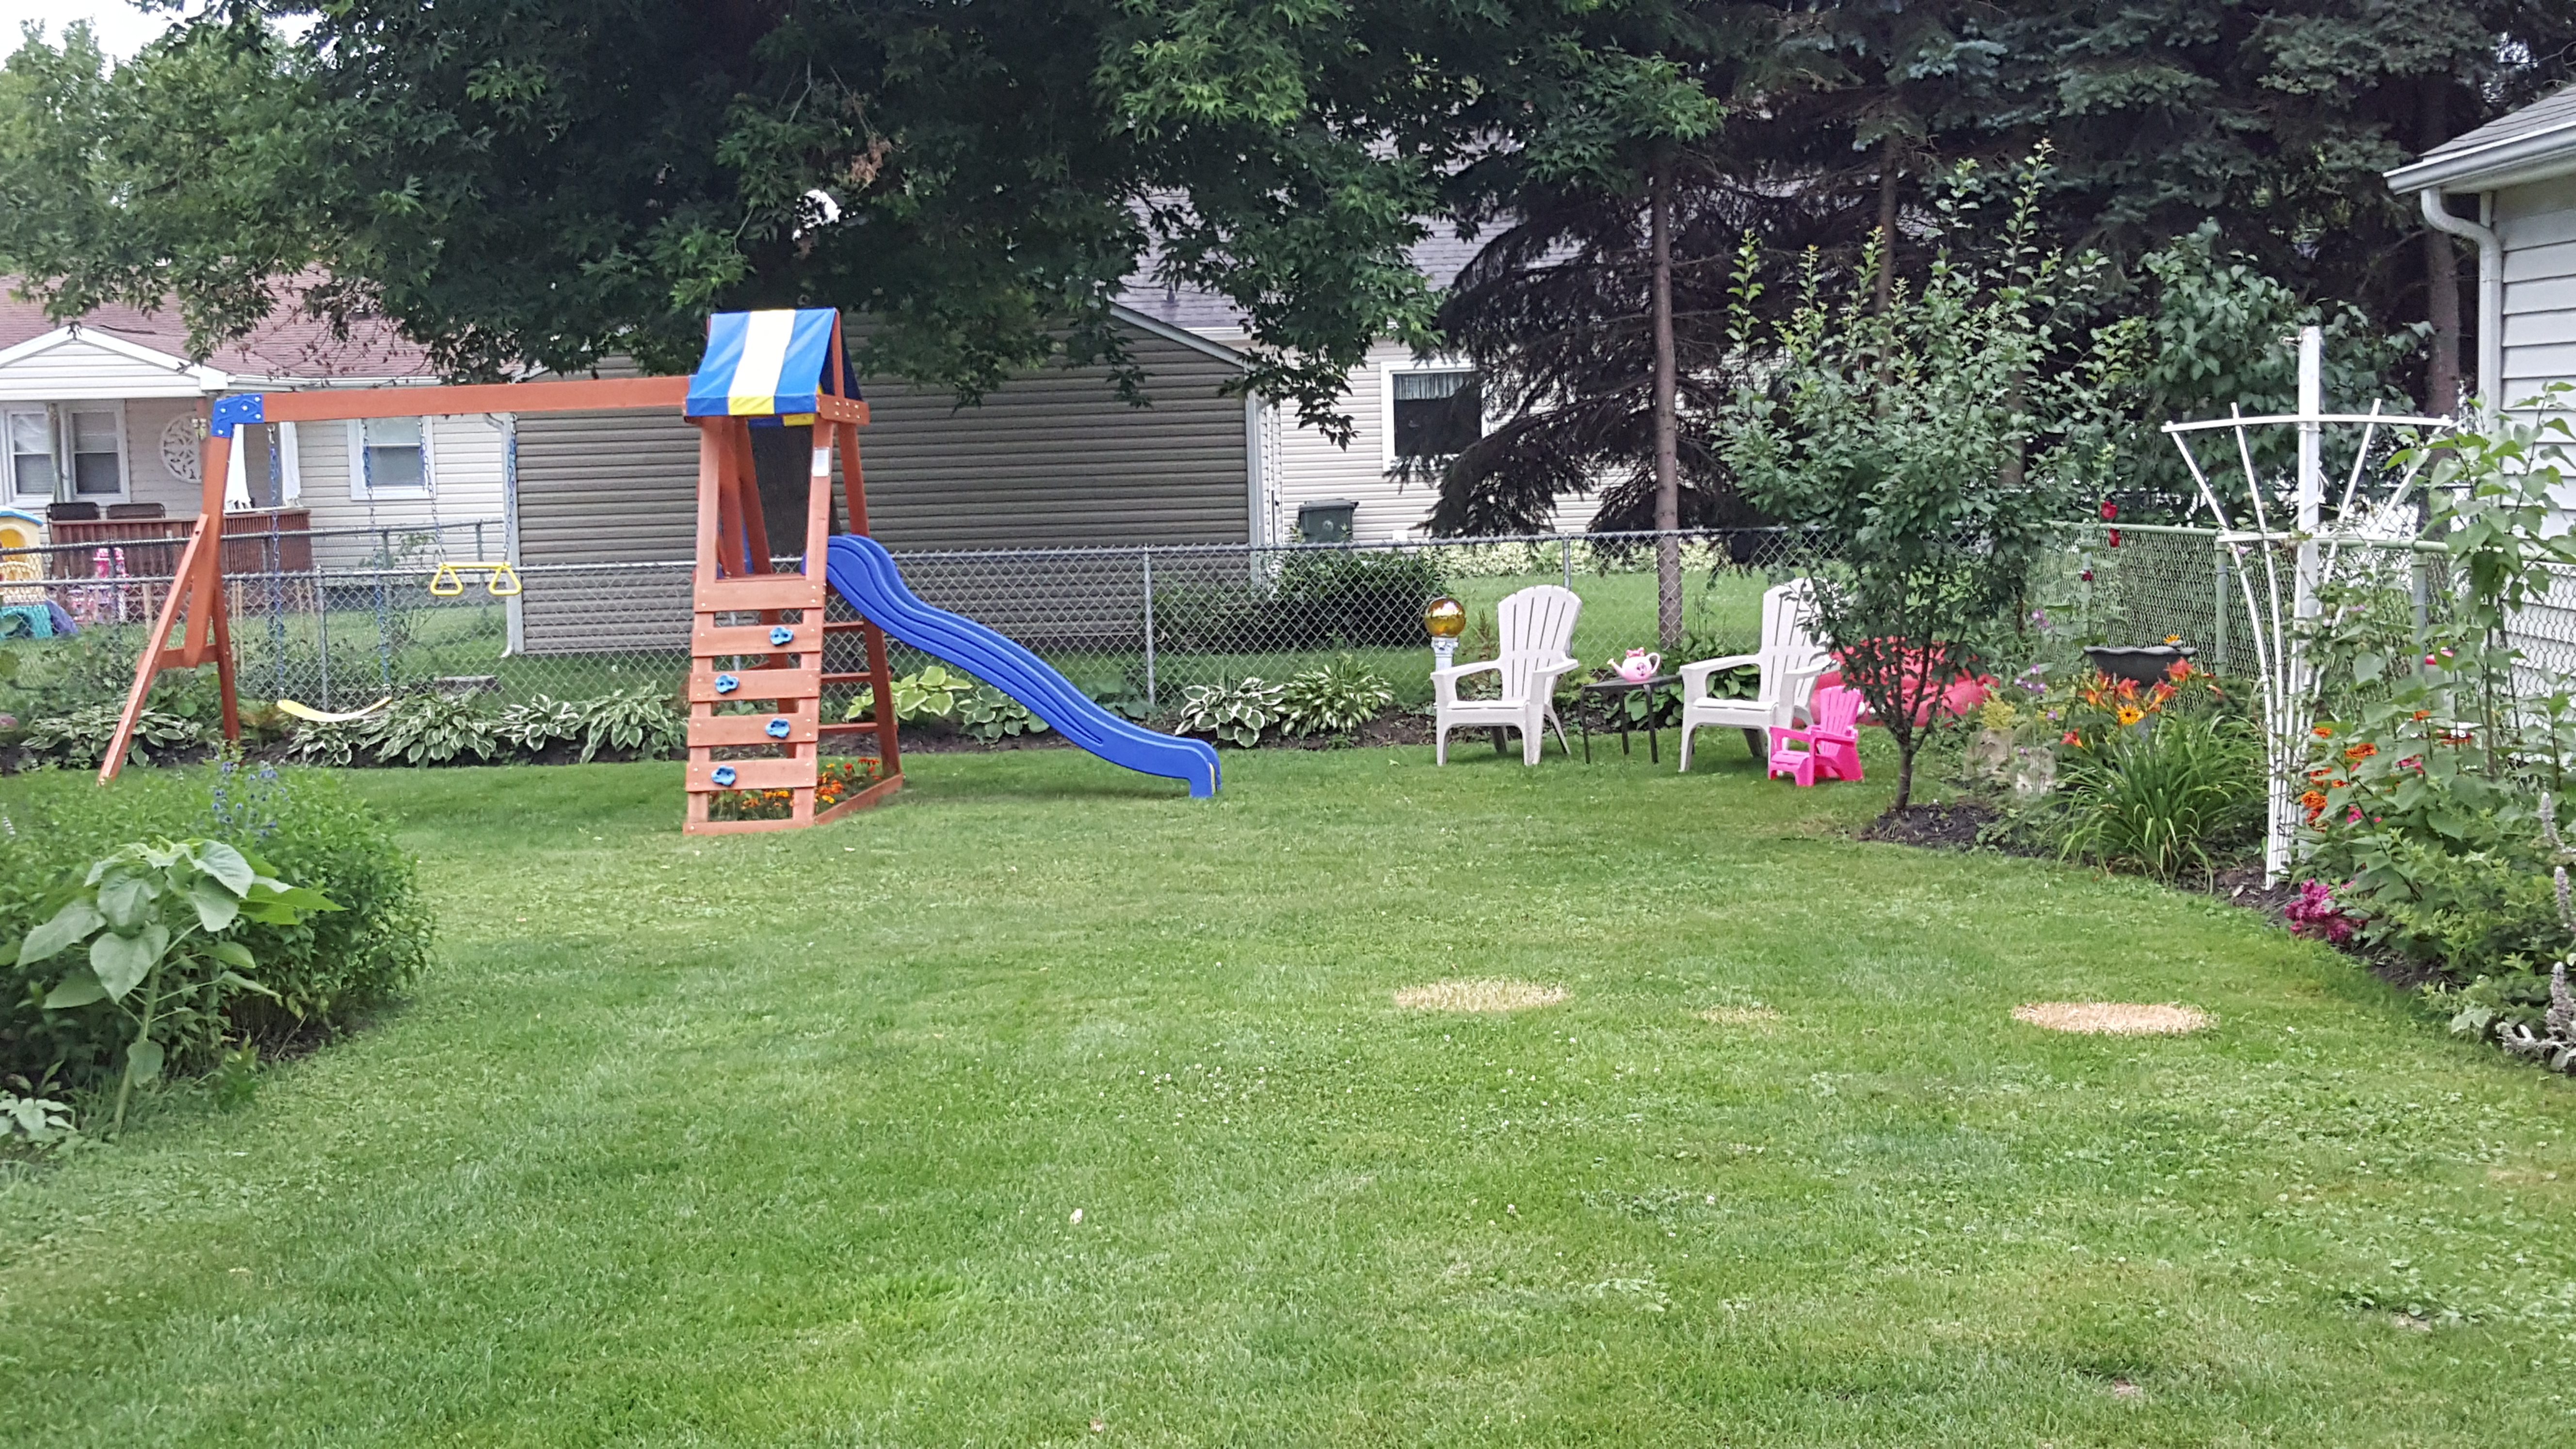
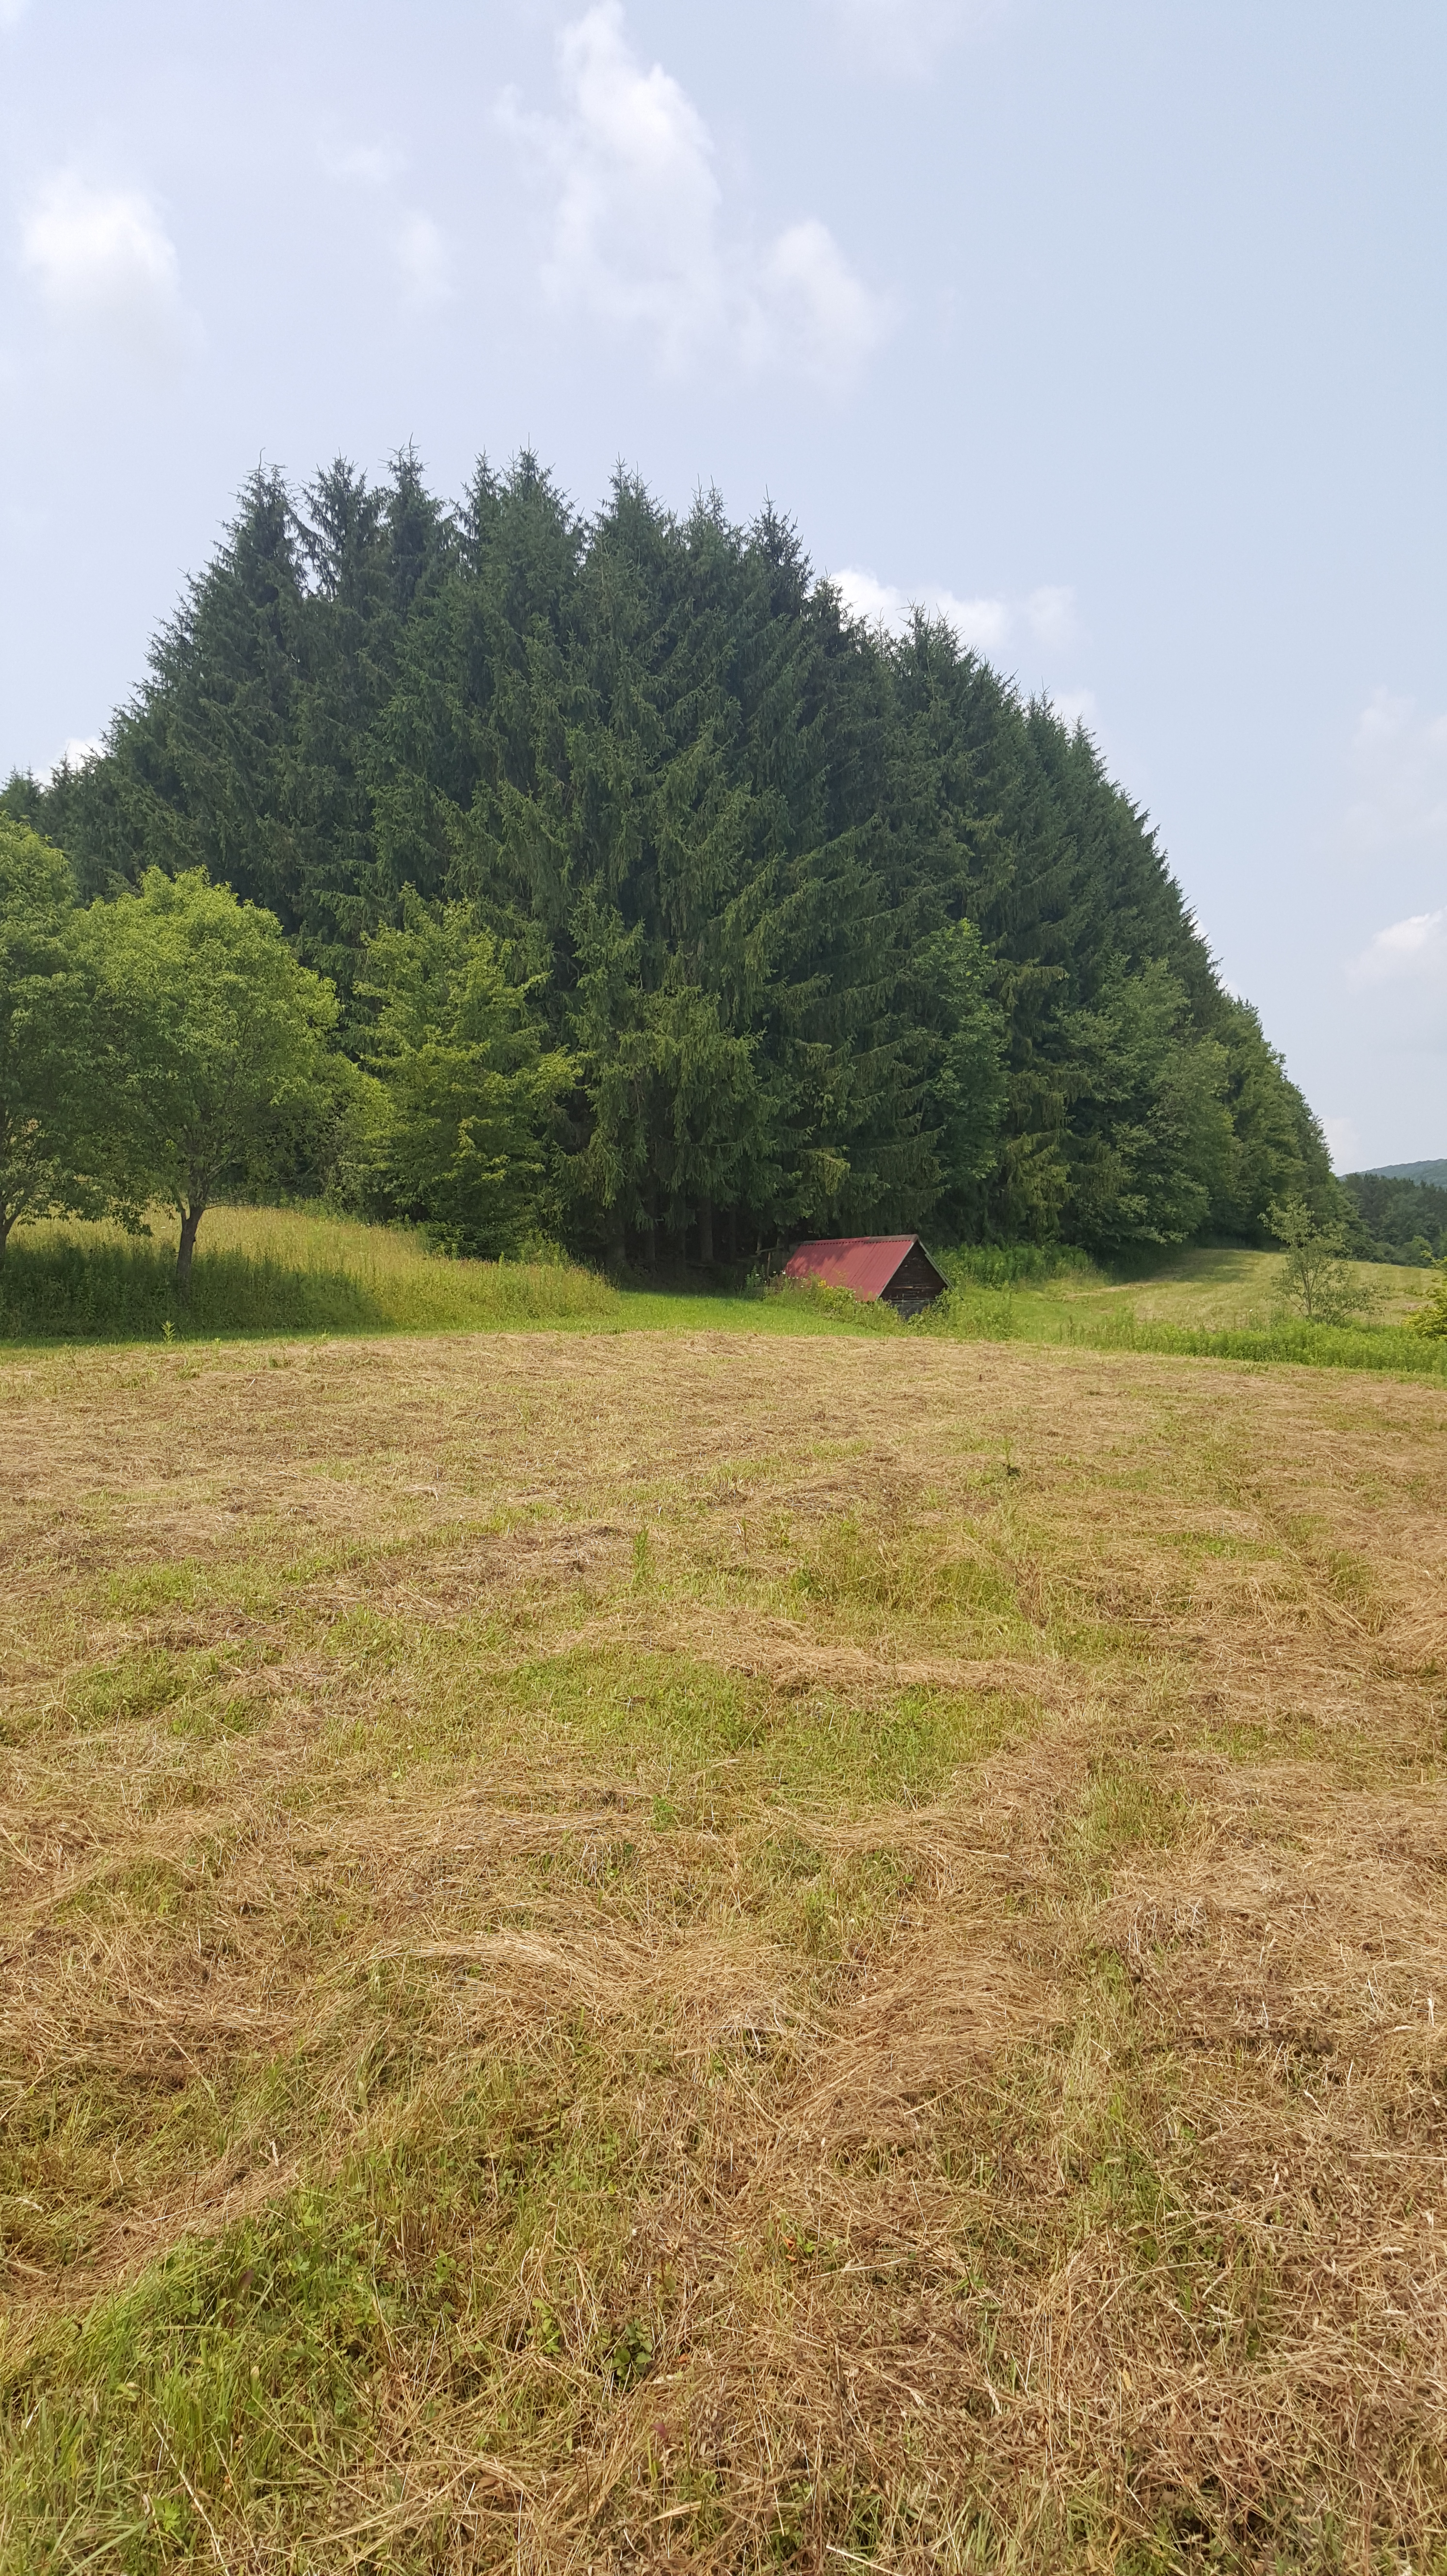
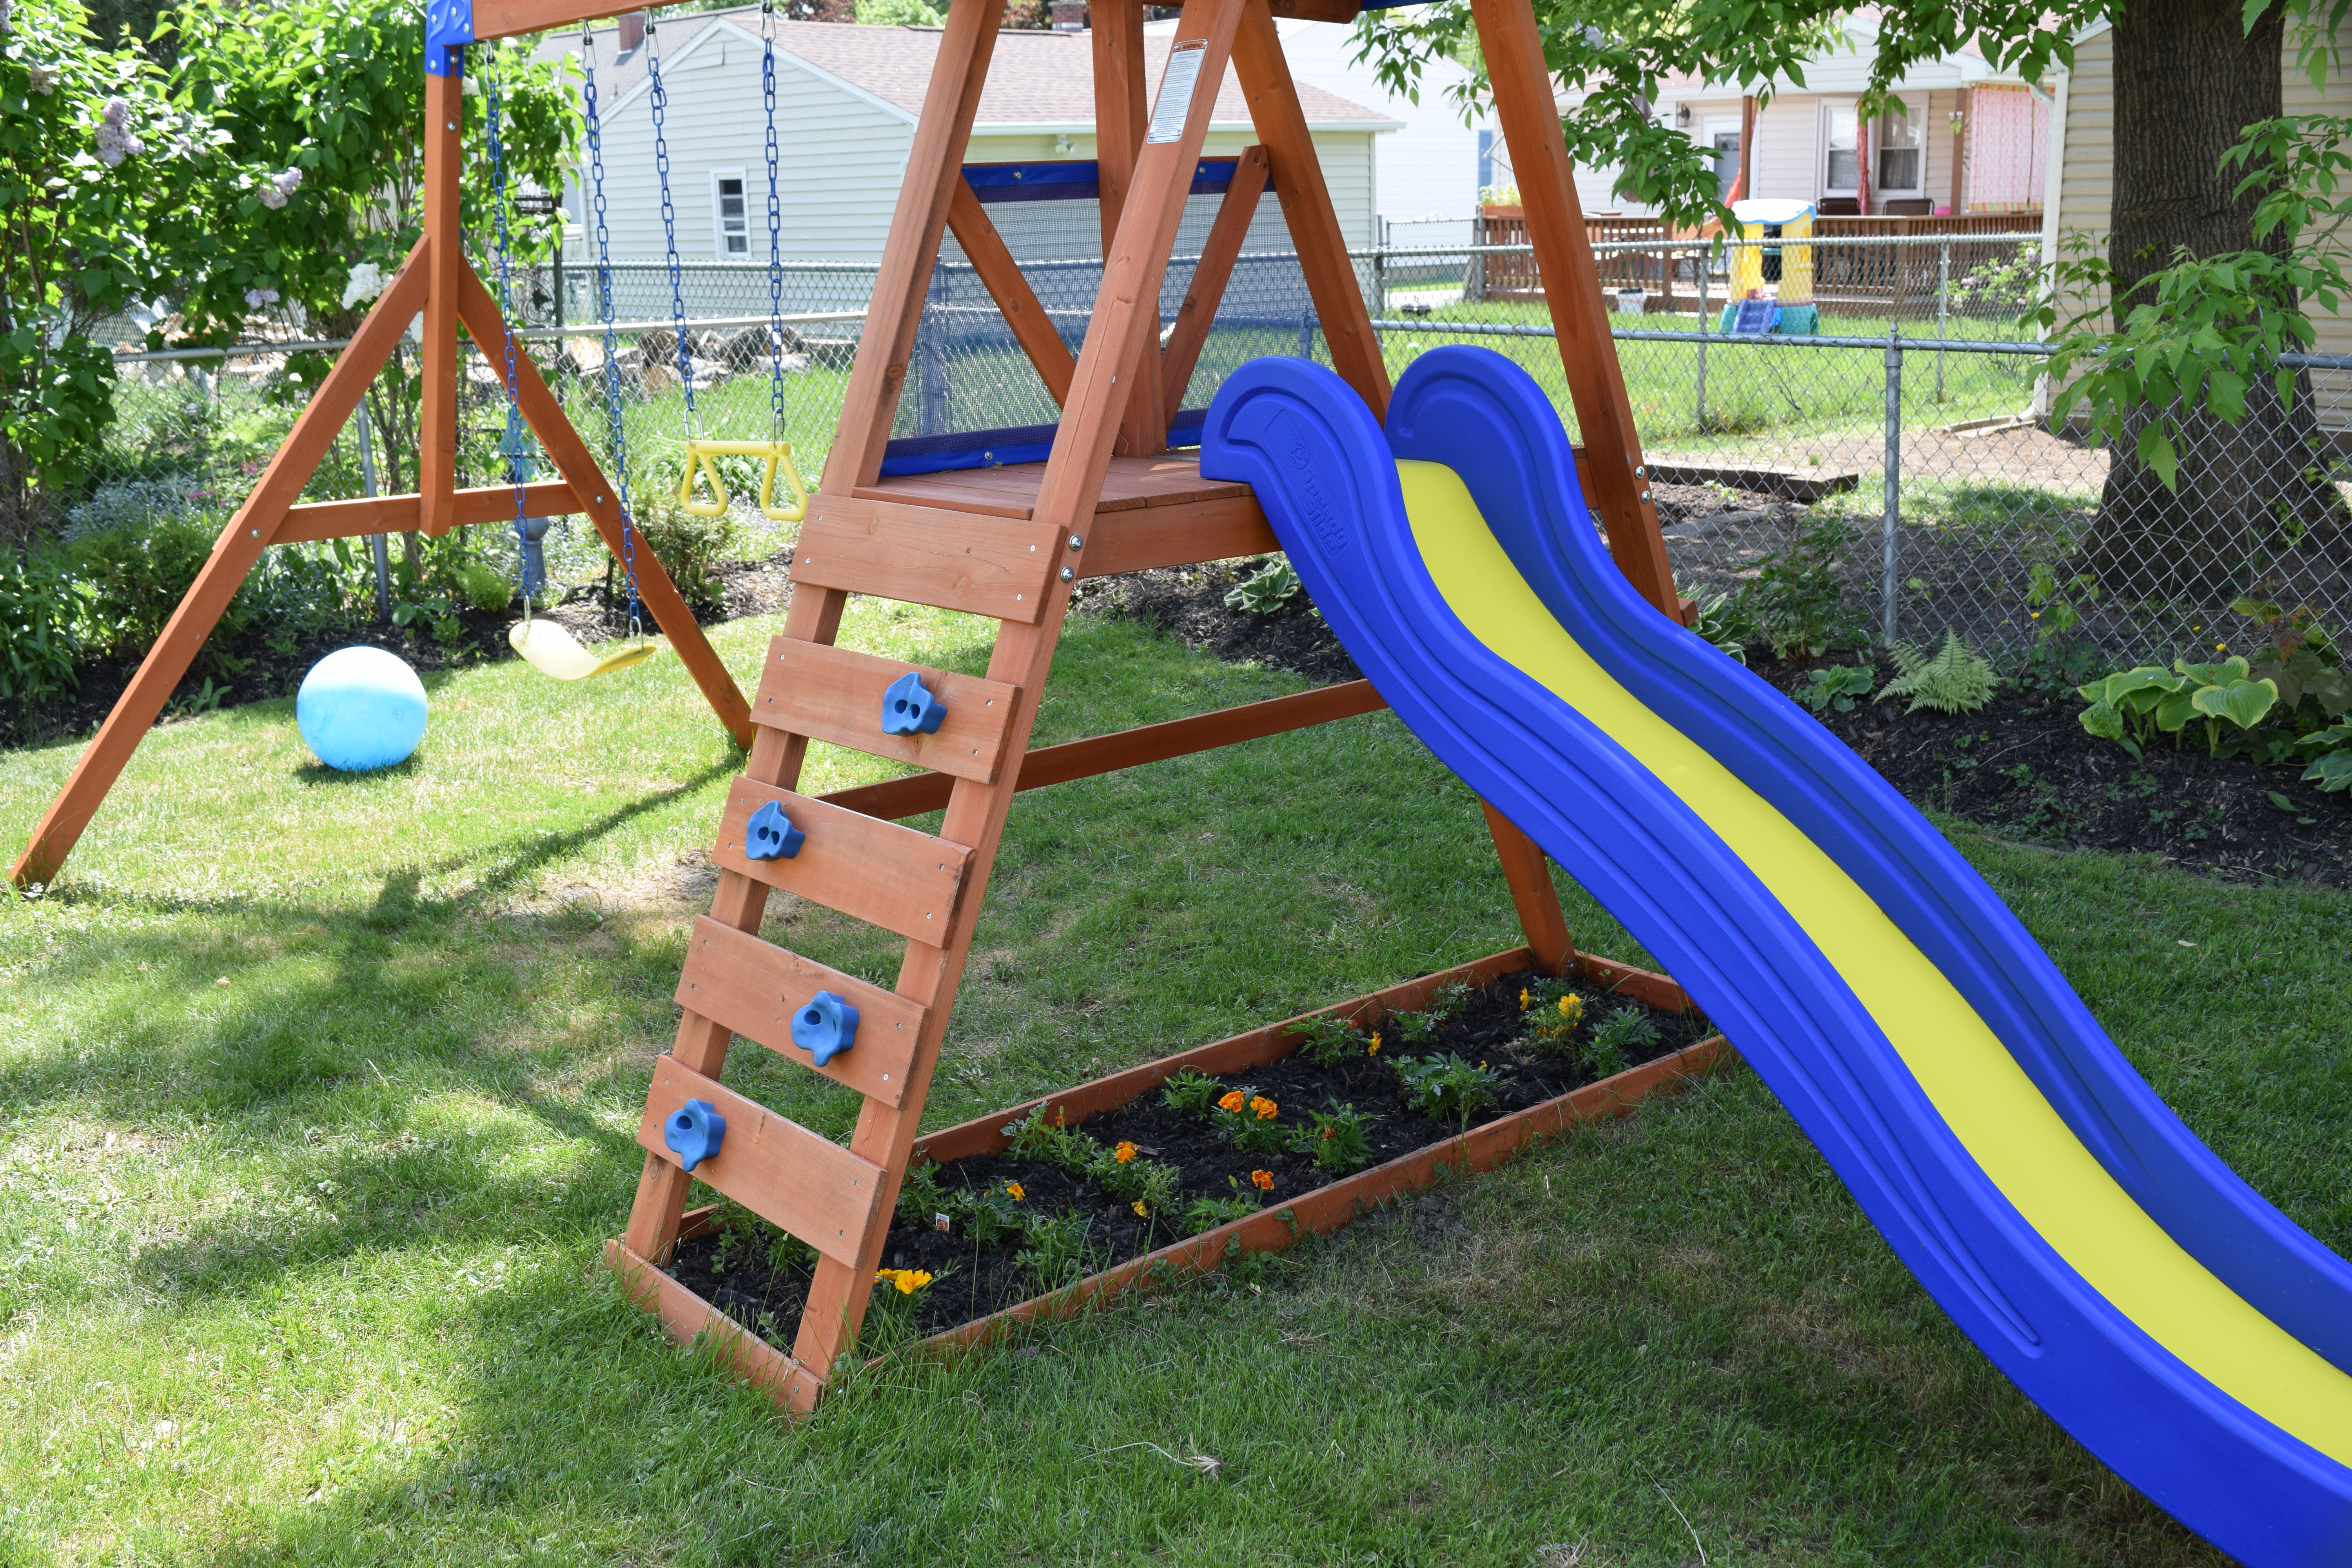
My little yard.
- When looking for some trees to put in your yard, try to find some different varieties that you don’t often see. For example, if you have a larger yard, get a beautiful tulip tree, or a variety of maple that isn’t as common. For small yards like mine, you can pick from a large list of Japanese maples, or other ornamental or dwarf size trees.
- Location is key. Make sure wherever you plant your tree, you have given it room to grow. Or, maybe you want some privacy in your yard, so you will plant it to accommodate this.
I am now filling in the rest of my yard with a few trees that get about 8-10ft tall.
What are they you ask?
Japanese Maples — 50% off right now at your local nurseries. I purchased a Crimson Queen (that unfortunately was put into the hot sun during the beginning phases of our home remodel, and the leaves dried up to a crisp). PLEASE DO NOT JUDGE ME. I am trying really hard to bring this little guy back, and it’s working, his regular leaves are coming back. They are reddish/green laceleaves– so intricate and beautiful!
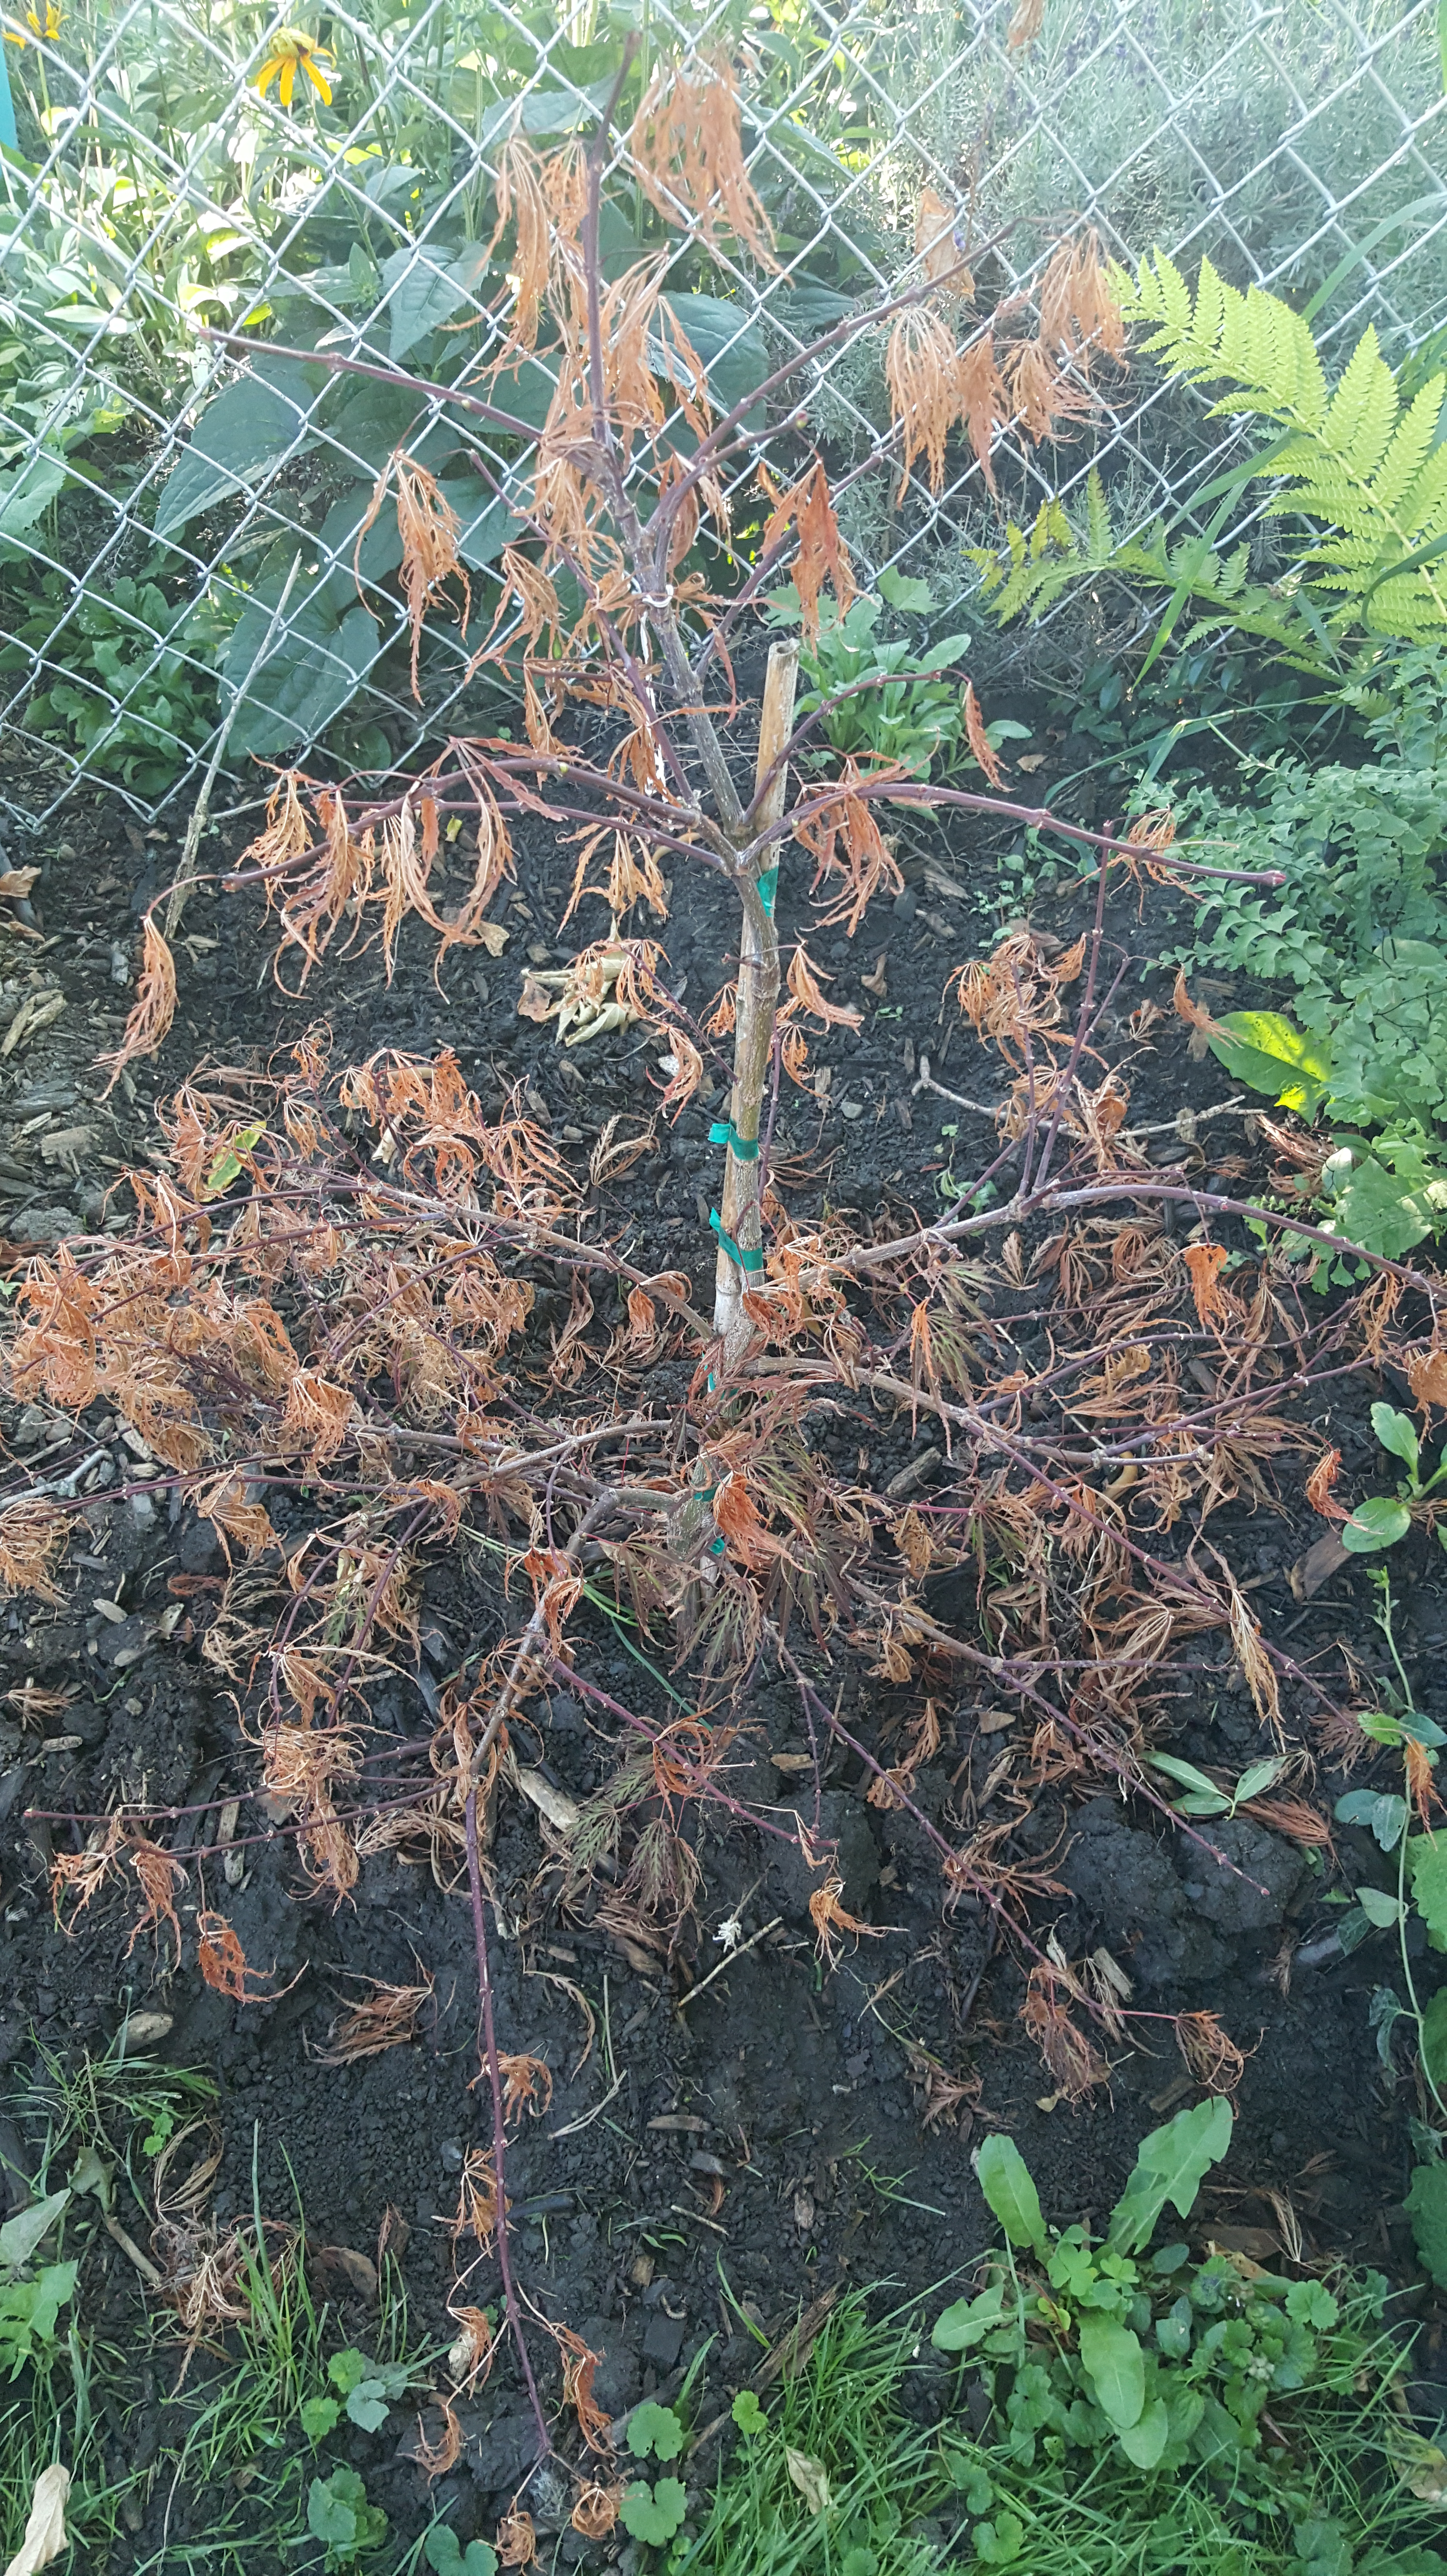
Crimson Queen Laceleaf, a little fried.
The other tree I purchased was a Ryusen Weeping Japanese Maple. The tree, as I am told, is a very rare weeping Japanese Maple that grows much faster compared to most other varieties of this tree. It averages about 10ft. high, but can grow as high as 20ft. It looks like a waterfall when fully grown.

Ryusen Weeping Japanese Maple
I really love “weeping” plants and trees. They are so different, yet dramatic and graceful. Another “weeping” specimen I purchased was this Weeping Norway Spruce. They get to about 8 ft. tall. Just perfect for my yard.

Weeping Norway Spruce
There are many different trees to choose from, take your time and research some that are perfect for your part of the world. Adding trees to your flower beds makes your garden more well-rounded and lovely!