Happy New Year, everyone! If you were like me, you have been hibernating this week because of sub-zero temperatures. I have actually been pretty busy with getting everything back to normal after the holidays. Our holidays were wonderful, and I hope yours were too. However, there is something about normalcy that makes me buzz along. As I have said before, 2017 was a great year. I am looking forward to 2018 in the garden. One big thing that has been on my list this year has been keeping me busy during the super cold weather:
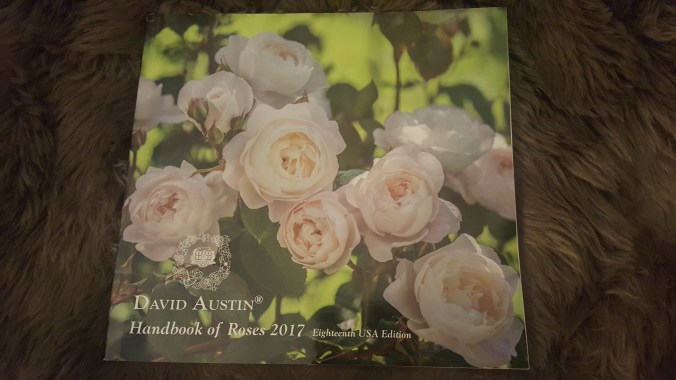
…it FINALLY came. My David Austin® roses catalog!!! I requested this months ago, and was absolutely thrilled when I finally received it. I would like to pick out a rose or two to add to my landscape this year. I have to plan appropriately, and make sure I find the right place for one. I am very excited to start this next chapter, for me, at least– growing roses!
I usually have resolutions for the garden and my home every year– and I have decided that my resolution will be to “go with the flow”. Plans don’t always work out, but other opportunities come along, and that’s fine too!
This time of the year is a great time. Garden planning, pouring over seed and plant catalogs– picking out what you would like for the garden this year. Nothing has to be fancy or expensive that you do in the garden. Little additions and improvements go a long way.
I say this because I was talking to a few people who said, “they can’t afford to garden.” Anybody can afford to garden. The smallest addition, which includes buying a packet of seeds, or buying small garden decor that add value to your landscape goes a LONG way. Gardening is one of the best investments out there– the joy and value it adds to your life cannot compare to a lot of other things. It’s a work in process– just like your home. Do a little bit when you can, and do more when you can. It’s all perspective, I guess. Don’t ever think you can’t. It doesn’t happen overnight, so enjoy the journey that comes with it.
So, with that, I hope you have a great start to the new year, and happy gardening!


 Rain, rain, and more rain! My part of the world has seen its share of water lately! As we know, rain can be damaging, destructive, and downright deadly. Despite all of this, there is an upside to rain and your garden, particularly in the spring time, right before the growing season ramps up!


