I am not even going to talk about how this year has flown by, or how it has been since May since I have last blogged. Life has been full and good, and trust me, I have not stepped away from the garden– I have been still digging, growing and learning new things.
I am at the point where I have pretty much quit adding to my garden (there are just a couple things I want to add this year), but maintaining and working with what I have. As I mentioned in my wrap-up post from last year, I went plant crazy in the beginning, and I paid for it. A lot of them did not come back after one season, so instead I am moving the plants I have to either 1. Give them more space, or 2. Make my garden beds look a little more put together.

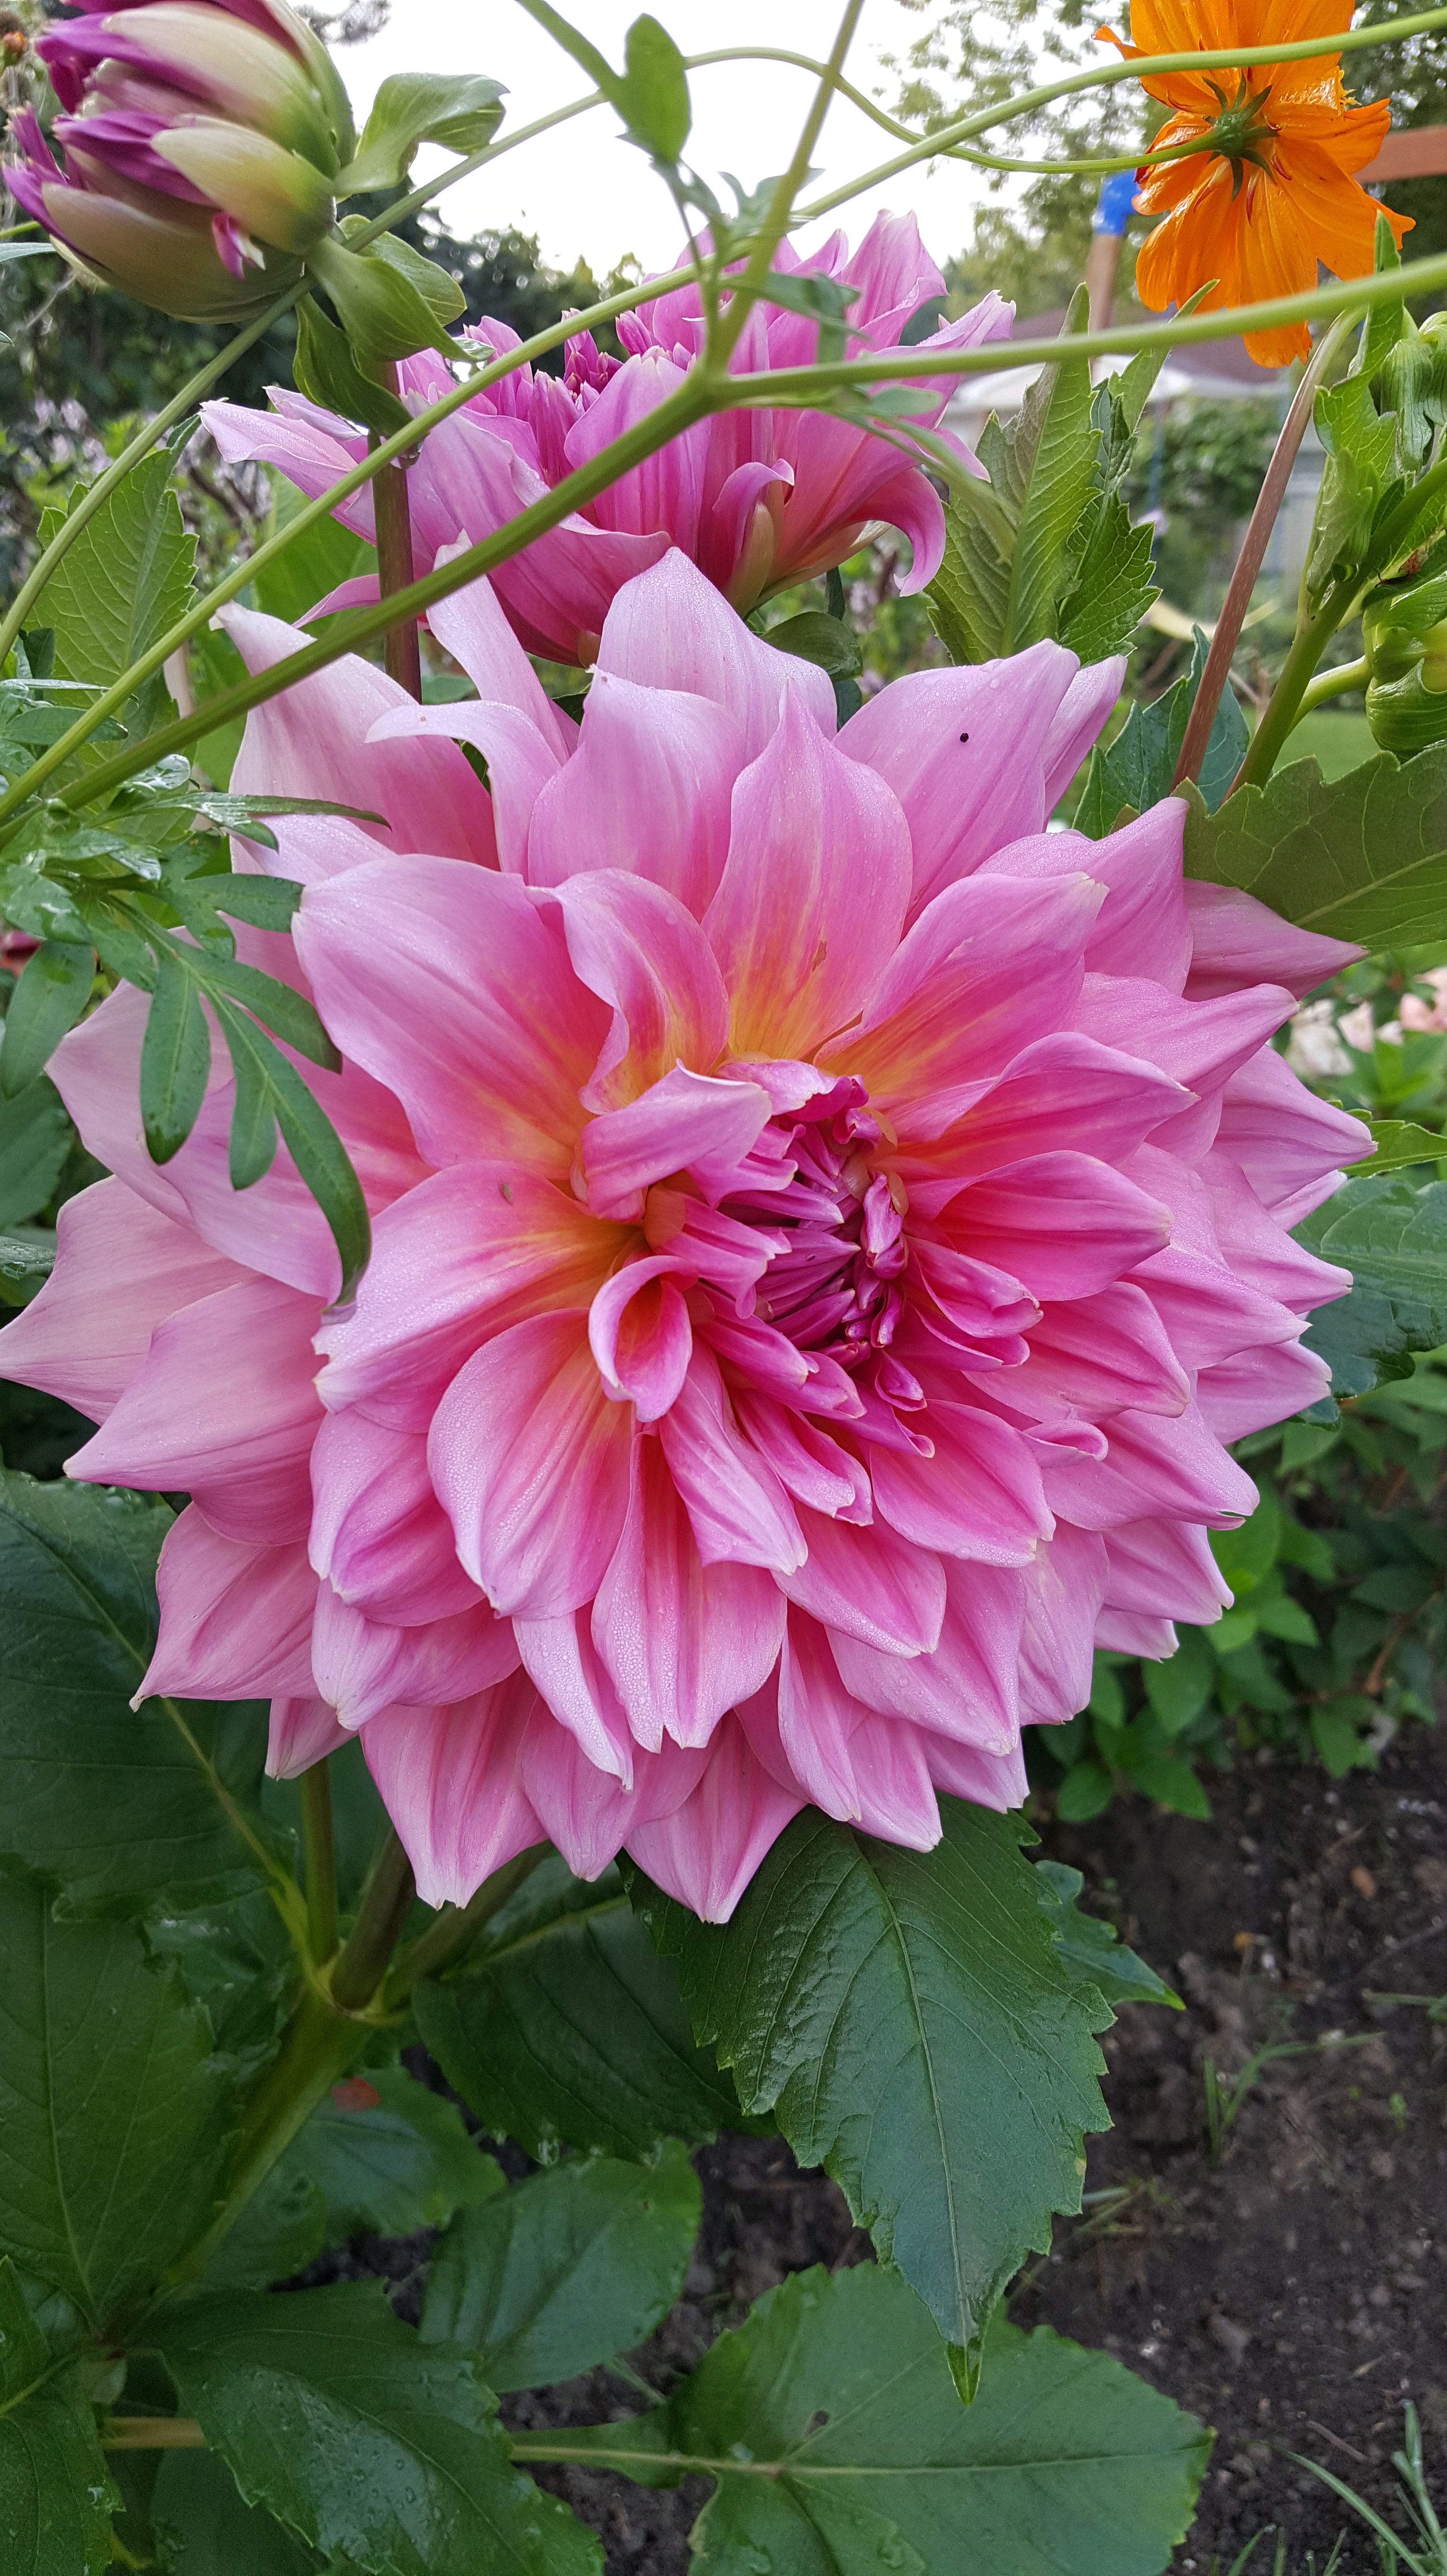
As I mentioned in my only couple of posts earlier this year, I had Dahlia tubers from last year that I planted, along with some new varieties. Here were my results:
- My dahlia tubers I had from last year did not make it. I put them in the ground at the same time as my new dahlia varieties, and when they weren’t coming up, and the others were, I dug them up to find mold on them. I was disappointed because I overwintered as I was advised to, but it just didn’t happen. I have also read where some people just treat dahlia tubers as annuals. I thought I would try again this year, and if they didn’t come up again, I too, will be just buying new tubers every year to give me one less headache!
- My new dahlia varieties this year were beautiful. I have caught the dahlia bug! I am now wanting to try many different new varieties. I am going to make more room for dahlias this year. I love how many blooms I get, and I love cutting them every morning before work to have fresh blooms in the house and to give them away to neighbors and co-workers.

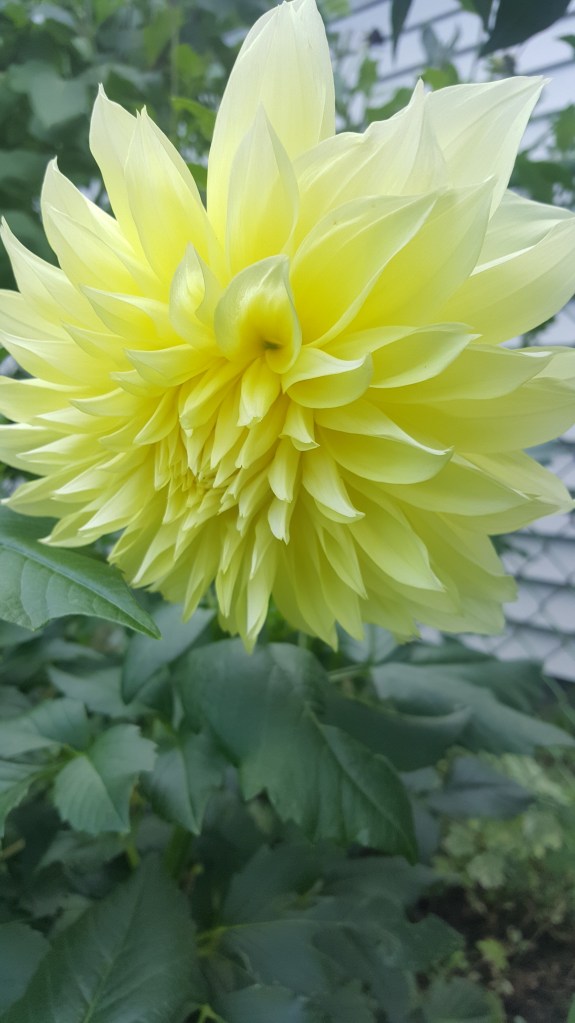
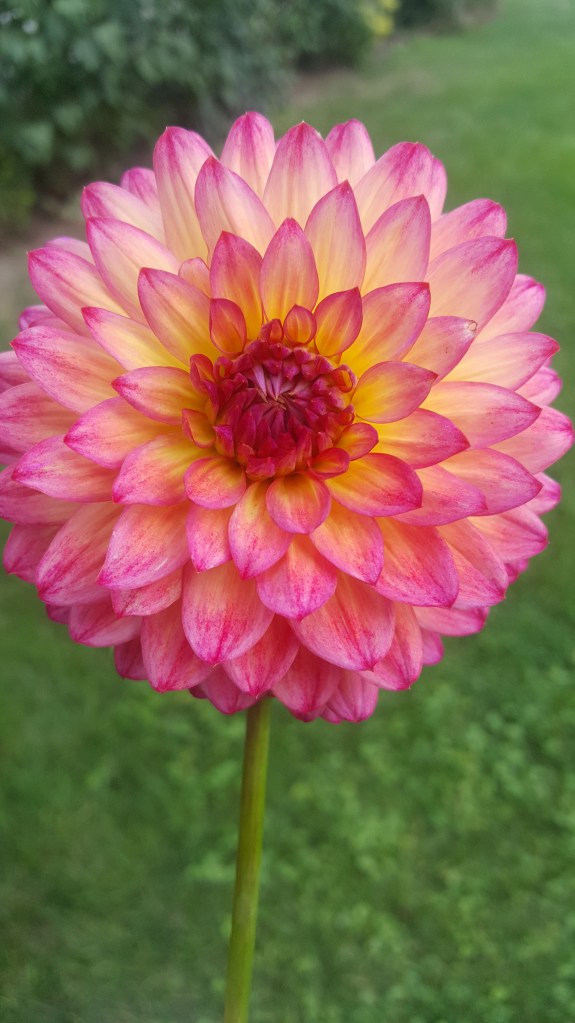
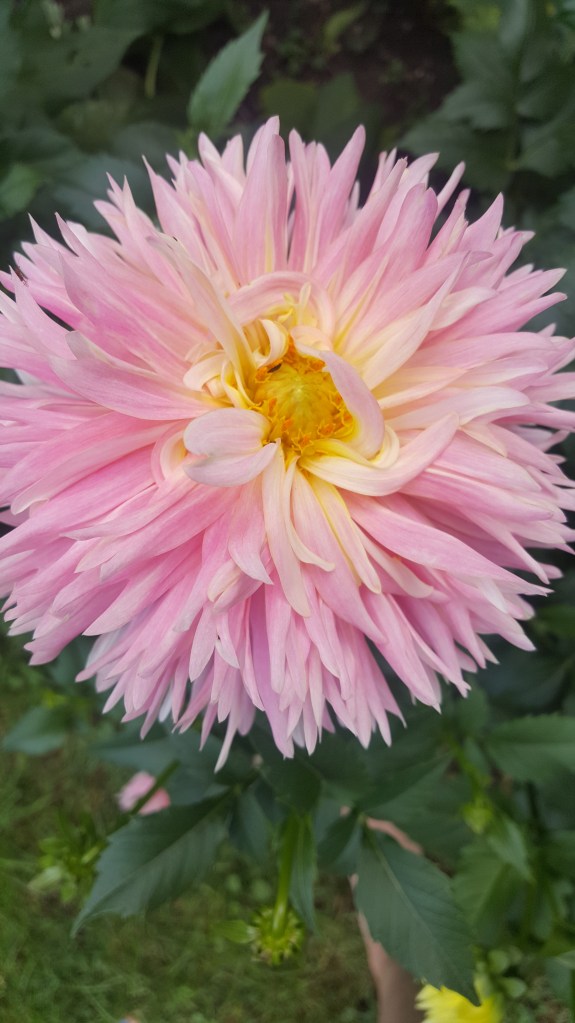
Clockwise from top left: Cafe Au Lait, Kelvin Floodlight, Burlesca, and Nadia Ruth.
I loved all the varieties I planted, but of course the “Cafe Au Lait” did not disappoint, which is why I plan on buying more for my little cutting garden this year. What was the biggest surprise was the “Nadia Ruth” variety, it blew me away and I got the most blooms from that. One variety did not come up for me at all, and that was the “Creme de Cassis”.
The “Burlesca” variety was marketed as a honeycomb shaped flower, but that was not the case at all. Still beautiful, but not what it was supposed to be.
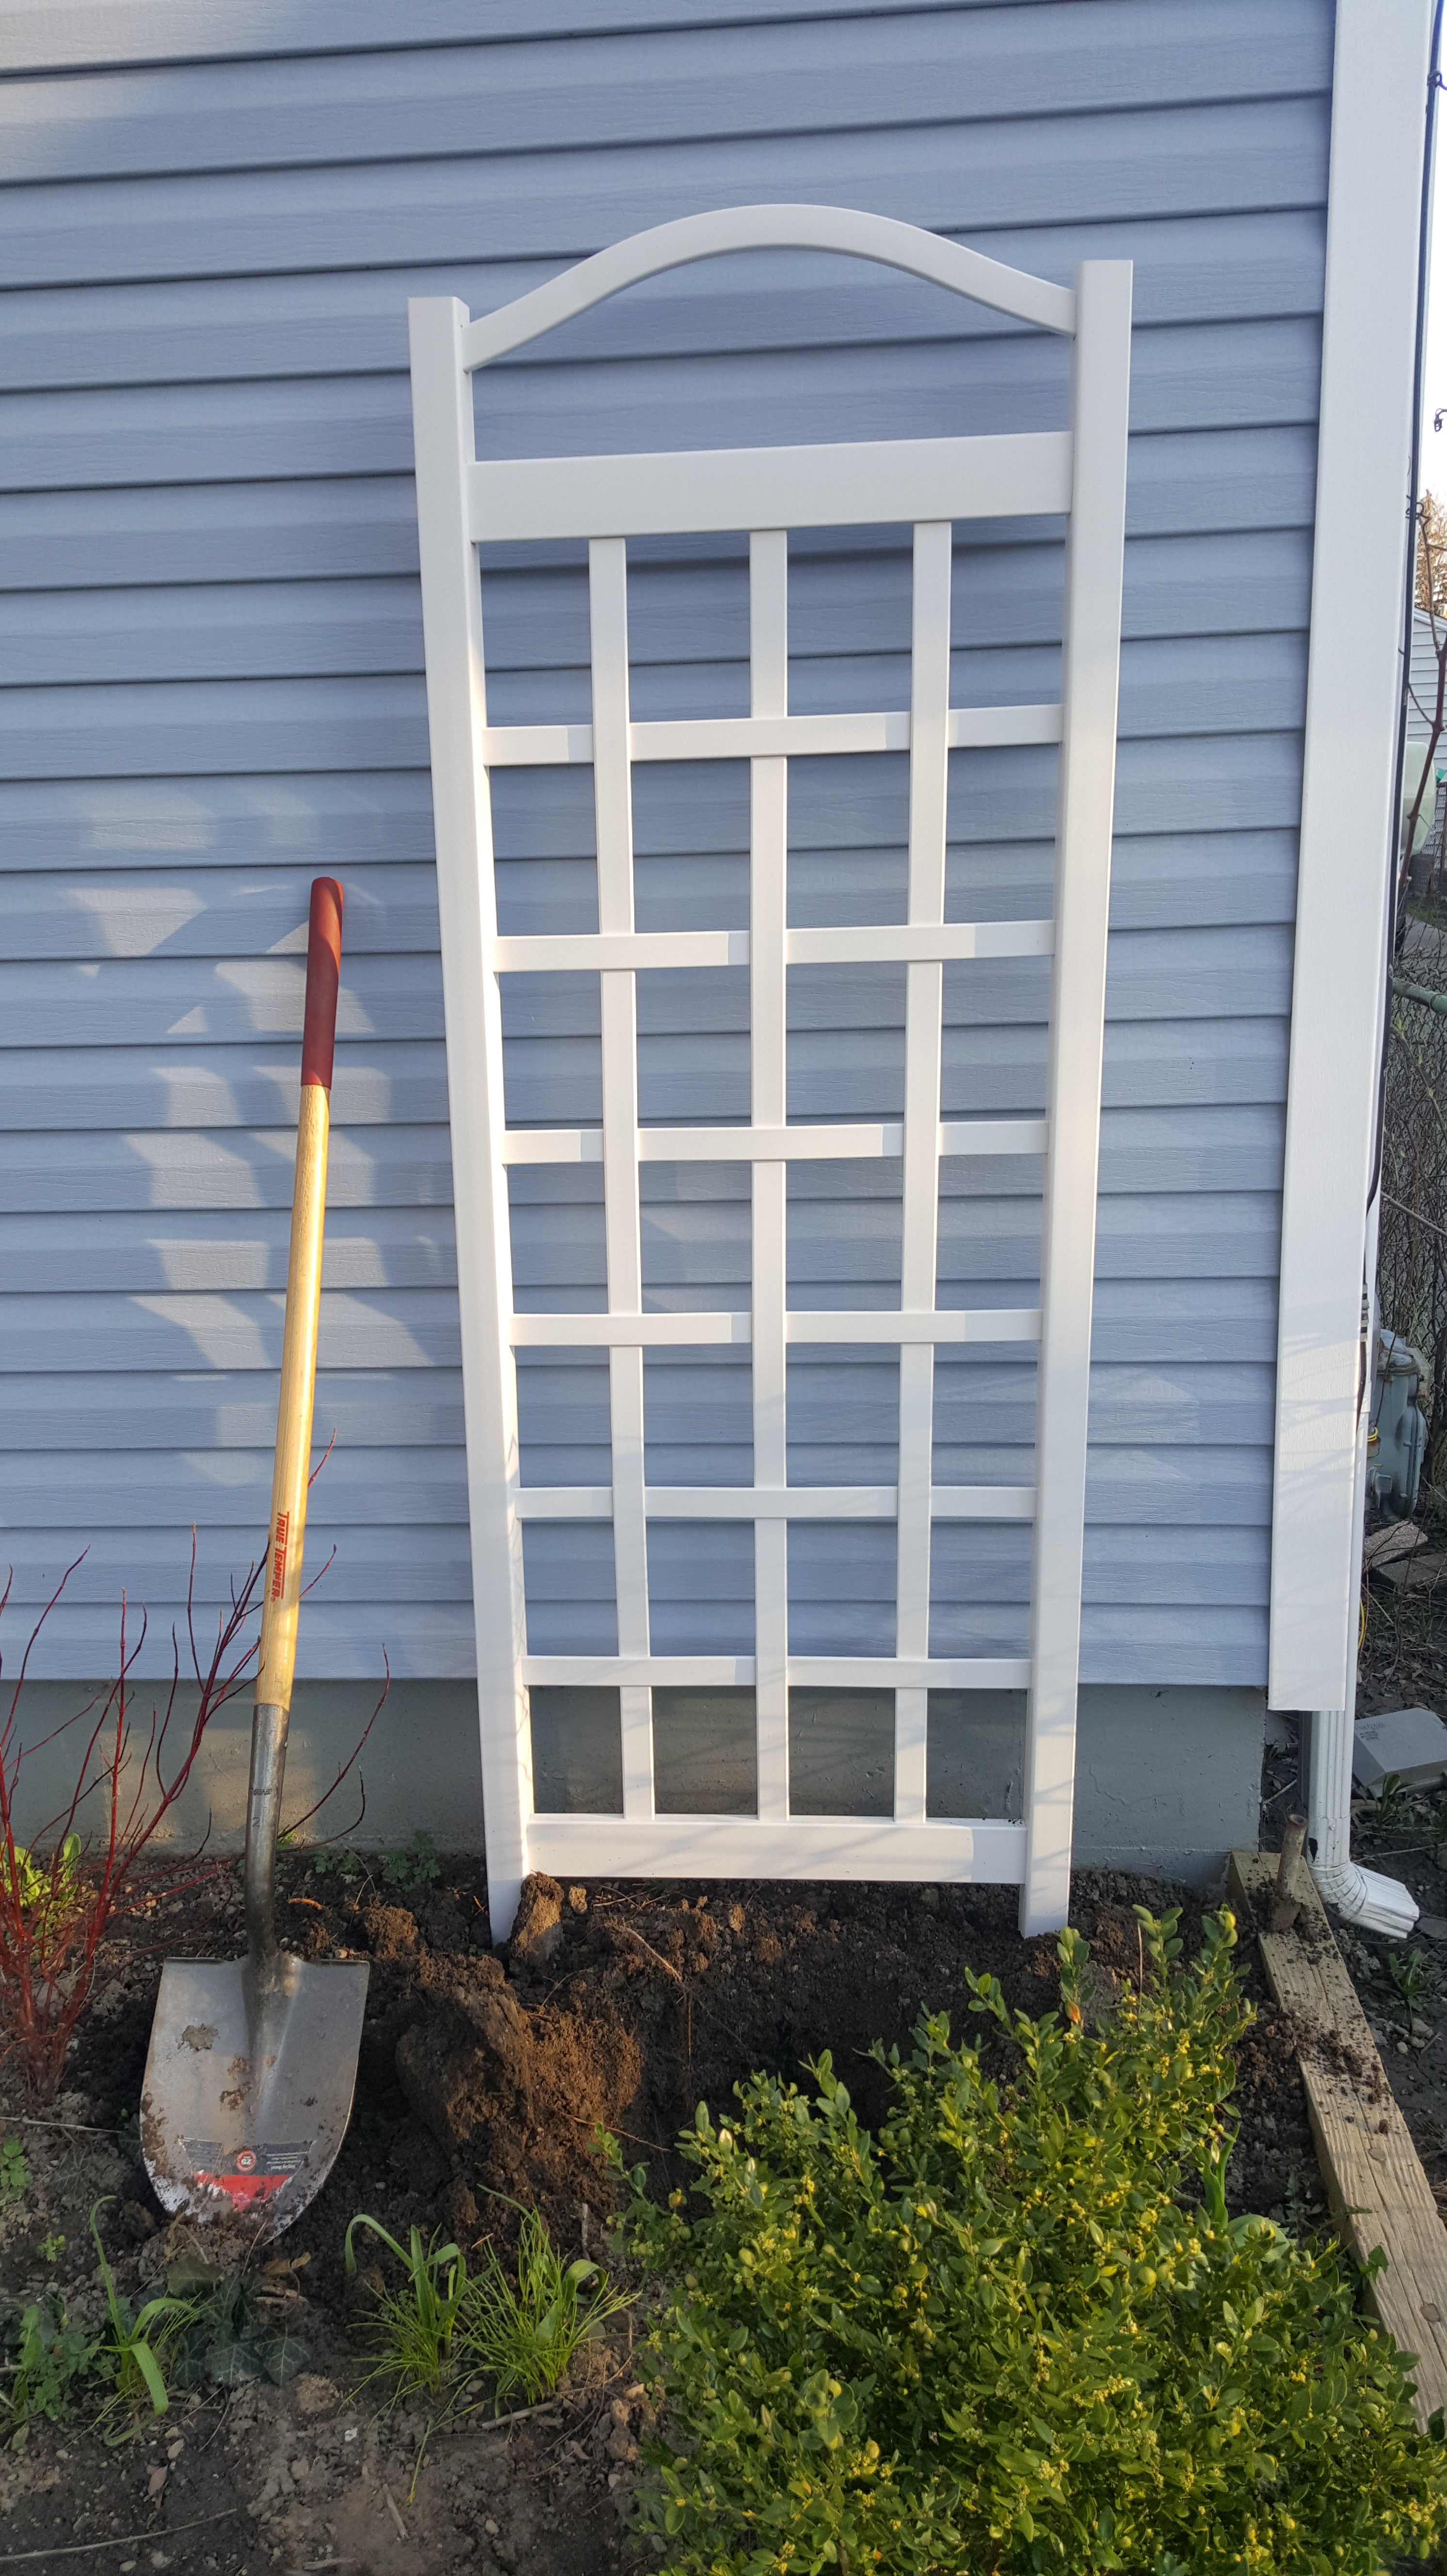
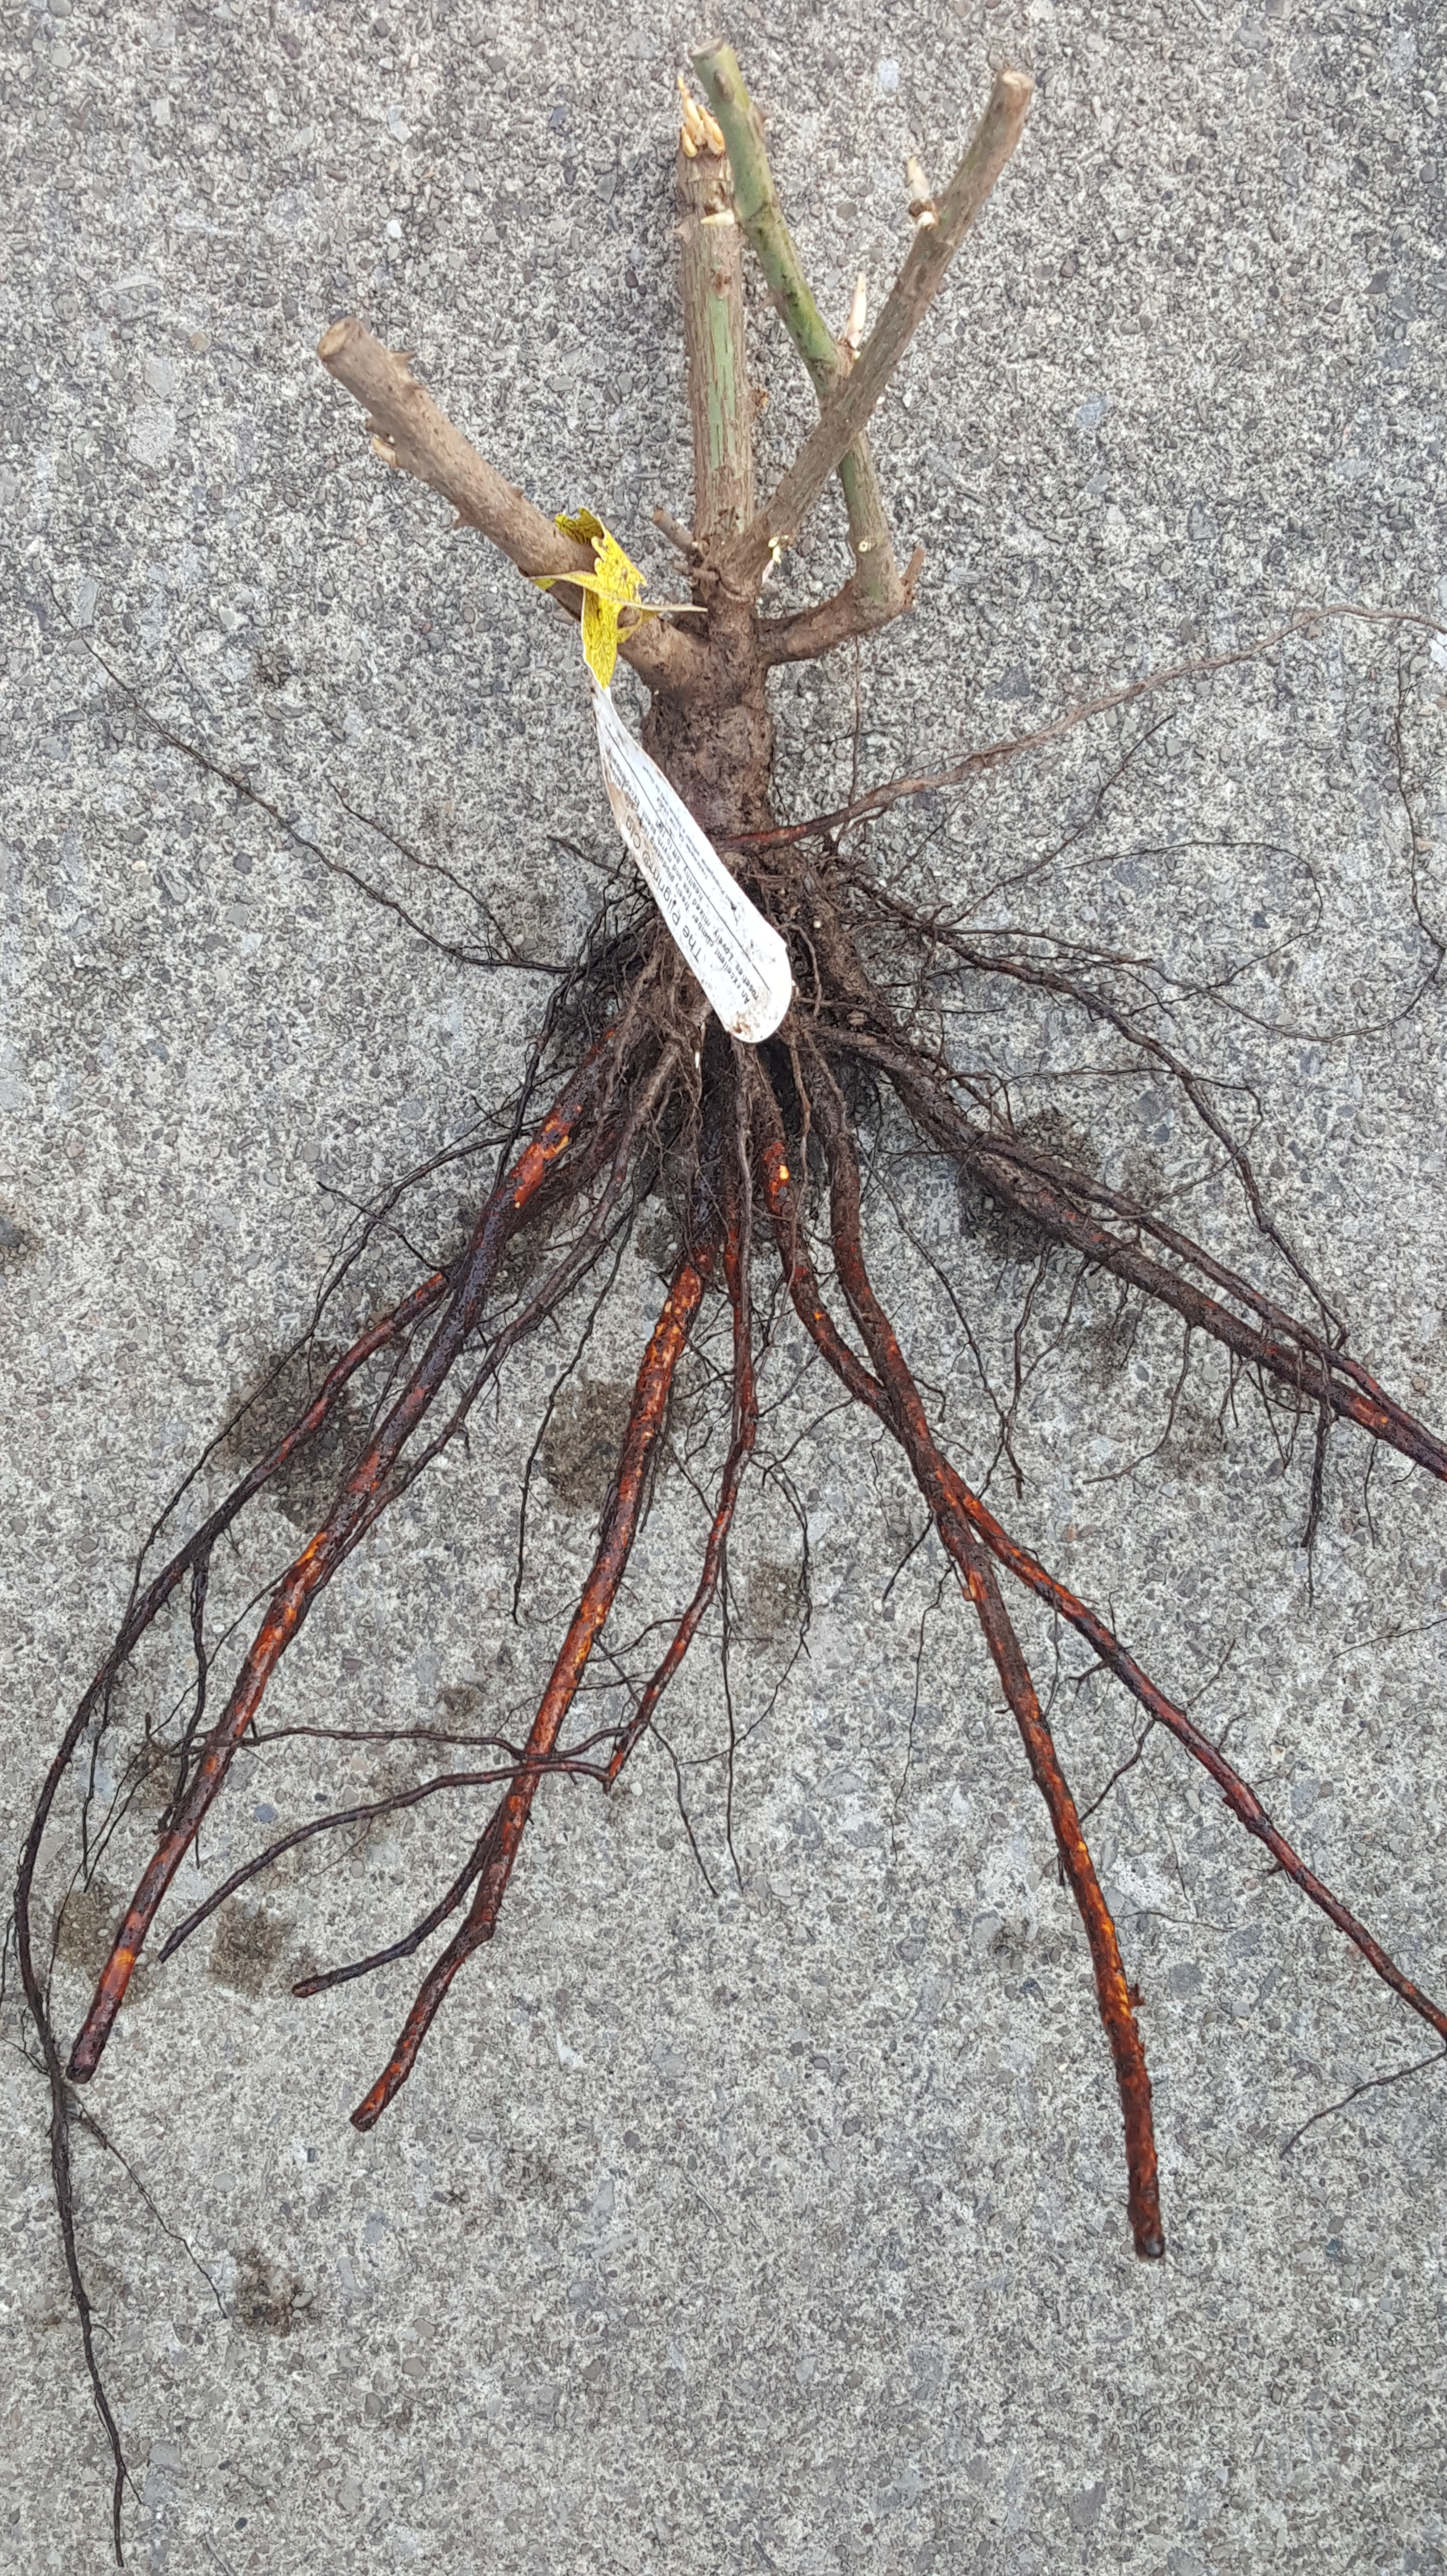
My rose:
It did not bloom this year. I planted the David Austin Rose “The Pilgrim”, and it grew on my trellis, just never flowered. I am hoping this year it will, as with our 6-month winter last year might have had something to do with it. Fingers crossed!
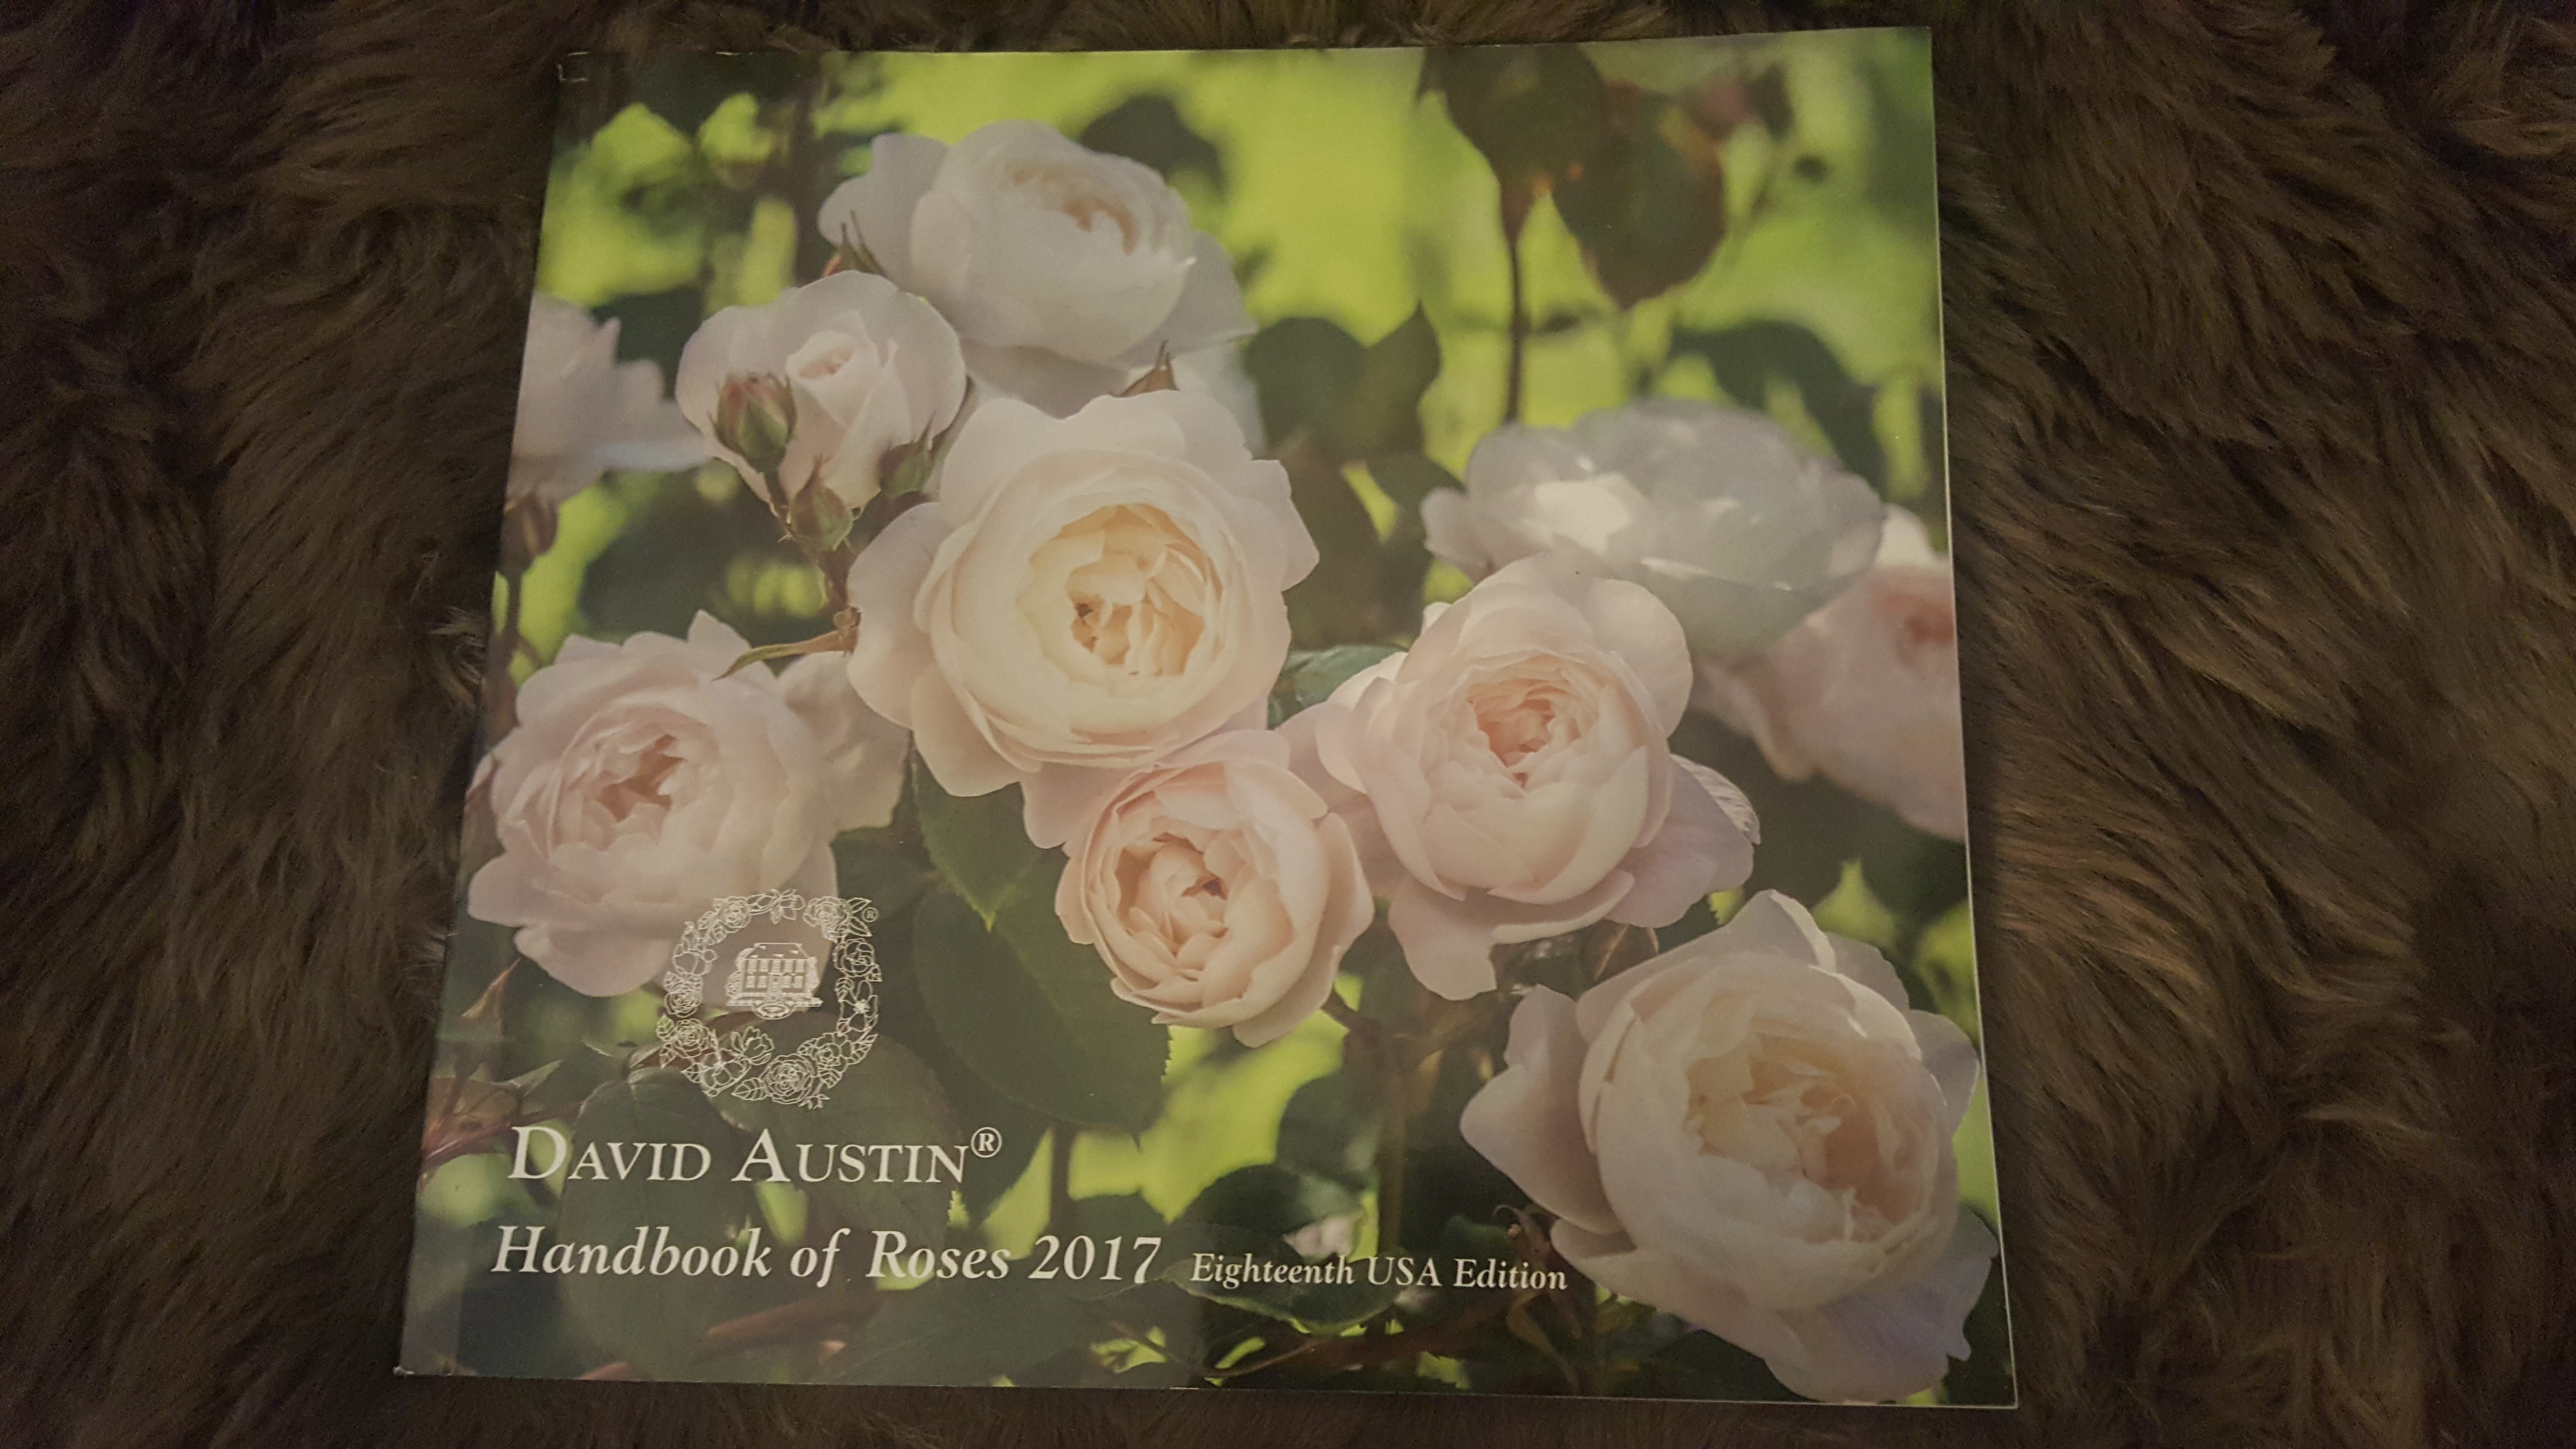
So, looking ahead– I am going to concentrate on mulching all of my beds this year, and adding more dahlias. I also would like to purchase one more David Austin rose, and then really start “landscaping” my yard. Now that I have a bulk of the planting done, it’s time to give these beds some shape and definition!
I hope you all have a nice New Year, I look forward to getting back to business with blogging all of my outdoor and gardening adventures. I post on Instagram most often, so, feel free to take a look when you get a chance!