Got”chia”: The Chia Pet Chronicles

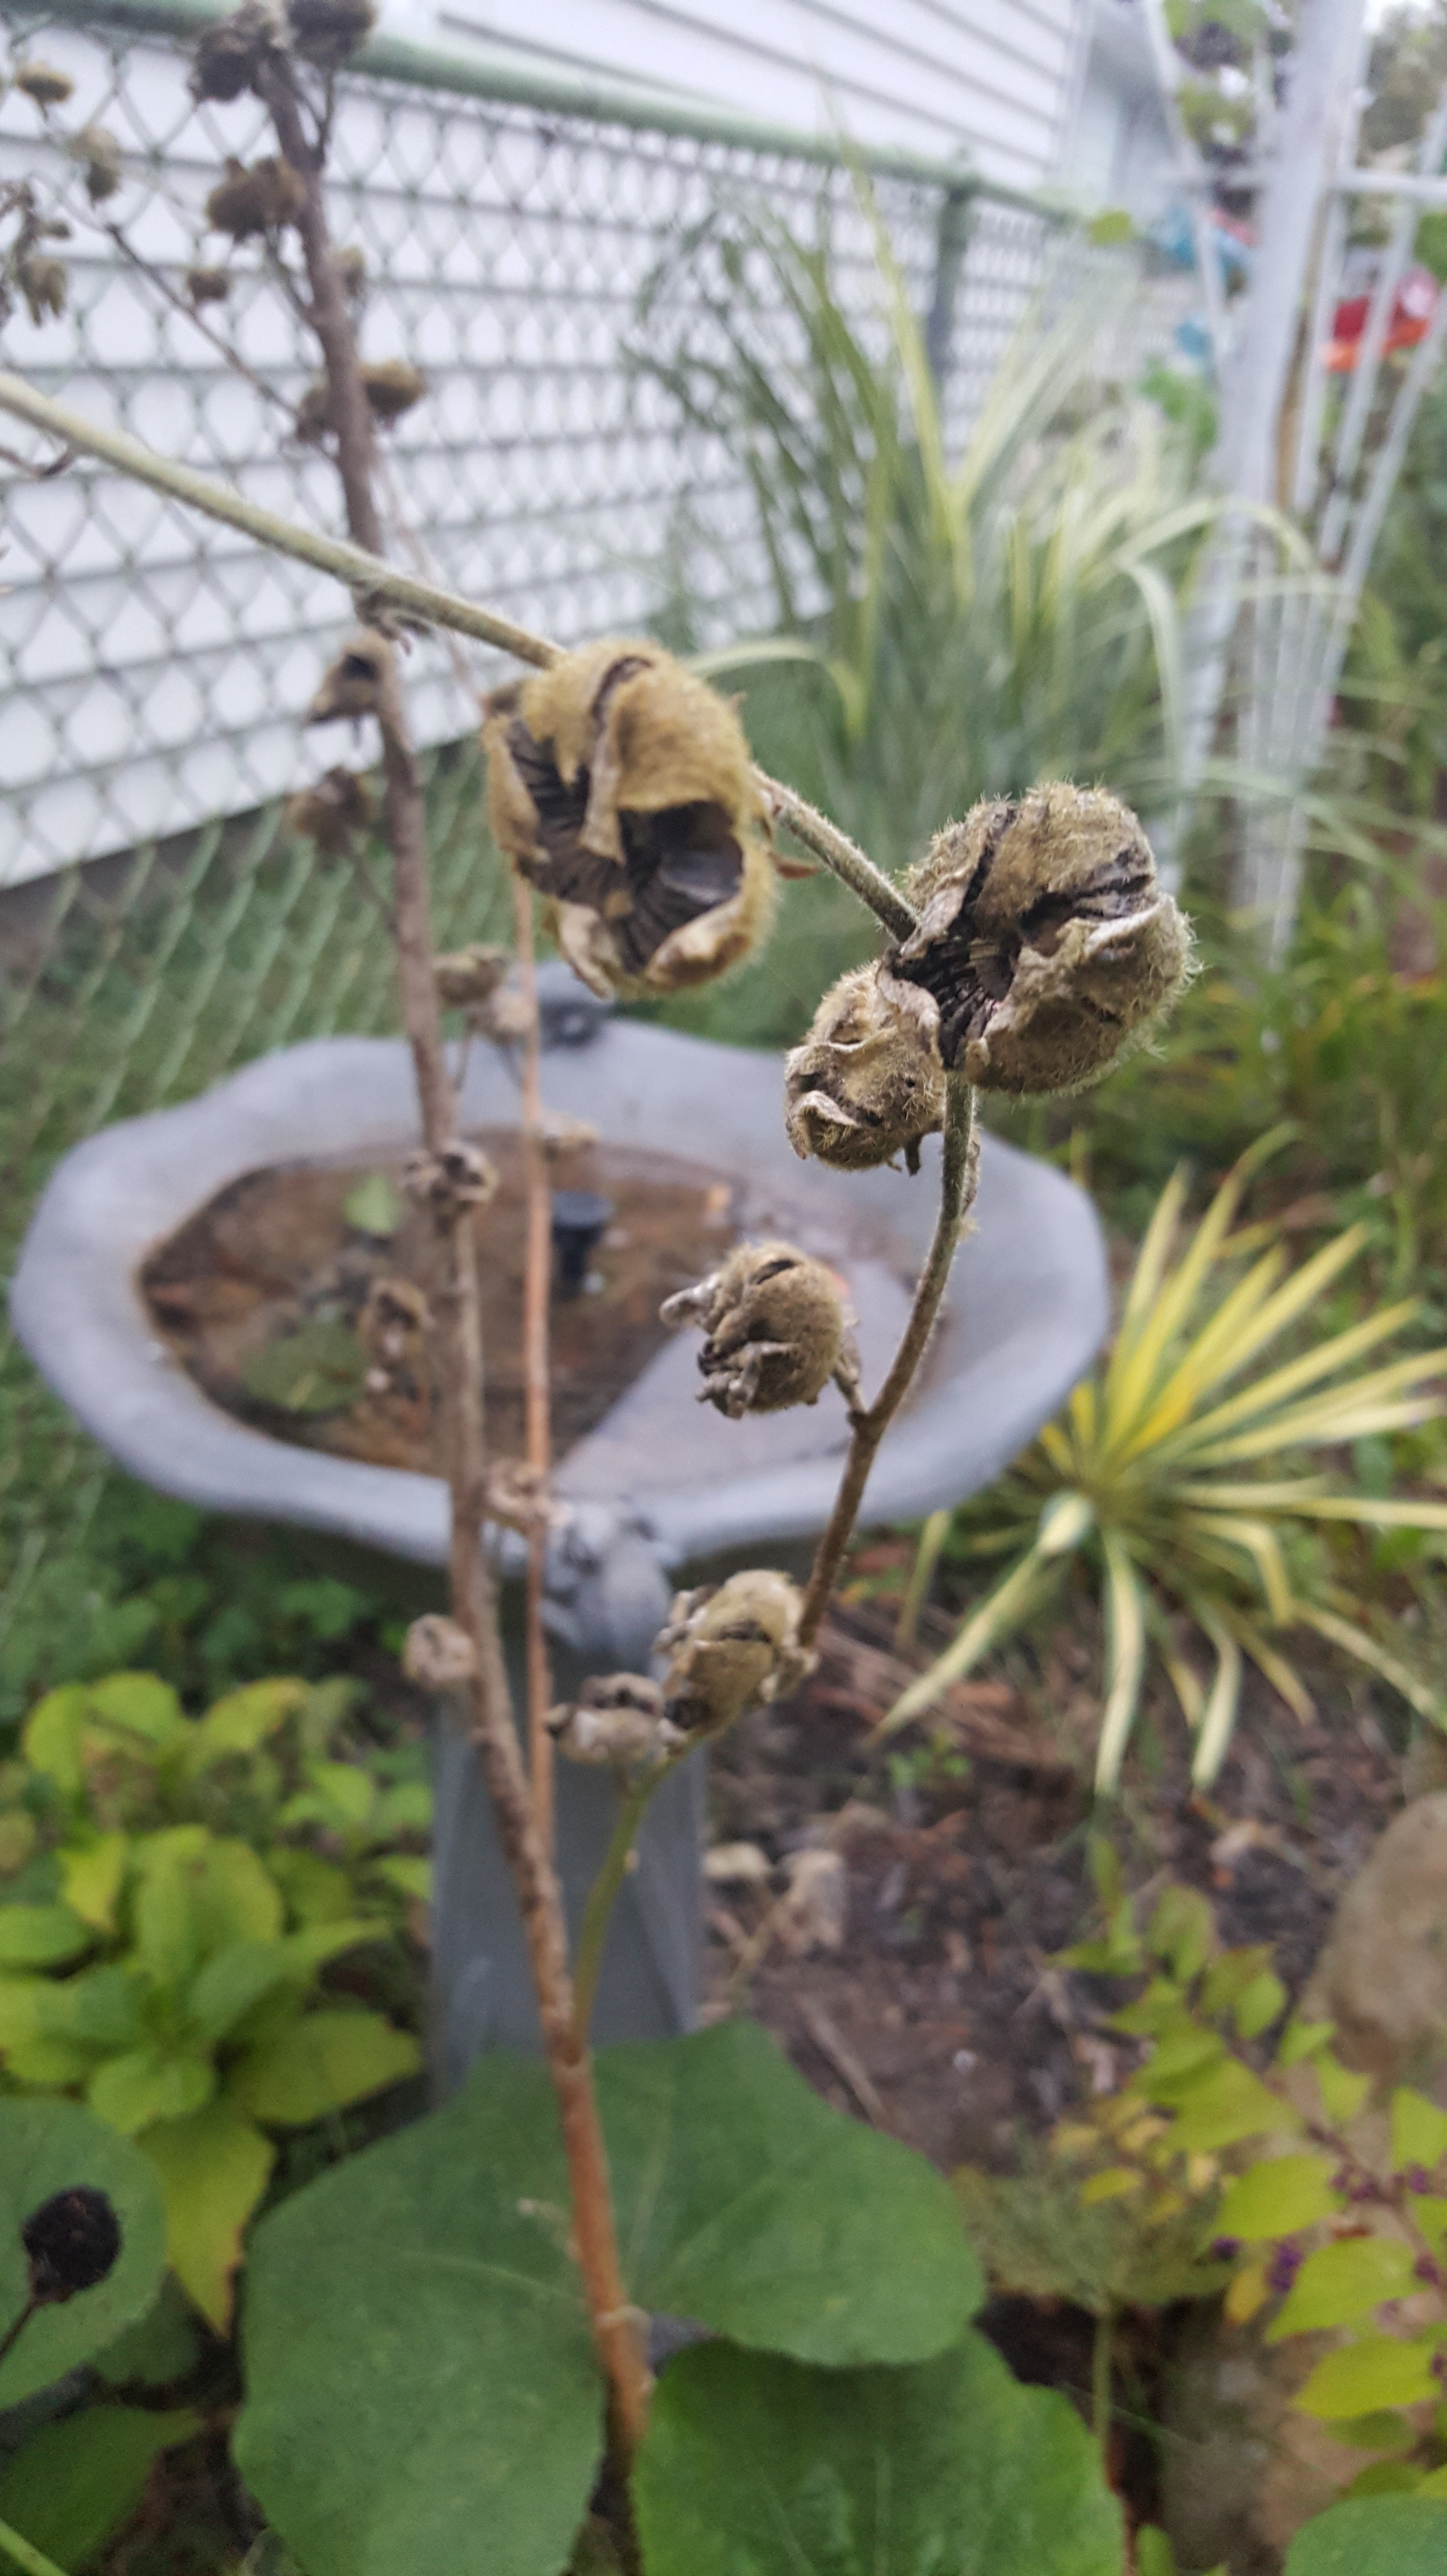
I have been slacking big time on getting posts out in a timely manner. It just hasn’t been happening because Life happens.  Work, kids, family, etc. Lots going on, and that’s not a bad thing! We did finally get some snow this week. I live north of the city, and we never get anywhere near the lake effect snow that the city and south towns get. It really does depress me, because I like to play outside in the snow! Oh well, we are forecasted to get some starting tomorrow, so here’s hoping for a few inches!

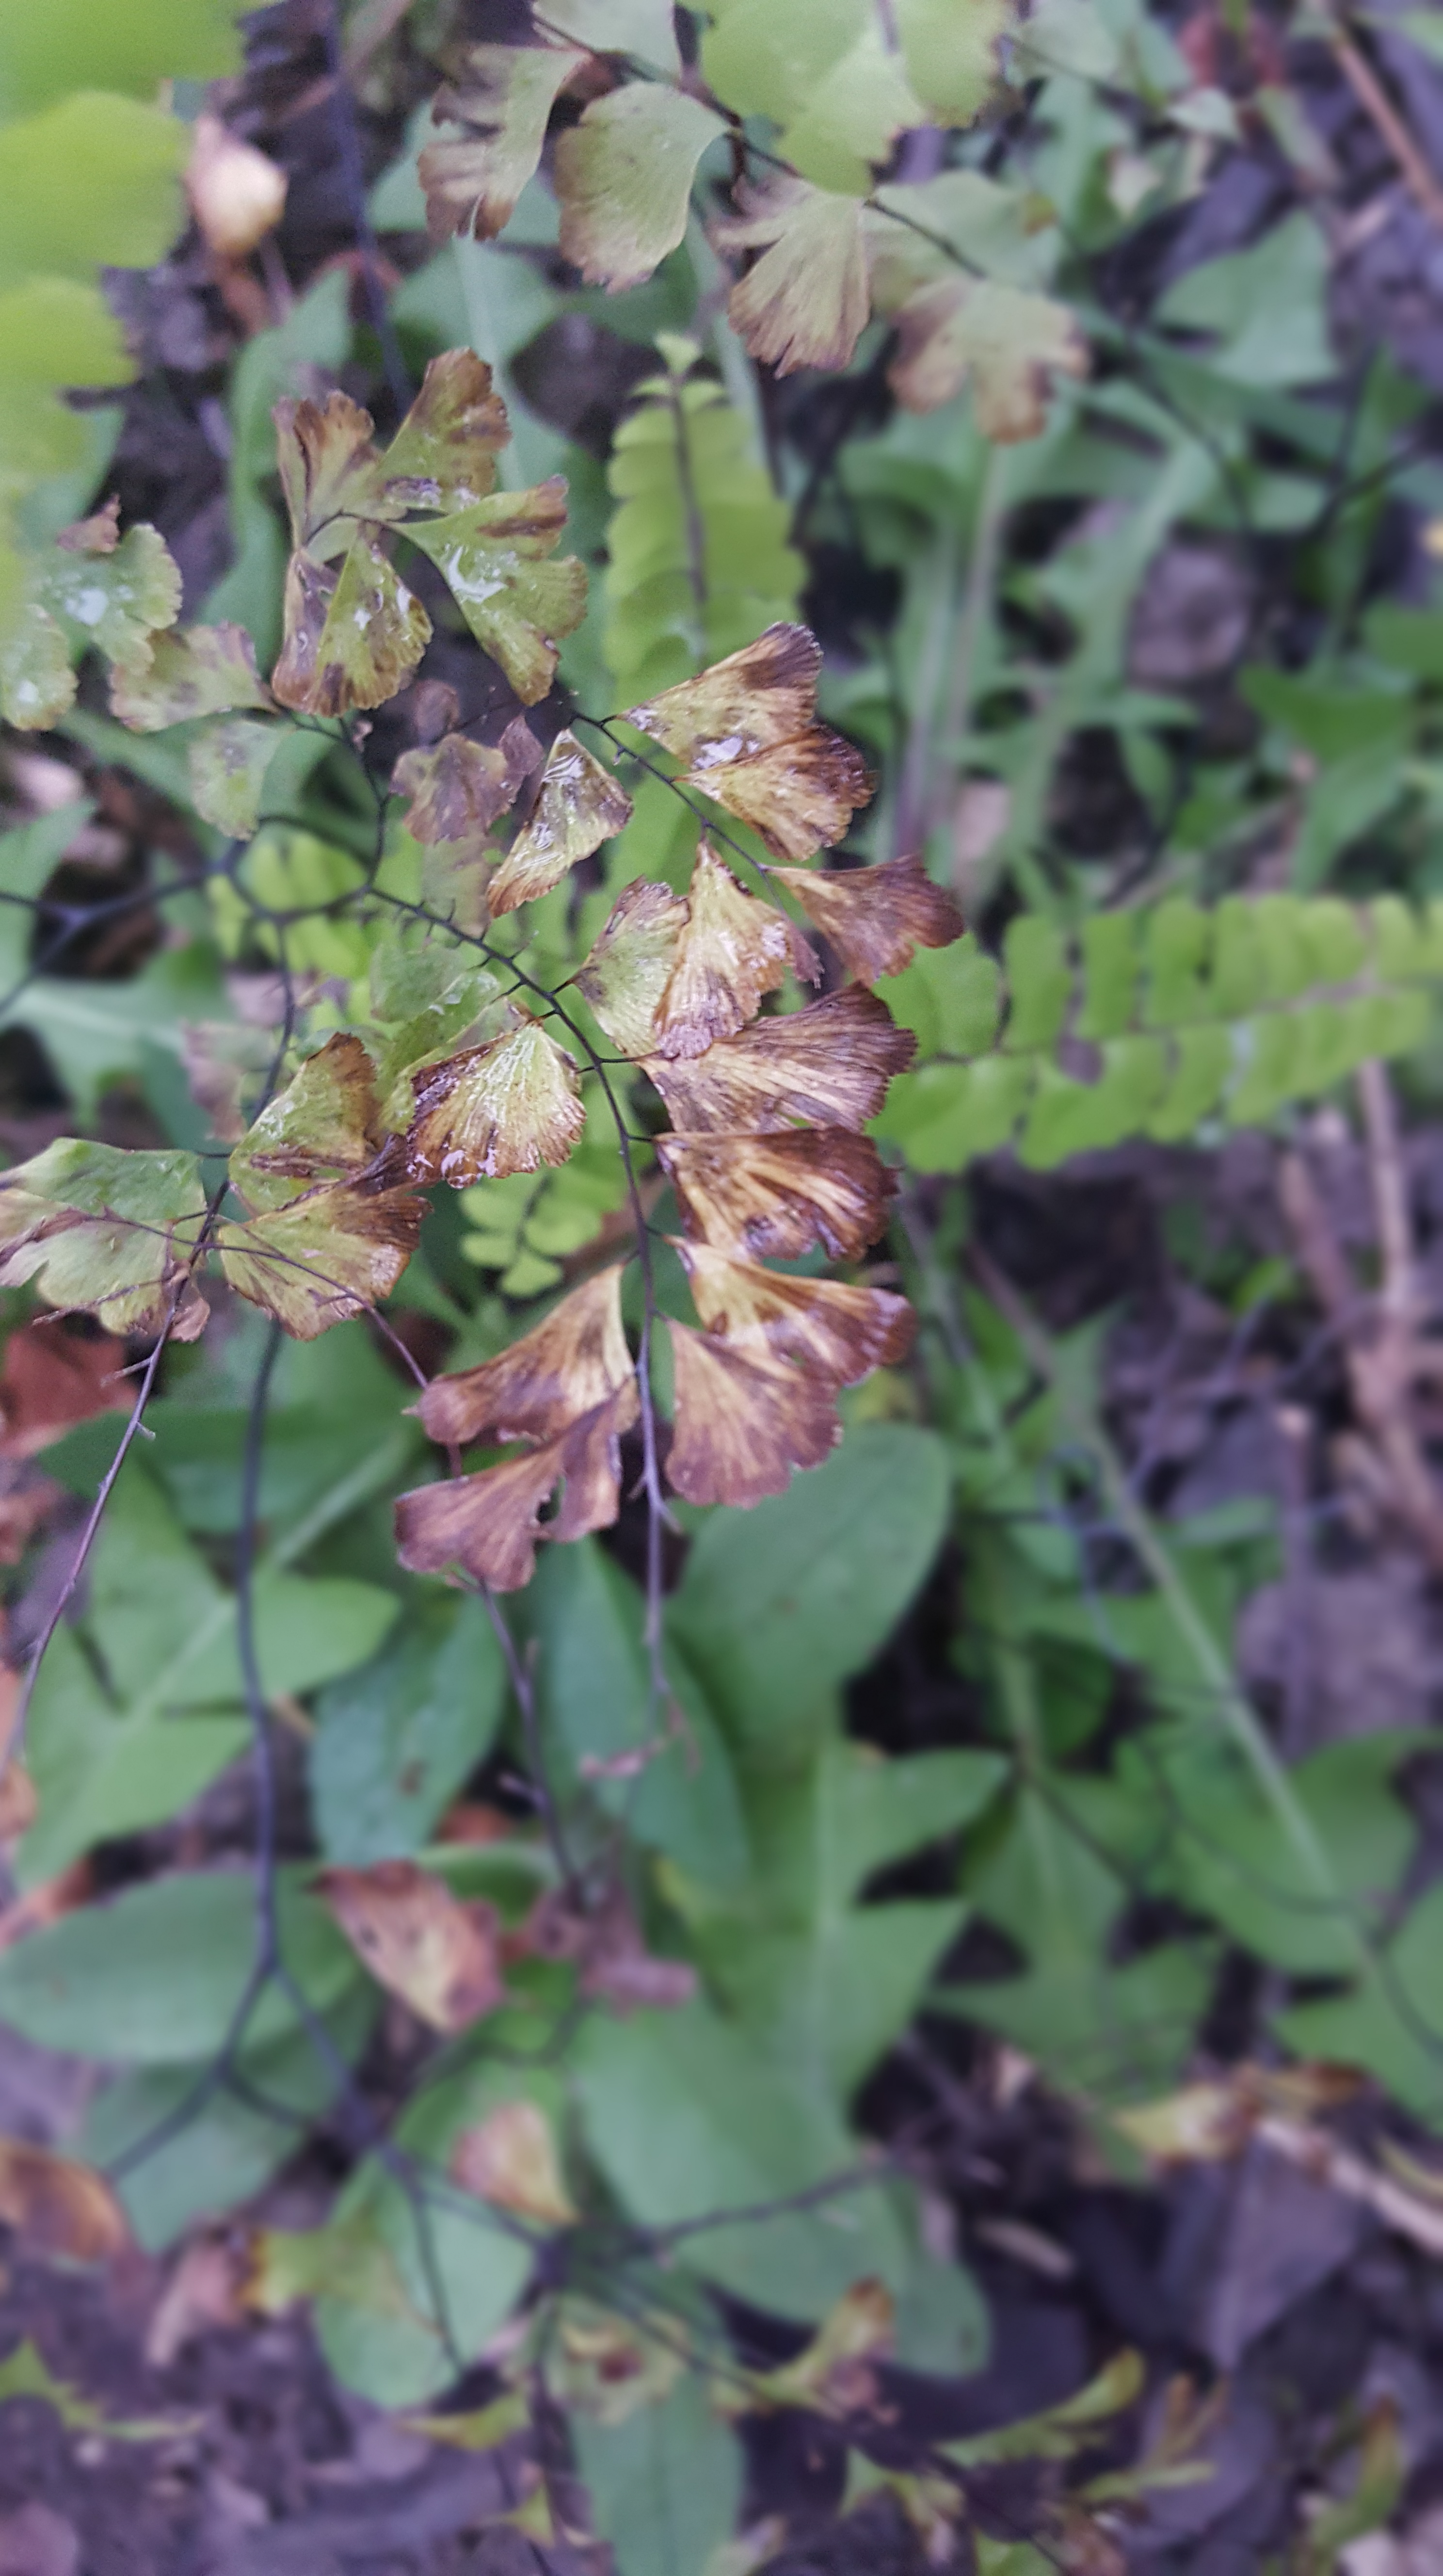
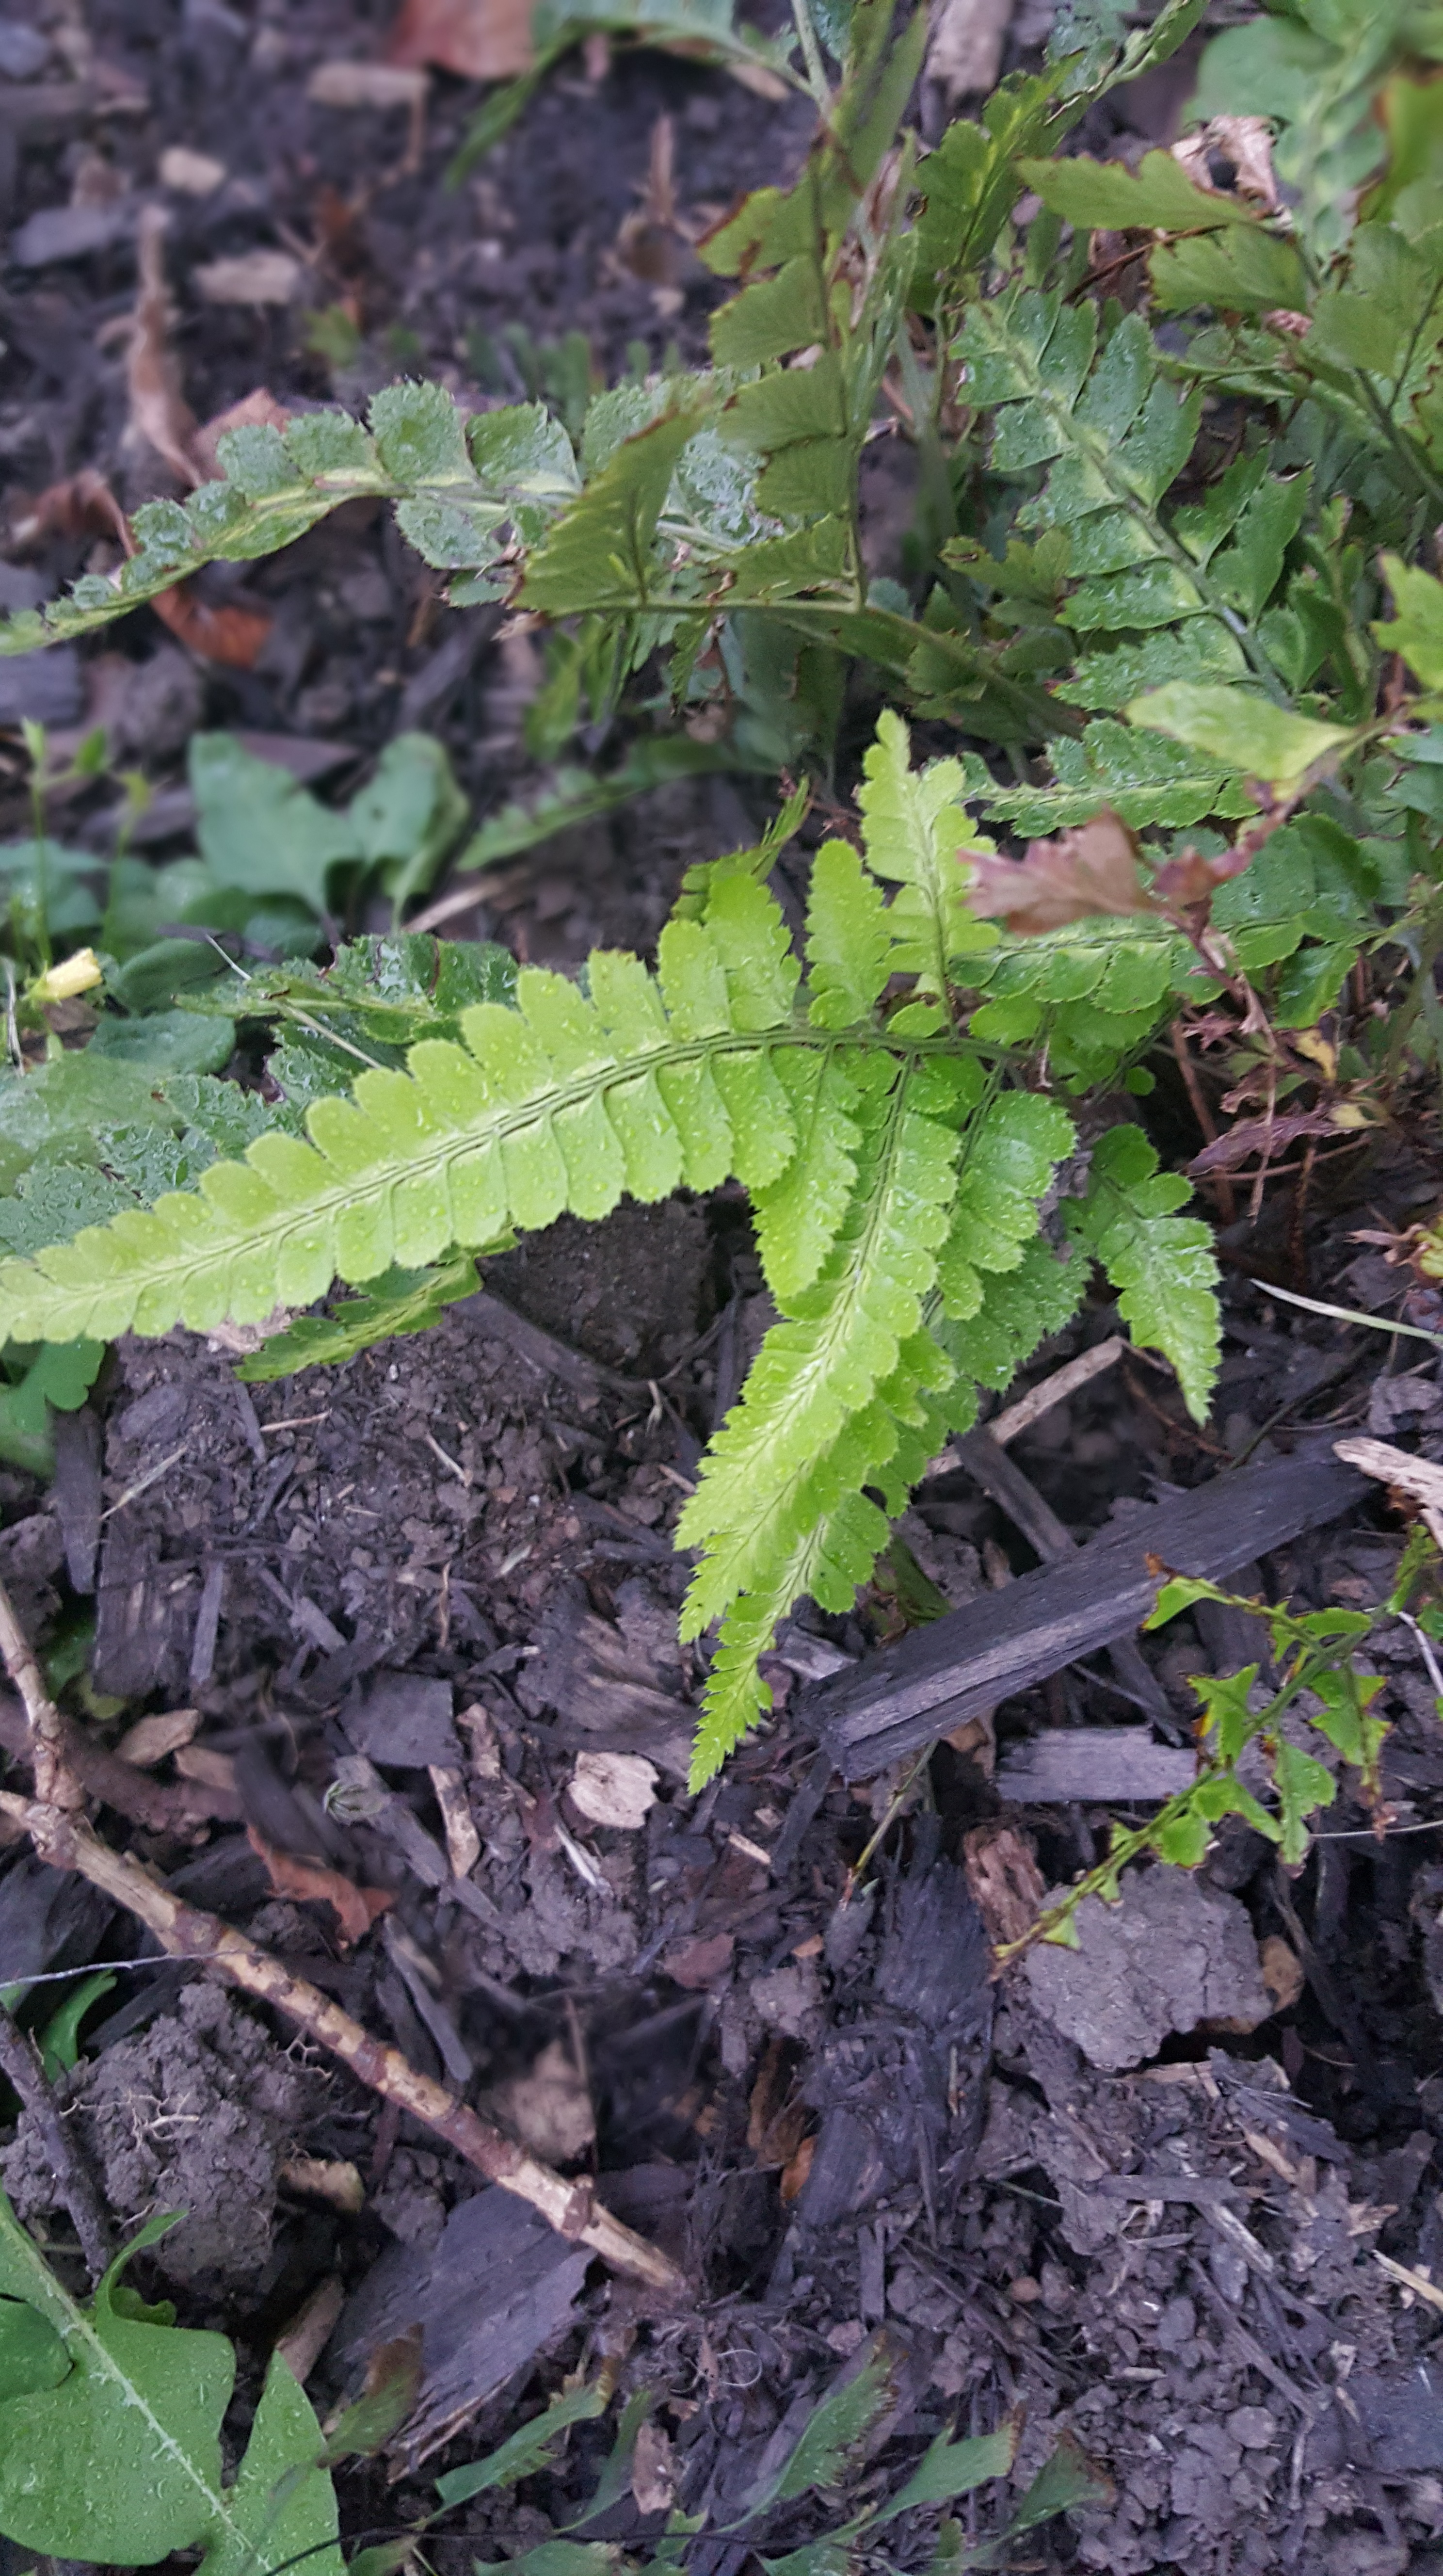
My company now allows for flex hours, and I go into work an hour later and leave an hour later. My nights are already pretty compressed — trying to get dinner, play with my daughter  and then start the bedtime routine. But now as my daughter gets older, I feel like my weeknights are flying by faster than ever. So, I have to admit I have been neglecting my indoor plants a little bit. Last year I was learning about my plants and wanting to purchase more, but time seems to be lacking for me to even really get excited about the whole endeavor. I wanted to change that!

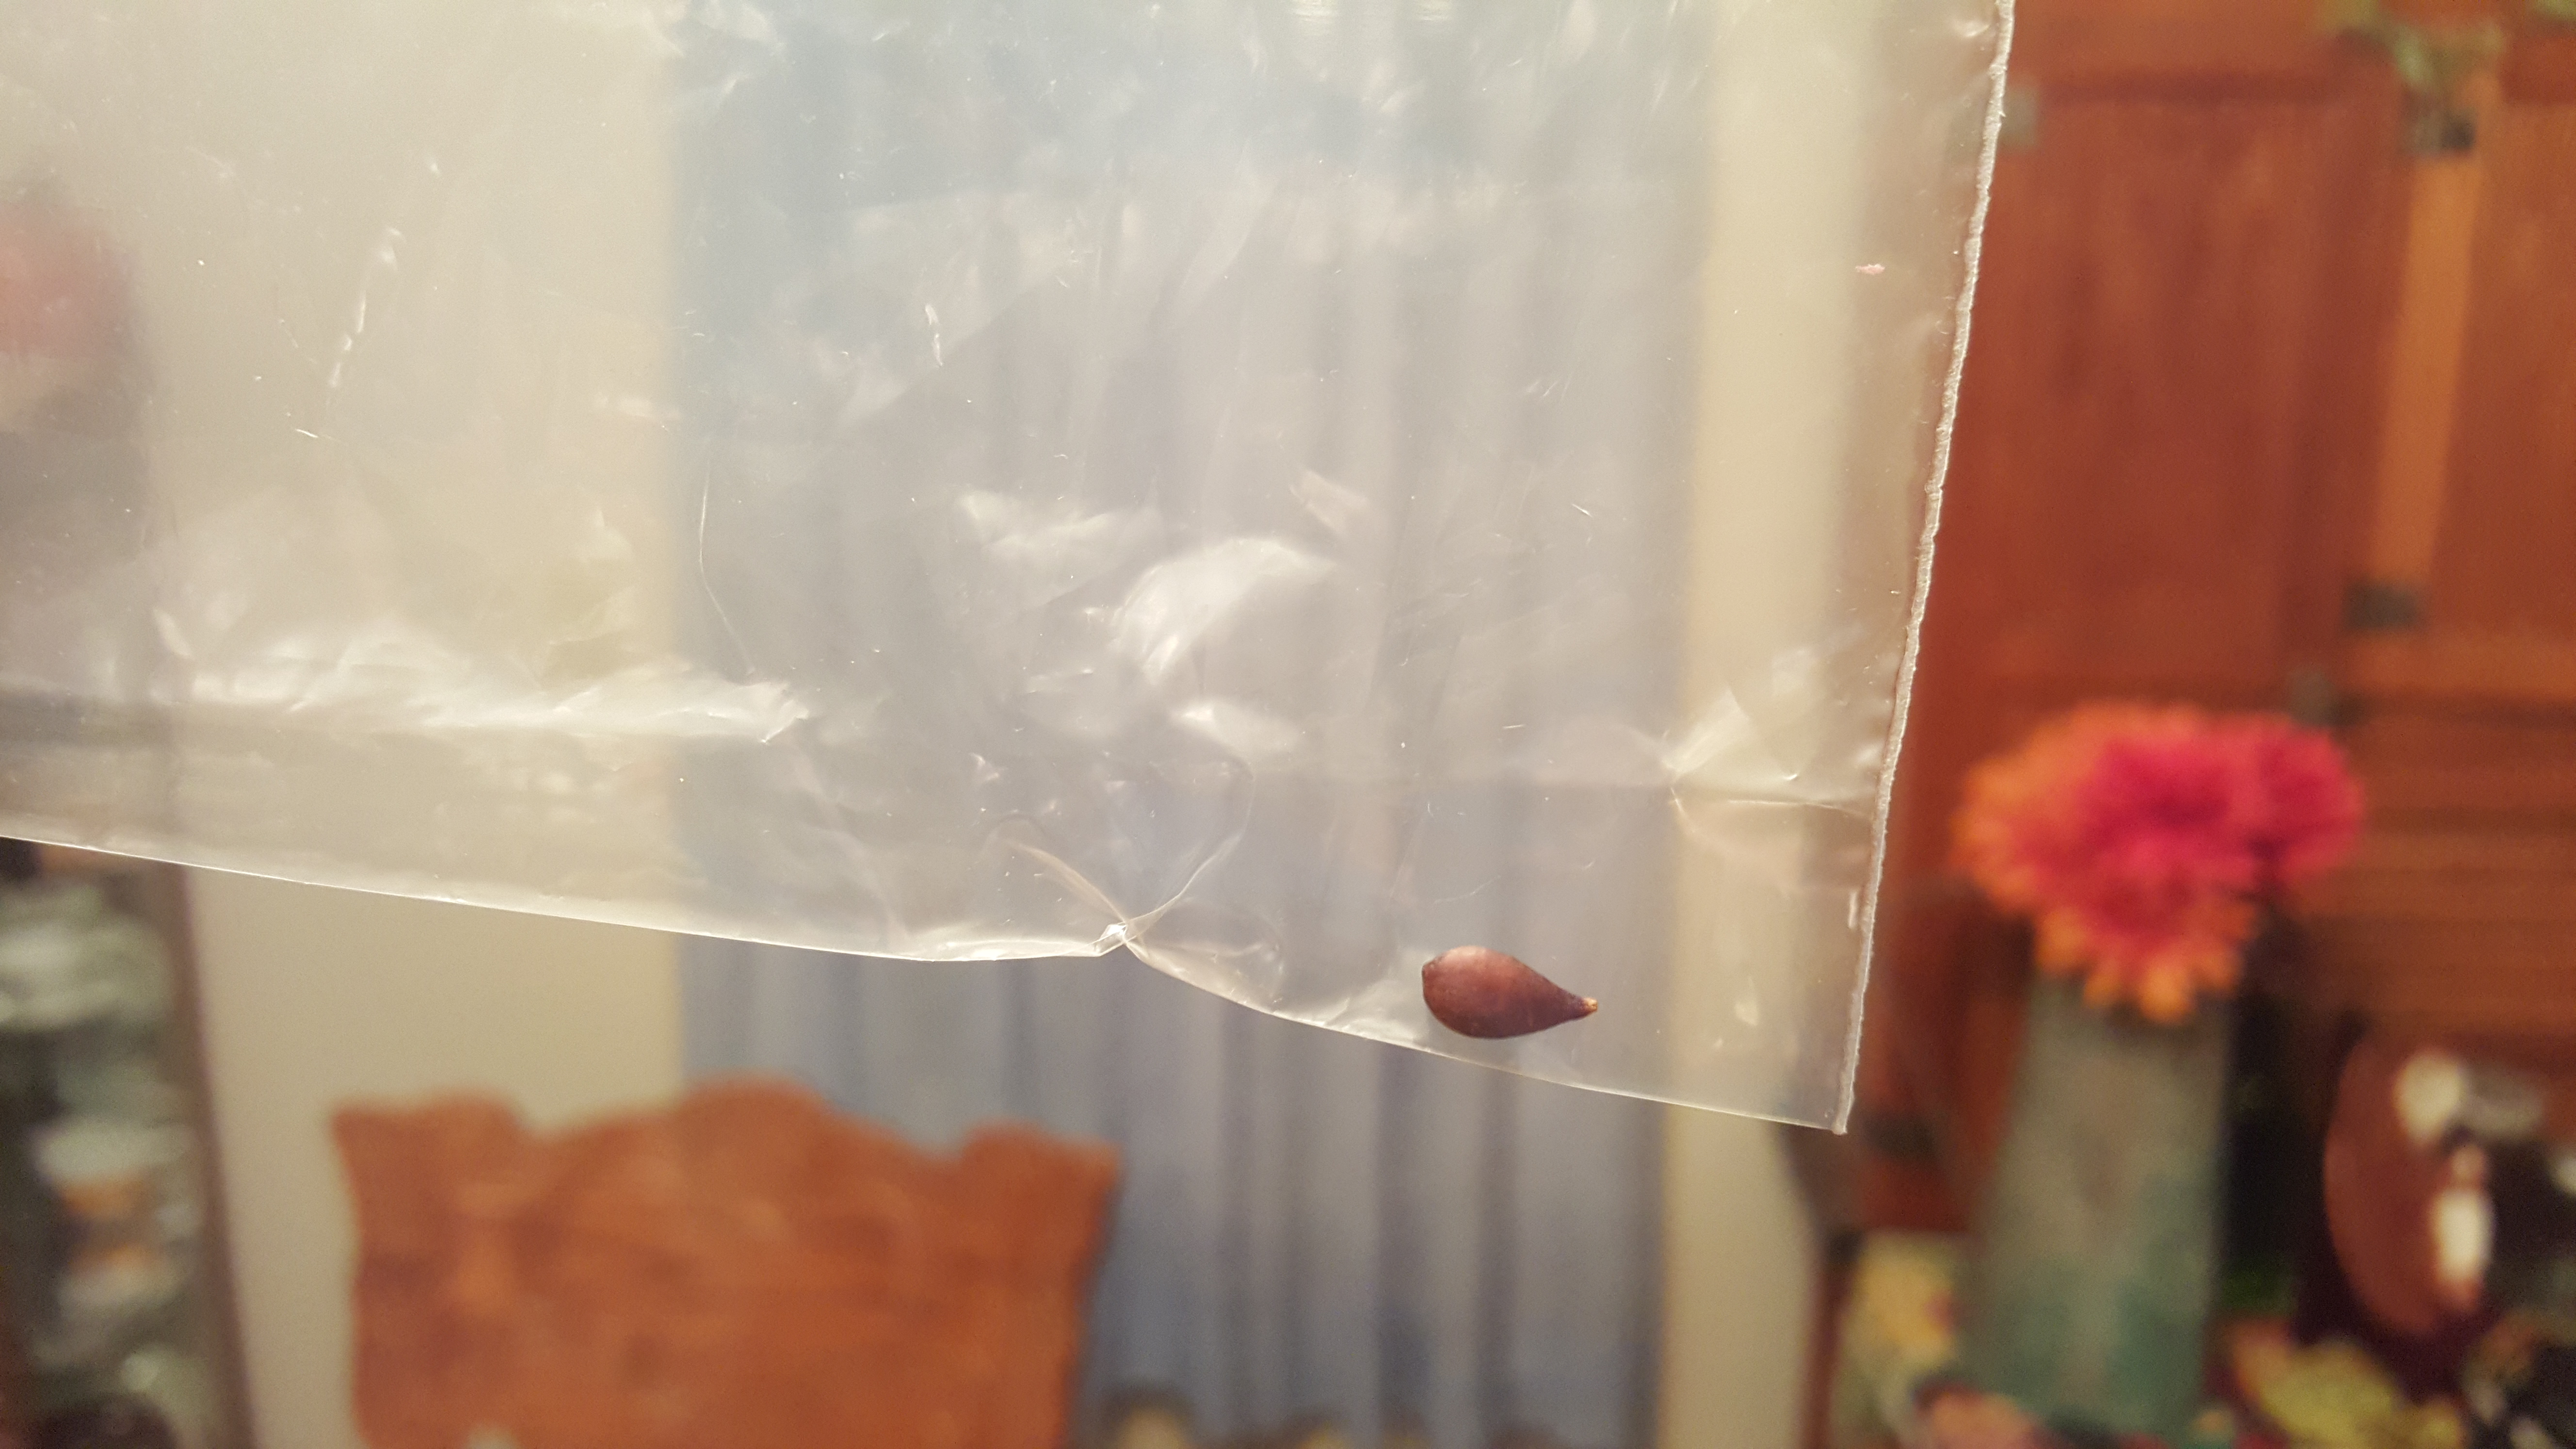
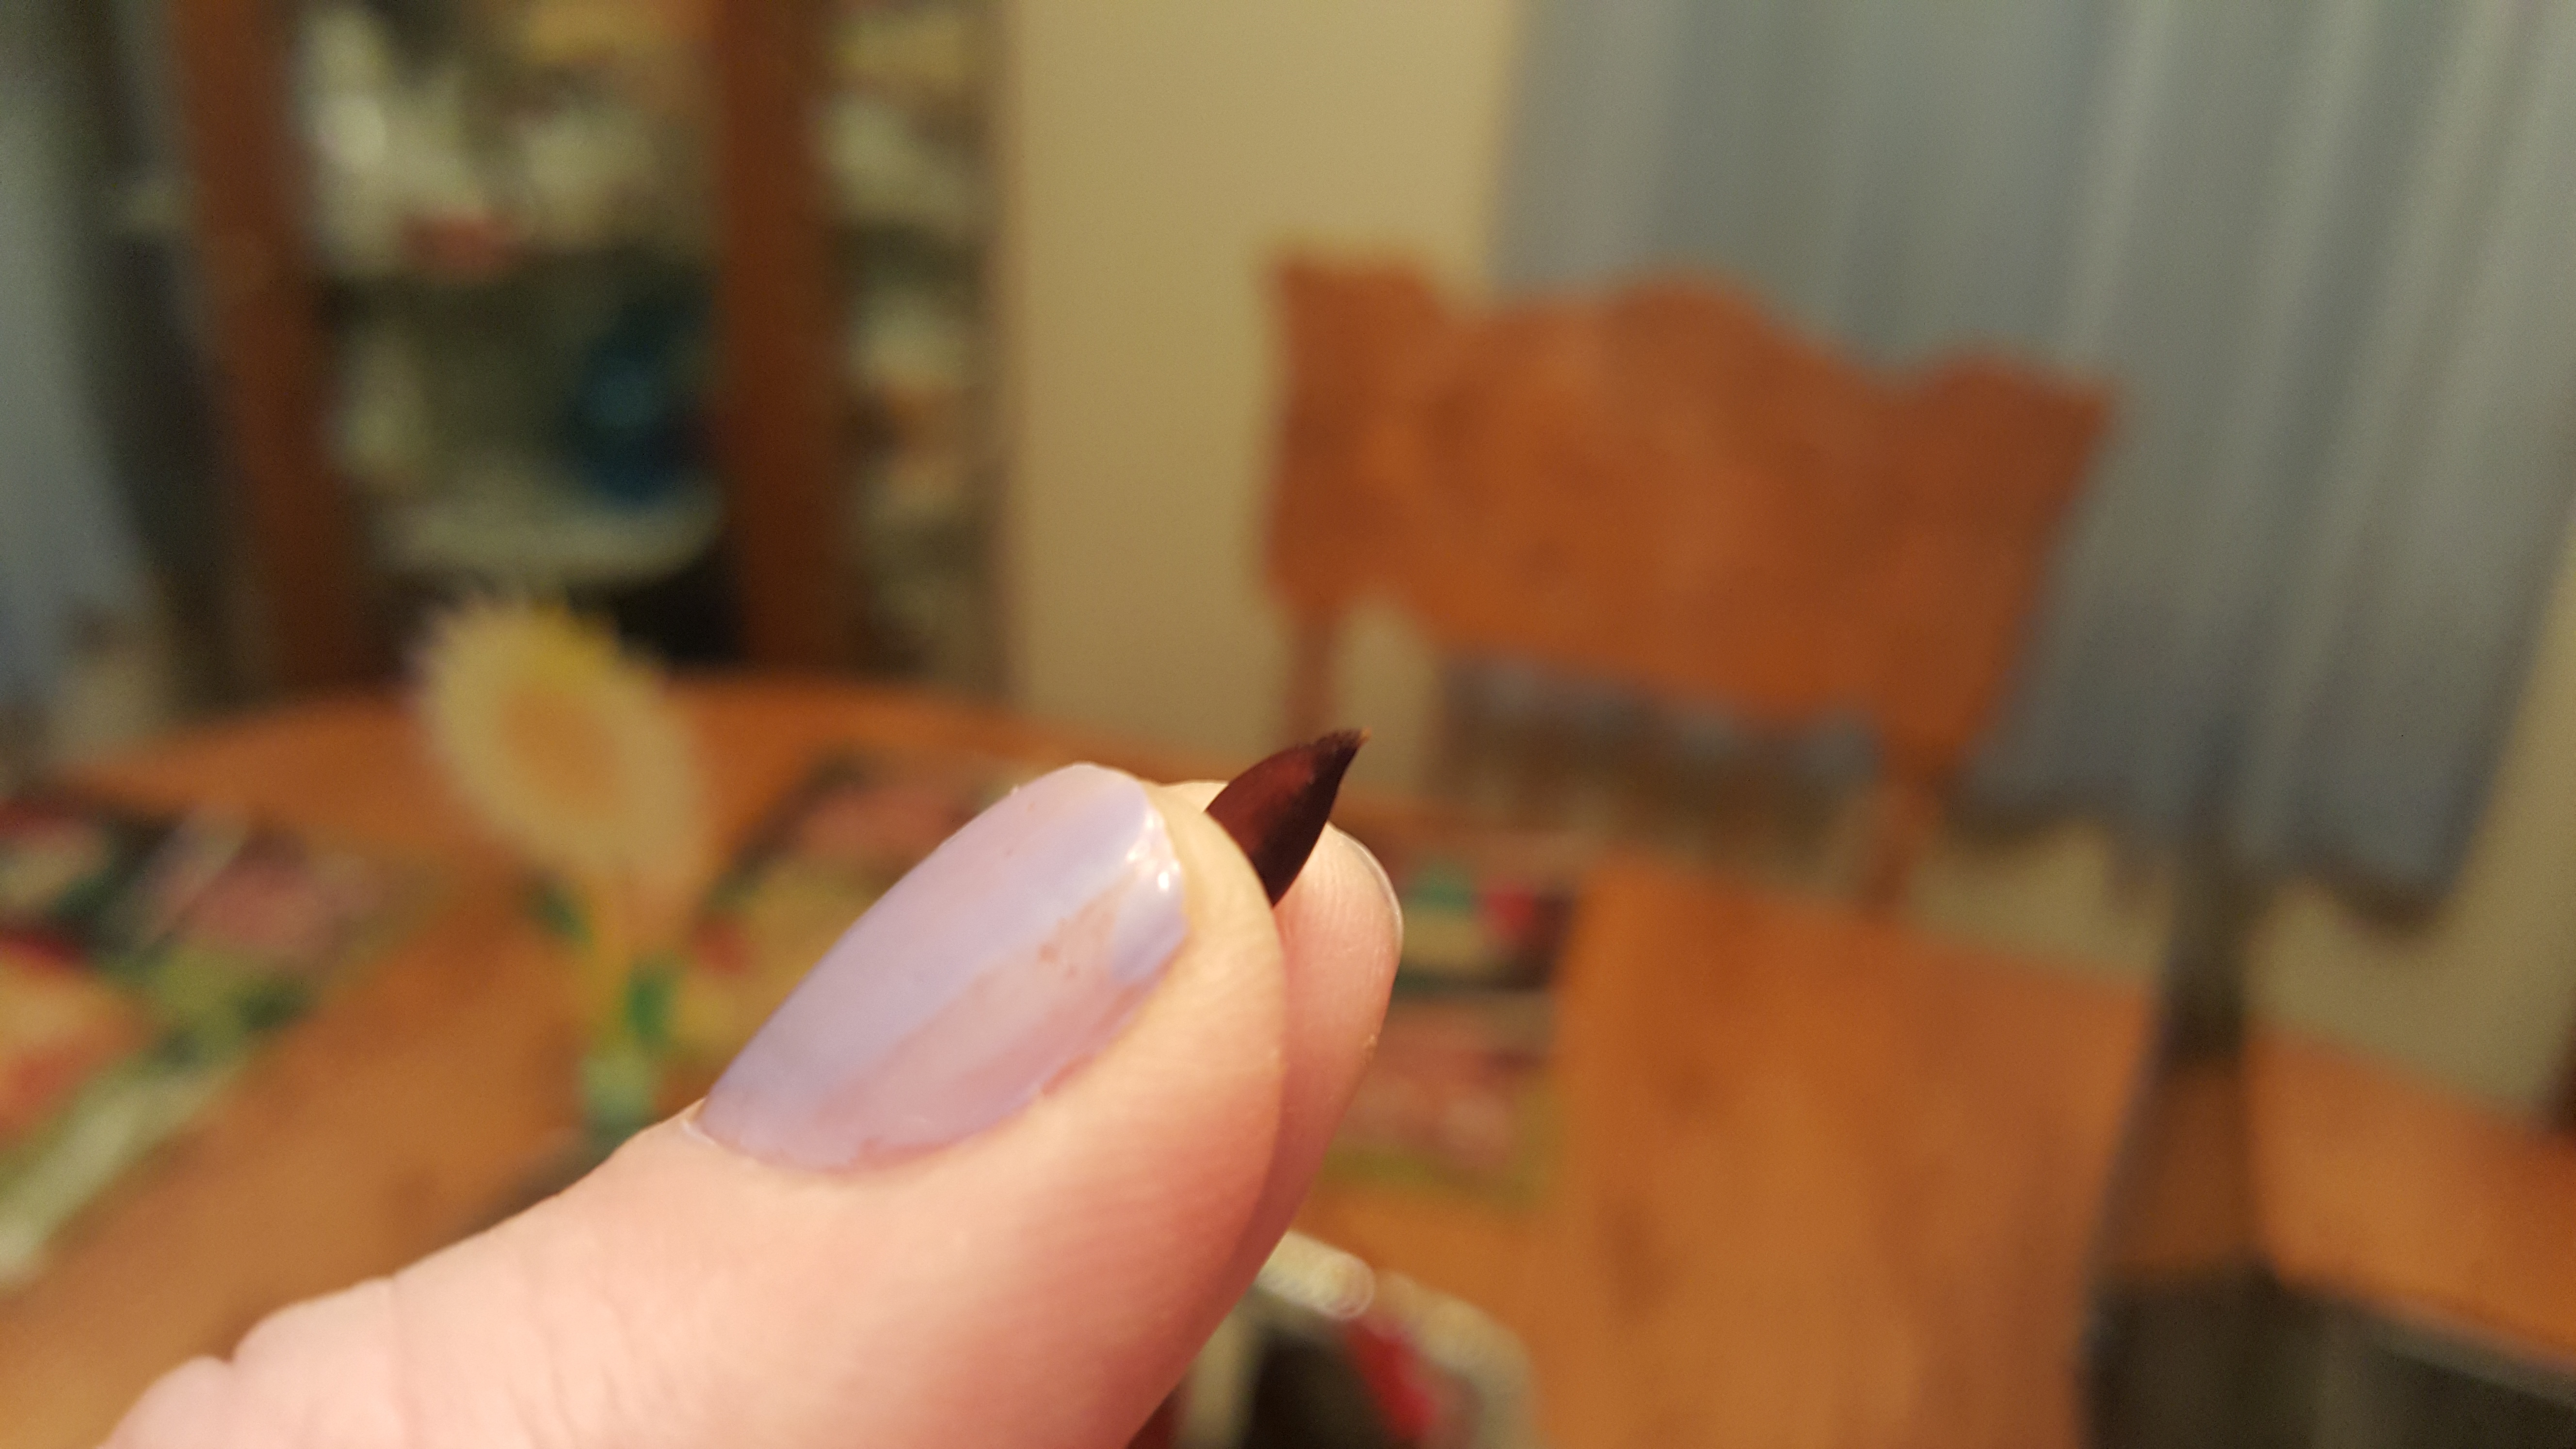
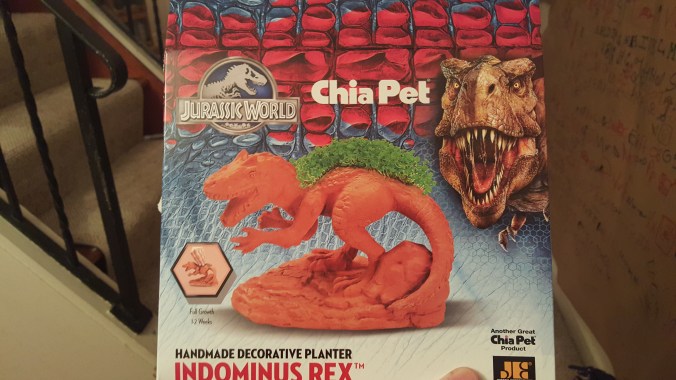
I purchased something before Christmas that I never really EVER thought of buying. I mean, I see it on TV all the time around the holidays, but you never really buy the thing, do you?!! Yes, I did.

I bought a Chia Pet. But not just any Chia Pet. The Jurassic World version of the Chia Pet. And of course, it was my daughter who wanted the thing, and of course, I bought it.

20151218_171609

It also didn’t dawn on me that the “chia” in Chia Pet meant the chia seeds I put in my overnight oats were one in the same!

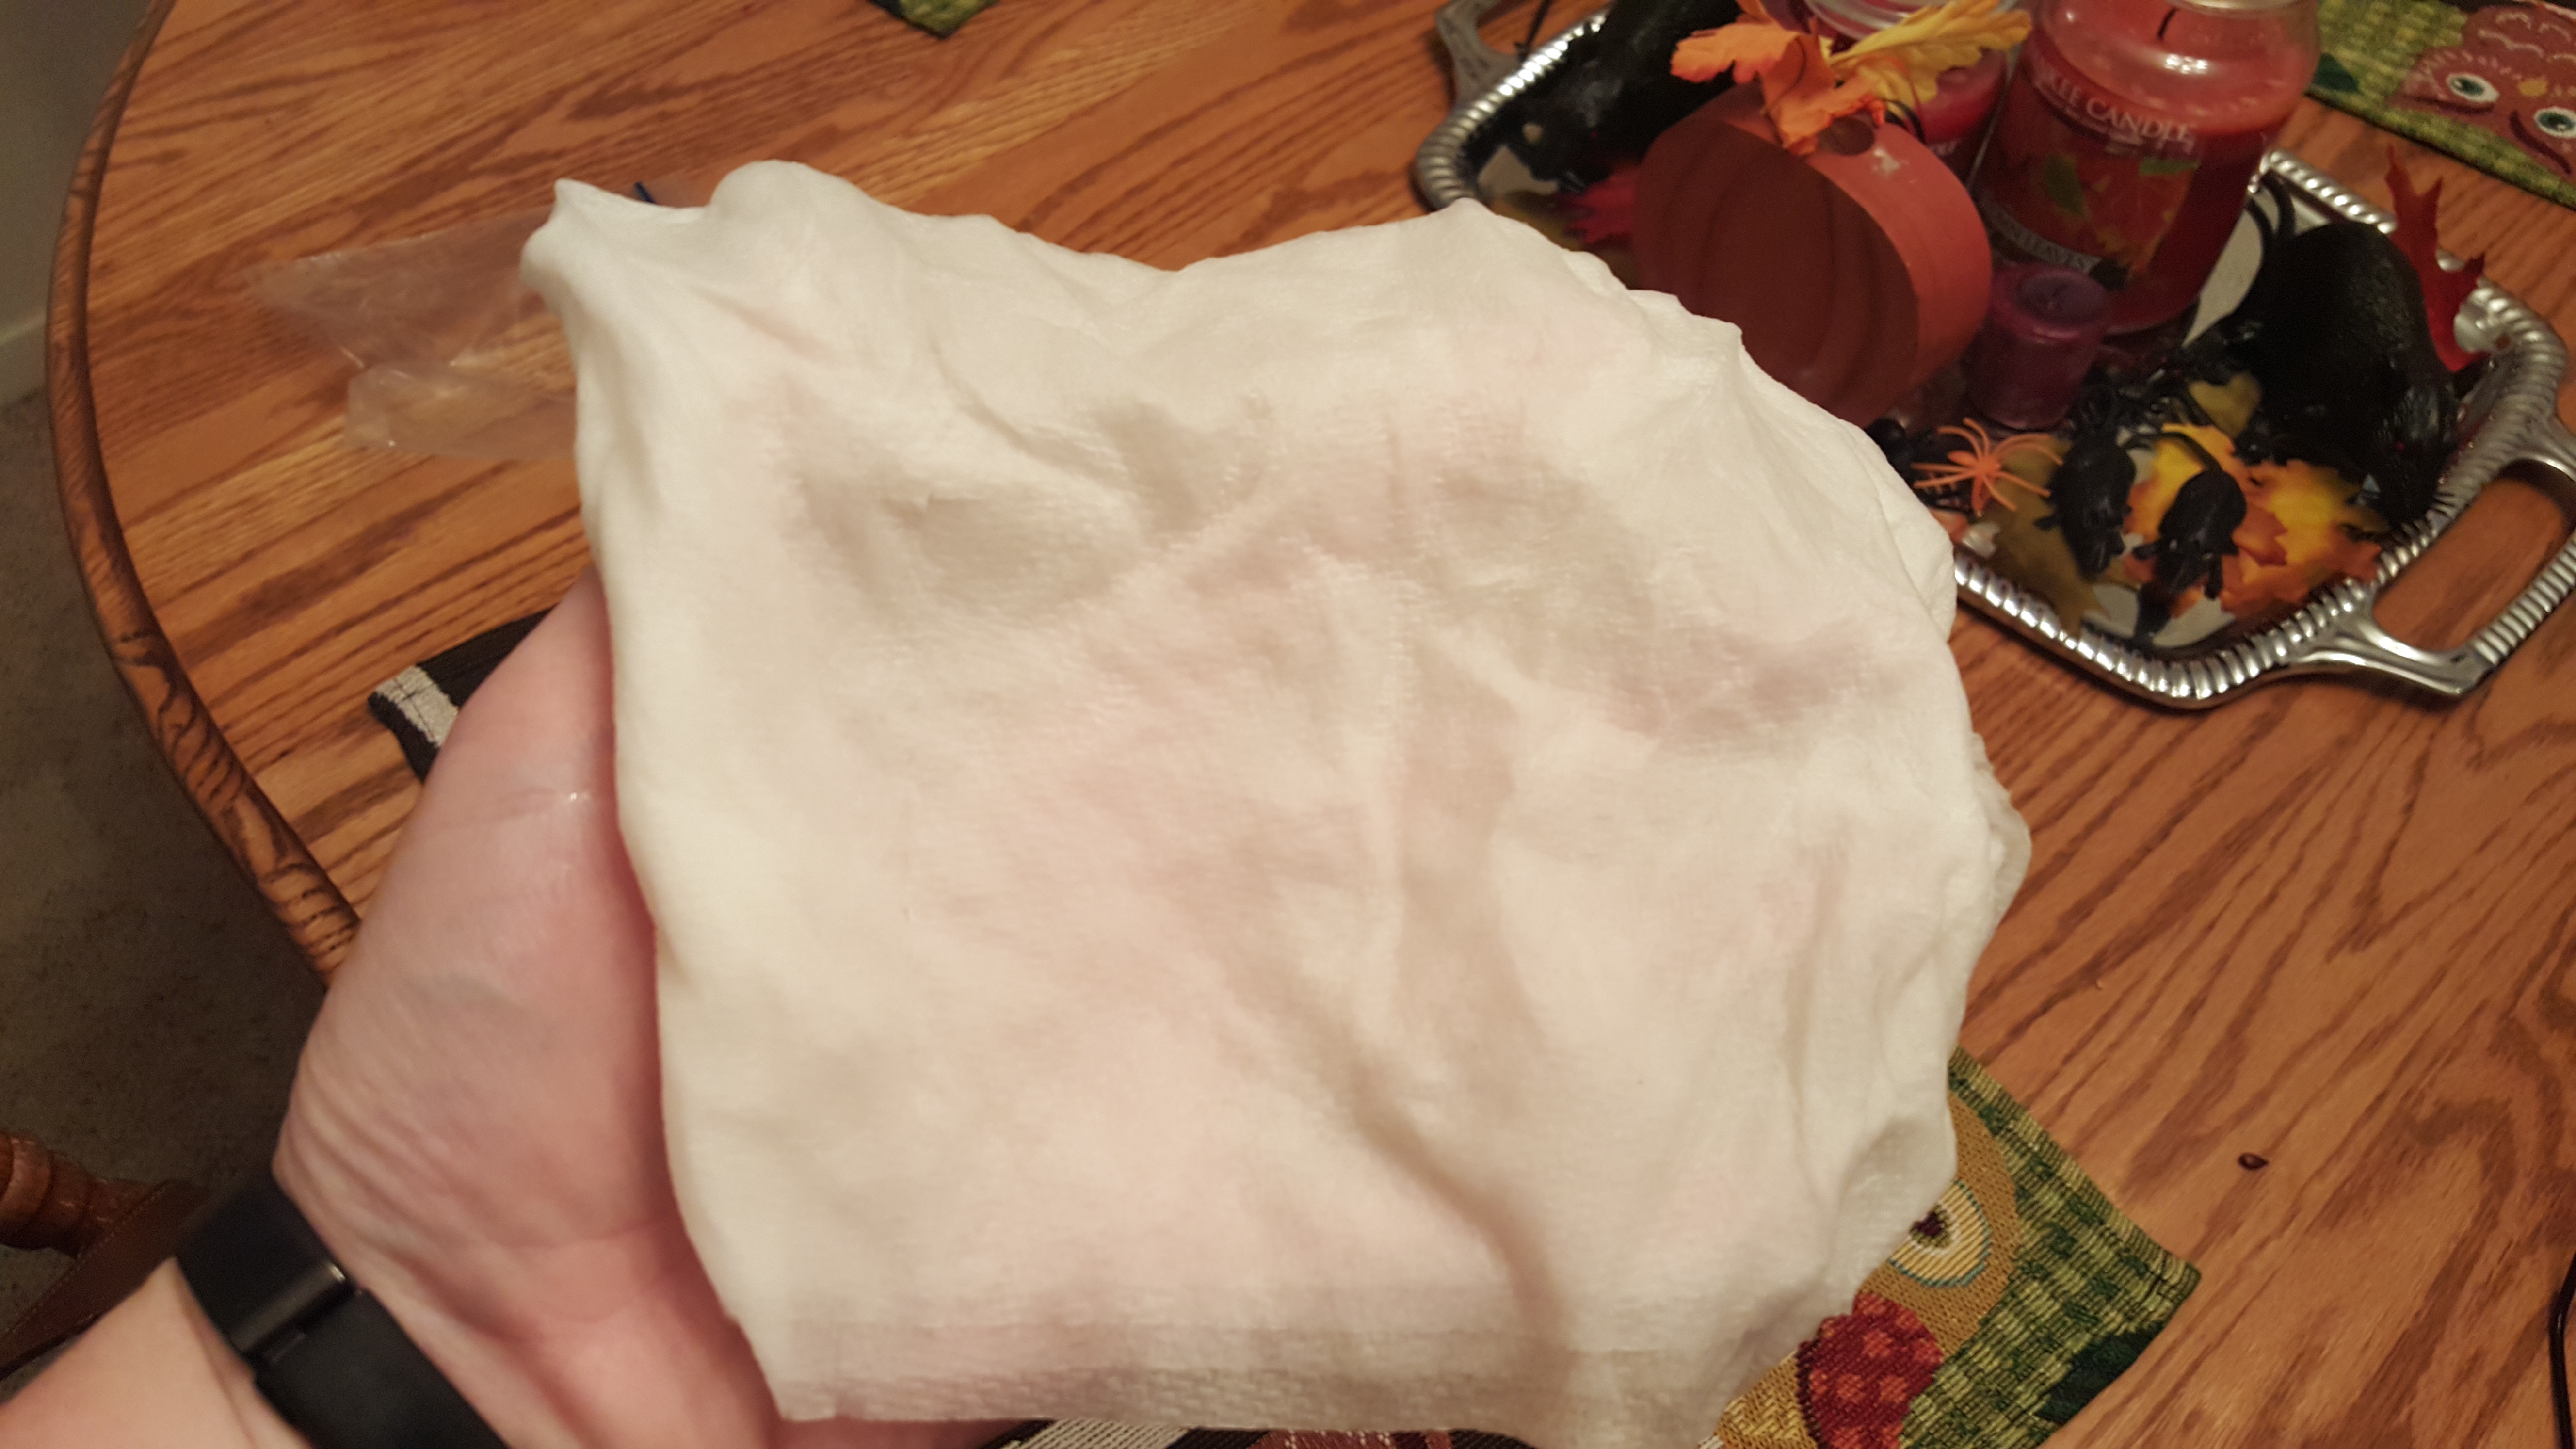
So, I followed the directions, and put the seeds in a quarter cup of water and let them soak for an hour. After the hour, you can start spooning/basting the seeds on the clay form. I tried to spoon them on the top like the picture, but it didn’t work so well for me. (Note: I accidentally threw out the plastic tray that came with the Chia, so I had to use one of my baking dishes.)

20151219_091915

Ok, so obviously mine did not look pretty. Big shocker, it looked nowhere near like what you see on the box. I know this was my first time trying one of these, so I gave myself a break and just let it be.

Now it says to keep watering it everyday by placing water in the hole on top of the clay form. They said to take the left over water in the bottom and put it back in the clay piece, but that did not happen for me. It was pretty much evaporated every day, and I couldn’t get the seeds on top to stay moist.

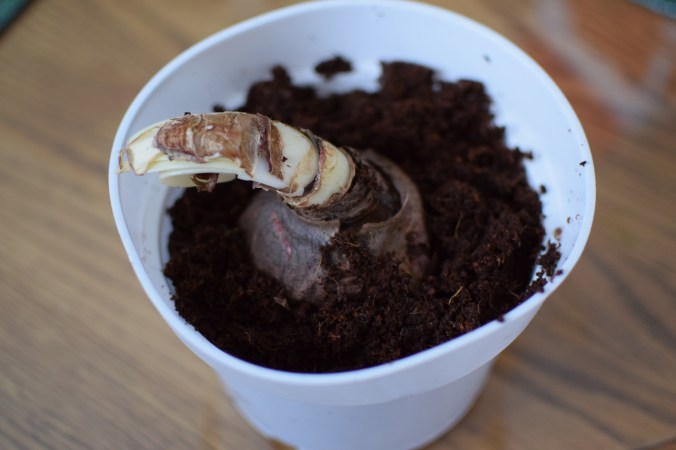
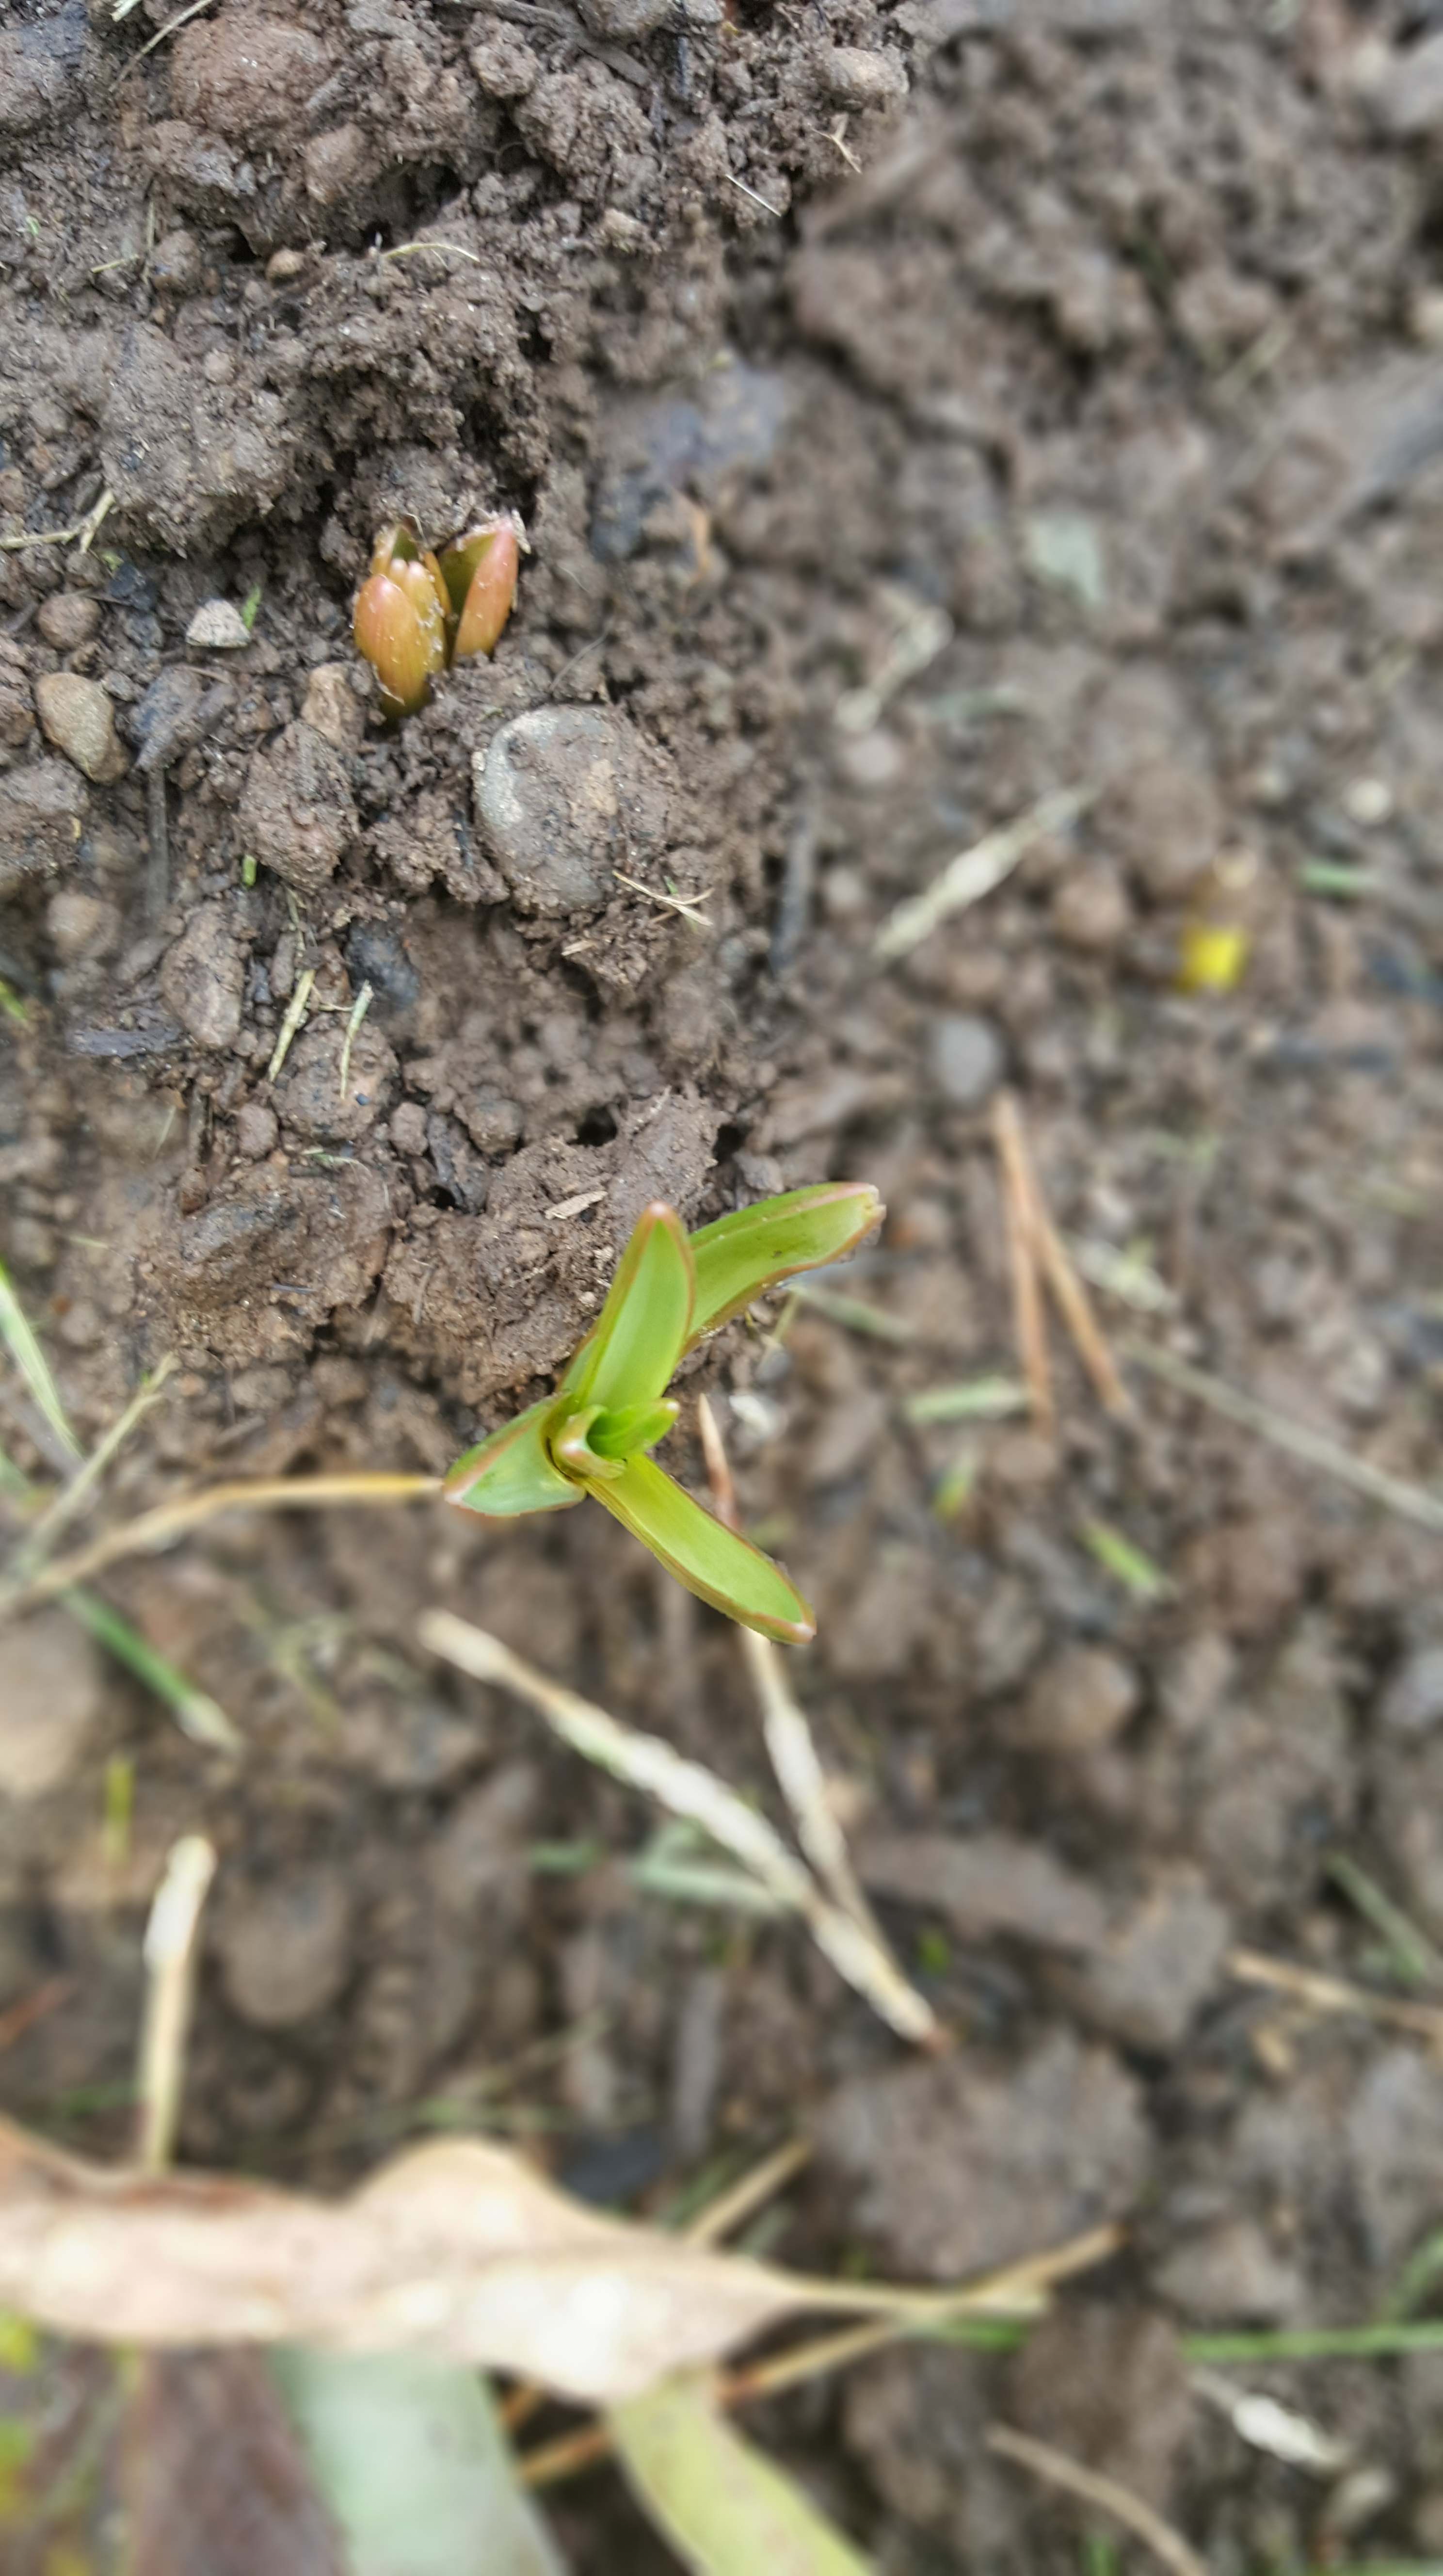
But, to my surprise, after a few weeks, the bottom half started to sprout, and I was pretty excited about it.

20151225_112331

But then, after a while, even though they did grow well on the bottom half, it started also getting moldy because of the moisture content down there. And on the top like the box shows, NOTHING happened.

What it also says in the instructions is that you can keep using this clay form over and over, but after I finally gave up on the this thing, I tried to wash the seeds off to give it another shot. It was like trying to scrub concrete off something. It didn’t happen.

So, I threw it out. The whole thing. No more Chia Pet. To be honest, I could find many other ways to waste $15 bucks. So, I will just stick to enjoying the holiday commercials.


Ringing in the New Year with Indoor Projects

Happy New Year to everyone! I hope your holiday season was wonderful! As always, it’s over as fast it comes. It was a whirlwind December at work, (as usual–always choatic at the end of the year), and with pretty much the first half of the year supposedly just as crazy, I thought I would concentrate on some small indoor projects that hopefully keep my sanity in check!

Christmas in our household was wonderful. My daughter got everything on her list from Santa. The only thing we didn’t get was snow.


20151224_222844

After 8 weeks of germination, the apple seed my daughter brought home from school has finally been repotted. I hope it becomes a seedling in a couple of weeks.

113

Here’s hoping something starts sprouting soon!

I also purchased two amaryllis bulbs on clearance at the store right before Christmas, so I decided to try and see if they will blossom for me now. These two were a little different from the amaryllis I potted last year. I had a disc of dry medium in the box, and I had to add two and a half cups of water. It became dirt right before my eyes! LOL

115

Warning: This is not brownie mix! 

So, here’s hoping they bloom for me!

112

The weather was warm right up until Christmas, and then this past New Year’s weekend, it became cold, snowy and windy. We really only have a dusting on the ground, but the wind chill really gets you!

Now is the time to start sketching out your garden plans. What do you have in mind? What are some of the projects you would like to complete this year? Stay tuned for my list!


Seasonal Decor: Feather Trees

Happy first day of winter! Can you believe it’s three days until Christmas? It came so fast this year, and the fact that it has been so warm around here doesn’t help either. It’s going to be almost 60 degrees tomorrow, and the extended forecast looks pretty mild. Thanks again, El Nino!

Well, I am thankful to still be exercising outside and not stuck on the “dreadmill” because of the frigid weather. It does make the dark days a little easier I guess! I have had plenty to do inside the house, I put up three Christmas trees this year!

20151216_224536

This is my pencil tree in my living room.

I also decorated my beloved feather tree.

20151129_172117

My daughter decorated my feather tree this year.

What is a feather tree you ask?

A feather tree is the original artificial Christmas tree! They originated in Germany in the late 19th Century when the people of the time where worried they were cutting down too many trees for the holiday, so they used goose and turkey feathers and made fake Christmas trees instead.

Feather trees come in a variety of colors, and can be used year-round. I decorate mine for every holiday from Christmas to St. Patrick’s Day. I like to keep some sort of decorations up even after Christmas– transitional decor as I like to call it. I am going for a winter woodland theme this year, and so I purchased three more green feather trees. Their simple, primitive beauty is what I love so much.

20151206_164734

My new green feather trees are part of my Nativity scene this year.

You can pair them with pine cones or other conifers for a great seasonal look! There is so much you can do with them, and you can get them for a really good price at craft stores.

Natural looking decor that lasts year-round. What is better than that? Gardeners are nature lovers, and I can’t think of a better thing to decorate your house with. There are many ways to “dress” up your feather trees all depending on the time of year. Take some time to read more about feather trees and make them part of your home decor today!

I wish everyone a very Merry Christmas, and a wonderful New Year!

Thank you again for taking the time to read my blog. I appreciate it, and appreciate any feedback you have for me!


That December Sun and Other Things I Have Been Up To

That December sun. The sunset tonight was out of this world. You don’t see it that often around these parts of the world at this time of year! It kind of sums up what the weather has been like for us in Buffalo. Milder than normal temps which resulted in another record broken for us– the longest we have gone this time of year without measurable snow!

20151206_165524

So, you really can’t do anything but take advantage of this weather if you have any last minute yard/garden work that needs to be done. I have been busy with a lot of different things, so here are a few things I accomplished on this 50+ degree weekend:

  • I broke a record for myself in the garden yesterday– I planted spring bulbs on December 5th!!

20151205_130322_001

Remember, you CAN plant bulbs right up until the ground freezes. Even if that means December 5th!


  • My amaryllis bulb I posted about last year is going to bloom again! After giving it TLC and taking my own advice, it’s back and I couldn’t be happier!

20151206_172416

  • I brought my tropical hibiscus in the house and it is still going strong! I have also made it part of my seasonal decor by adding a few ornaments. You can do this with any container plants you had outdoors for the summer. It makes your interior decor unique and welcoming!
20151206_164833

I put a few ornaments on it, but not too many because I have two cats who are a little too curious…

  • I finally got some time to decorate my urns on my front porch. They are pretty much the same as last year, but without any evergreens just yet. My spikes are still thriving, so it’s just my giant bulb ornaments with spikes and creeping jenny for now!


20151206_161724

Nothing has cost me a lot of money– it’s amazing what a little creativity can do for you! Using your own houseplants and containers from outdoors this past growing season can be used in what I like to call “transitional decorating” — from the holidays to winter. I always like to keep some kind of decorations up all winter because it can get a little dreary without some “cheer” around the house.

I have a special decorating post I have in the hopper all about one of my favorite things — Feather Trees! So, until next time, Happy December!

“Gobble” Up Spring Bulbs-#OptOutside

It’s Thanksgiving already, and I know I have a lot to be thankful for. I am particularly thankful for the weather we have been having– a little cold, but no snow just yet (Thank you, El Nino).

I am also thankful because it’s this far into November and the ground has not frozen yet, which means you can still plant spring bulbs! Most places have slashed prices over 50% off, which means you can still spend some time outside before the weather really starts turning.

So, how about you #optoutside this Black Friday and get some bulbs in the ground rather than fighting with the crowds– there will be deals throughout holidays, but time is precious when it comes to playing with your garden!

I hope everyone has a very Happy and Safe Thanksgiving!

20151122_162107

These Anemone bulbs will be planted the day after Thanksgiving. Much more relaxing than fighting the crowds! (Special thanks to my husband for making this turkey out of my new bulbs!)

A Natural Pause

While the winds and rain swirl around us, I am hunkered down inside trying to get all of my plants that I had outdoors all summer ready for hibernation. I am also drying the lone sunflower head that made it this year through some pretty massive summer storms. I love the the uniform pattern of seeds still in the flower! Enjoy.

2015-11-13 19.16.45

Bamboo Sticks and Burlap: The Great Garden Cover- Up

Happy November! I know that Buffalo has been loving the first week of the month so far– we hit 73 degrees (23 degrees celsius) on Wednesday this past week! Lots of lunch time walks this week just because you never know what the weather will be like in a couple of weeks (November 17 last year it started snowing and 7 feet of snow and 3 days later, it looked like a scene out of the apocalypse).

That being said, I needed to “wrap-up” (pun intended) my gardening to-do list this weekend. Even though the 7 day outlook looks decent, you just can’t trust it this far into fall. So, away I went to get some work done. I detailed my winter preparation in a post last year, but I thought I would go through it a little more this year.

The cover-up begins!

The cover-up begins!

This year, I was a little more savvy than last, so I purchased more appropriate tools to get the job done right (hopefully).

The three things you will need are:

  1. Bamboo Sticks – this is something I didn’t get last year, and this will help out with my japanese maples and my pencil hollies for the added support with the burlap. I do not recommend these for bigger trees and shrubs– you can purchase separate bigger and stronger support stakes for the bigger jobs.
Bamboo sticks are a cheap way to help with your garden winterizing.

Bamboo sticks are a cheap way to help with your garden winterizing.

2. Burlap – another cheap garden cover that works really well. I remember watching TV last year when a garden expert was pretty much dissing burlap and saying how ugly it was, and to use a more expensive and appealing covering. Who really cares? If it does the job and protects your plants, then go for it. It’s very affordable and I really like using burlap for decorating too.

The smell of burlap takes me back to my childhood-- it smells exactly like baling twine!

The smell of burlap takes me back to my childhood– it smells exactly like baling twine!

3. Chicken wire — this will always come in handy, and you can use it when burlap really isn’t an option, especially around trees.

And again, another affordable, more durable covering for your bigger trees and plants

And again, another affordable, more durable covering for your bigger trees and plants.

I then went to work. I covered my pencil holly with burlap. I used one of my bamboo sticks as support.

225

I then took some burlap and wrapped it around the pencil holly, but first I punched a hole in the burlap to give it a more snug hold around the holly.

I poked a hole in the burlap the first time as I wrapped the holly and then I did it again at the end.

I poked a hole in the burlap the first time as I wrapped the holly and then I did it again at the end.

For added security and to keep the burlap wrapped tight? I pulled a MacGuyver and I snipped off small pieces of the chicken wire and “pinned” them in several places on the burlap. Now, you can buy several different fasteners and stakes in the store, but I have found that you can use the metal hooks for Christmas ornaments (I buy several packs of these each season– they are so versatile around the house), or if you can find anything or don’t have anything, you can snip off small pieces of chicken wire that work just as good!

MacGuyver would be so proud. When in a pinch, just snip some chicken wire!

MacGuyver would be so proud. When in a pinch, just snip some chicken wire!

Oila! It’s complete! I have three very securely covered pencil hollies!

228

A special thanks goes out to my knee pad — it’s my savior!

224

Now, it’s time to wrap my badly eaten Japanese Maple. Because it is small, I am using bamboo sticks with chicken wire. It might be also a good idea to use stronger support stakes. I might pick one or two up for added support.

212

Chicken wire can be difficult to work with, but it’s not impossible. It bends very easily.

210

And that is how it’s done! I take the bamboo sticks and “string” it through the chicken wire for support. This should be good for my little japanese maple. I am so upset the deer have shredded it.

After the covering is done, it’s time to rake up some leaves, pick up old sunflower heads and cut down my hostas.

Garden rubbish at its best!

Garden rubbish at its best!

I don’t pick up all the leaves–particularly in my flower beds. They are a great winter mulch for them.

So, that was my weekend– lots of work done and now it’s time to start thinking about decorating my urns for the holidays.

**I want to apologize that I never did a post on Fall Decor in my urns. The thing is, the weather has been so warm that the Creeping Jenny and Spikes I have in them are still flourishing, and I didn’t have the heart to rip them out. But, some Christmas decor will be coming for sure! 

So, please have a great week, and best of luck on your winter garden preparation!

It’s in the Small Things — Indoor Edible Gardens and Apple Seeds

I hope everyone is having a great week– we are getting hammered with rain and wind, all remnants from Hurricane Patricia. Good thing we put everything away for the winter the other night — our persnickety little fishing boat is tucked away in the garage, along with the hose box and other odds and ends that needed to be ready for hibernation!

One thing about Western New York this time of year is that you know snow is not too far off when you hear snowblowers being fired up in people’s driveways– all in preparation for the first snow! We did just that over the weekend– everything is good to go!

Small Spaces, Big Results!

I am thinking ahead to next season, and my husband is on board with me trying to plant a small veggie patch out behind our garage next to our raspberry bush! This is my first foray into veggie gardening. This was never on my radar for my own small space, but we are going to make it happen! My husband is going to help me build some raised beds next spring so we can plant our own tomatoes for sure, and we’ll have to pick out a few other veggies for me to try. I can see us even planting pumpkins, which would be really neat!

After researching the subject of edible gardens, I couldn’t help but share a wonderful graphic from my friends over at fix.com who explain easy-to-grow Indoor Edible Plants. What a great idea to be able to have fresh veggies and herbs all year-long!

Last week, I took some time off and I spent my days taking my daughter to preschool and accompanying her on her little class field trip to a local farm–I wish I could do this more often, trust me! Well, last Friday, her class made applesauce and each of the kids received an apple seed from their teacher.

It's amazing to think this tiny thing will be a big tree someday.

It’s amazing to think this tiny thing will be a big tree someday.

My daughter was so excited that she wanted to plant it right away, but I stopped her. I wanted to research planting apple seeds and what you had to do.

I want to take my best shot at getting a seedling from this little guy, so this is what I have done so far to make the chances a little better.

  1. Make sure the apple seed is completely dry. If it’s not completely dried out, it will rot and not germinate.
  2. Your apple seed needs to germinate; place it in a cool place for at least 6 weeks. Wrap your seed in a damp paper towel and put it in a bag that goes into the refrigerator.

20151028_18582120151028_190045

20151028_19020020151028_190214

20151028_190257

So, I will wait and take the seed out of the refrigerator in six weeks and then plant it in a little pot and see how it does over the winter in the house. I would really love this to grow into a seedling so I can plant it in our tiny back yard, and say that was my daughter’s little tree!

Stay tuned for the rest of the story…..

That’s a Wrap — A Growing Season “Summer”y

We got our first snowflakes today! Overall, this weekend has been very cold, but after snowflakes flew this morning, it ended up being nice and sunny, so I went out and took a hike in an area park to get some nice autumn pictures.

Ellicott Creek in the fall.

Ellicott Creek in the fall.

20151018_145137

Because it was so cold, I am thankful I got most of my yard work done when I did, even though now I am questioning myself as to whether or not I planted my spring bulbs too early this year. My parents came up to visit us (the first time since my daughter’s birthday in April– their social calendar is busier than mine), and I wanted to show my mom all my work that I had done in my back yard, and I came across this:

My bulbs are confused by the warm fall weather we are having!

My bulbs are confused by the warm fall weather we are having.

I noticed that in the new extended spring bulb bed that I made, that some of them are popping up. I hope this doesn’t mean that I have lost them until the following spring. Western New York has had an unseasonably warm October, with temps in the 60s and 70s, I have even notice that my clematis and a few of my coneflower varieties have new blooms!

I just hope they still manage to come up in the spring. Good thing it was only a few bulbs and not a lot. After seeing this yesterday, I went out this morning with my daughter and noticed that the deer ate a good part of my ryusen weeping japanese maple. That depressed me a little, but I know it’s too early to start wrapping things up, so I will do the “wait and see” for the next couple of days. If it becomes more frequent, I will have to start covering things earlier than I would like.

The deer are now taking a liking to my little Japanese Maple.

The deer are now taking a liking to my little Japanese Maple.

Looking at this carnage somehow got me thinking about the past growing season– what I did right, what I did wrong, and I what I would do better next year.

Most Improved Duty: Watering 

Yes, I must say, I worked really hard this year, especially after purchasing three trees, to make sure everything was watered. I learned my lesson last year when I didn’t water my arborvitae enough and they died over the winter because they lost more water than they had. I want to make sure everything has an adequate water supply as we go into the winter. I am even watering in the fall here, when we go without rain for extended periods of time.

What I Need to Work On: Plant Placement

Ok, so this one is kind of a misleading title. I mean, gardening itself is a process where you are constantly moving things to another place to see if does better, or transplanting because they are outgrowing their place, etc., etc. I think sometimes I get so plant crazy that I end up planting things too close together and then there isn’t any room for them to grow when they actually mature. Maybe I am just worrying too much, but I just want everything, and with such little space to plant things, I wonder if I am crowding some out!

What I Need Work On: Taking Better Care of my Containers

I will tell you I need to water these better than I do. Containers always dry out faster, and I somehow seem to neglect them. I must be better with this next year!

What I Did Well On: Creating Balance

I can honestly say that I feel I have finally created zen with everything that I have planted. It feels good, nothing is lopsided like it used to be, and it genuinely makes me happy. Even after tearing out everything behind my garage for a third time in two years, I can now say I am satisfied. I actually feel like I know what I am doing.

So, how did your garden do this past growing season? What would you like to do differently next time?

The Beauty of a Fading Fall Garden

Have I told you how much I love fall?? Haha, yes, I have mentioned it before, and for good reason. The transitional season that will be ushering us into winter is so spectacular in its own right, with the leaves on the trees turning vibrant colors, you can’t help but be in awe of such beauty.

All spring and summer we takes hundreds of pictures of our gardens, posting them on every social media outlet we can, and blogging about them. But, do we ever think about taking pictures of our gardens as they wind down? I was doing some last-minute yard work this weekend — putting away my garden decor for the season, and I couldn’t help but notice the beauty that surrounded me, despite the imminent ending to another growing season.

So, here is a collage of pictures from the garden as it nears its end. I hope you take a look at yours and feel the same way too!

20151005_184133 20151005_184023  20151005_183845 20151005_183742 20151005_183714 20151005_183635 20151005_183517 20151005_183429 20151005_183322 20151005_183233 20151005_183106 20151005_183050 20151005_183018 20151005_182900 20151005_182840 20151005_182733